

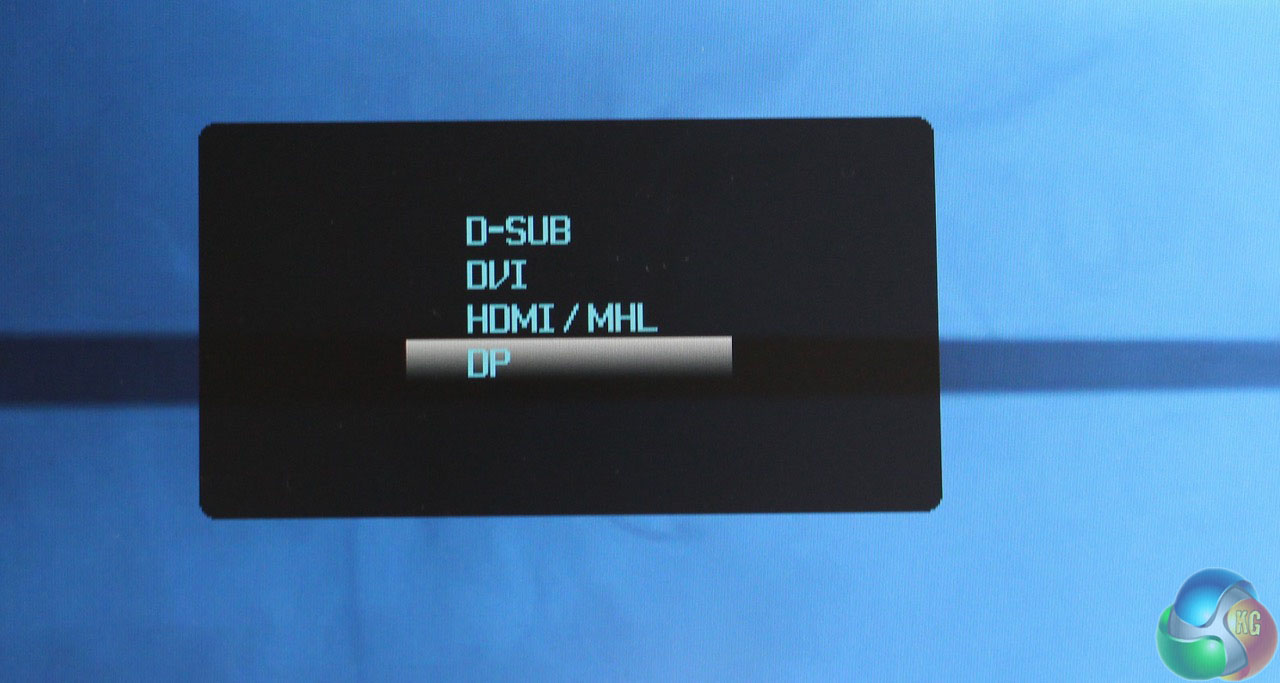
A quick press of the left-most button provides a shortcut to switch the display input. Another inwards press cycles through the list.
The next button enables Clear Vision, or moves back through menus.
Following that is a shortcut for volume control. The last (fifth) button is the ‘soft’ power button. While the fourth one along displays a menu with all the monitor’s settings.

The Luminance menu contains the contrast and brightness settings, Overdrive, an ECO mode, DCR (dynamic contarast, left off for testing) and 3 gamma settings.

There are four colour temperature settings – Normal, Warm, Cool and sRGB, and a user-customisable setting, with Red, Green and Blue sliders.
DCB (dynamic colour boost) slightly over saturates certain colours, depending on the on-screen content. It’s especially noticeable with bright shades of red and green.

The PIP Setting menu is for enabling and adjusting the picture-in-picture or picture-by picture setting.
You can switch the main display and the PIP source, adjust its size and on-screen location, and enable audio from the secondary source.
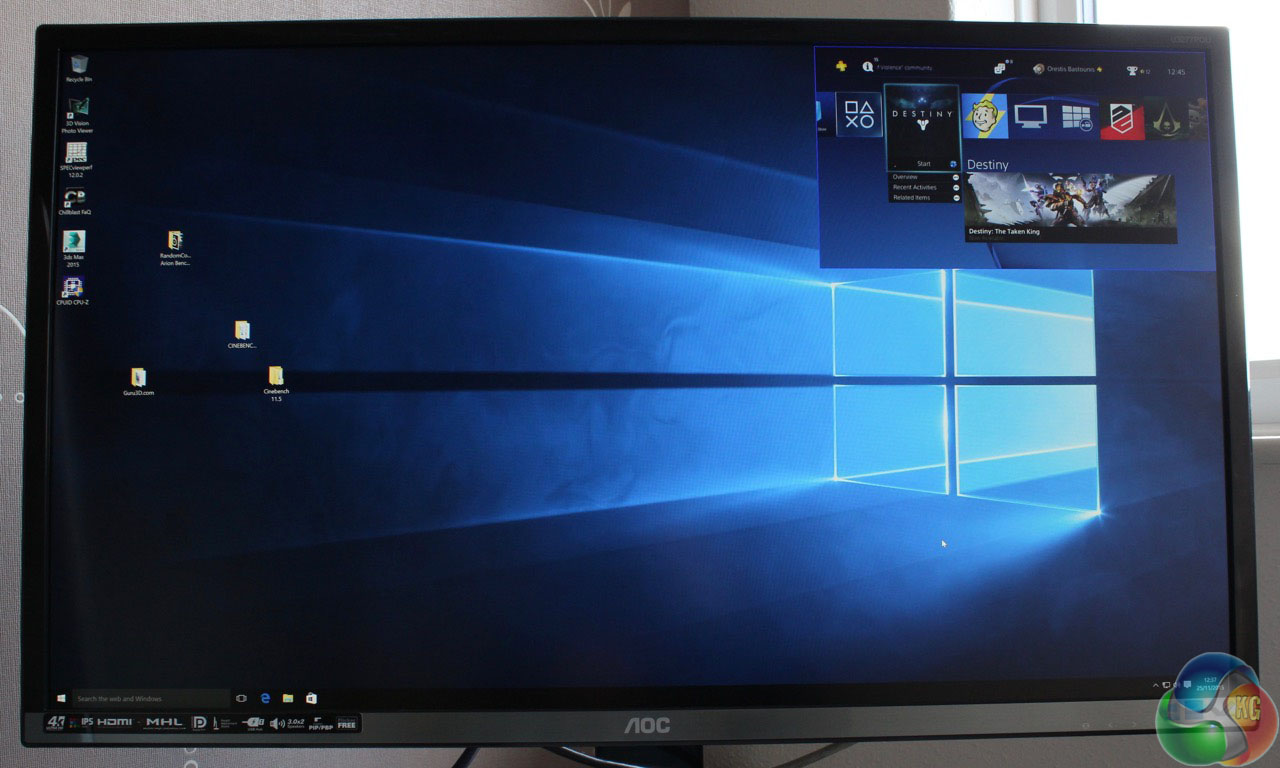
And here it is in use, with a PS4 connected to the HDMI 2.0 input

The PictureBoost menu provides options to adjust the brightness and contrast of a specific part of the screen. You can customise its size and location.

The Extra menu lets you choose the selected input, adjust the image ratio, enable DDC/CI and reset the monitor settings.

As well as adjusting the timeout (invaluable when looking for certain settings) the OSD Setup menu lets you move the OSD around, enable the Break Reminder option that reminds you to take exercise every 30 minutes, and change the OSD language.
Just now l Received““my“`4th paycheck of $4395 working`onIy 3 h○urs` on my Iaptop` this week. My neighbor, who lives alone with toddlers, is making over $10k/monthIy doing this & convinced me to try. It’s so user friendly and easy to do so I thought to share it with you guys… T○ SEE what I D0“`have a peek on my“`Pr○FiIe ->>> I posted website link address there… Good luck
72
“The AOC U3277PQU is a high-end 4K display, with a large 32-inch screen and a specification suited to graphic design work and gaming alike. It has a 10-bit IPS AHVA panel, built-in speakers, a picture-in-picture mode and a fully flexible stand – for a relatively reasonable price.”
How can anyone trust this review when the reviewer clearly doesn’t know what he is reviewing? The AOC U3277PQU is not a 4K monitor and it does not have an AHVA panel, it is a 2560×1440 monitor with an AMVA panel. I am looking at mine as I type.
http://aoc-europe.com/en/products/q3277pqu
You linked to the wrong product, take a closer look at the two names. You linked the Q3277 and not the U3277 reviewed here. The U in this case stands for UHD, while the Q on the product you linked to stands for QHD, explaining the difference in resolution. You should probably double-check what you are looking at if you are going to call someone out.
Any measure of input lag for this display?
Also, I thought this was an 8-bit panel with some special tech to simulate 10-bit colour range?
http://www.eltech.spb.ru/files/item/M320QAN01.0.pdf
this is the display model which is used in this monitor. It’s clearly stated 10 bit RPG data input. (not 8 bit + FRC). The input lag is ~10 ms, which is very good result in a contrary to a new “gaming” ViewSonic XG2700-4K (23ms), look it here: http://www.displayspecifications.com/en/model/97846a8
You are wrong. Fulls specs you can find here http://www.displayspecifications.com/en/model/97846a8
and official productsheet http://aoc-europe.com/en/products/pdf/u3277pqu?domain=aoc-europe.com