

We don’t usually spend time talking about packaging for displays, as it’s generally something even the most ardent nerd would find deeply dull.
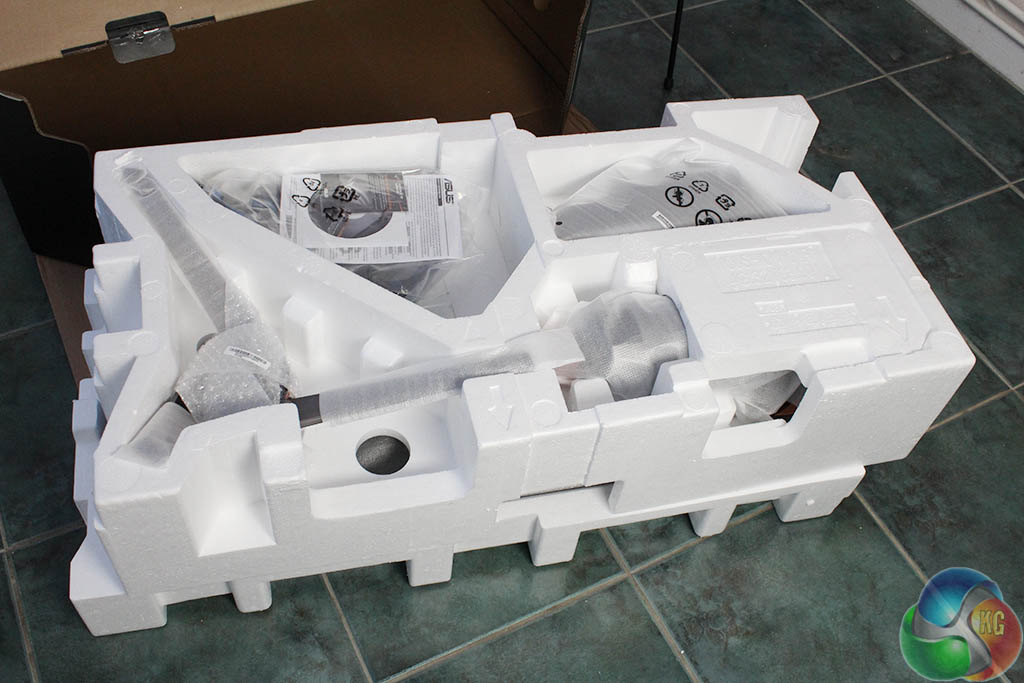
But packaging for such large products is quite a challenge, as it can be for us when assembling them. With most ultra-wide displays, two large pieces of polystyrene are used to encase the screen, with small sections cut out for the cables, accessories and stand.
The trouble is, the screen is so big it can be hard to remove it from the box. The general technique is to lay the box flat and slide the polystyrene out.
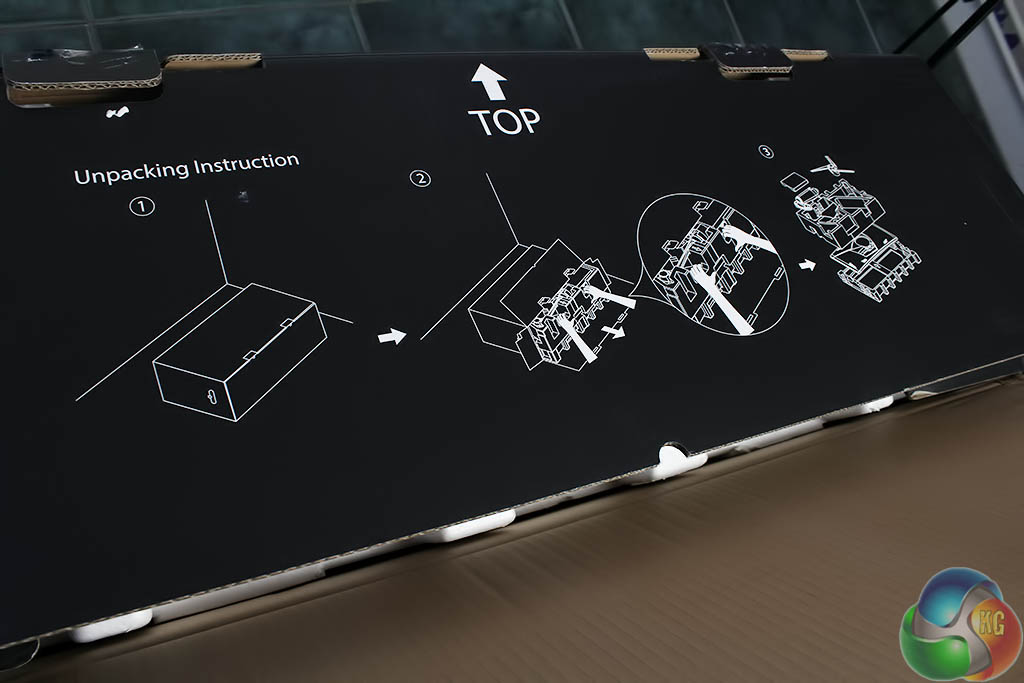
It might not be obvious to anyone who isn’t used to the process, which is why Asus has sensibly printed instructions on the side of the box to show exactly how to remove the screen.
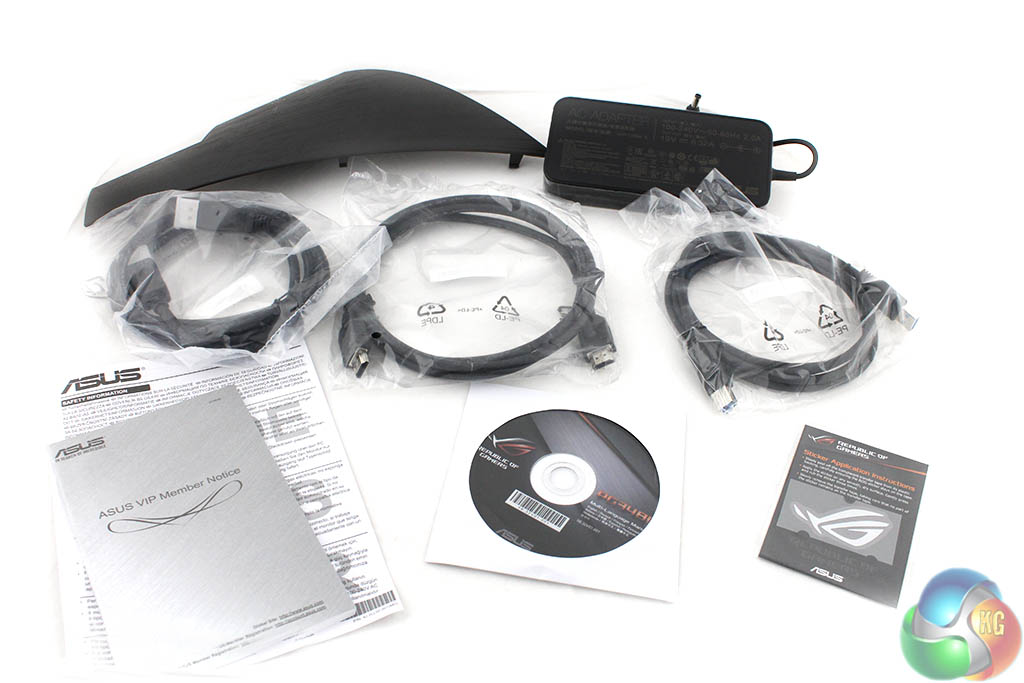
One HDMI cable, one DisplayPort cable and one USB uplink cable are included, with the manual, VIP notice and software CDs included, along with some stickers. There are also two ‘keys’ for attaching the base to the stand, supplied in a small plastic bag.
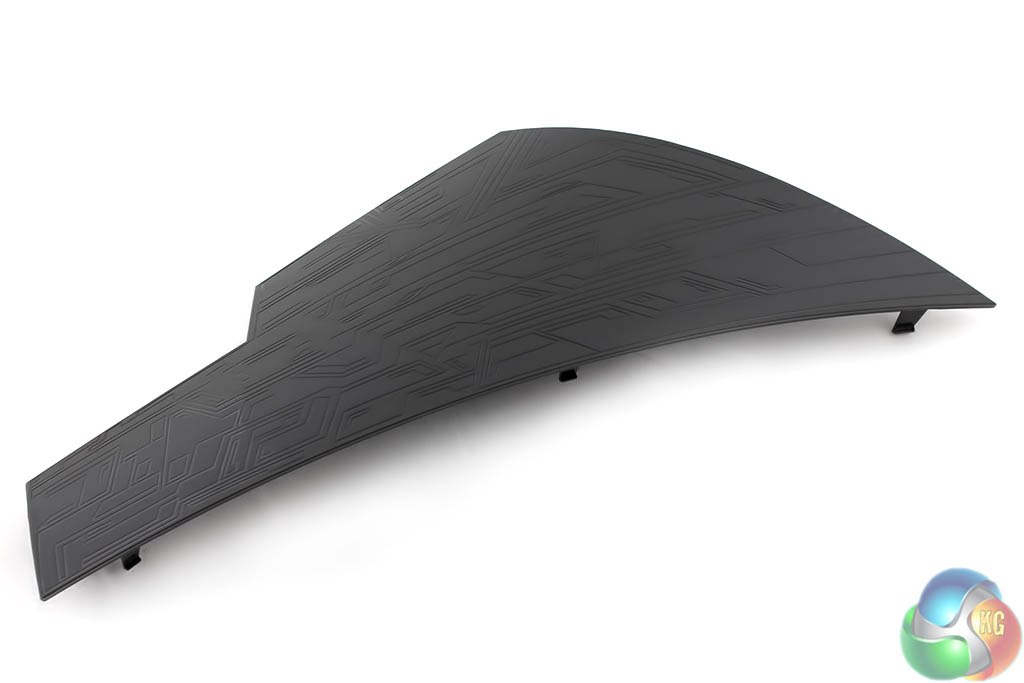
Right at the back, the oddly shaped black thing is a plastic backing plate to cover the rear ports.
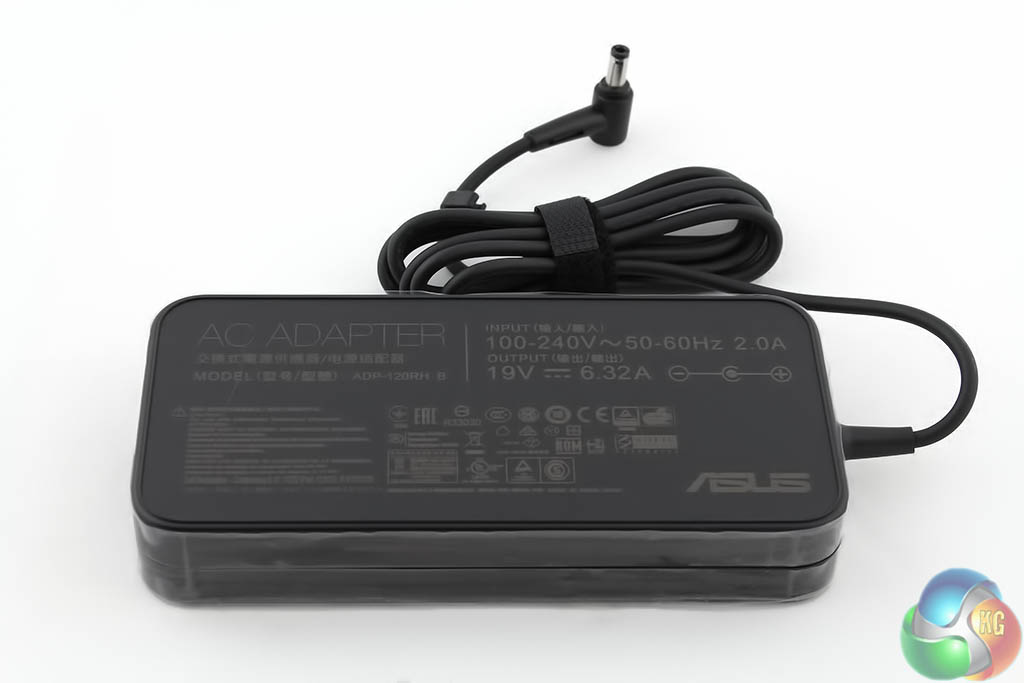
There’s also a relatively slim, unobtrusive power supply. Some bright spark at Asus came up with the idea that by printing some descriptive information on it, it might be easier to find around a crowded desk with multiple power supplies lying around it. A good design choice. Solving first-world problems, one at a time.
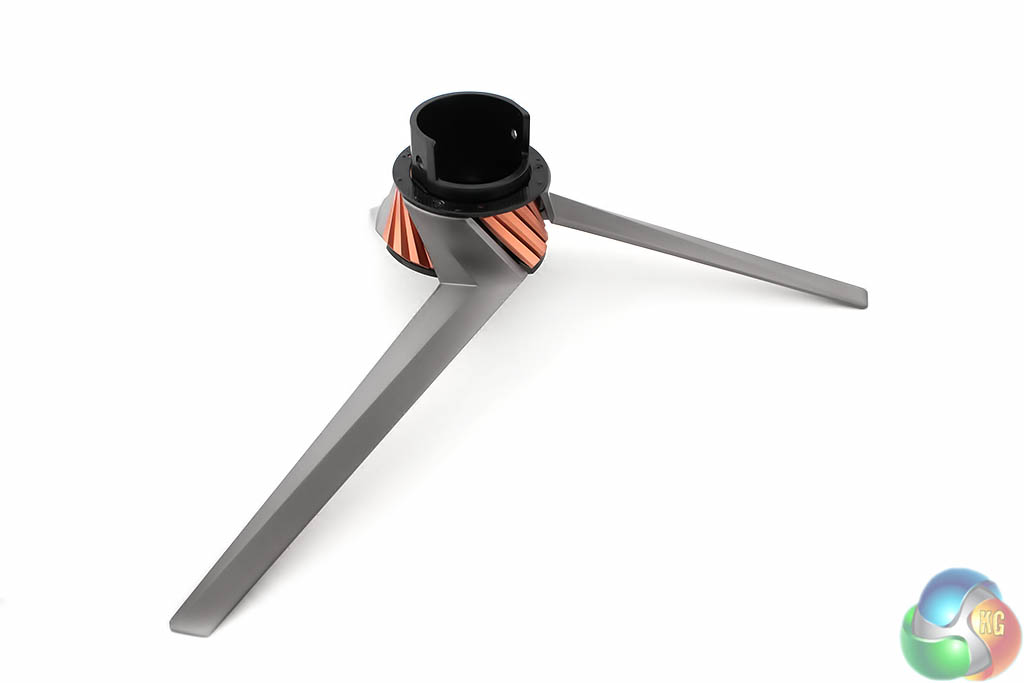
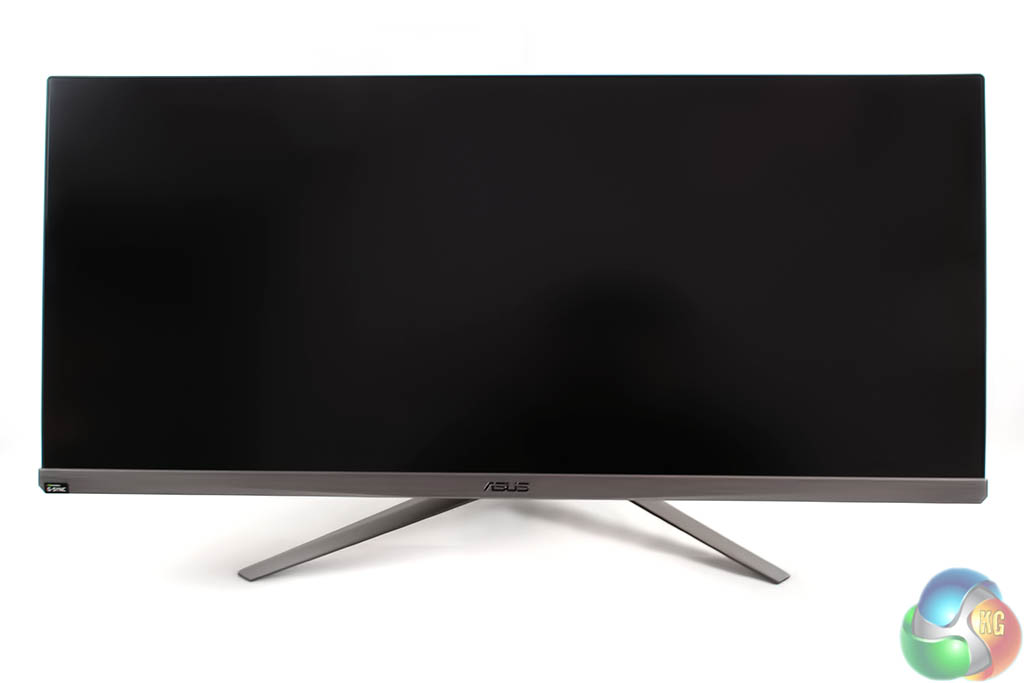
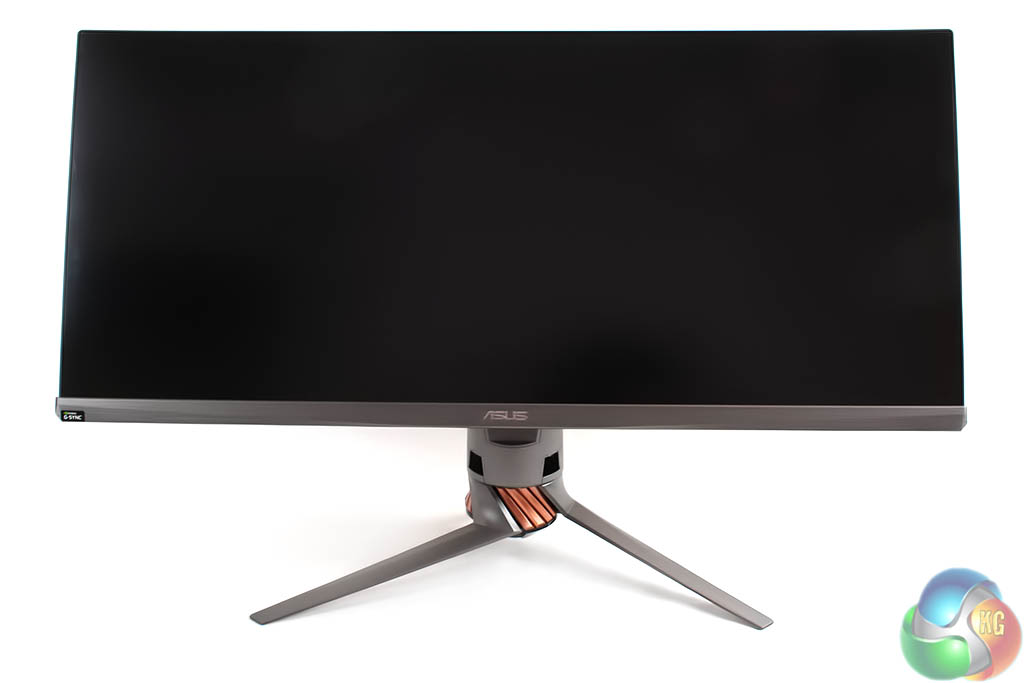
The stand and its base for the Asus ROG Swift PG348Q look quite different to the vast majority of displays.
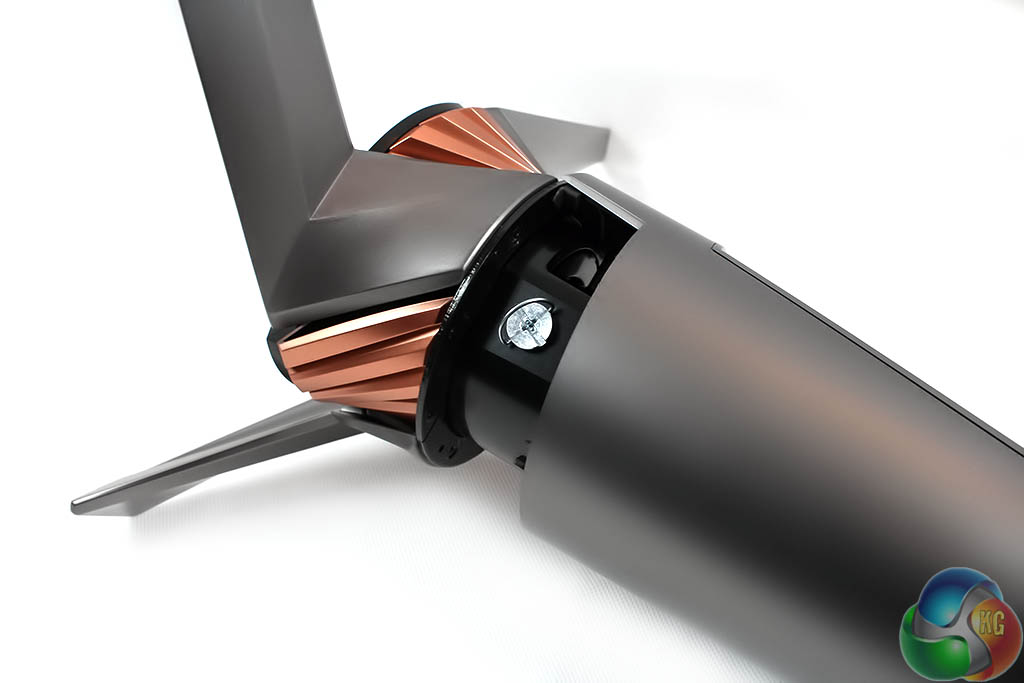
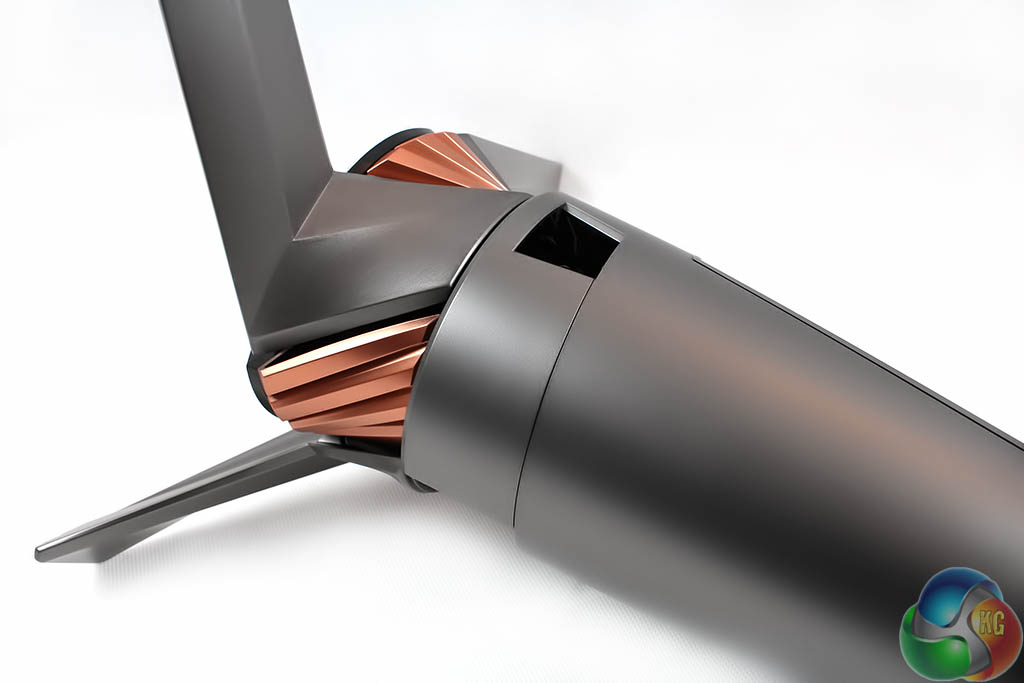
It has a striking look that’s almost like a wind turbine, or perhaps a blender, with three supporting legs, all of which are different lengths. The shortest of these is mounted nearly vertically.
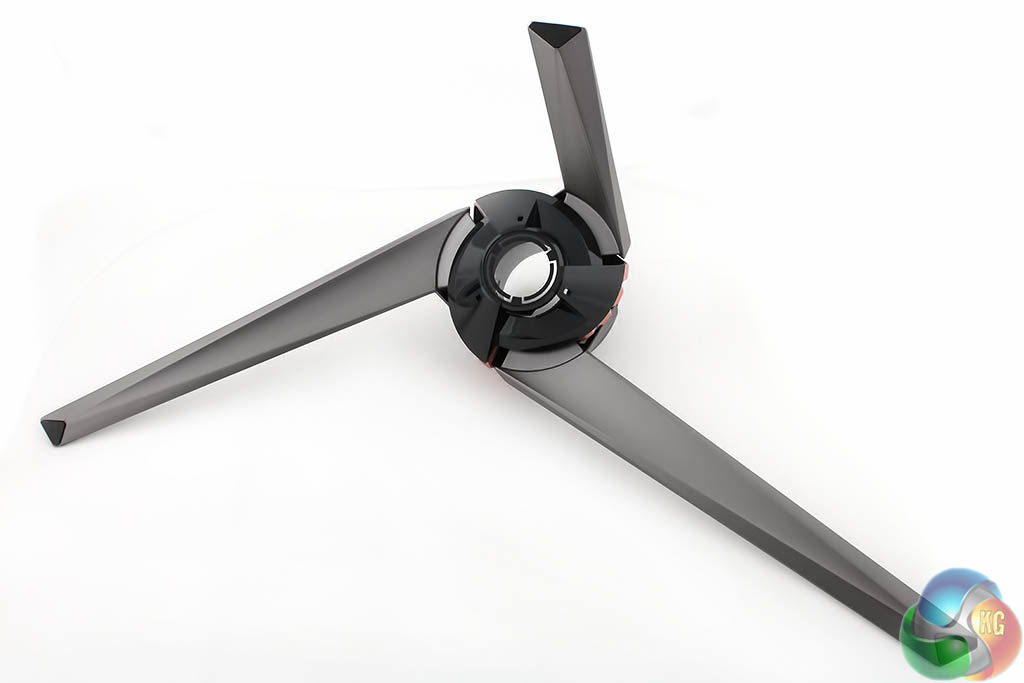
There’s a hole in the middle of it, which is used for the bright red LED on the base of the stand.
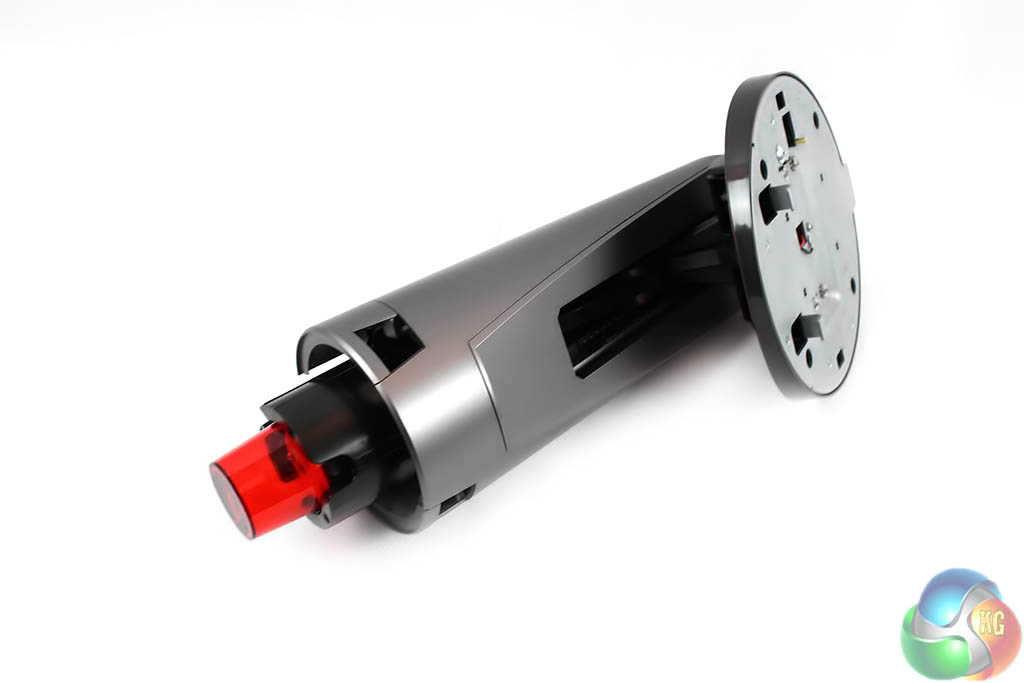
You can see this large LED clearly here.
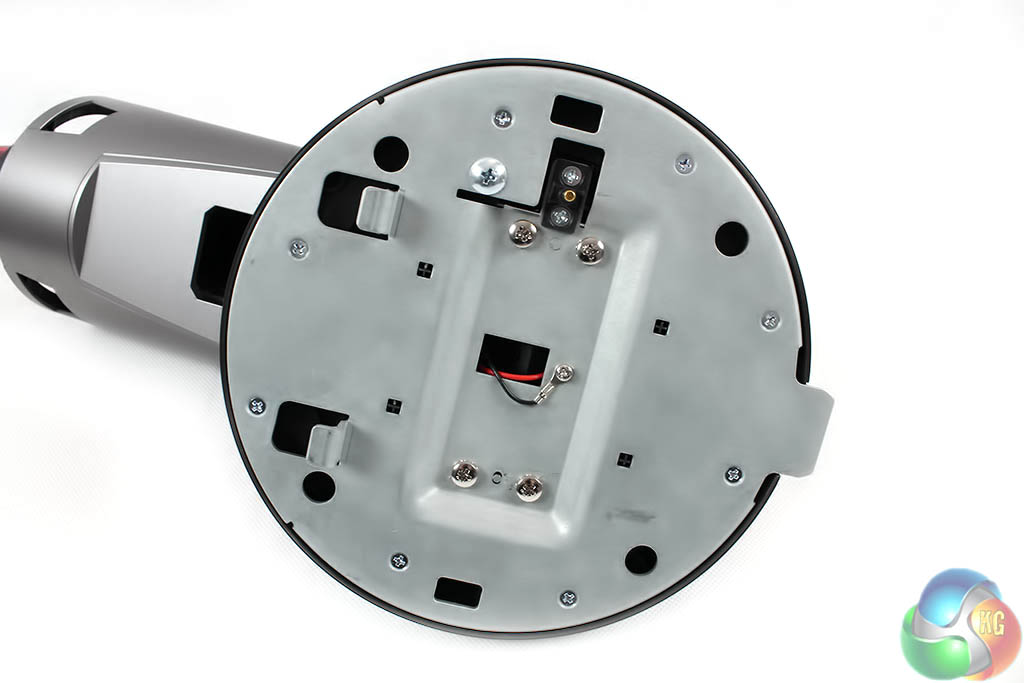
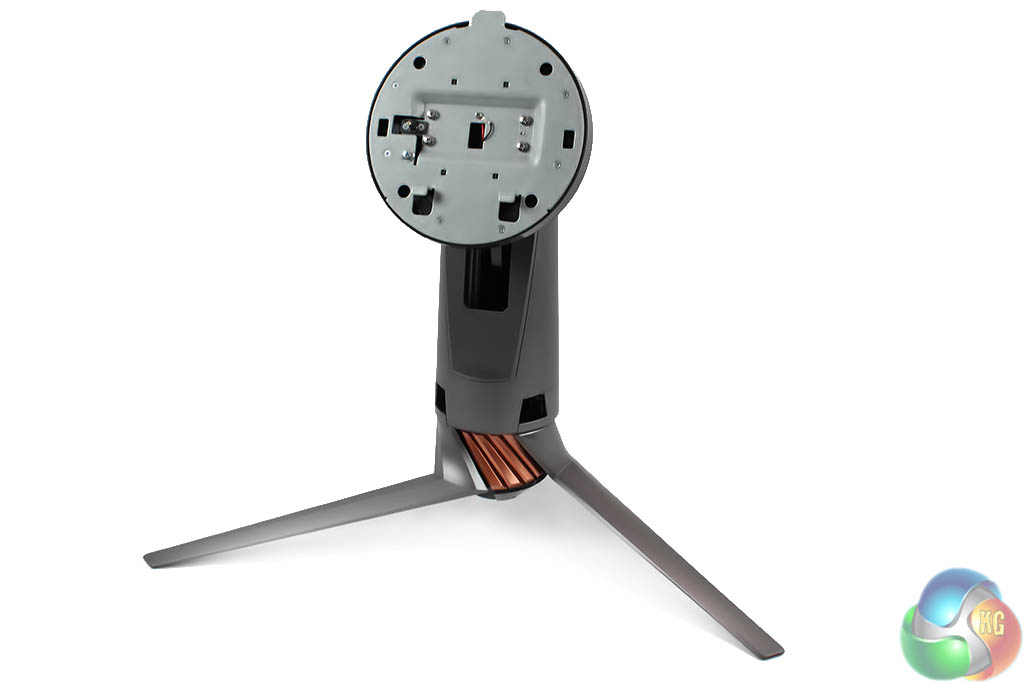
It has to take power from the display itself, and therefore the stand has electrical connectors built into it.
Attaching the stand to its base is a bit tricky though. You have to manually secure it using the two supplied locking keys. To access the holes for these you need to carefully remove the plastic guards at the bottom of the stand. It took us a short time to realise this as it’s not immediately obvious.
The guards snap off by applying a little pressure.
Once the keys are in place and the stand is secure, the plastic covers can be refitted, ensuring the overall look and feel of the Asus ROG Swift PG348Q is maintained.
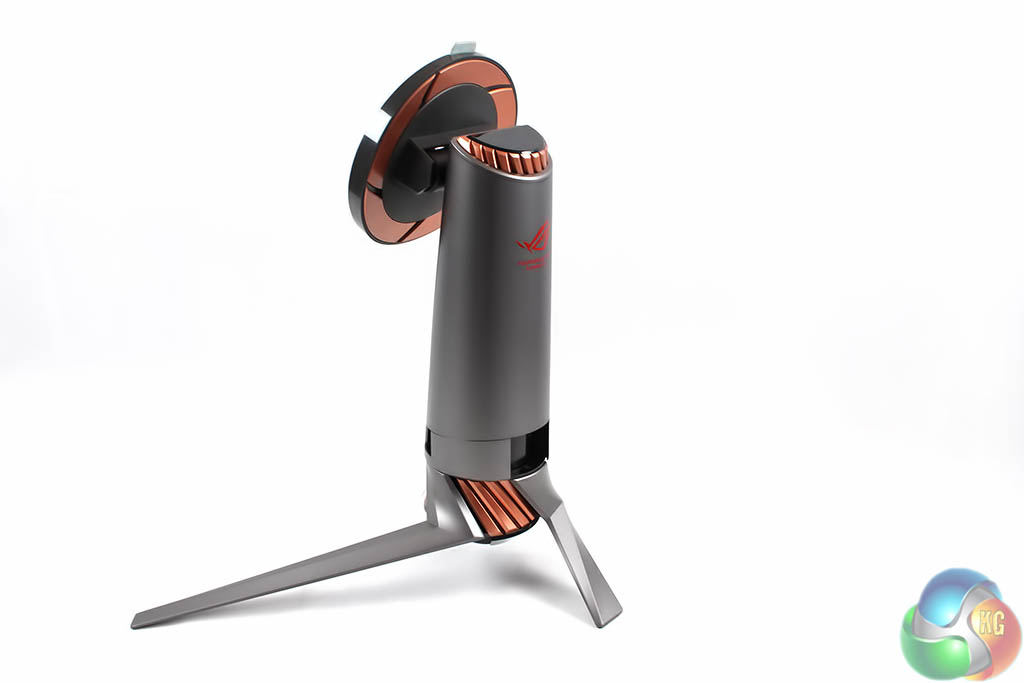
When assembled and sitting upright, the stand reminds us of a sentry gun, such as the one in Team Fortress 2. It’s an interesting look.
![]()
![]()
On a desk, the stand looks really good, complimenting the grey bezel.

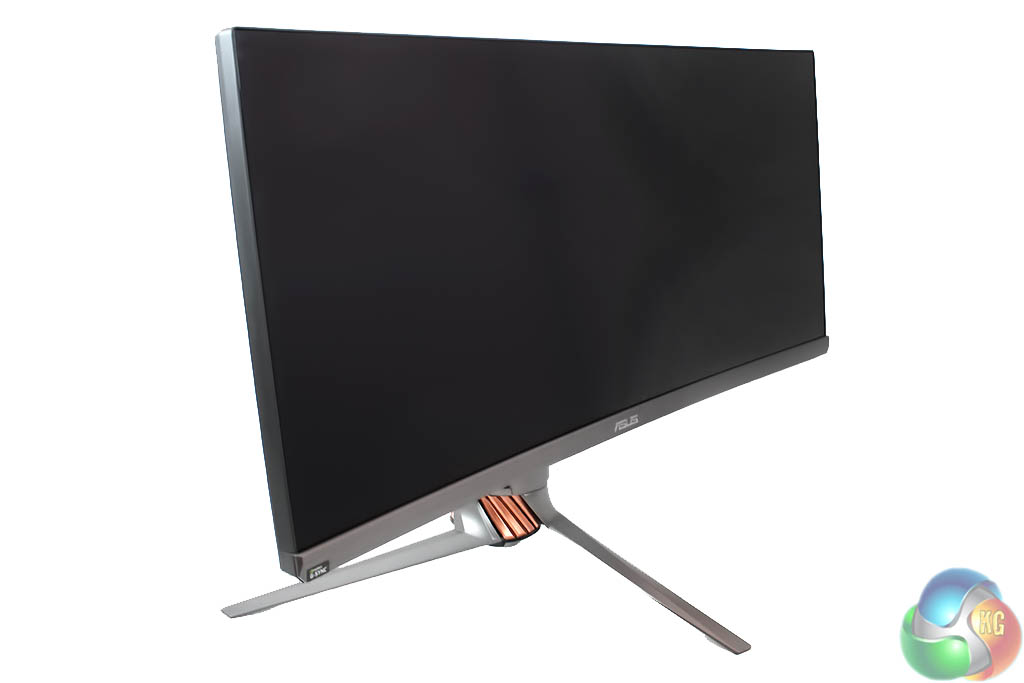
Lying on its back, you can see how big this screen is, and the curvature is clearly visible.
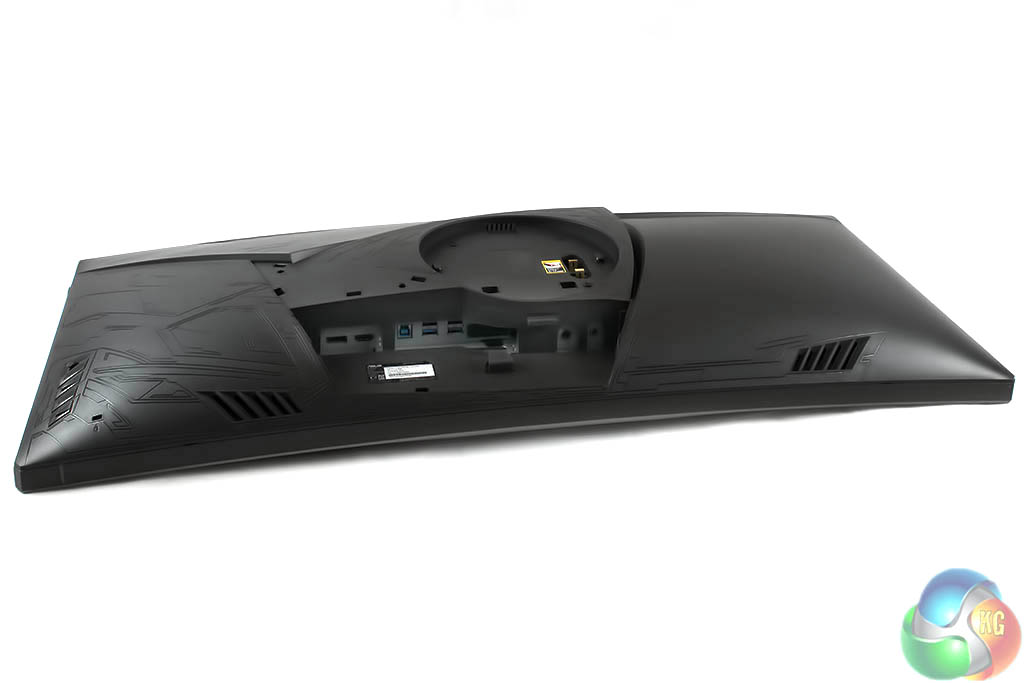
And on the rear you can see some of the detail, such as the lower exhausts and the stand connector.
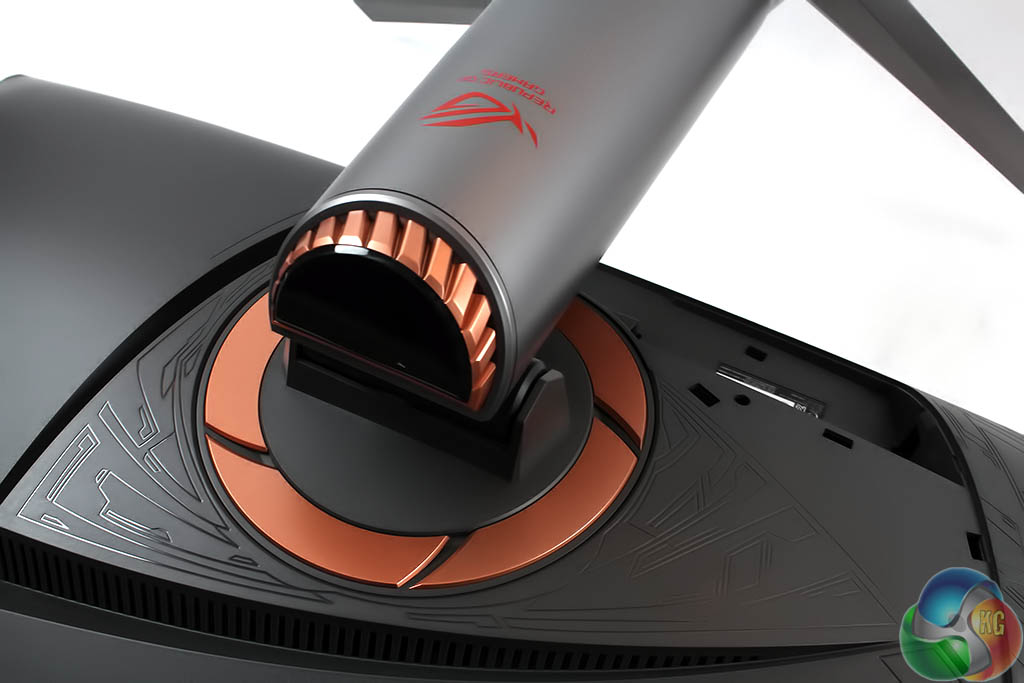
Orange metal surrounds the stand, like spokes on a piece of machinery, along with a metal rim around the point where the stand connects to the screen.
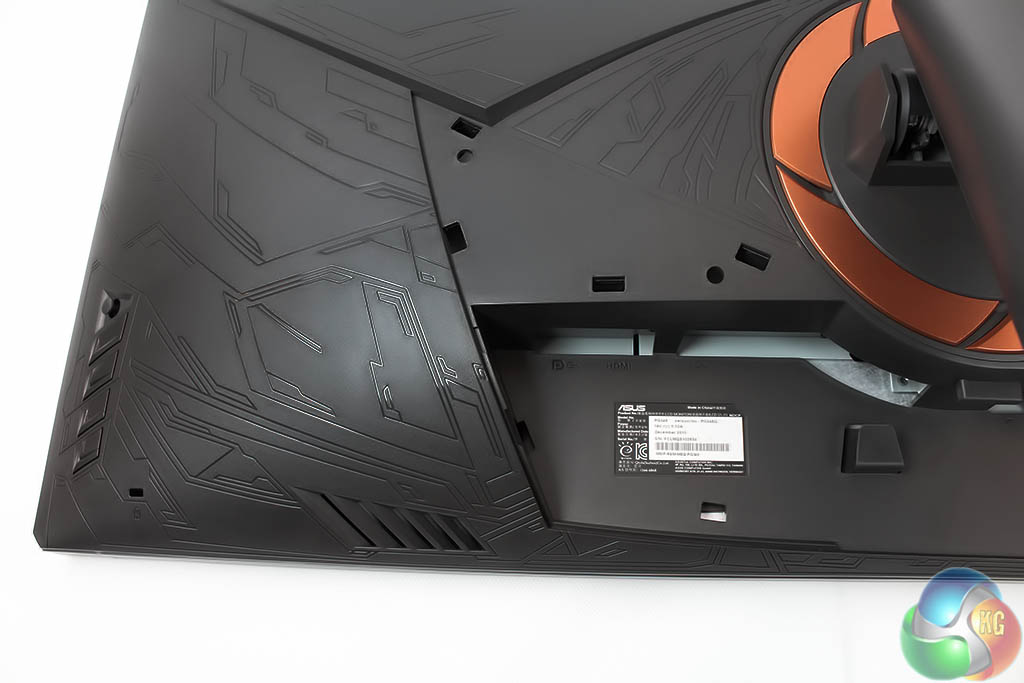
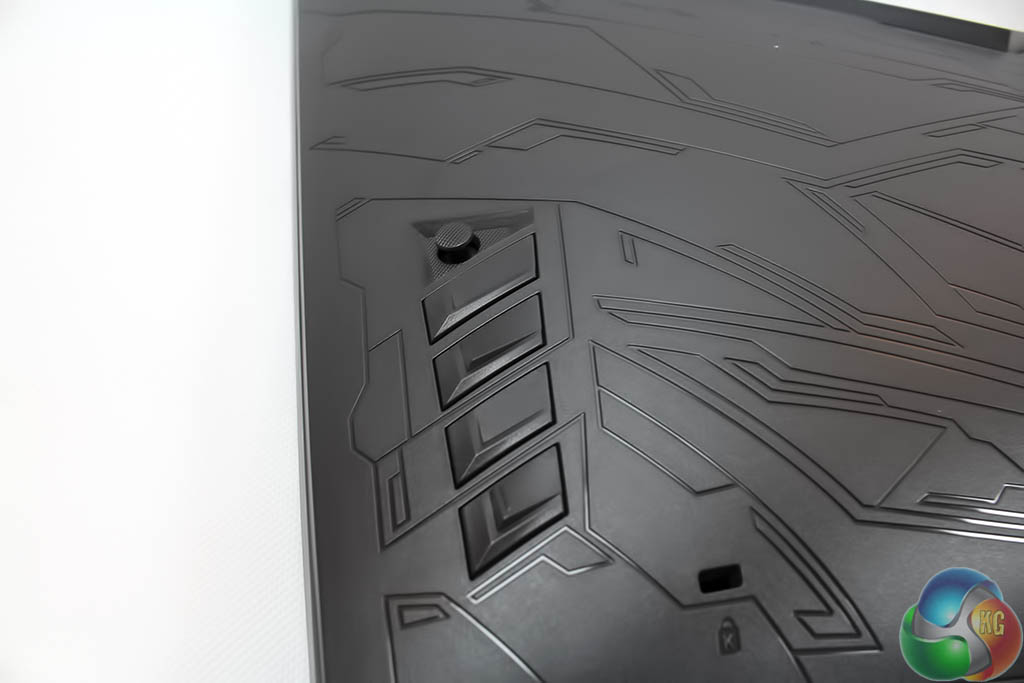
There’s also an attractive patterned design over the rear casing of the screen. At first glance, we think it’s resembles the markings on some Hollywood alien spaceship.
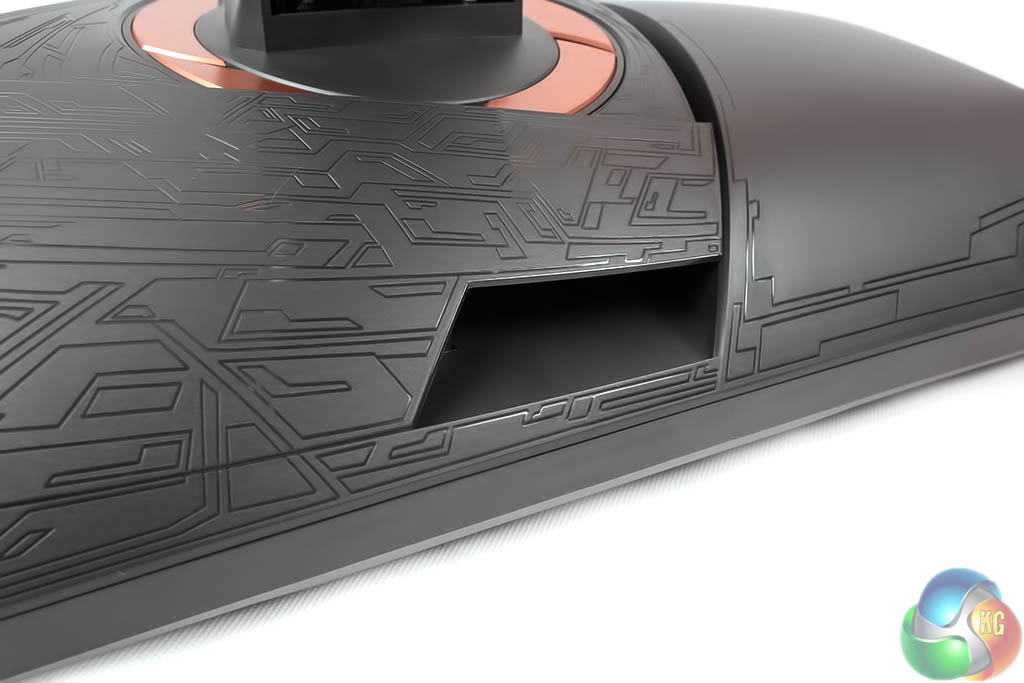
With the plastic guard placed over the ports at the back, this pattern covers the entire rear of the display, and it looks very good indeed.
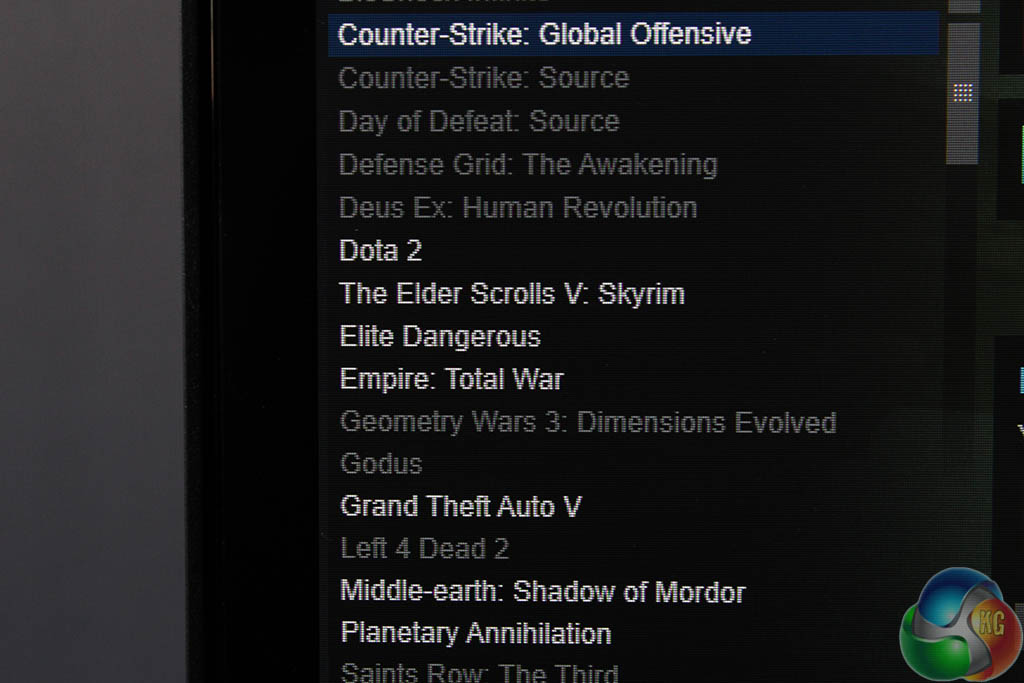
It’s all worth pointing out the exceptionally thin bezel, only a few mm in length. Great to see, but there is a small black strip that separates the bezel and that display area, clearly visible in this shot.
One neat aspect of the Asus ROG Swift PG348Q is that it has the most flexible stand we’ve seen in a 21:9 display. It can be raised and lowered tilted backwards and forwards…
And rotated on the spot.
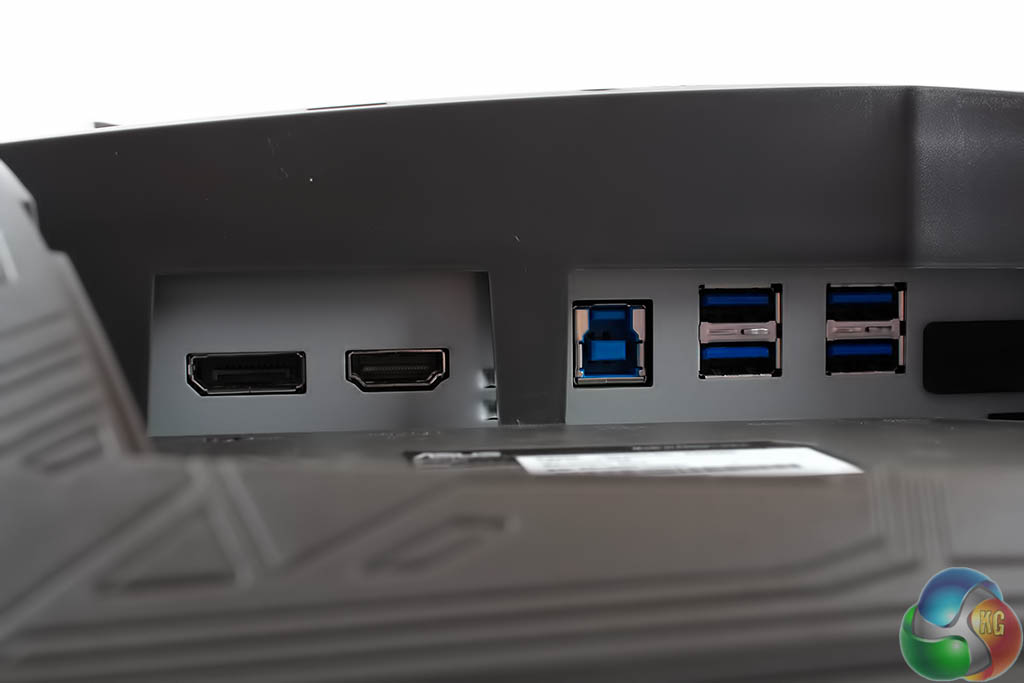
There are four USB 3 ports located under the display, along with DisplayPort 1.2 and HDMI 1.4. As it’s a G-Sync 2.0 display, it’s not possible for Asus to add additional ports.

There’s also a single 3.5mm audio output jack and the connector for the power supply.
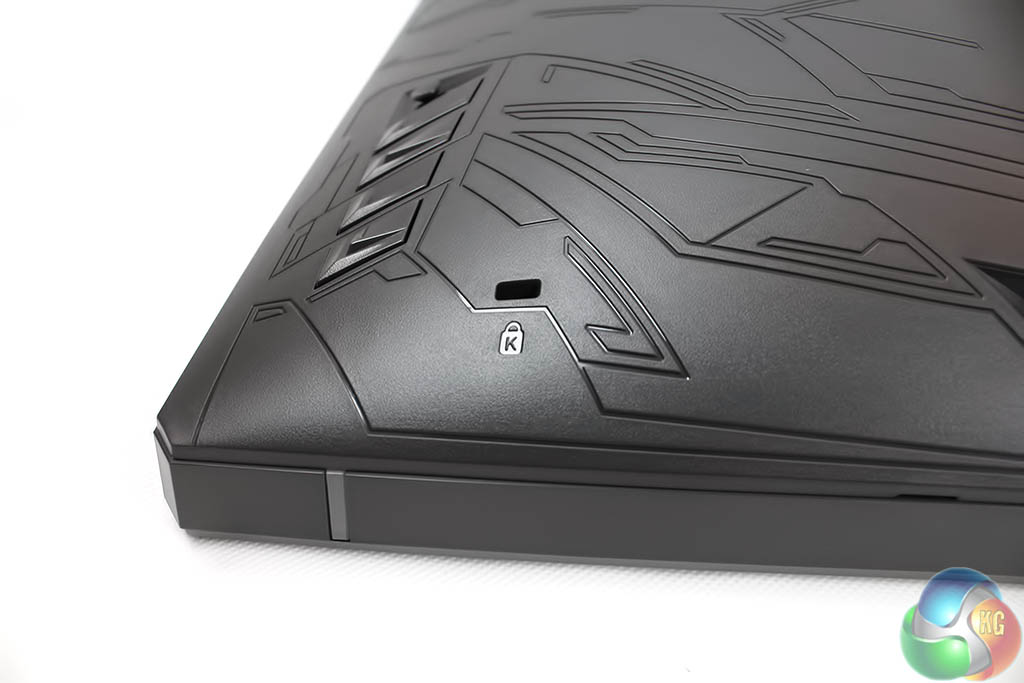
Not to mention the ubiquitous hole for a Kensington Lock.
And here you can see the joystick, with the four physical buttons underneath it

Orestis you lucky man, you get all the nice displays to play with! 🙂
Far too expensive for what it is, as are most of the so called top monitors at the moment.
Get the LG34UC98-W never buy a monitor from anyone but LG or Samsung again. Two many of the second tier makers that use LG or Samsung panels always seems to skimp on quality.
So expensive and a bit late. I was hoping they were delaying it to add DP 1.3 to raise that possible refresh rate to 144hz.
But the question is, where and when can I buy it? In the US of course
I talked to an ASUS representative, they havn’t launched in the US yet and don’t have a public ETA as to when they will.
I had the LG version of this monitor (UC97) and moved to the Predator X34, literally no difference in quality apart from the higher refresh rate and G-Sync which are HUGE benefits for gaming.
Hopefully, I’ll never have to use it, but the Acer also comes with a 3 year warranty while the LG only had 1 year.
well that suks
Well shit…
Everyday the Acer Predator 34″ is looking better…
Well the 34uc98w has thunderbolt, freesync, hdmi connection but you prefer gsync which is cool if you prefer. Never had good luck with 2ND tier monitor manufactures myself.
Didn’t the press release say Feb?
So? I am guessing ASUS sent you this special prepared sample? Or did you randomly buy in a shop?
Kind of important due to the fact that Internet are full of complaints regarding production quality of ASUS ROG Displays.
Pretty sure the panel will not go 144hz, DP 1.3. 100hz is already pushing it. We will have to wait fir next gen IPS for that.
To expensive in what relation, ur wallet ? We dont even know if they are making money on this product at all. Its current tech pushed to edge here, ofc its expensive, its premium products.
Dont forger 100hz overclock, thats the primary here.
Yes . On their website it’s written ” ASUS ROG Swift PG348Q will be available worldwide from February. Please contact your local ASUS representative for further information…” It’s worldwide except North and South America 🙂
I just chatted with Asus support and they told me it was schedules for a first quarter release in March for the US I took a pic of the chat
I chatted with Asus support today, they told me th monitor was scheduled for a first quarter US release in March… I took a screenshot, not sure of the attachment will work though.
See pic
A lot of assumptions there.
Considering you could buy a 60″ 4k tv for that price yes it is far too expensive. Okay you wouldn’t have G-sync or 100hz but well not that important to me as I have tried them both already. You are paying a lot of money for G-sync and 100hz. Especially considering you could pick up the excellent Dell U3415W for almost half the price.
Thanks for passing along the information! Did she give you information on preordering?
This panel won’t cause it only has DP 1.2, DP 1.3 would give it the bandwidth it would need to reach 144hz.
yea ,it is epic 🙂
Just to say there wasn’t one now…
In case you didn’t notice amazon has it on “pre-sale” http://www.amazon.com/gp/product/B01C83BE6U?psc=1&redirect=true&ref_=oh_aui_detailpage_o00_s00
No, the this LG panel cannot run 144hz no matter what DP standard. The panel is a native 60hz, some of them can run 100hz overclocked.
You are comparring a monitor with a TV ? A 4k tv is terrible for gaming for many reasons, input lag, 50/60hz refresh rate, dpi etc etc…100hz or more is standard for a propper gaming monitor, frame sync is becomming the norm to. As i said, we dont even know if they are making money on theese displays, they have a large fail rate to, many displays get RMA. Sure you can get the Dell cheaper, but it is a lower spec product.
Ordered mine from scan was delivered last tuesday, my previous monitor the Dell 29 panoramic was beautiful this is a nice step up with g sync both epic monitor’s but it’s good to have more screen area now. Word of warning you’ll need closer to 800mm of desk depth to keep the monitor’s screen at finger tips and arms stretched out as I have been told by medical pro’s. You can use a 600mm deep desk like I have and push the monitor rear leg off the edge against the wall (very safe) and then tilt the screen down! Perfect monitor out of the box and totally recommend it guys.
FINALLY got one expected delivery around 3/22. If you guys been waiting like I have searching every corner of the world for one of these monitors, this is the place to get one IN THE US THANK GOD!! http://www.velocitymicro.com/buy-asus-swift-pg348Q.php Cross your figues no X34 problems.
http://www.velocitymicro.com/buy-asus-swift-pg348Q.php
I don’t know dude, that site looks shady AF
REALLY MY DUDE!?! Then use PayPal you will be covered like I am. HEY I’ll shot you a pic next week HAPPY AS F*CK
Oh I didn’t realize they took PayPal, u all good then. I may have to go ahead and order also. I’m really looking forward to this monitor.. What GPU u running? I’ve got a 970 and I’m thinking I may as well upgrade that as well. Anyway, thanks for the heads up bro
I have two Evga Titan X superclocked cards, still not enough power for 4k max 60fps games smh. That’s why I chose this monitor close to 4k resolution plus g sync
Does anyone recommend a good vesa mount for the Pg348q monitor? Also where are the vesa holes for the screws.
Does anyone recommend a good vesa mount for the Pg348q monitor? Also where are the vesa holes for the screws.
Anyone in this forum? Does anyone recommend a good vesa mount for the Pg348q monitor? Also where are the vesa holes for the screws? I suspect it’s the 4 screws inside where the stand gets attached. Just don’t want to make a mistake and loosen something I shouldn’t have.