

Asus impressed last year with another gaming display, the ROG Swift PG27AQ, the first 4K 27-inch G-Sync monitor with an IPS panel.
One of the best things about that screen was the OSD, menu structure and joystick used to control it. So it’s good to see Asus has pretty much lifted the entire menu system from that monitor and used it again here. That includes the use of a 5-way joystick, which is much easier for navigation than the traditional buttons used for moving up and down through menus.
And similarly it has four triangular physical buttons underneath it, providing shortcuts to some of the monitor’s functions. The lowest button is a power switch.
The one above it is a shortcut to the overclock mode, labelled Turbo. If you have 100Hz enabled in the menus, this switches between 60Hz and 100Hz.
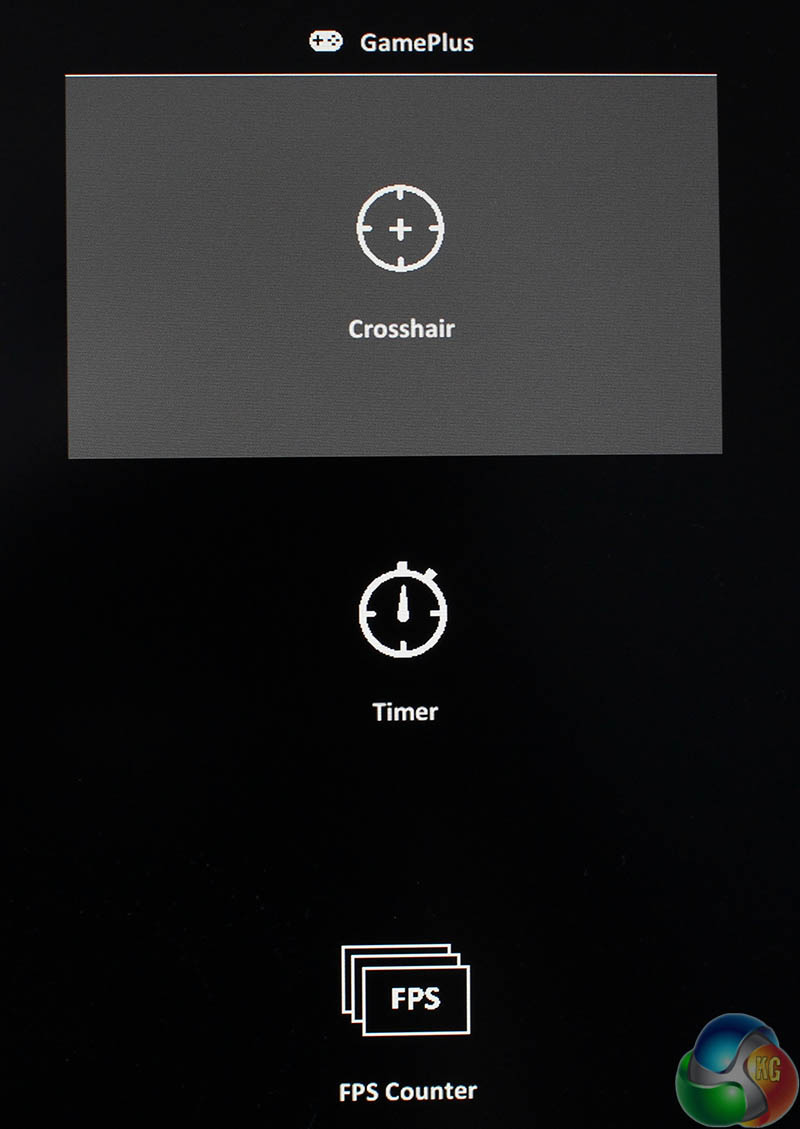
The next button up provides shortcuts to the Game Plus features, which are identical to those on the PG27AQ and other G-Sync displays.
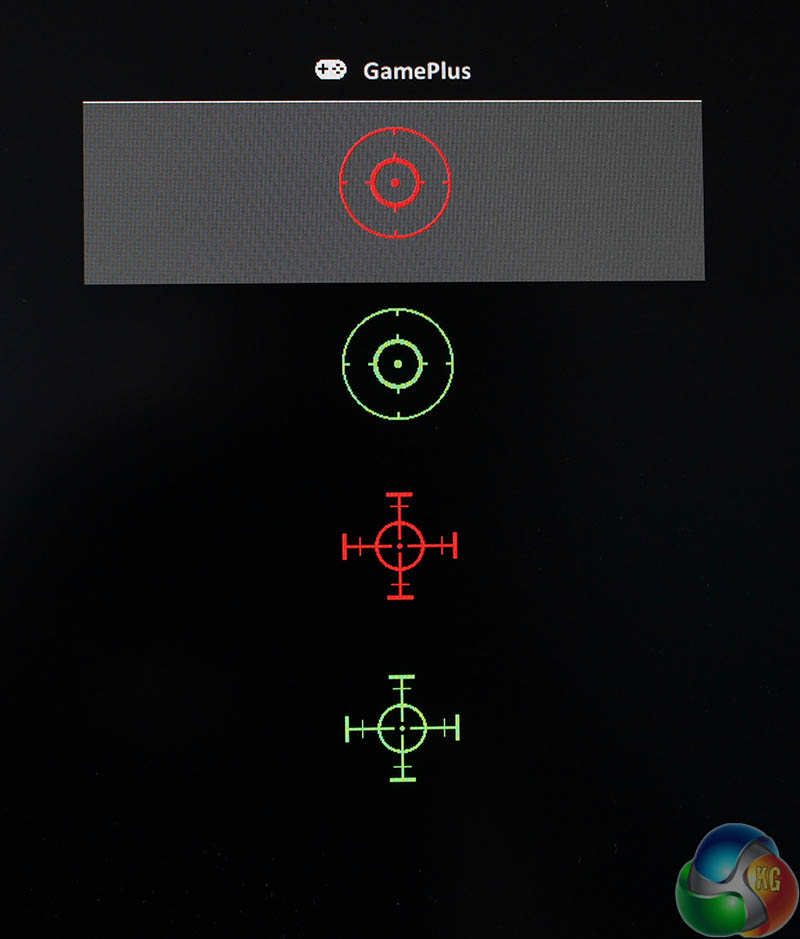
There’s a choice of on-screen crosshairs.
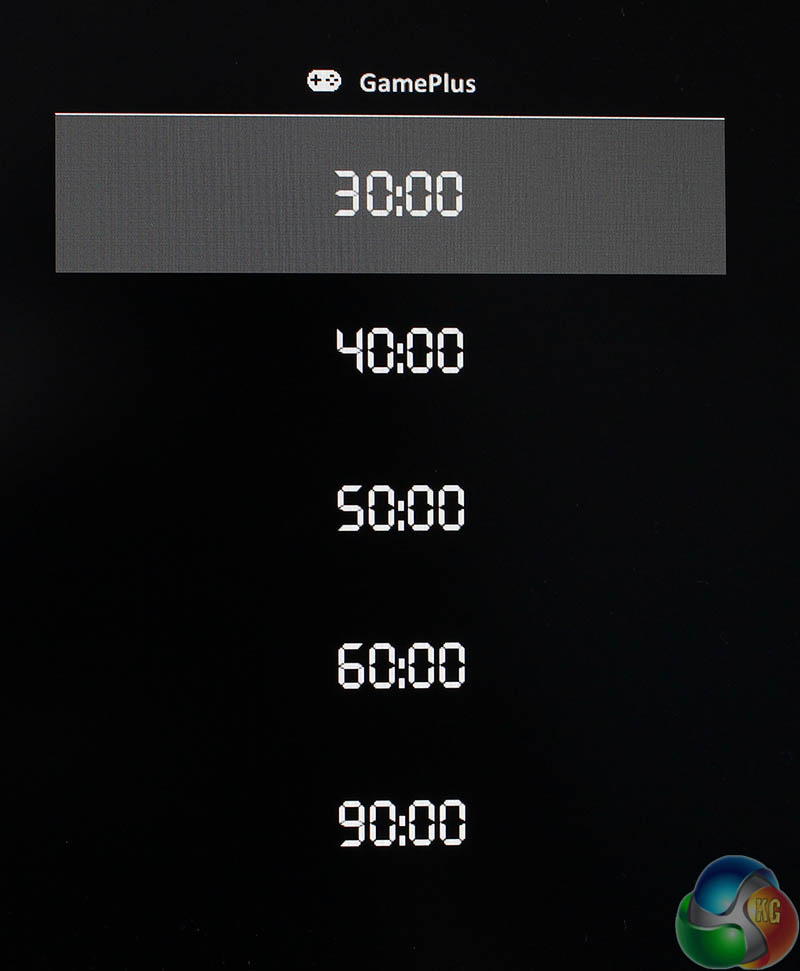
You can opt for an on-screen timer.
And you can view the current refresh rate in the corner. Because G-Sync means a display’s refresh rate is synchronised to a video card’s frame rate, this works as a working FPS counter when G-Sync is turned on.

The next button up displays a simple on-screen overlay to show what each button does.
Above this is the joystick, where a quick press in any direction brings up the menu system, with all the main monitor functions listed.
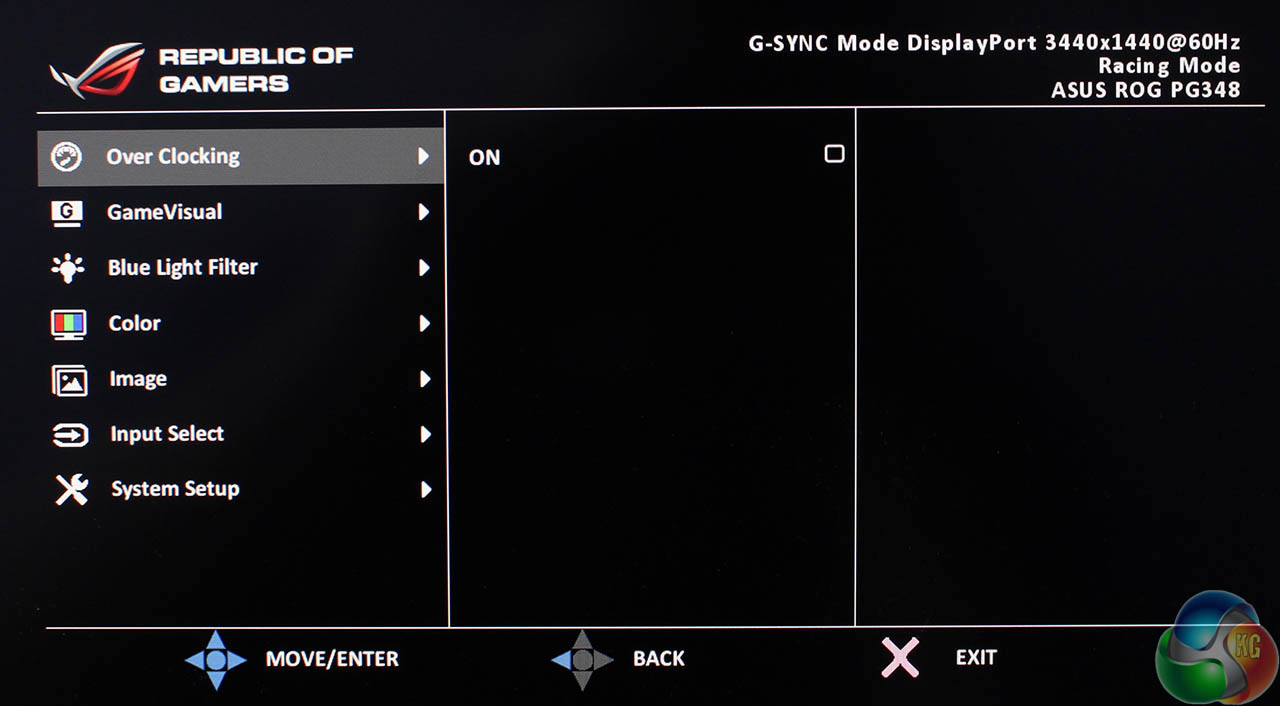
The first menu you see is the Over Clocking screen, with a simple checkbox to enable refresh rates beyond 60Hz.
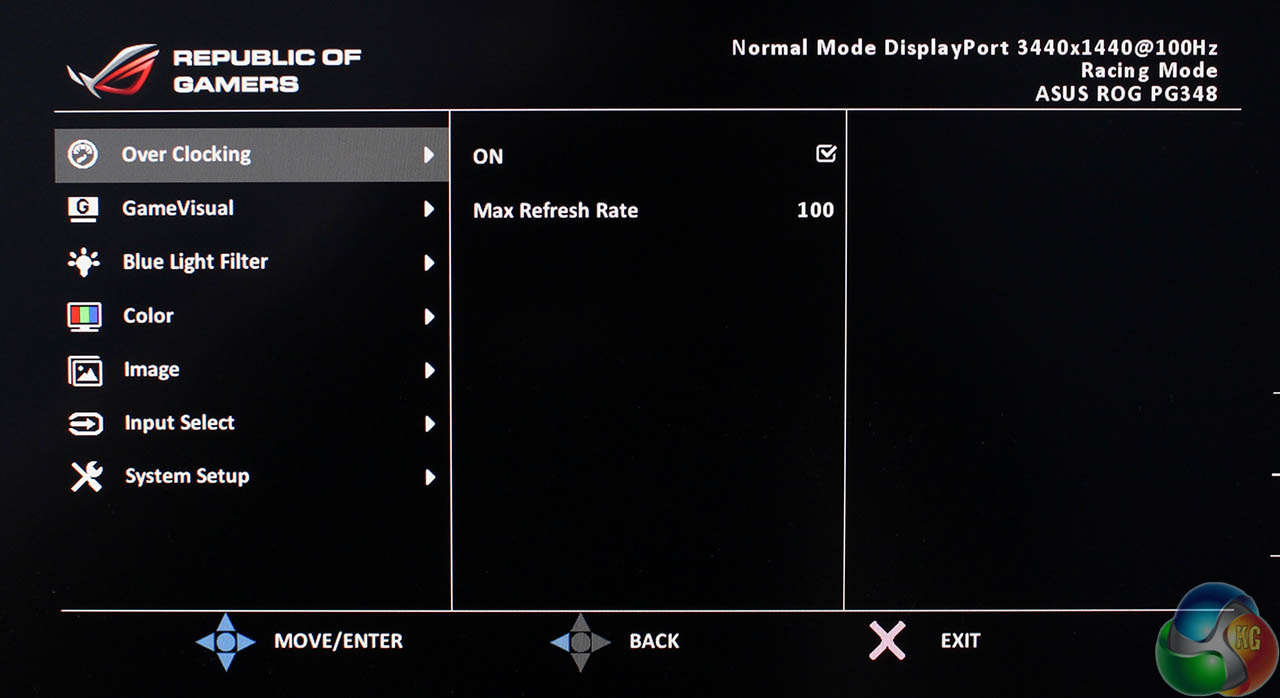
And then the refresh rate is adjusted with a slider. In order to enable the new refresh rate, you need to press the joystick inwards.
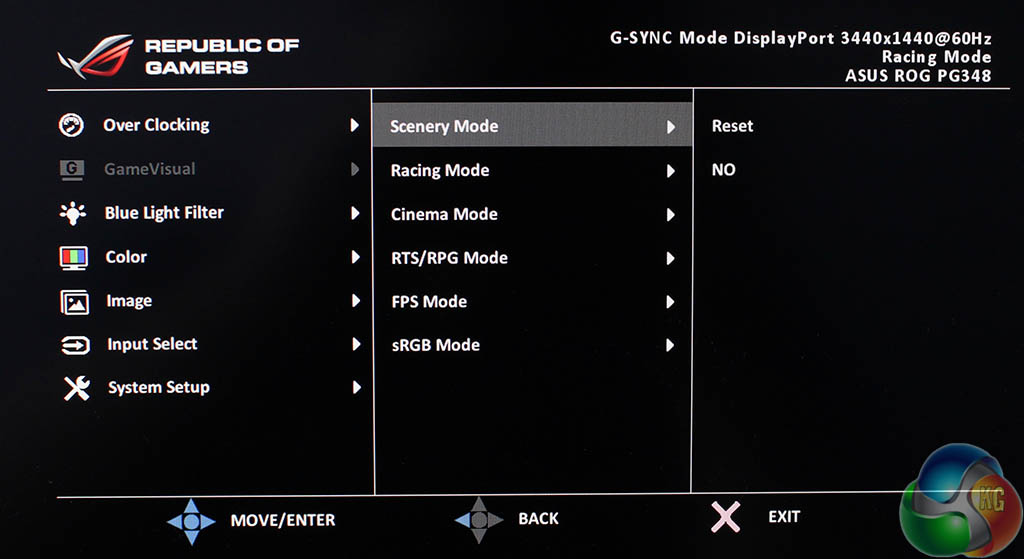
The next screen is the Game Visual presets. We’ve tested all of these on the next page, but it’s worth mentioning the default setting is ‘Racing’, part of a list that includes settings called ‘Scenery,’ ‘Cinema’ and ‘sRGB’ all of which are self-explanatory.
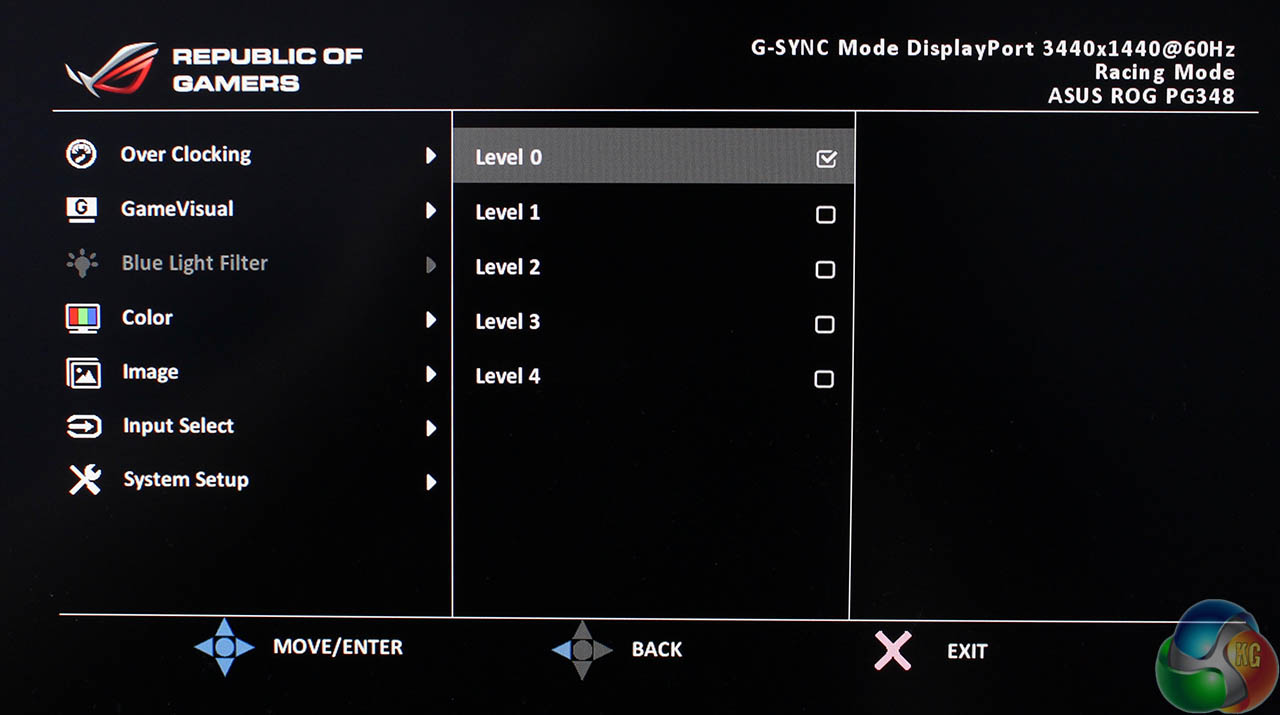
Underneath this is a setting to adjust the blue light levels, with a corresponding adjustment to the brightness of the picture, with five levels to choose from.
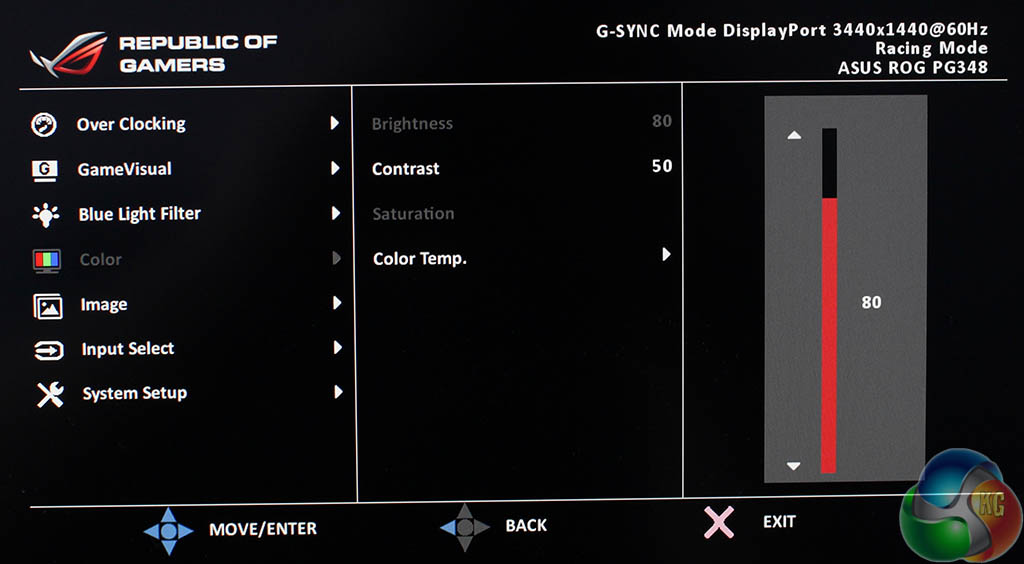
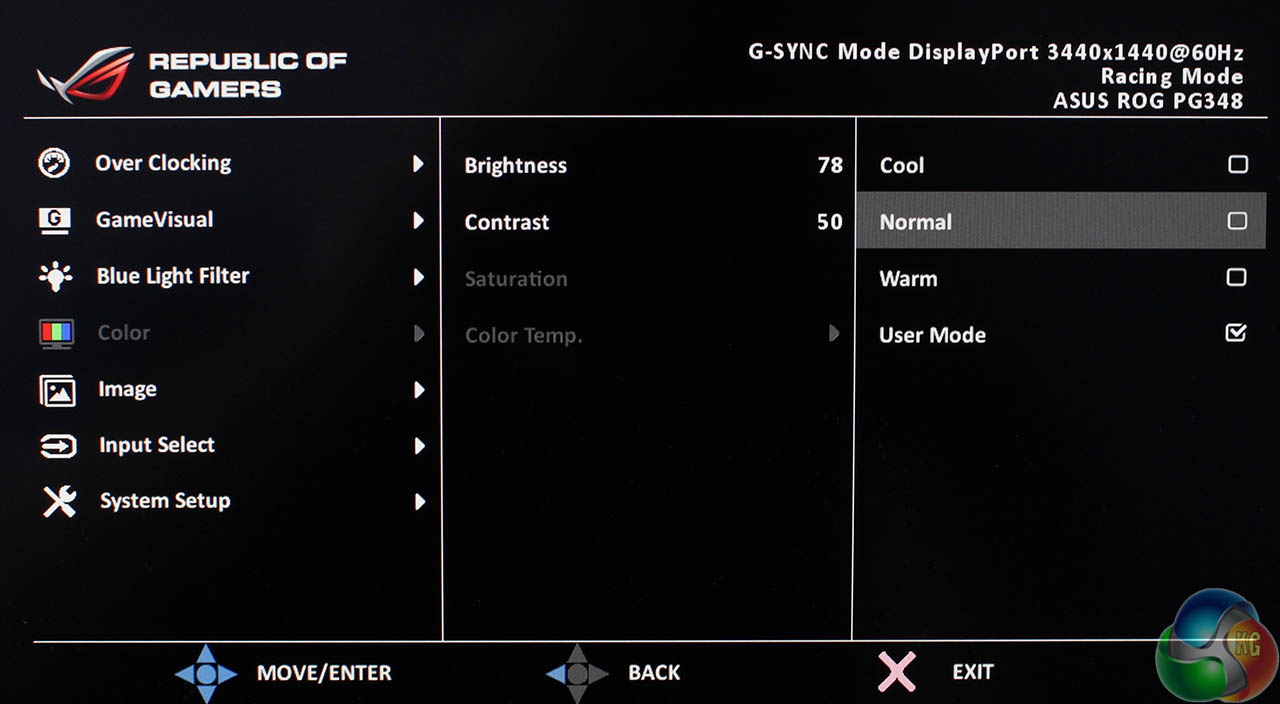
The Color menu provides settings for brightness, contrast and saturation. With a further setting to adjust the colour temperature.
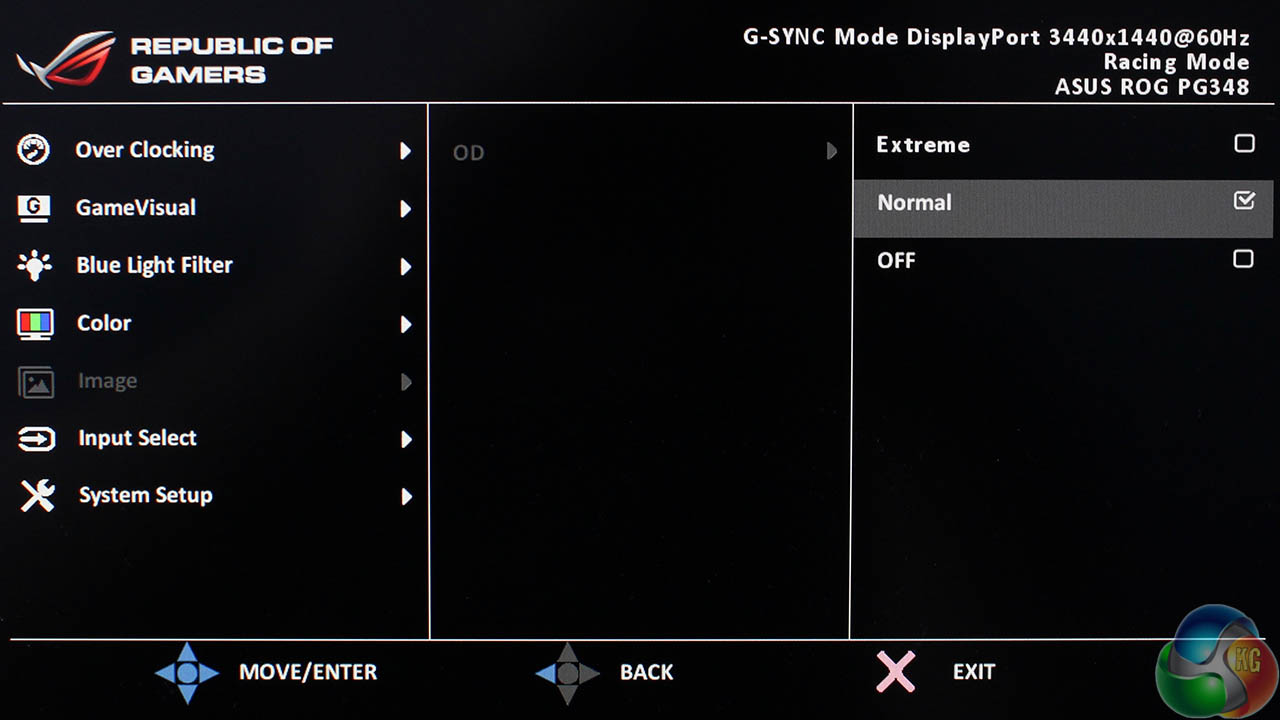
The image menu has a single setting for the overdrive function with three options labelled Off, Normal and Extreme.
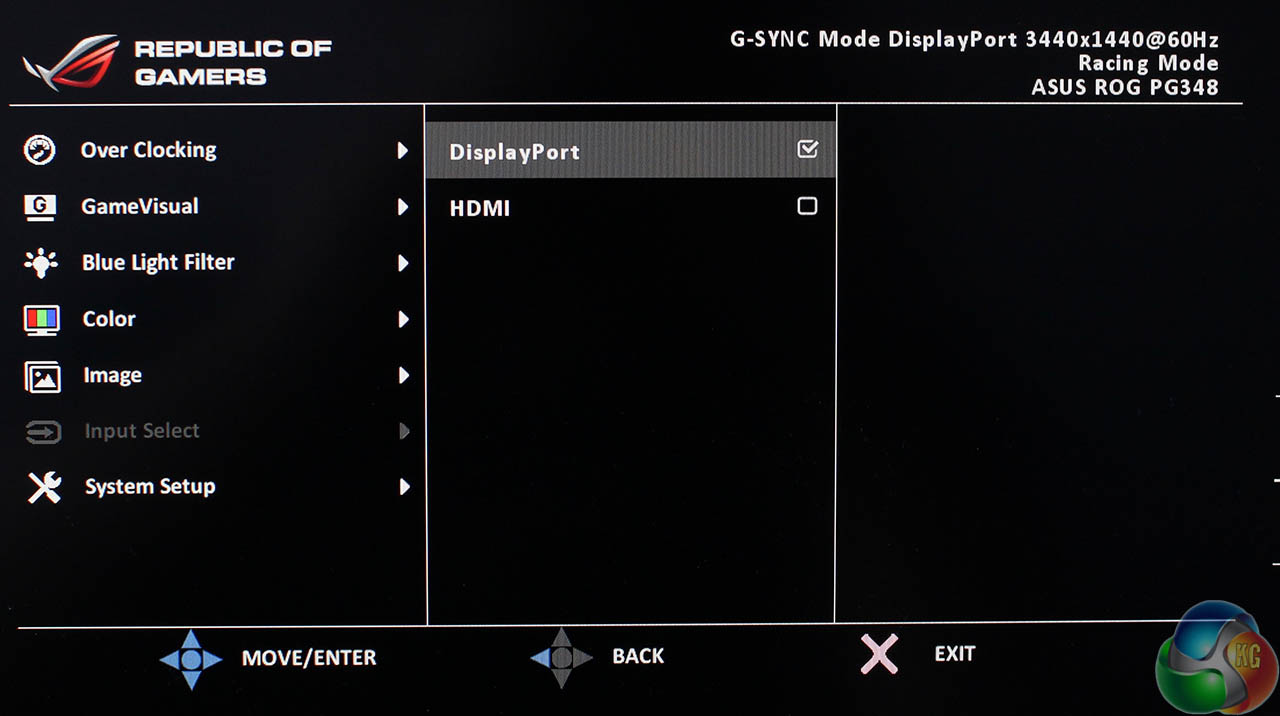
Underneath that is a simple input selector to switch between the DisplayPort and HDMI inputs.
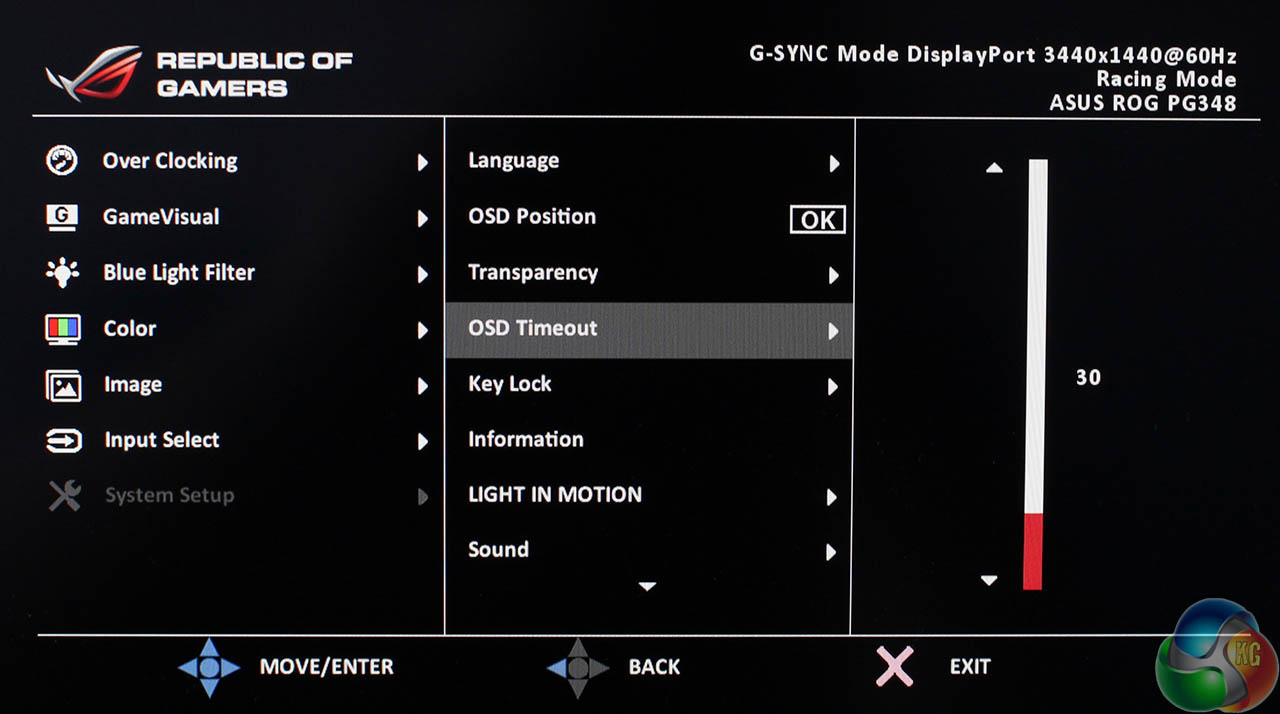
The final screen called System Setup contains settings such as the OSD timeout, OSD transparency and language. The setting labelled LIGHT IN MOTION (not sure why it has to be all in capitals) adjusts the brightness of the LED underneath the monitor.
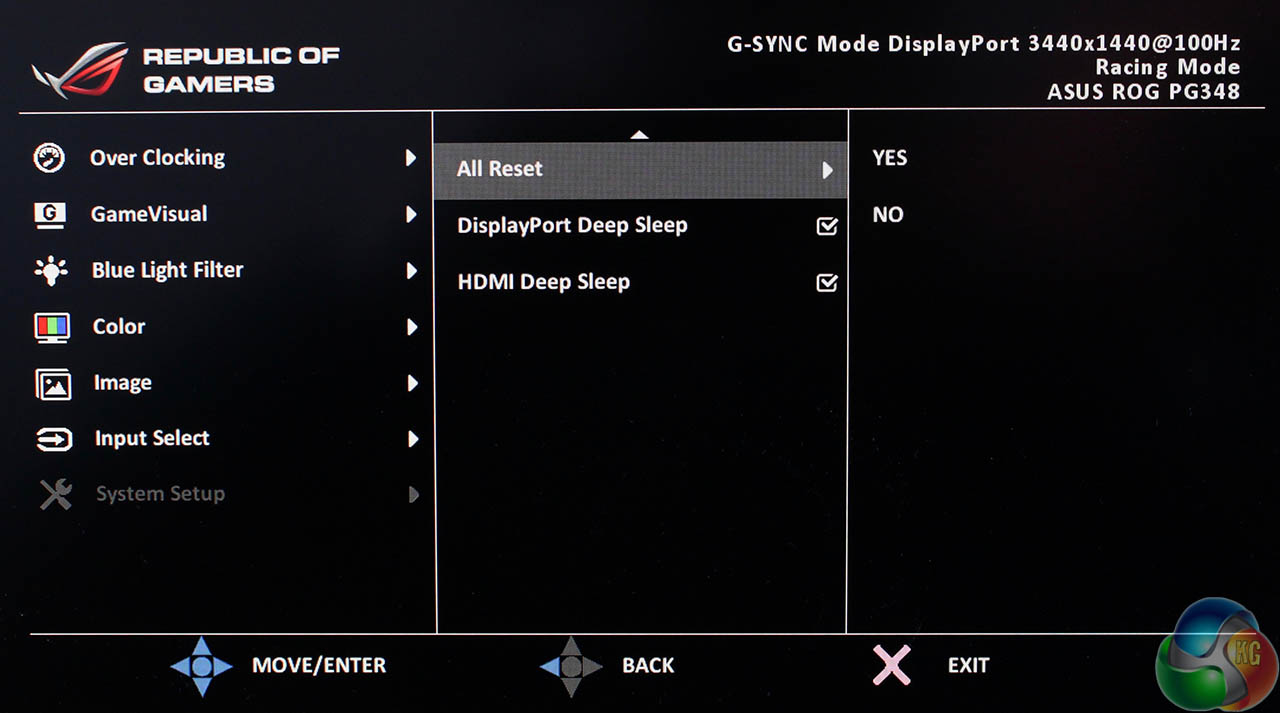
And there are a few more settings if you scroll down. Reset to default settings, and enable the Deep Sleep modes for HDMI and DisplayPort.
In general, Asus has delivered the goods once again with its straightforward menu system. The joystick makes it very easy to navigate around the various menus and quickly turn on settings, and importantly, the screens load within a fraction of a second. Nothing is more irritating than a display menu that takes forever to update, especially if you’re using buttons to slowly move through the menus.
But while we’re quick to dish out praise, Asus’ menu system and OSD deserves a bit of criticism too. For a start, the buttons don’t work that well.
The on-screen overlay only appears when you press the top-most button, and there, it serves no other purpose. And these shortcuts cannot be customised in the menu. The volume setting, for example, is buried deep in the menus. It would make more sense to have one of the buttons control this setting, but the user cannot change the shortcut.
The same goes for the brightness control.

Orestis you lucky man, you get all the nice displays to play with! 🙂
Far too expensive for what it is, as are most of the so called top monitors at the moment.
Get the LG34UC98-W never buy a monitor from anyone but LG or Samsung again. Two many of the second tier makers that use LG or Samsung panels always seems to skimp on quality.
So expensive and a bit late. I was hoping they were delaying it to add DP 1.3 to raise that possible refresh rate to 144hz.
But the question is, where and when can I buy it? In the US of course
I talked to an ASUS representative, they havn’t launched in the US yet and don’t have a public ETA as to when they will.
I had the LG version of this monitor (UC97) and moved to the Predator X34, literally no difference in quality apart from the higher refresh rate and G-Sync which are HUGE benefits for gaming.
Hopefully, I’ll never have to use it, but the Acer also comes with a 3 year warranty while the LG only had 1 year.
well that suks
Well shit…
Everyday the Acer Predator 34″ is looking better…
Well the 34uc98w has thunderbolt, freesync, hdmi connection but you prefer gsync which is cool if you prefer. Never had good luck with 2ND tier monitor manufactures myself.
Didn’t the press release say Feb?
So? I am guessing ASUS sent you this special prepared sample? Or did you randomly buy in a shop?
Kind of important due to the fact that Internet are full of complaints regarding production quality of ASUS ROG Displays.
Pretty sure the panel will not go 144hz, DP 1.3. 100hz is already pushing it. We will have to wait fir next gen IPS for that.
To expensive in what relation, ur wallet ? We dont even know if they are making money on this product at all. Its current tech pushed to edge here, ofc its expensive, its premium products.
Dont forger 100hz overclock, thats the primary here.
Yes . On their website it’s written ” ASUS ROG Swift PG348Q will be available worldwide from February. Please contact your local ASUS representative for further information…” It’s worldwide except North and South America 🙂
I just chatted with Asus support and they told me it was schedules for a first quarter release in March for the US I took a pic of the chat
I chatted with Asus support today, they told me th monitor was scheduled for a first quarter US release in March… I took a screenshot, not sure of the attachment will work though.
See pic
A lot of assumptions there.
Considering you could buy a 60″ 4k tv for that price yes it is far too expensive. Okay you wouldn’t have G-sync or 100hz but well not that important to me as I have tried them both already. You are paying a lot of money for G-sync and 100hz. Especially considering you could pick up the excellent Dell U3415W for almost half the price.
Thanks for passing along the information! Did she give you information on preordering?
This panel won’t cause it only has DP 1.2, DP 1.3 would give it the bandwidth it would need to reach 144hz.
yea ,it is epic 🙂
Just to say there wasn’t one now…
In case you didn’t notice amazon has it on “pre-sale” http://www.amazon.com/gp/product/B01C83BE6U?psc=1&redirect=true&ref_=oh_aui_detailpage_o00_s00
No, the this LG panel cannot run 144hz no matter what DP standard. The panel is a native 60hz, some of them can run 100hz overclocked.
You are comparring a monitor with a TV ? A 4k tv is terrible for gaming for many reasons, input lag, 50/60hz refresh rate, dpi etc etc…100hz or more is standard for a propper gaming monitor, frame sync is becomming the norm to. As i said, we dont even know if they are making money on theese displays, they have a large fail rate to, many displays get RMA. Sure you can get the Dell cheaper, but it is a lower spec product.
Ordered mine from scan was delivered last tuesday, my previous monitor the Dell 29 panoramic was beautiful this is a nice step up with g sync both epic monitor’s but it’s good to have more screen area now. Word of warning you’ll need closer to 800mm of desk depth to keep the monitor’s screen at finger tips and arms stretched out as I have been told by medical pro’s. You can use a 600mm deep desk like I have and push the monitor rear leg off the edge against the wall (very safe) and then tilt the screen down! Perfect monitor out of the box and totally recommend it guys.
FINALLY got one expected delivery around 3/22. If you guys been waiting like I have searching every corner of the world for one of these monitors, this is the place to get one IN THE US THANK GOD!! http://www.velocitymicro.com/buy-asus-swift-pg348Q.php Cross your figues no X34 problems.
http://www.velocitymicro.com/buy-asus-swift-pg348Q.php
I don’t know dude, that site looks shady AF
REALLY MY DUDE!?! Then use PayPal you will be covered like I am. HEY I’ll shot you a pic next week HAPPY AS F*CK
Oh I didn’t realize they took PayPal, u all good then. I may have to go ahead and order also. I’m really looking forward to this monitor.. What GPU u running? I’ve got a 970 and I’m thinking I may as well upgrade that as well. Anyway, thanks for the heads up bro
I have two Evga Titan X superclocked cards, still not enough power for 4k max 60fps games smh. That’s why I chose this monitor close to 4k resolution plus g sync
Does anyone recommend a good vesa mount for the Pg348q monitor? Also where are the vesa holes for the screws.
Does anyone recommend a good vesa mount for the Pg348q monitor? Also where are the vesa holes for the screws.
Anyone in this forum? Does anyone recommend a good vesa mount for the Pg348q monitor? Also where are the vesa holes for the screws? I suspect it’s the 4 screws inside where the stand gets attached. Just don’t want to make a mistake and loosen something I shouldn’t have.