

EKWB are a well-known brand in the enthusiast PC market. Their custom watercooling gear looks amazing and is of top quality – but for a beginner, building a custom loop can be a daunting and confusing process. That is why EKWB have released their Predator 280 all-in-one cooler – it is an easy way to get custom EKWB components in your build at a reasonable cost. It even allows you add in your graphics card to the loop, too, thanks to the use of Quick Disconnect fittings.
Priced at £194.99, you may think this is quite expensive for a simple AIO cooler. However, buying all the EKWB parts separately – the radiator, CPU block, pump, fittings, tubing and coolant – comes out a significantly higher cost. That makes the Predator 280 seem like a comparative bargain. It also has the additional party trick of being able to cool your GPU as well – EKWB supply pre-filled waterblocks separately which you can mount to your graphics card and hook up to the Predator 280 thanks to the Quick Disconnect (QDC) fittings used. We will have a look at all of this in the review, so let's get started.

Specification
- Dimensions: 335 x 142 x 68mm (L x W x H)
- Fan type: EK-Vardar F2-140ER Predator Edition (480-1600rpm)
- Tube length: ~400mm (15.75in)
- Fitting type: EK-ACF Fitting 10/16mm
- QDC type: 10mm barb fitting
- Coolant type: EK-Ekoolant EVO Clear
- Pump type: EK-SPC 60A
- Total liquid capacity: ~320mL
- CPU socket compatibility: – Intel LGA-1150/1151/1155/1156, Intel LGA-2011(-3)
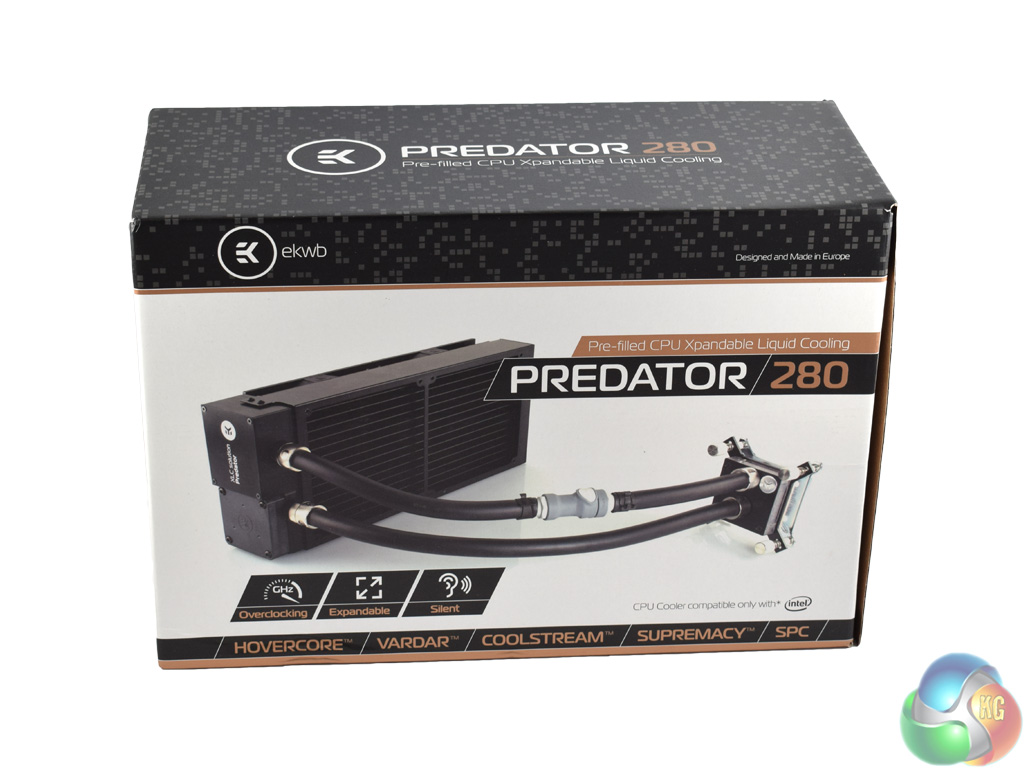
The EKWB Predator 280 ships in a classy-looking box with gold accents.
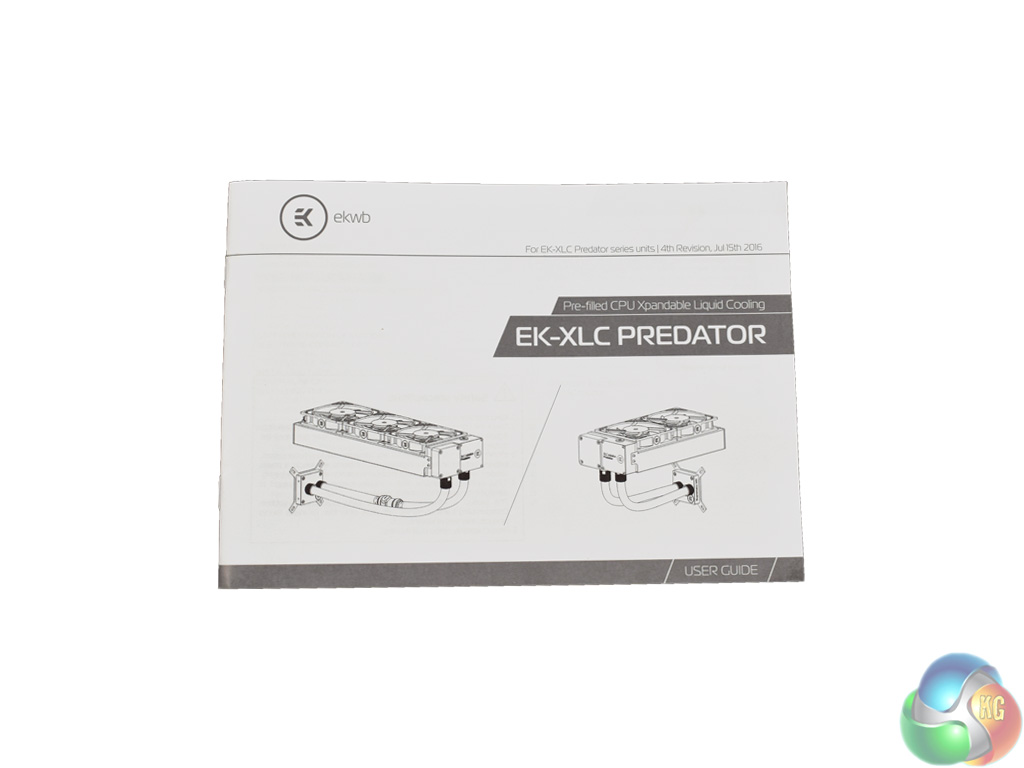
Inside, you get a proper manual which is very clear about how you install the AIO.
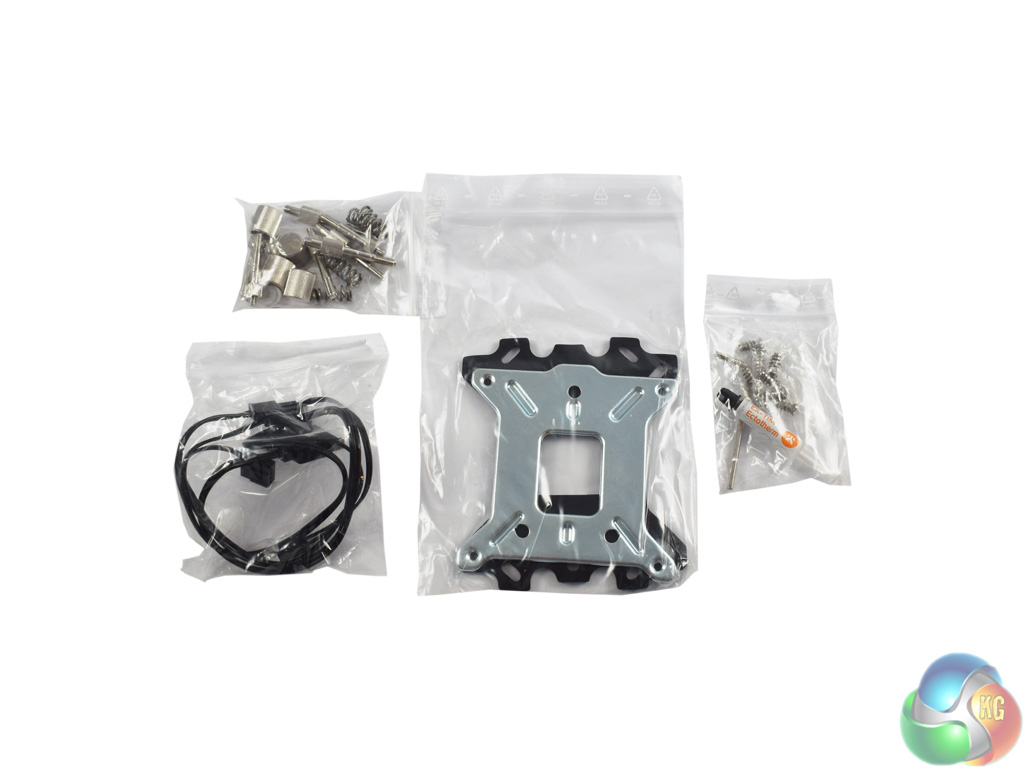
Along with that, all the necessary screws and mounting brackets are included.
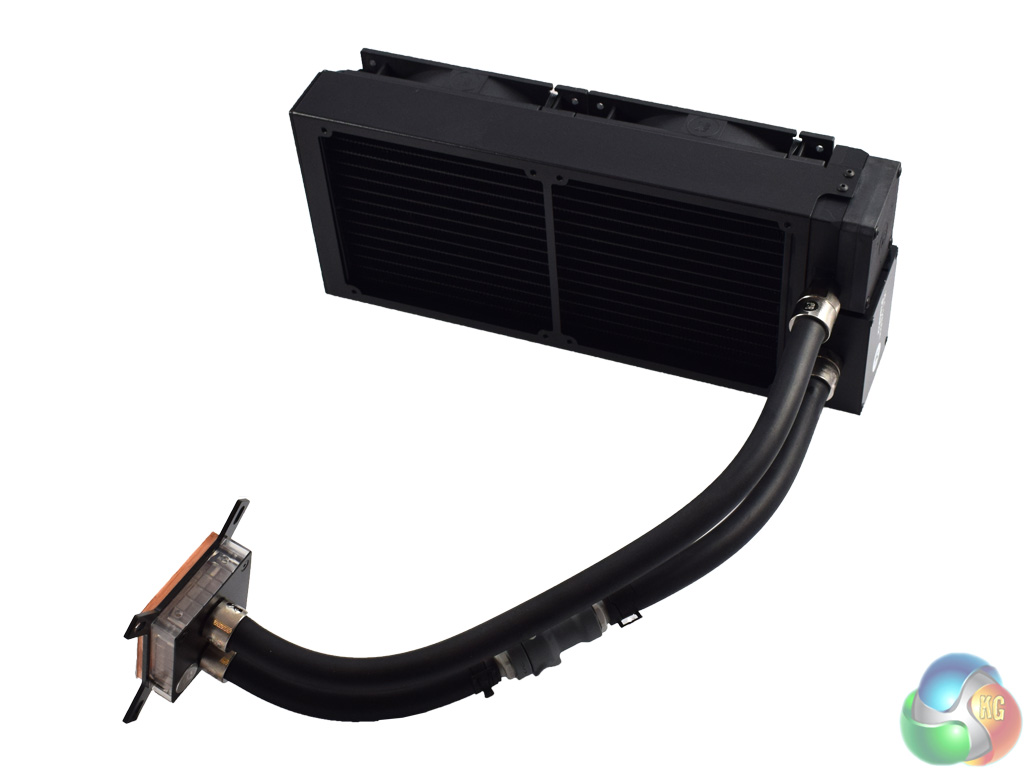
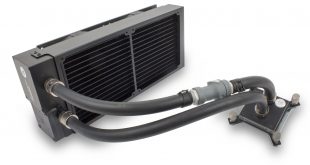
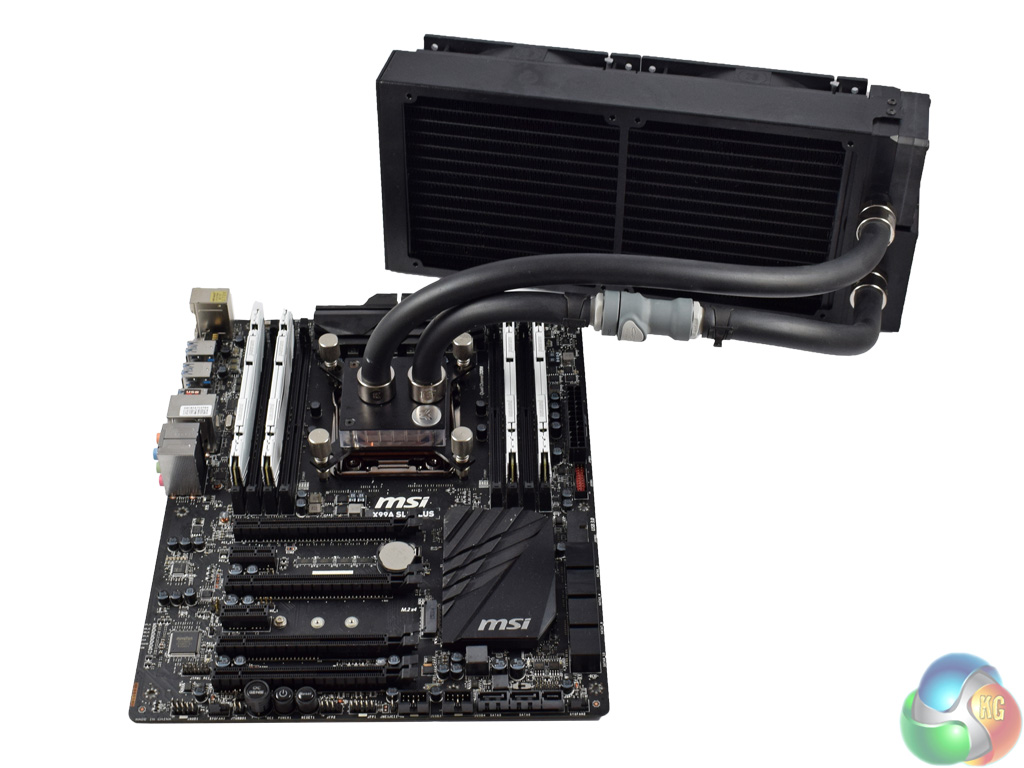
Here we get a look at the Predator 280 itself. It is quite a large AIO, with the radiator measuring 43mm thick – and you need to add another 25mm to that to account for the fans. I would recommend you check your case's specifications before ordering one to make sure it will fit.
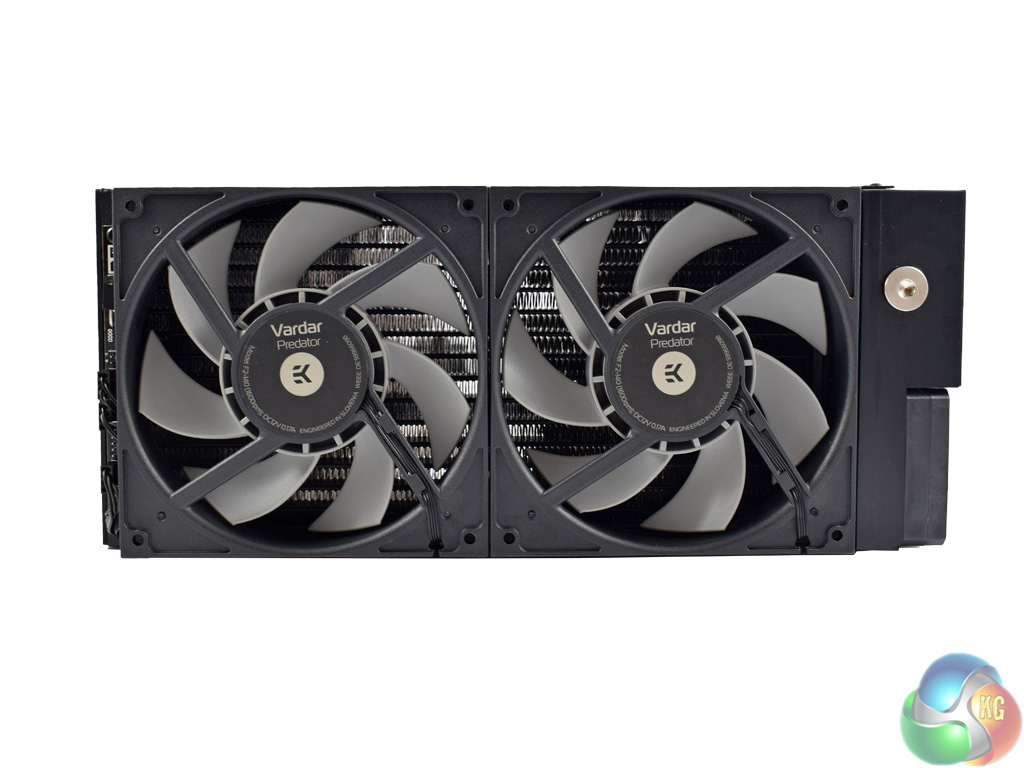
Speaking of fans, the Predator 280 uses EK's premium Vardar fans. These are designed specifically to push air through radiators – so they should be perfect here. They are also rated to spin at 1600rpm.
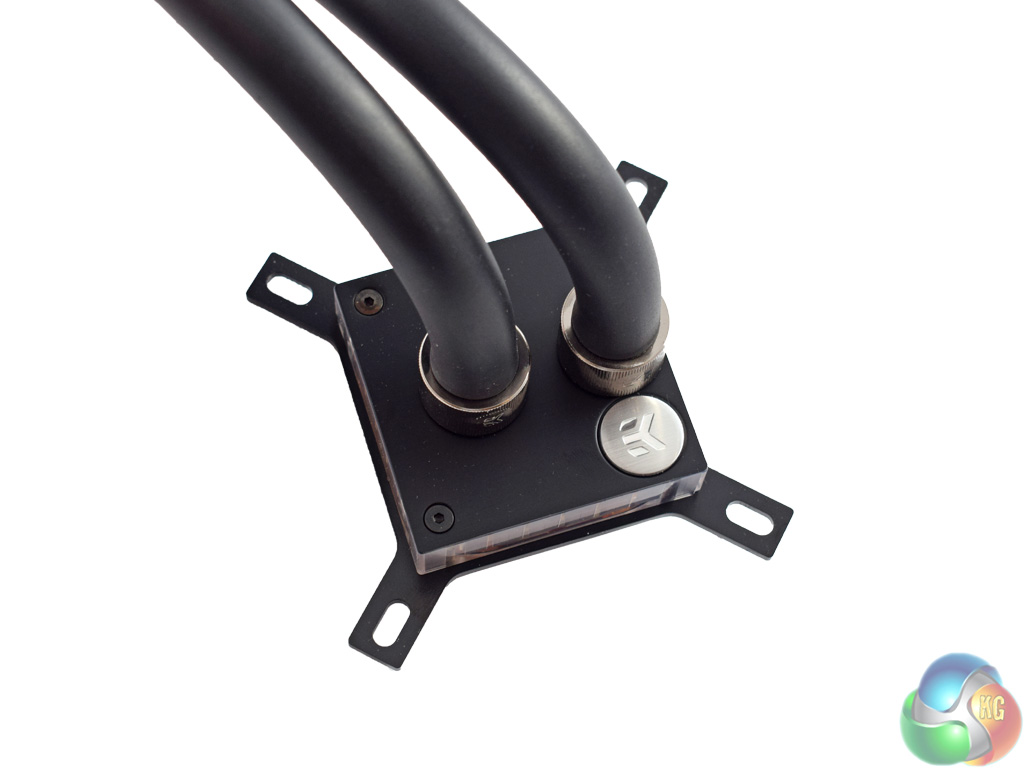
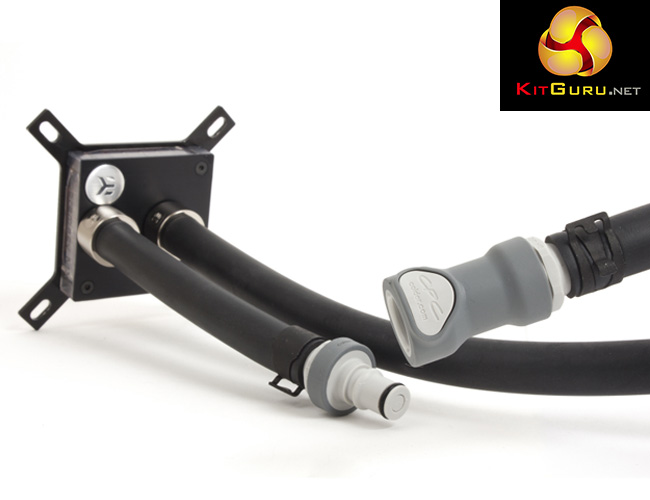
The CPU block is EK's Supremacy MX – not quite the top-of-the-line Supremacy EVO, but it should do the job just fine.
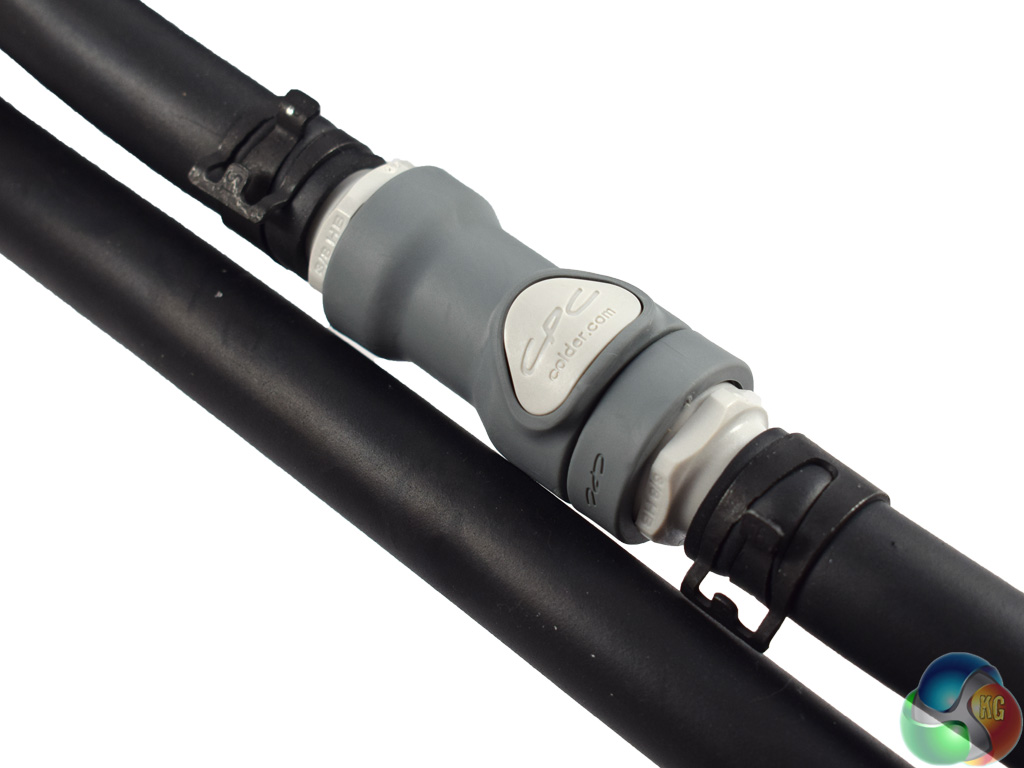
Also pictured above is the QDC fitting (on the right). For those who do not know, EK's QDC fittings allow you to add other components to the loop without having to drain the whole loop. To operate the QDC fitting, simply push down the white button on the fitting and pull the tubing apart.
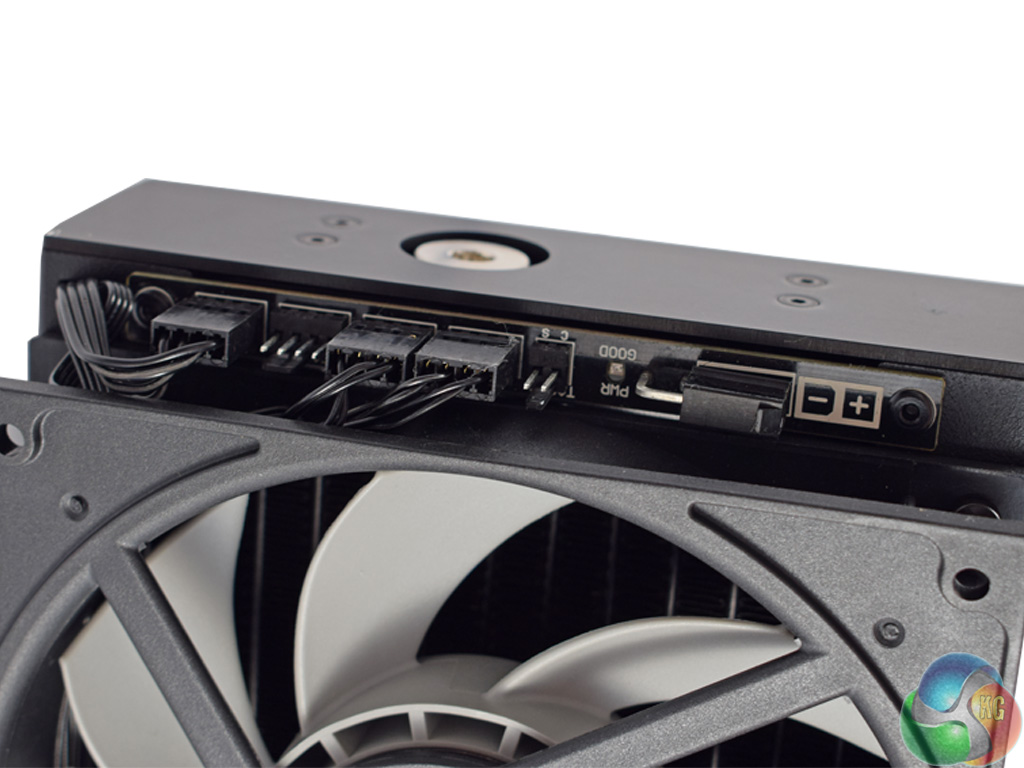
Lastly, the bottom of the radiator features an integrated PWM hub, with one spare fan header. This hub requires one SATA power connector, and also needs to be connected to a 4-pin fan header on the motherboard.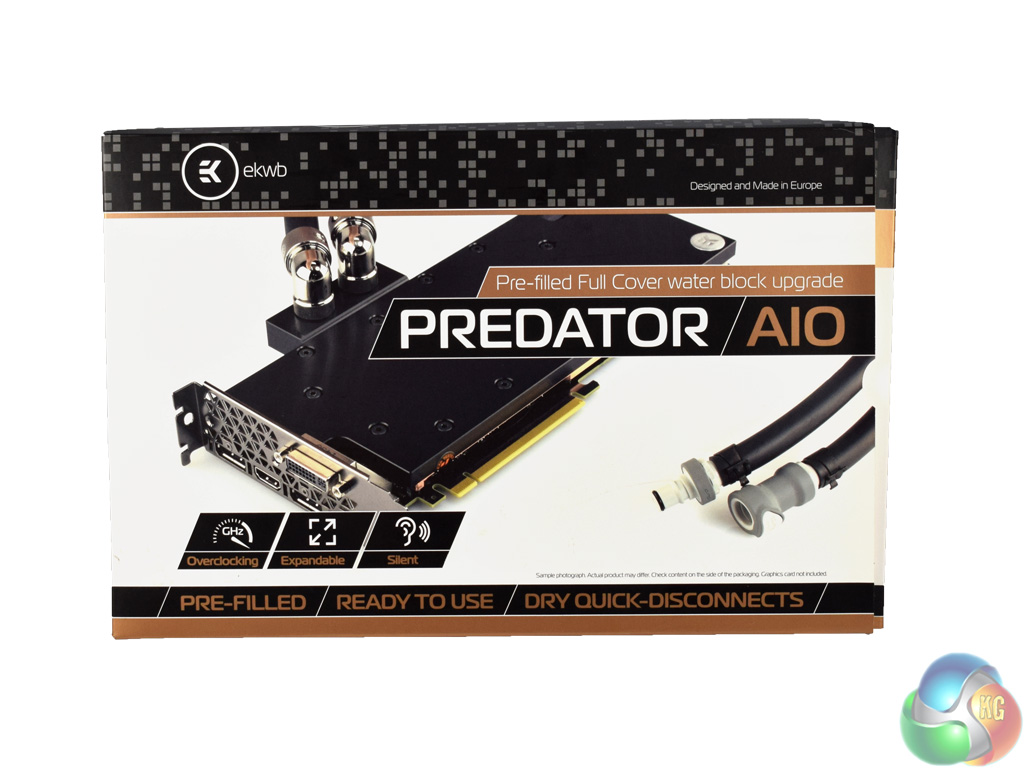
For this review, EKWB also sent over a pre-filled GPU block add-in for the Predator 280. It arrives in a similar-looking box to the actual Predator 280.
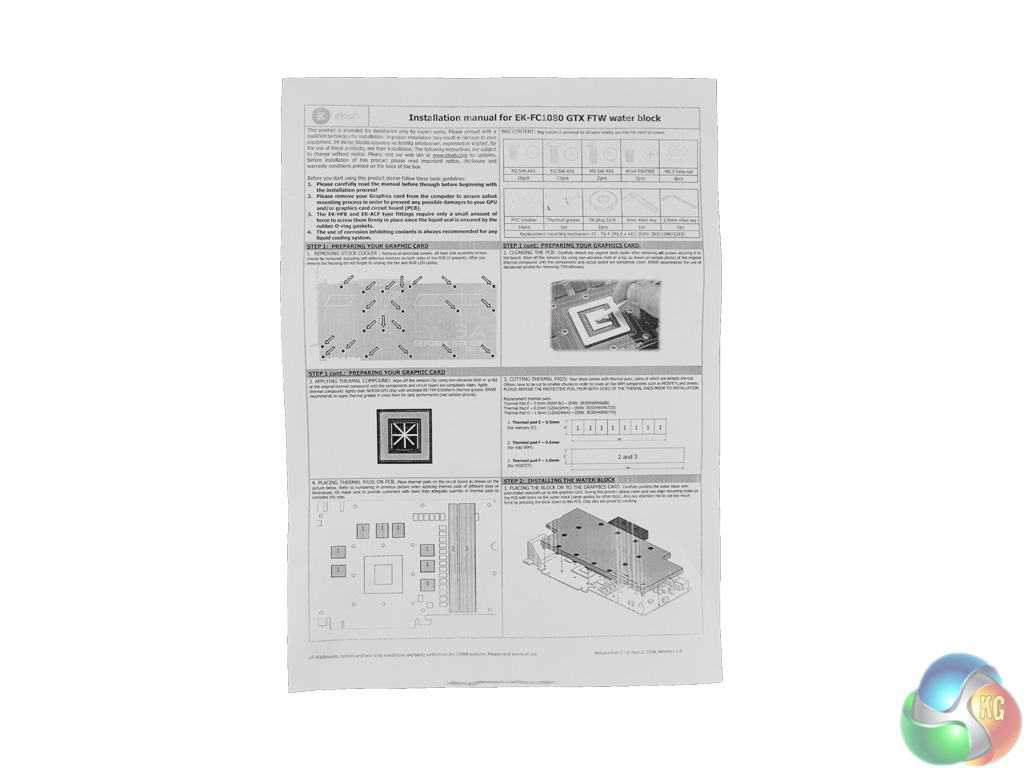
Inside, you get a separate instruction sheet which tells you how to install the GPU block to your graphics card.
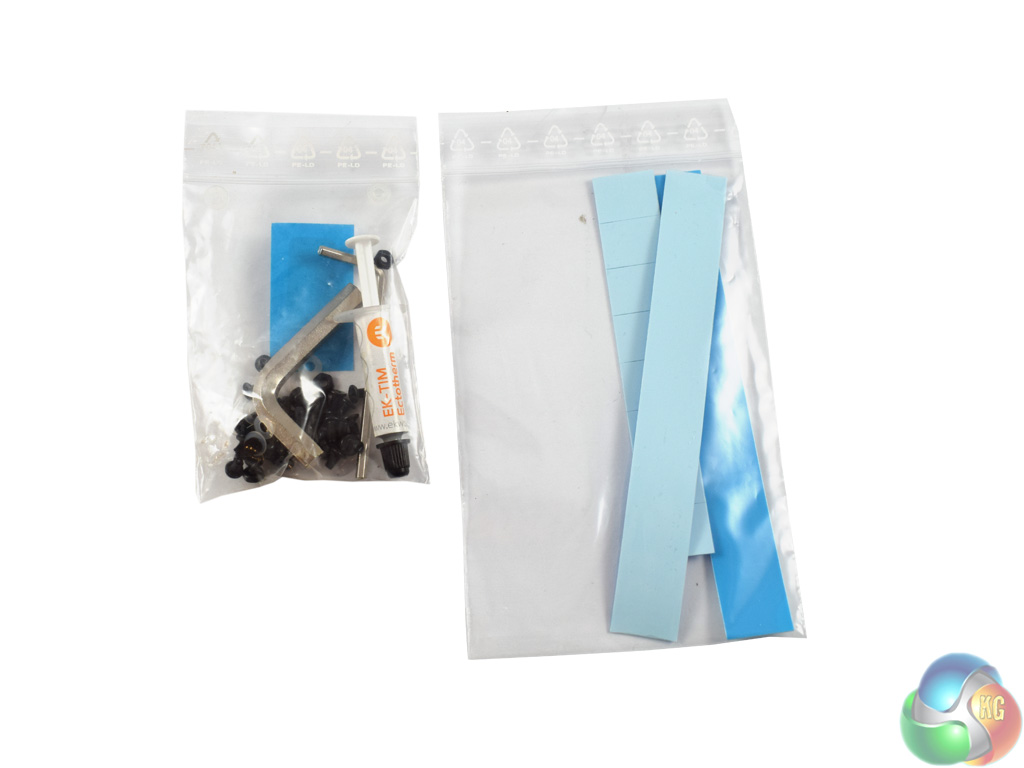
Of course, all the necessary mounting screws and thermal pads are also included.
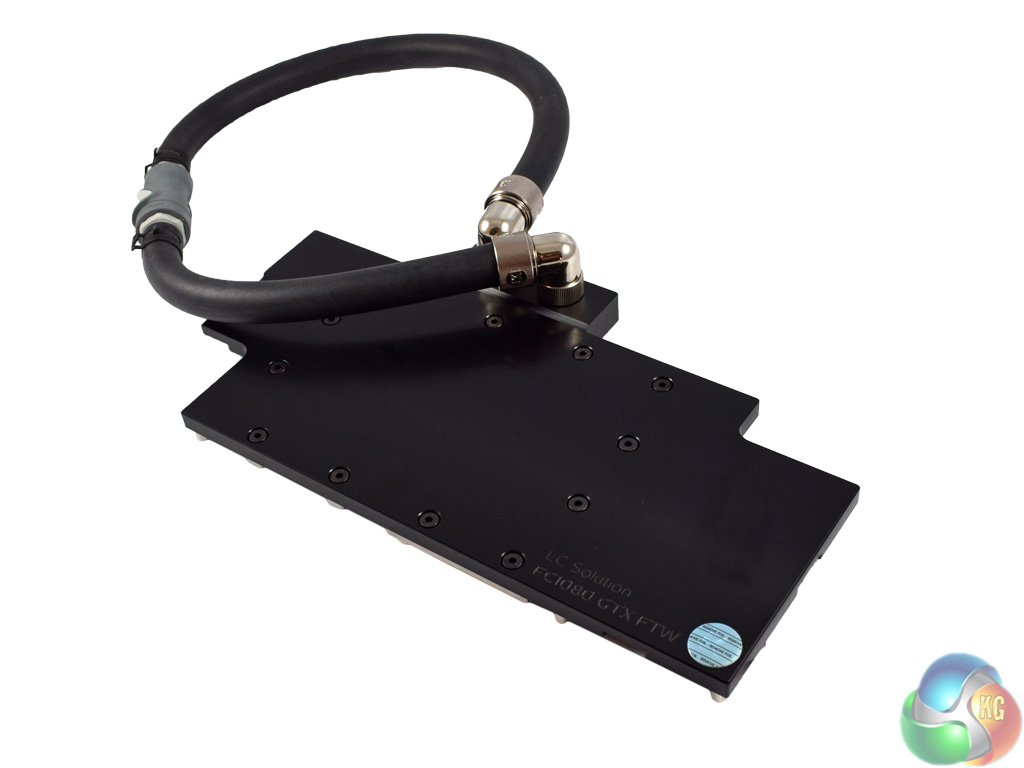
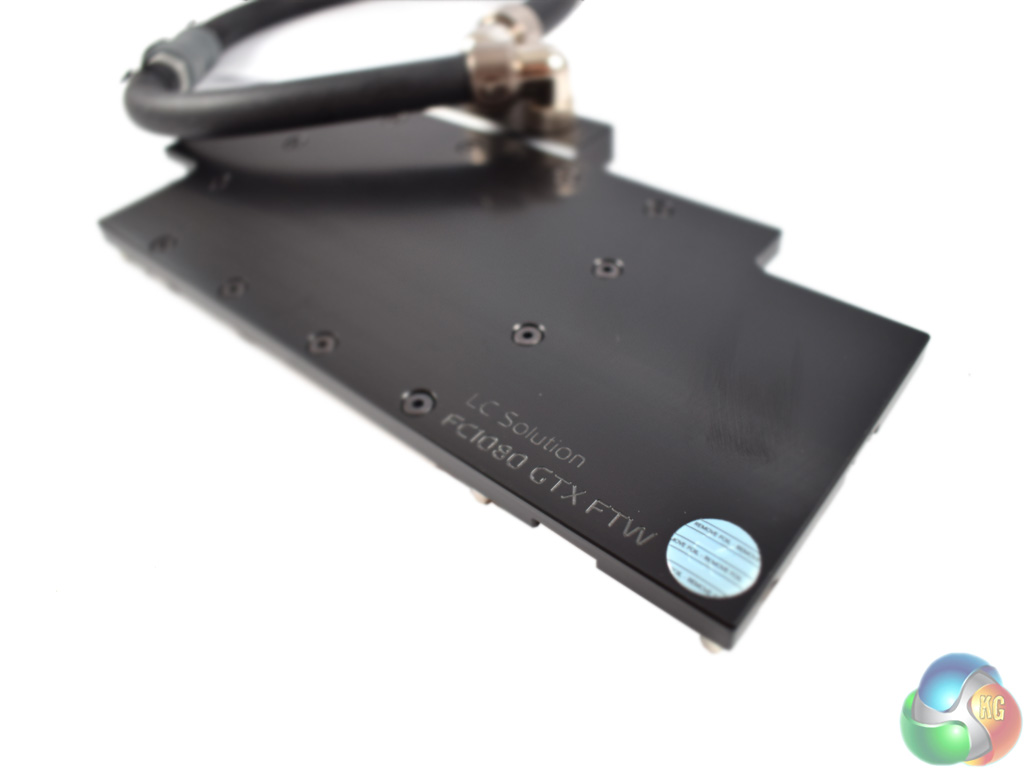
The block we were sent is specially made for EVGA's 10-series FTW cards. We will be using it with a GTX 1080 FTW.
The block itself has a lovely brushed finish, with a small EK logo in the bottom corner.
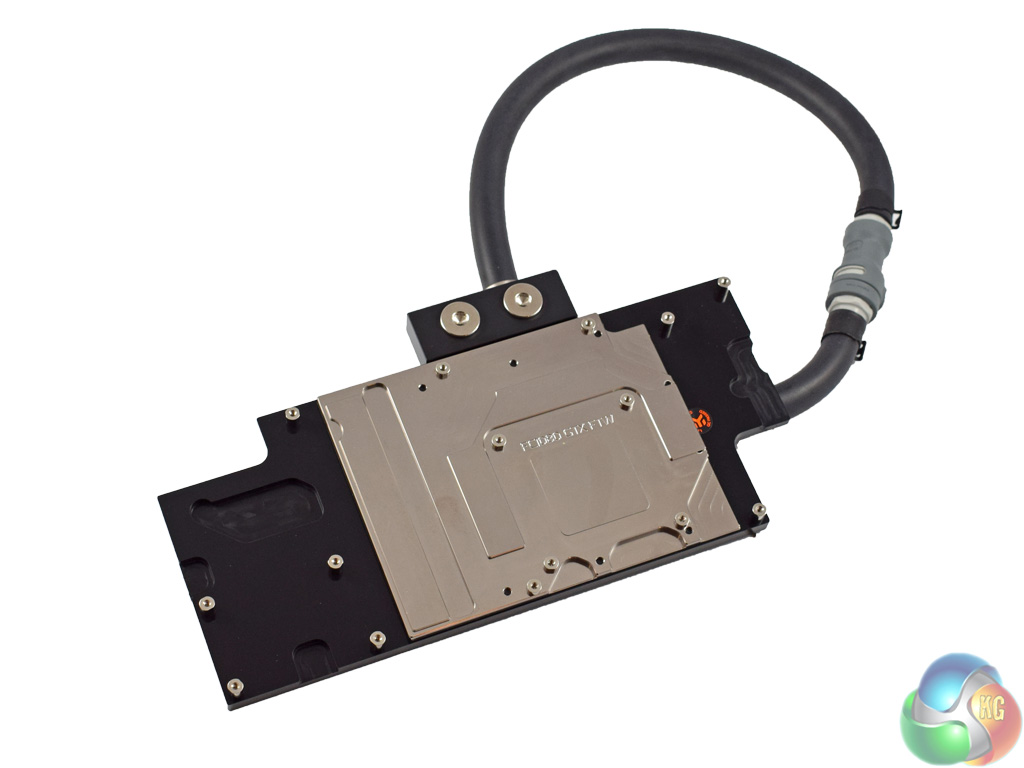
The underside of the block is nickel-plated – this is the section which makes contact with the GPU core.While we will not be outlining how to install the optional GPU waterblock – primarily because the method varies from card-to-card, but also because the process is too complex to convey in a review – the included instructional booklet for the GPU block is very clear and does a great job of explaining what to do.
On this page, though, we will walk you through installation of the Predator 280 itself – as if you were using it as a conventional AIO liquid cooler.
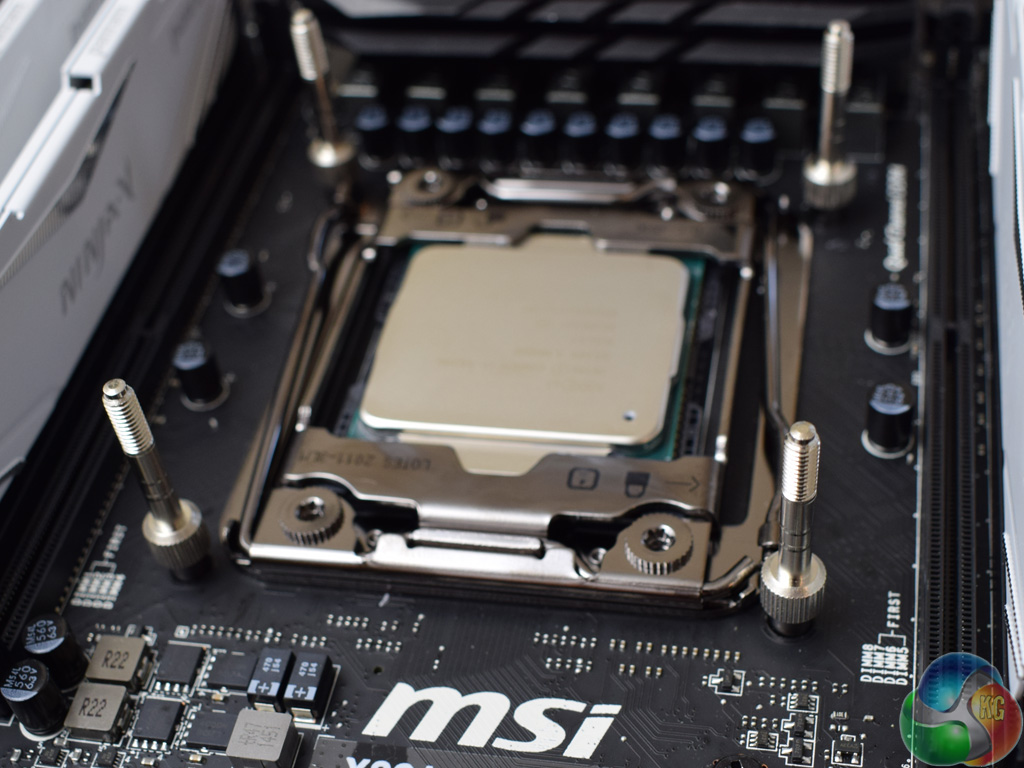
As we are using a X99 motherboard to test the Predator 280, we do not have to install a backplate so can jump ahead and just install the 4 standoffs for the LGA 2011-3 socket.
If you are using a LGA 115x system, you will need to first mount the required backplate, and then install the 4 standoffs required for the LGA 115x socket.
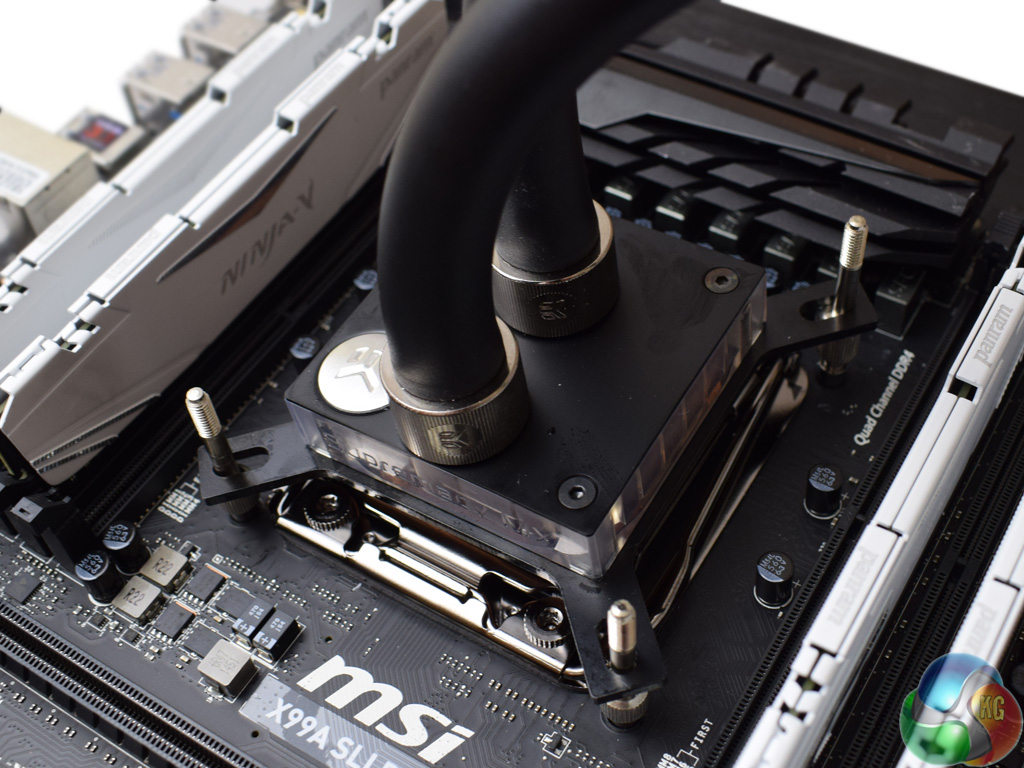
Once the standoffs are screwed in, apply a small amount of thermal paste to your CPU and mount the CPU block on top.
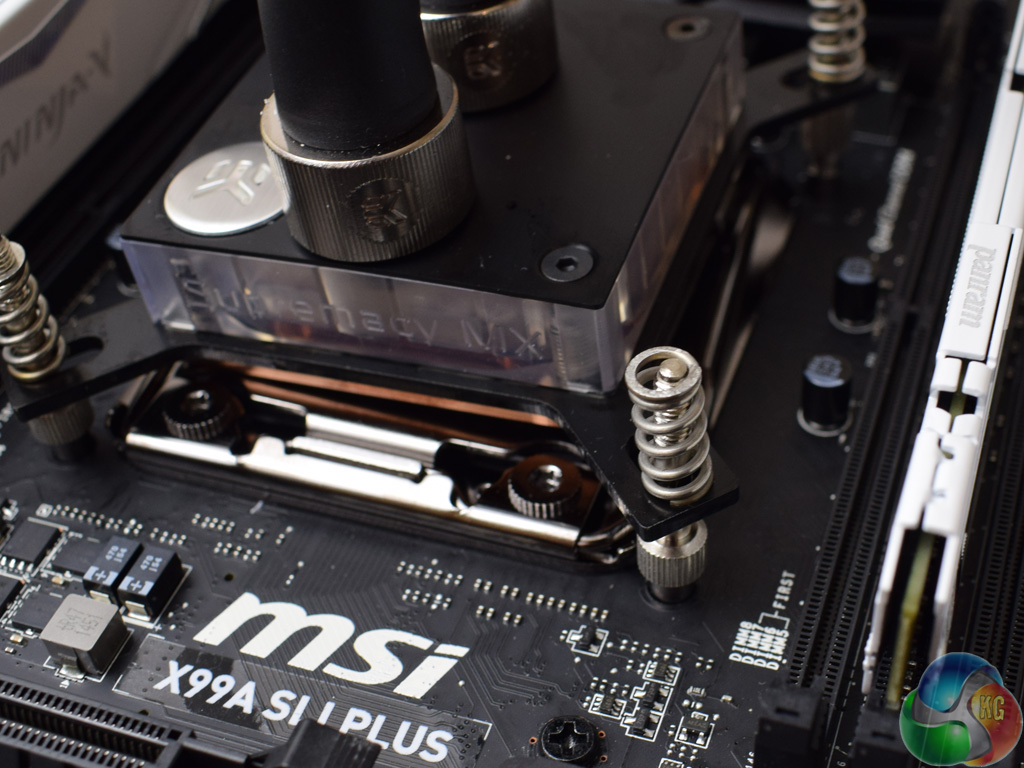
After that, go ahead and place the 4 springs on top of the standoffs.
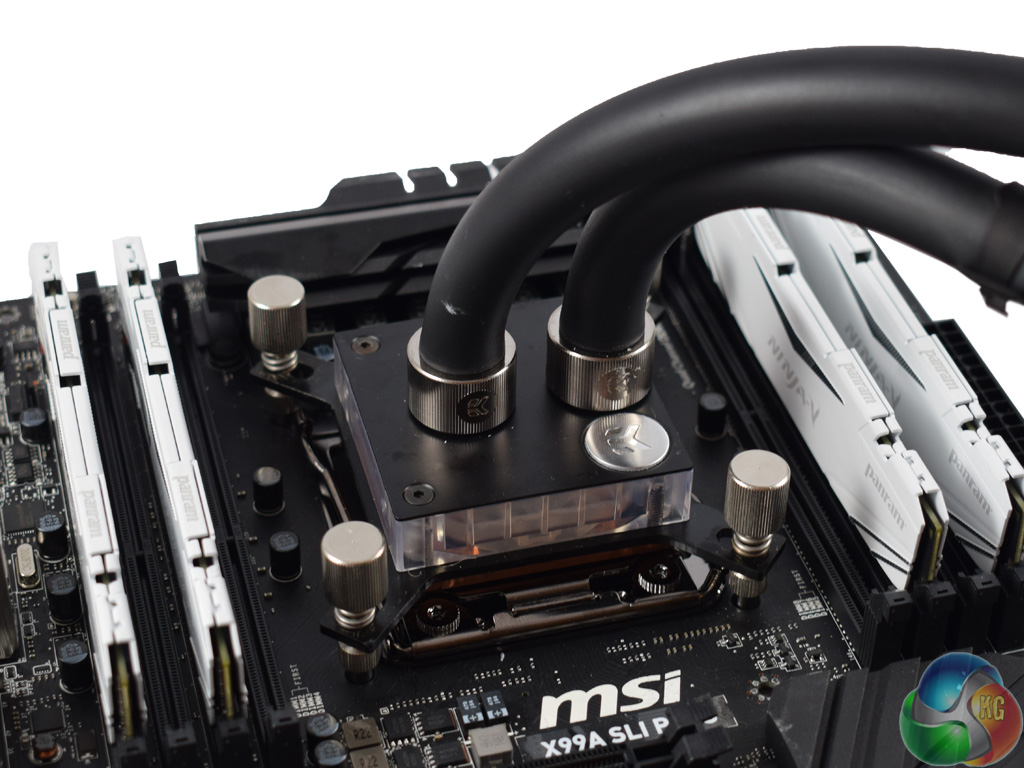
To finish the process, simply use the four thumbscrews to secure the CPU block in place.
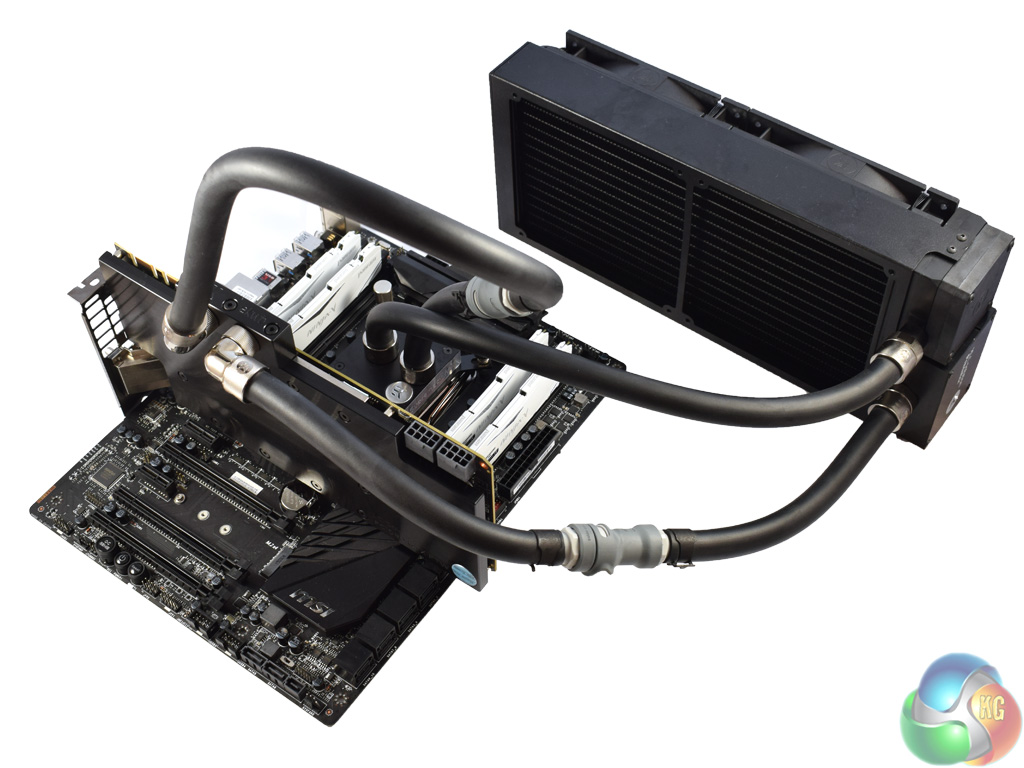
If you have installed only the Predator 280, the installation process is now complete and you should have something which looks like the image above and on the left.
The image on the right shows the GPU block installed, with the tubing reconnected to ensure liquid is passed throughout the entire system. There is quite a lot of excess tubing, though – it would be ideal if you are using a large case, but those using smaller mid-towers, for example, may find the tubing a bit cumbersome.Test procedure
As we usually test CPU coolers using a Z97 motherboard with an Intel Core i7-4790K, our tests today using the LGA 2011-3 platform are not comparable. However, we devised a special ‘stand-alone' method of testing the Predator 280.
First, we installed the Predator 280 to the CPU only. Our graphics card – the EVGA GTX 1080 FTW – was cooled by its out-of-the-box air-cooler. With the system in this configuration, we stressed the hardware using Prime 95 and 3DMark Fire Strike to get a ‘baseline' temperature reading for each component.
After that, we tested again, but this time with the GPU block installed to the GTX 1080, with the graphics card now cooled by the Predator 280 as well. This will show us any temperature improvements gained by watercooling the graphics card.
Test hardware
Our test system today consists of the following components:
- Intel i7-5820K CPU
- MSI X99A SLI Plus Motherboard
- 4X4GB Panram Ninja V 3000MHz DDR4 RAM
- EVGA GTX 1080 FTW GPU
- Corsair RM750i PSU
- OCZ Trion 150 SSD
Creating excess heat
To stress the CPU we ran Prime 95's (version 26.6) Small FFTs test for 15 minutes. At the same time, we ran 3DMark Fire Strike's built-in stress test – which simply loops the regular benchmark numerous times. This allows us to stress the CPU and GPU to 100%, generating maximum heat and thus pushing the Predator 280 to its limit.First test – the Predator 280 is cooling just the CPU

A peak temperature of 46 degrees is a great result for this i7-5820K – which goes to show the Predator 280 is excellent if you want to use it as a ‘stand-alone' AIO cooler.
The GTX 1080 peaked at 73 degrees using its air cooler – hopefully this should be significantly reduced when we watercool it.
Second test – the Predator 280 is cooling the CPU and the GPU
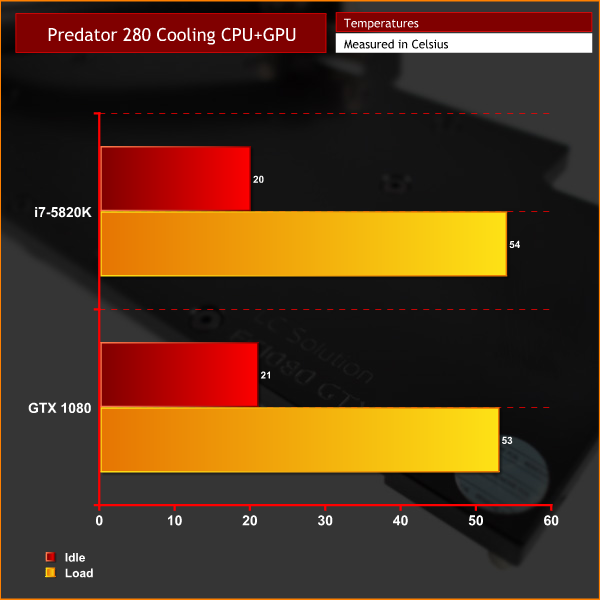
As you can see, the GPU's temperature dropped by exactly 20 degrees when being cooled by the Predator 280. This is very impressive and should allow further overclocking of the graphics card, resulting in better frame rates.
However, as the 280mm radiator now has to contend with cooling another component, the CPU's temperature rose to 54 degrees – an increase of 8 degrees over the baseline figure from above.
Third test – the Predator 280 is cooling the CPU and GPU, with its fans set to 100%
Before showing you the results of my (unplanned) third test, I will briefly explain why I decided to do another run with the Predator 280.
Essentially, during my testing, I noticed that the Vardar fans on the Predator 280 were spinning quite slowly when controlled via the PWM header on my motherboard – at around 400-450rpm. While this meant the AIO was essentially silent, I thought it may be adversely affecting thermals. So I decided to run one more test with the fans set to 100% – meaning they spin around 1600rpm.
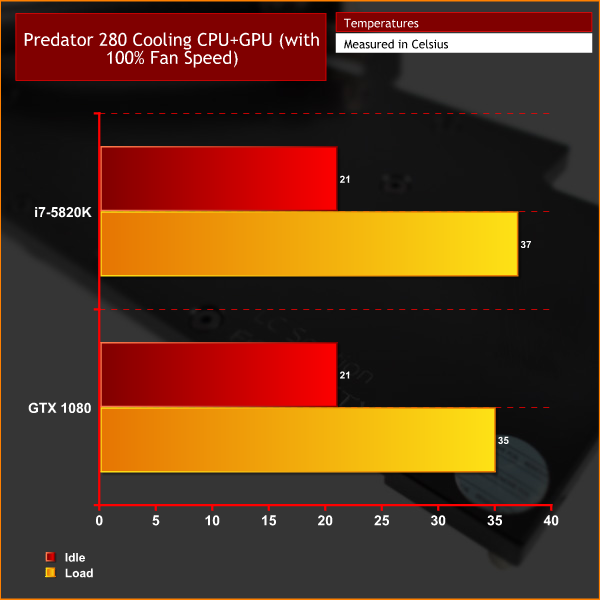
As you can see, increasing the fan speed saw a marked drop in temperatures. A peak temperature reading of 35 degrees for the graphics card is hugely impressive. Granted, neither the CPU or GPU were overclocked for testing today, but the temperatures are still very low.
Noise levels are noticeably worse with the fans running at 100% though – but even then, it is not too bad. A headset would block out the noise, as would some speakers turned to a reasonable volume, for example. When the Predator 280's fans were controlled by the motherboard, however, I could not hear them above the background noise though – so there is space for users to find the right balance between noise and thermals as it suits them.The Predator 280 is an all-in-one cooler from watercooling gurus EKWB. It is not an AIO in the conventional sense, however, as it can be expanded to incorporate another radiator or, as was the case here, a GPU block.
It also uses premium EKWB components, including Vardar fans, some beautiful nickel-plated fittings as well as the Supremacy MX CPU block.
In our initial testing, we found it kept our i7-5820K to a maximum temperature of 46 degrees when the Predator 280 was only cooling the CPU. This makes it a compelling option if you want an AIO now, but still want the flexibility to expand the loop down-the-line.
We also found the Predator 280 markedly reduced our GPU temperatures when we added the GTX 1080 FTW into the loop. At default fan speeds, the temperature fell from 73 degrees to 53 degrees. Crank the fan speed to 100%, and the maximum GPU temperature recorded was 35 degrees. Of course, this comes at the cost of noise – but it allows the end-user to tweak the fan curve to suit their desired balance of thermals and noise.
It is worth stating clearly we did not overclock the components – which would significantly increase the amount of heat produced by the system – but even so, these results are still fantastic. The performance alone makes it easy to recommend the EKWB Predator 280, a great entry-point to the world of custom watercooling.
![]()
You can pick up a stand-alone unit from Overclockers UK for £194.99 inc. VAT HERE. However, you can also get the Predator 280 with a pre-filled GPU block of your choice (select models only) for £303.94 inc. VAT HERE. The latter option offers surprisingly good value for money when you consider you are essentially getting a full EKWB waterloop for £300.
Discuss on our Facebook page, over HERE.
Pros
- Attractive.
- Excellent cooling ability.
- Can be used as a stand-alone AIO or as a complete loop.
- Premium EKWB components used throughout.
Cons
- There is some excess cabling when the GPU block is added to the loop.
KitGuru says: For those looking for an easy entry into the world of custom watercooling, the EKWB Predator 280 is an excellent option. It offers great cooling, good looks and easy expandability in a very reasonably-priced package.

Interesting cooler.
Can it run completely fanless in idle?
In theory I suppose so. However, at a low rpm the fans are really inaudible so it just feels a bit risky – if your CPU utilisation spikes without you knowing, it could overheat with the fans switched off
I’ve oc my 6800k 4GHz, after 3 hours of Gears of War 4, the maximum temperature was 49C. The Silverstone TD02-E was set at 65%, about 1600 rpm.
I like this design a bit more than the Switftech design for a semi open loop but I do wish the end reservoir was mounted in such a way that if you remove the fans, the front face of the radiator (side where the fans are normally mounted) would be flush with the res, I really would like a cooler like (so I can have some kind of loop) this in my Haf XB but given my graphics card is pretty long (it’s a triple fan Strix), this makes using a Switftech cooler or this cooler impossible unless the res with either unit could be remounted out of the way or was designed so that I can mount the radiator on one side, then the fans on the other side of a panel. Yes, I could go with an actual loop, but these semi open loops allow making one far cheaper, for cooling my graphics card, I just need to add 2 fittings, some tubing and a water block, which worst case would be $365 total