

Last summer Phanteks won our hearts with the Enthoo Primo aluminium case – which claimed a ‘Must Have' award despite a price tag of £199.99. This success led to a huge amount of anticipation for the upcoming Phanteks Enthoo Pro as we were promised a case that carried over the core thinking behind the Primo, but at half the price.

Obviously that huge price drop must involve compromises so let's see whether Phantek's second case is a success or wide of the target.
Specifications:
- Motherboard support: E-ATX, ATX, Micro-ATX.
- Expansion slots: 8.
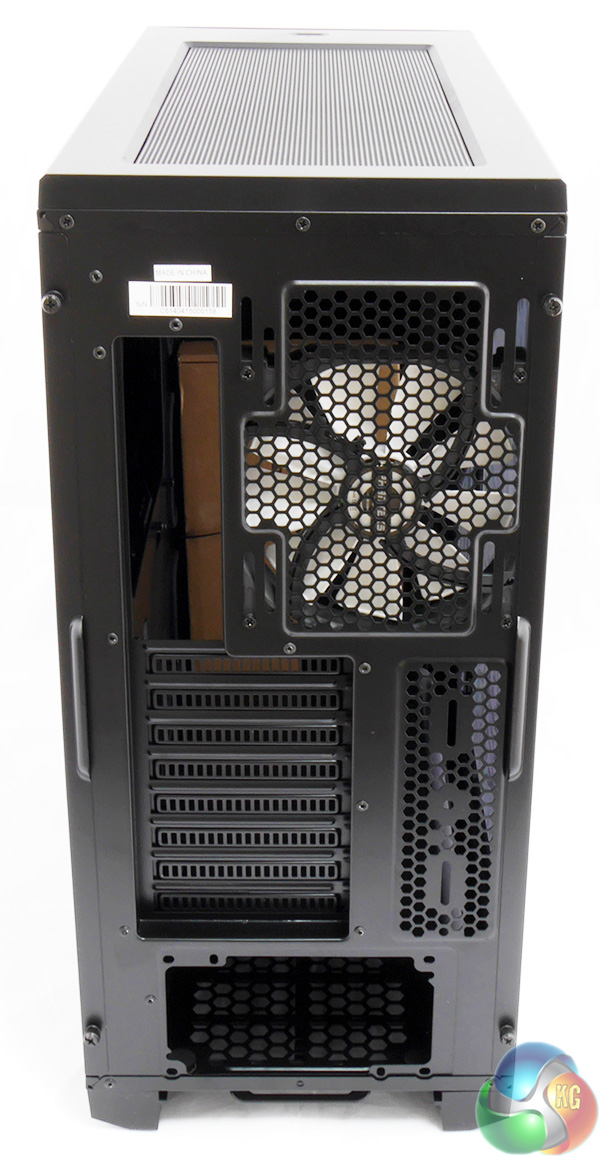
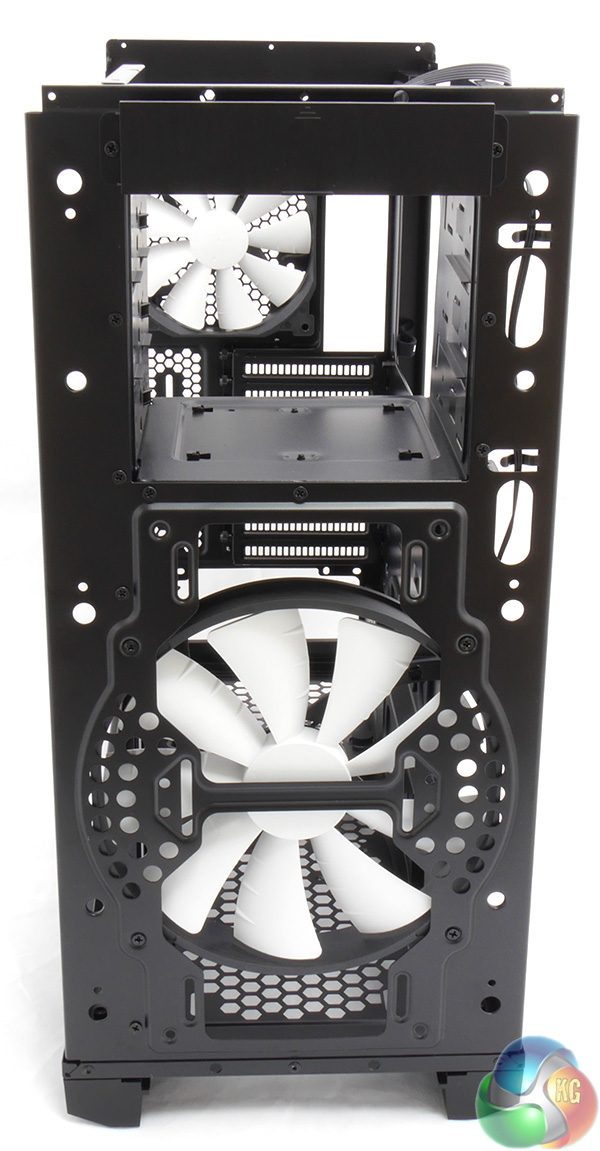
- Included fans: 1x 200mm front intake, 1x 140mm rear exhaust.
- Fan mounts: 2x 120/140mm front, 3x 120/140mm or 1x 200mm roof, 1x 120/140mm rear, 2x 120 or 1x 140mm bottom and 2x 120mm behind drive towers.
- 120mm radiator mounts: up to 240mm front, up to 360mm roof, 120mm rear, up to 240mm bottom
- 140mm radiator mounts: up to 420mm roof, 140mm rear, 140mm bottom
- 5.25″ drive bays: 3
- Internal drive bays: 6x 3.5/2.5″, 1x 2.5″.
- Dimensions: 535mm H x 550mm D x 235mm W.
Key features:
- Removable PSU cover
- Removable 3.5-inch drive bays
- Pre-installed Velcro cable ties
- Compatible with a huge array of fans and liquid cooling systems
- Drop-n-Lock SSD bracket
- Equipped with dust filters
- PWM hub
- Supplied with 200mm front fan and 140mm rear fan
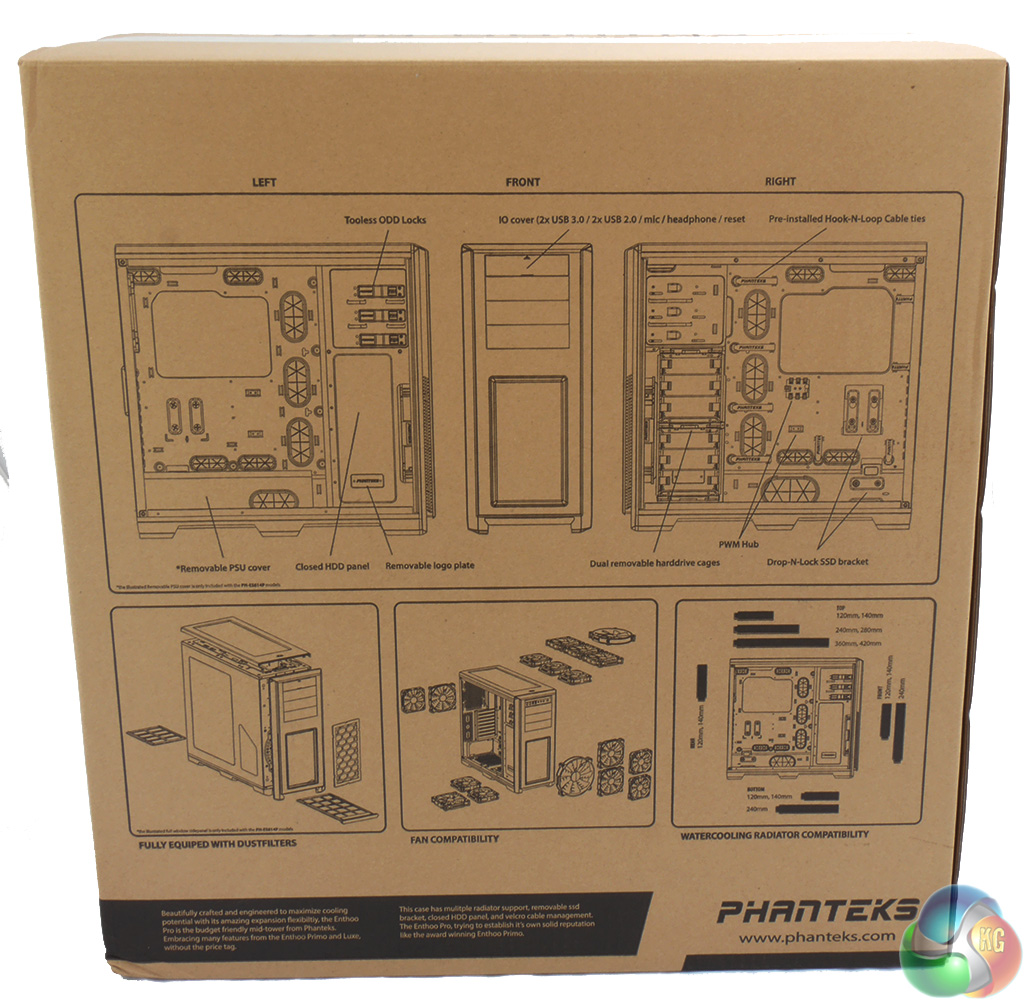
The cardboard shipping box follows the modern trend by giving a full specification for the enclosed case, along with an exploded diagram that highlights the key features of the Enthoo Pro.

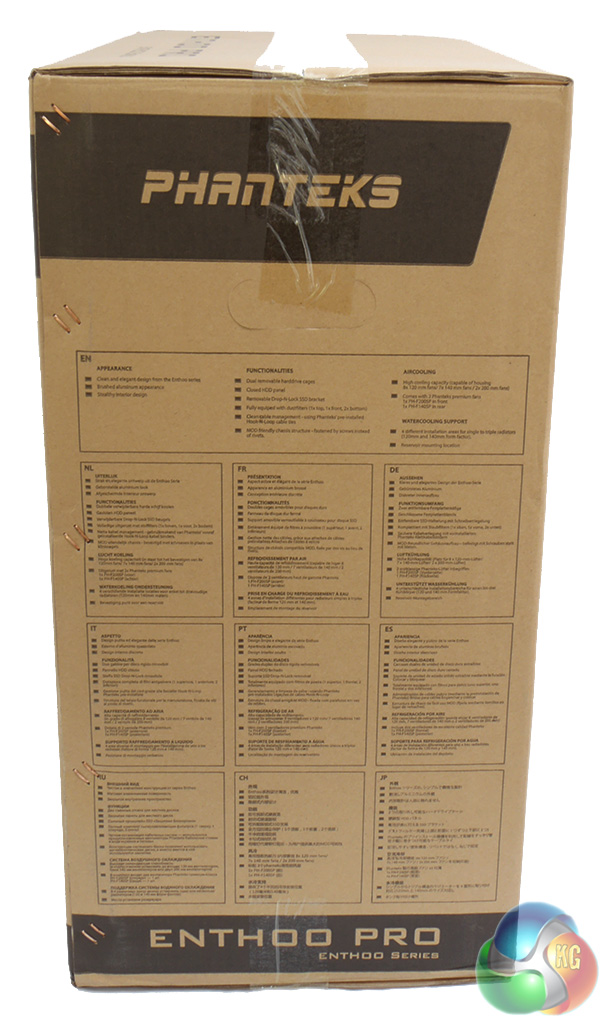
The important thing is that the Phanteks arrived in perfect condition and the box did its job.
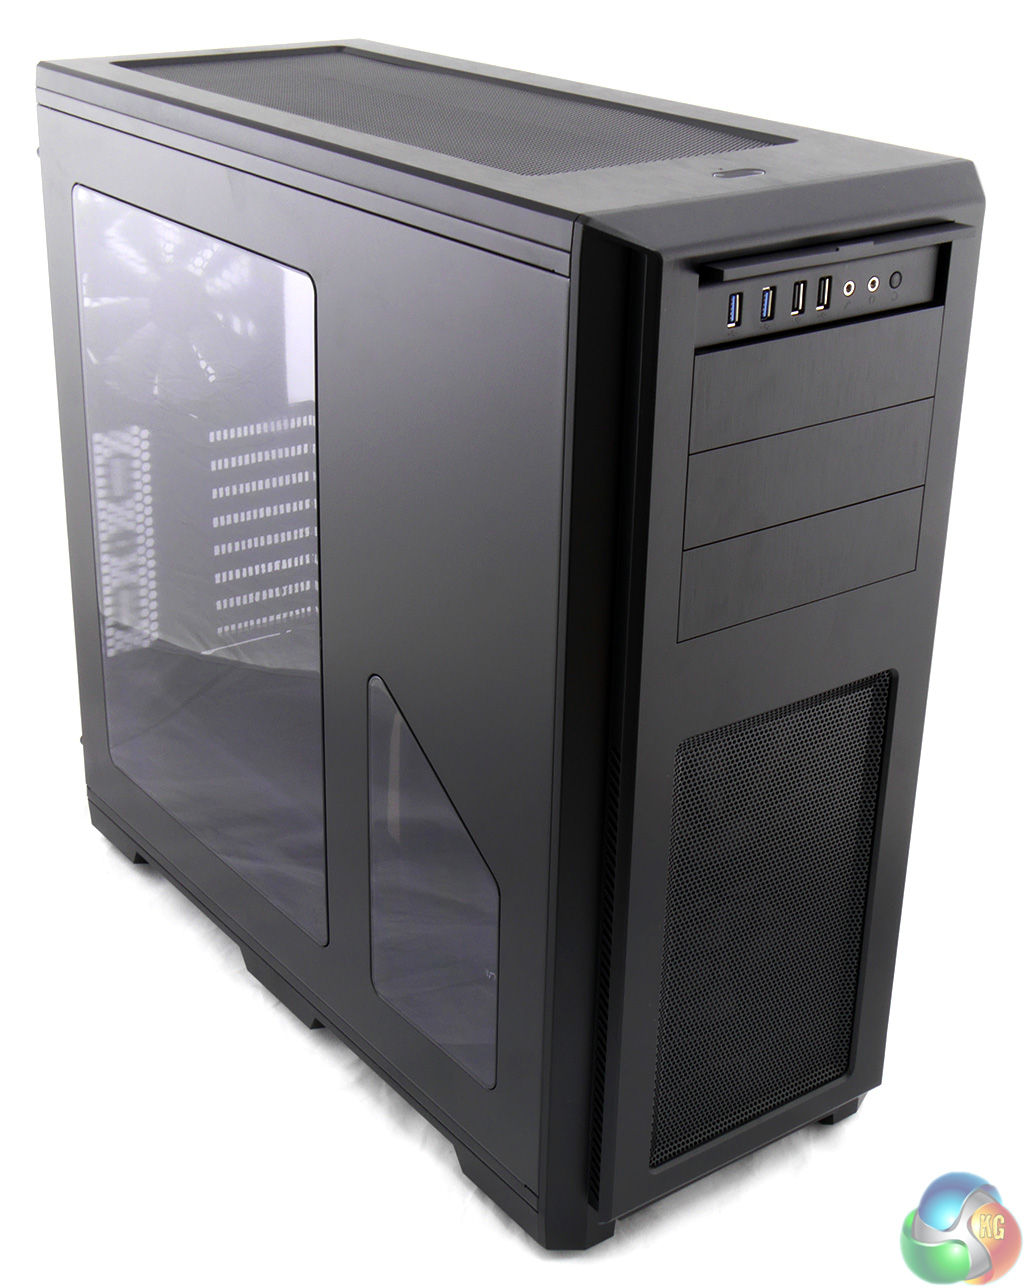
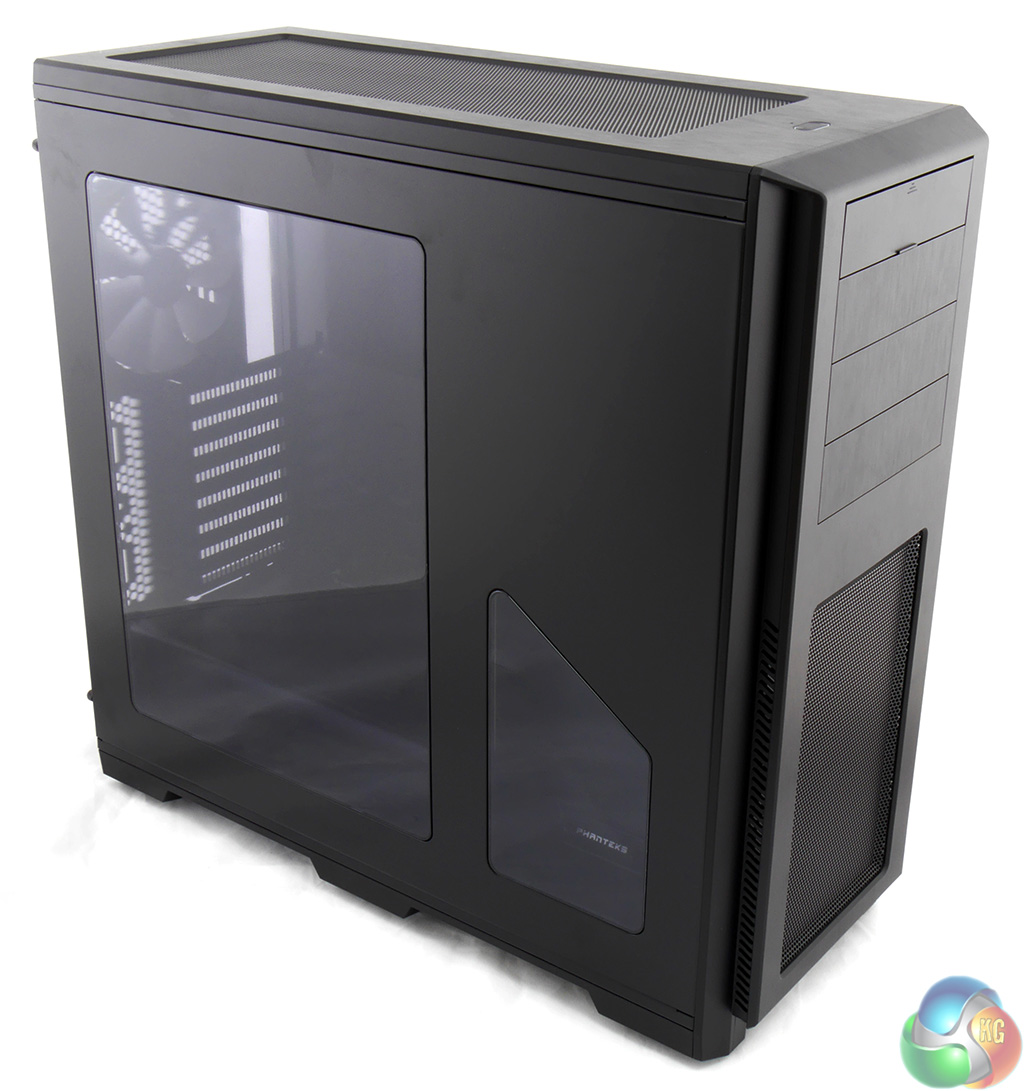
As you can see this is the windowed model that costs £89.99 in the UK. Alternatively you can have a plain side panel in a cheaper version that is priced at £79.99. I like the way the split window has been carefully positioned to show the Phanteks logo that is mounted on the hard drive tower, and I especially like the fact that the Phanteks logo plate is bolted on and can be removed as that displays confidence on the part of Phanteks.
The choice of window or plain side panel is the only option you get as the Enthoo Pro comes in black and no other colour.
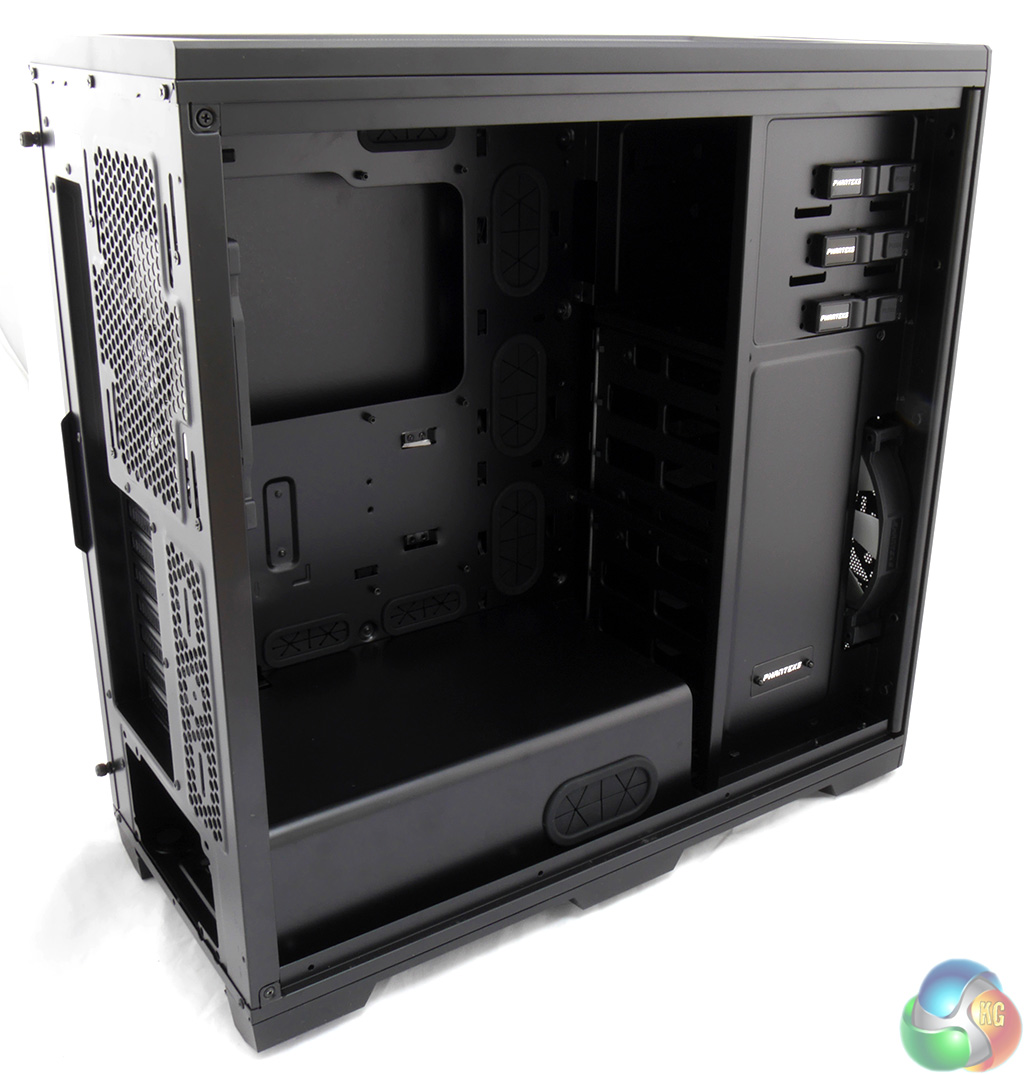
This isn't an especially large case at 535mm tall, 550mm depth and 235mm width, however it is large enough that you can be confident there will be a decent amount of space inside.
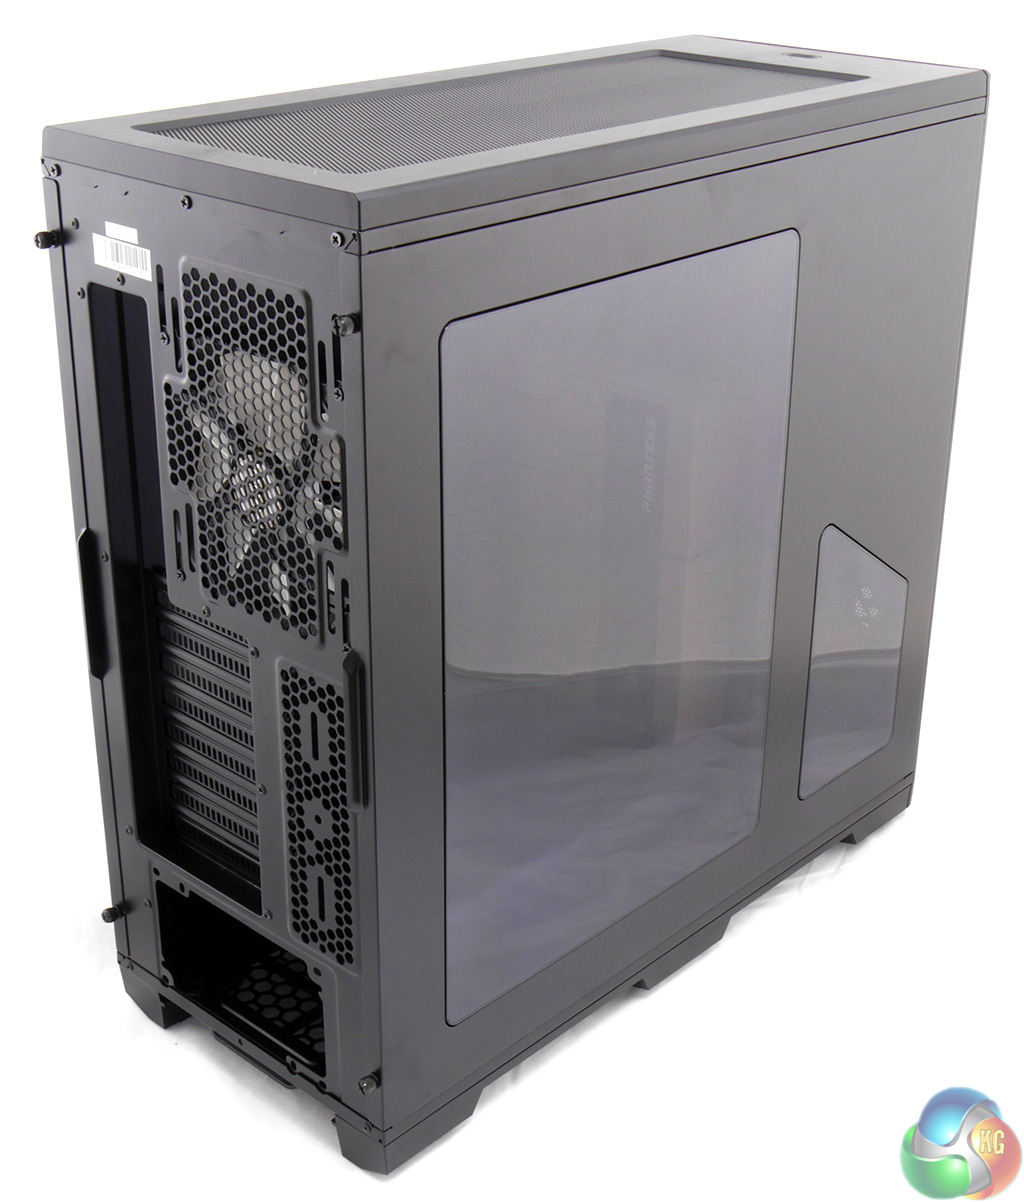
Taking a tour around the exterior of the case is a very pleasing experience. The Enthoo Pro looks and feels solid with a sensible amount of perforations for air flow, yet the openings are all filtered to prevent dust from getting inside.
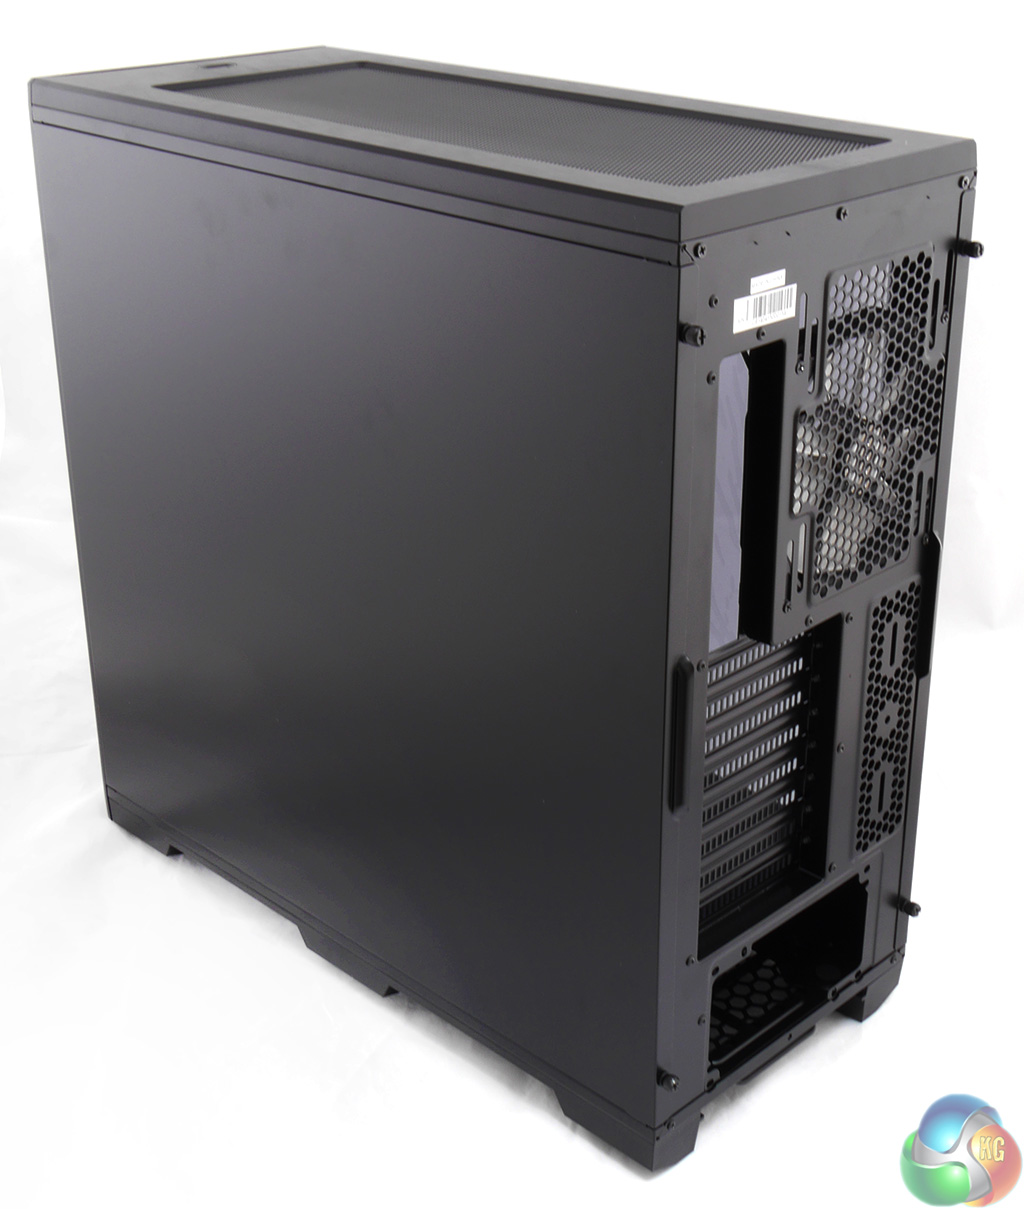
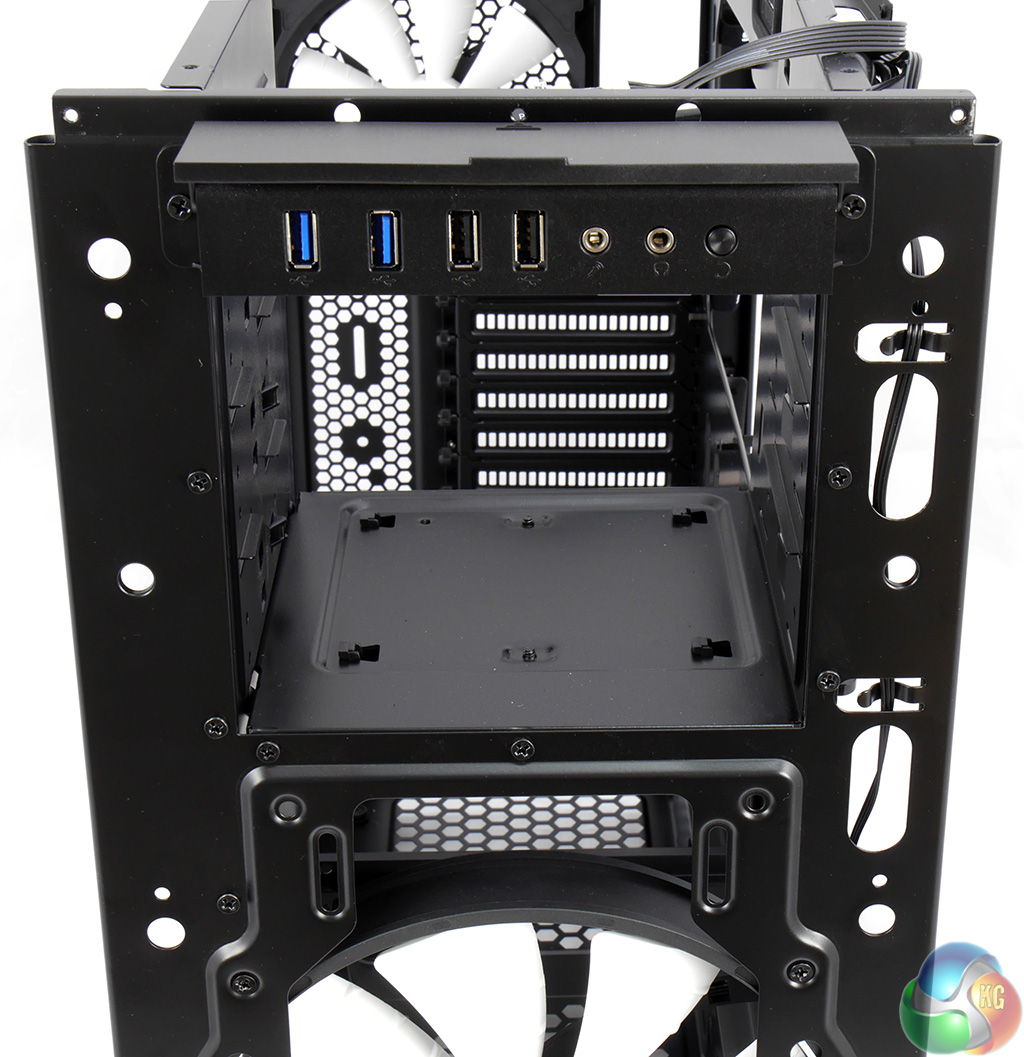
At the front of the case, above the three optical drive bays, you'll find a cover that flips up to reveal two USB 3.0, two USB 2.0, a pair of headset jacks and the reset button. The power button is an oval shape and sits on top of the case, set back by 50mm from the front edge. When the PC is running the button is an illuminated white oval that looks good however when the PC is off the button is dark.
Now here's the thing. It took me a few minutes to realise that this aluminium and steel case is actually steel and plastic. The front and top panels that appear to be made of black brushed aluminium are actually made of plastic and the rest of the chassis is made of steel.
Clearly this is a way to cut costs and the Enthoo Pro would probably weigh less than its stated figure of 11.9kg if it was made from aluminium but it's not all bad news as the Pro is practically immune to greasy fingerprints and we all know how those marks show up horribly on aluminium panels.
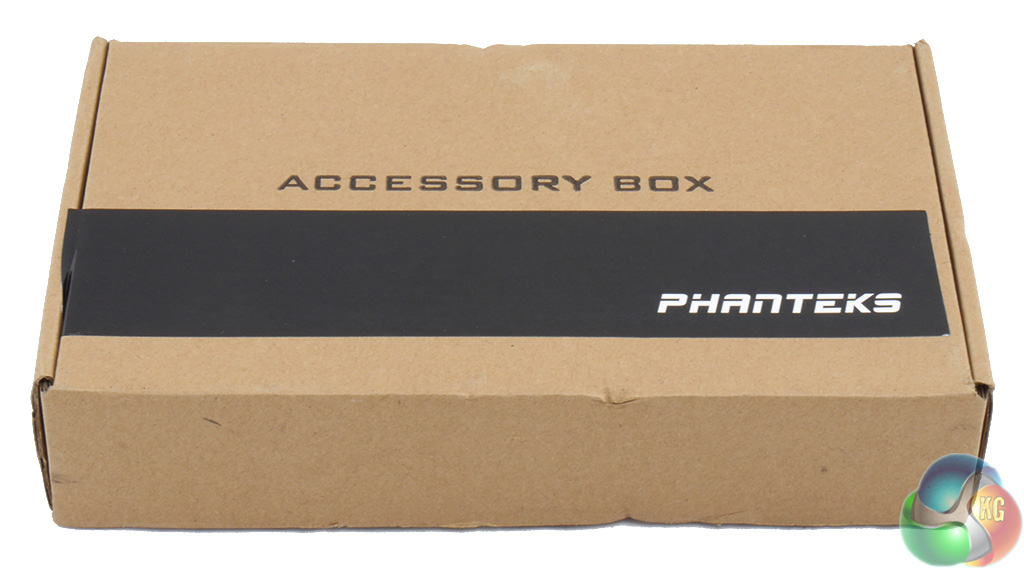
Remove two thumbscrews and the side panel swings out slightly and lifts away to reveal the innards where the first thing you will see is this box of accessories.
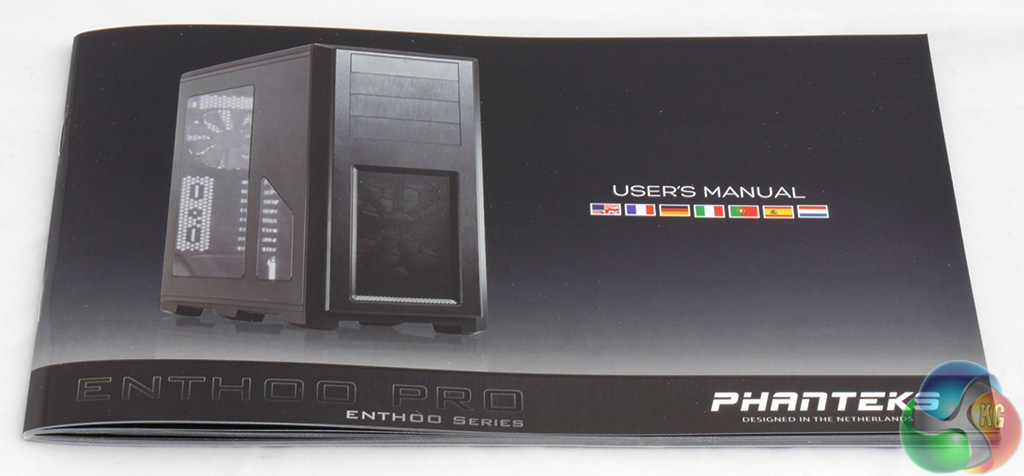
Over the years I have had all sorts of fun with manuals. Some are poorly written and others explain trivial points in great detail while missing out key information. The Enthoo Pro manual is a shining example of how the job should be done. Admittedly I am talking about the English parts and the other six languages might be awful but the diagrams and descriptions are spot on. People, this is how you should write a manual.
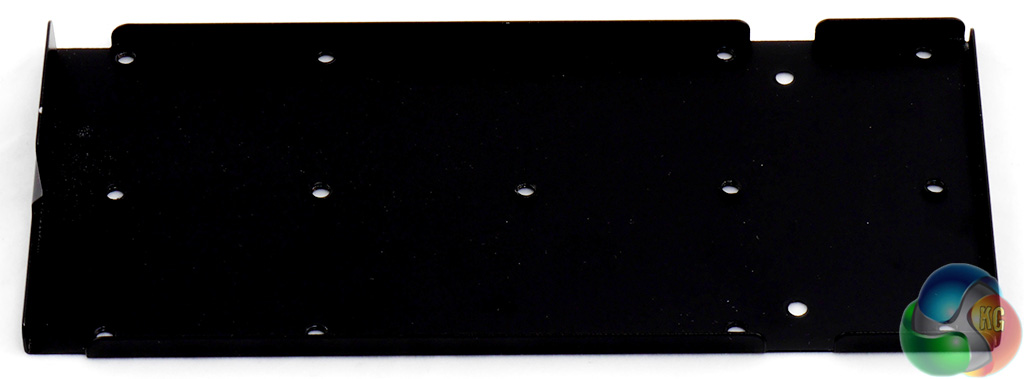
One unusual extra in the package is a reservoir bracket. This will make life easier for the home brewed water cooling community who prefer not to drill holes in their cases when they mount a tube reservoir. This bracket attaches to the drive tower and is directly in line with the graphics card(s).
With the monster Sapphire Tri-X R9 290 graphics card that I used in this build there was 40mm clearance between the end of the graphics card and the drive tower. That's heaps of space for a regular build but probably means you'll need to do a bit of measuring before you buy your components for a water cooling set-up.
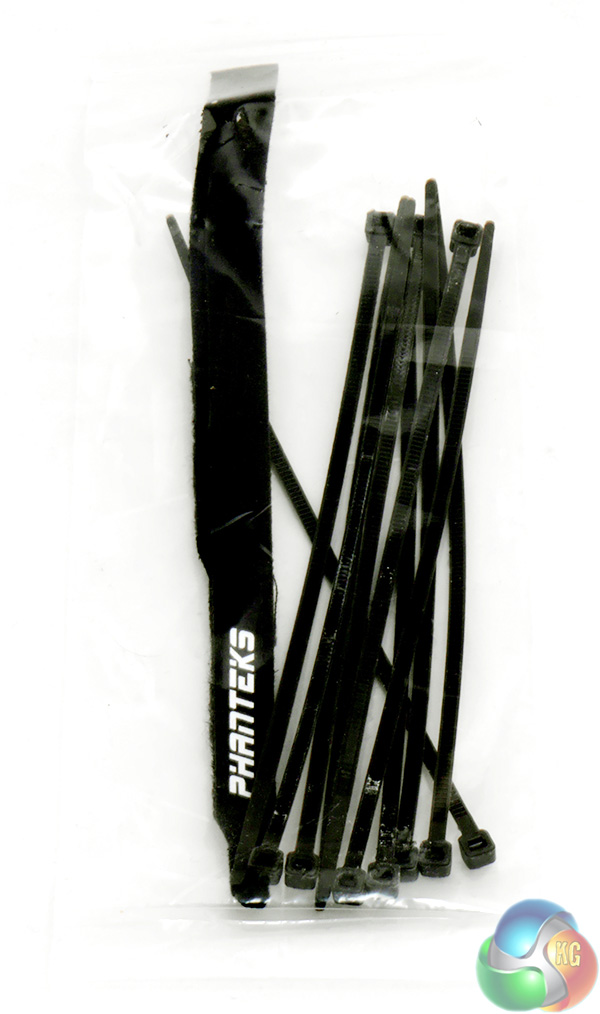
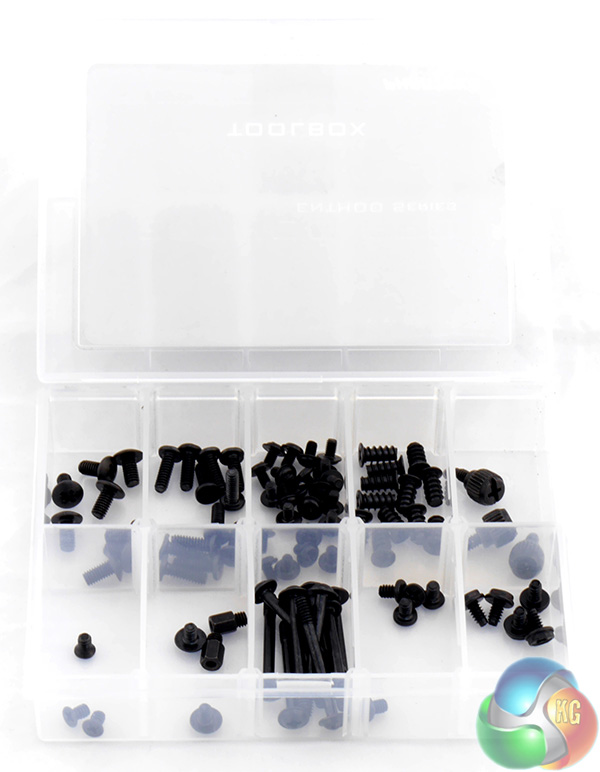
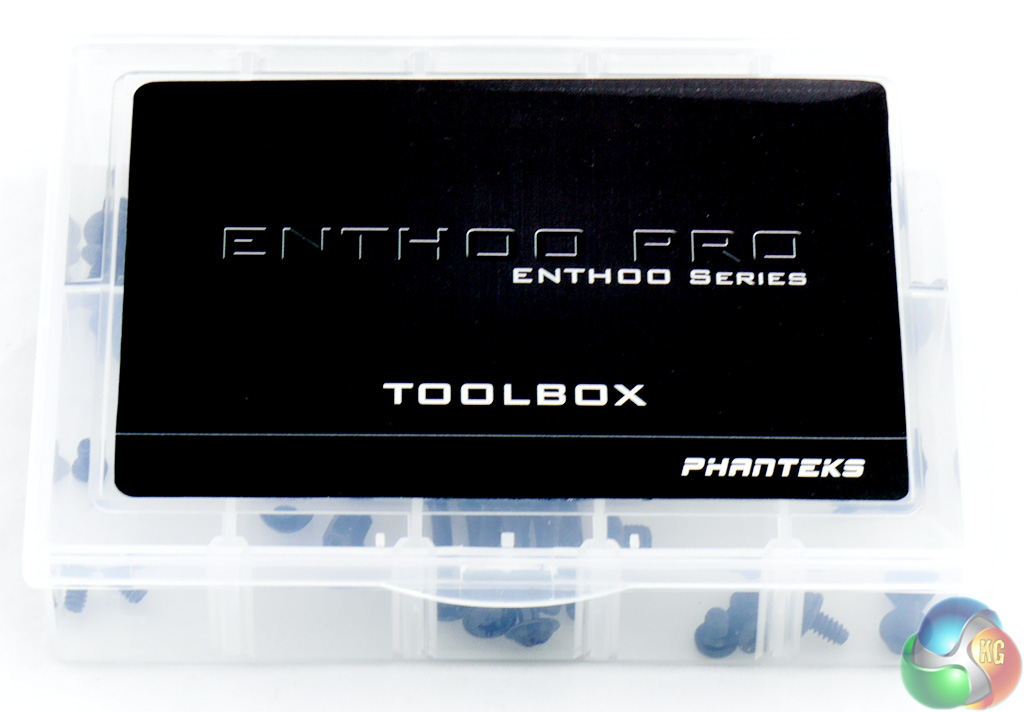
The Accessories also include cable ties and a spare Velcro strap as well as a plastic case labelled Toolbox that does not actually contain any tools but does give you a decent selection of fasteners all neatly arranged in compartments.
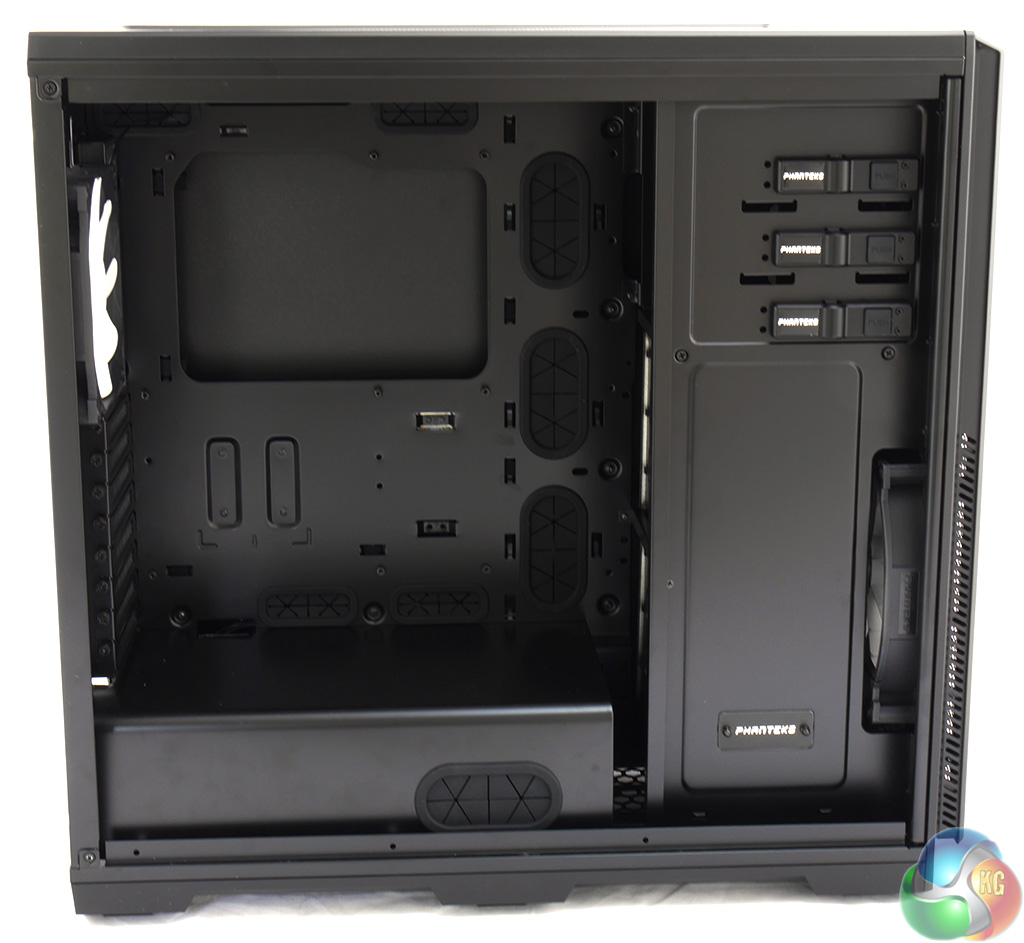
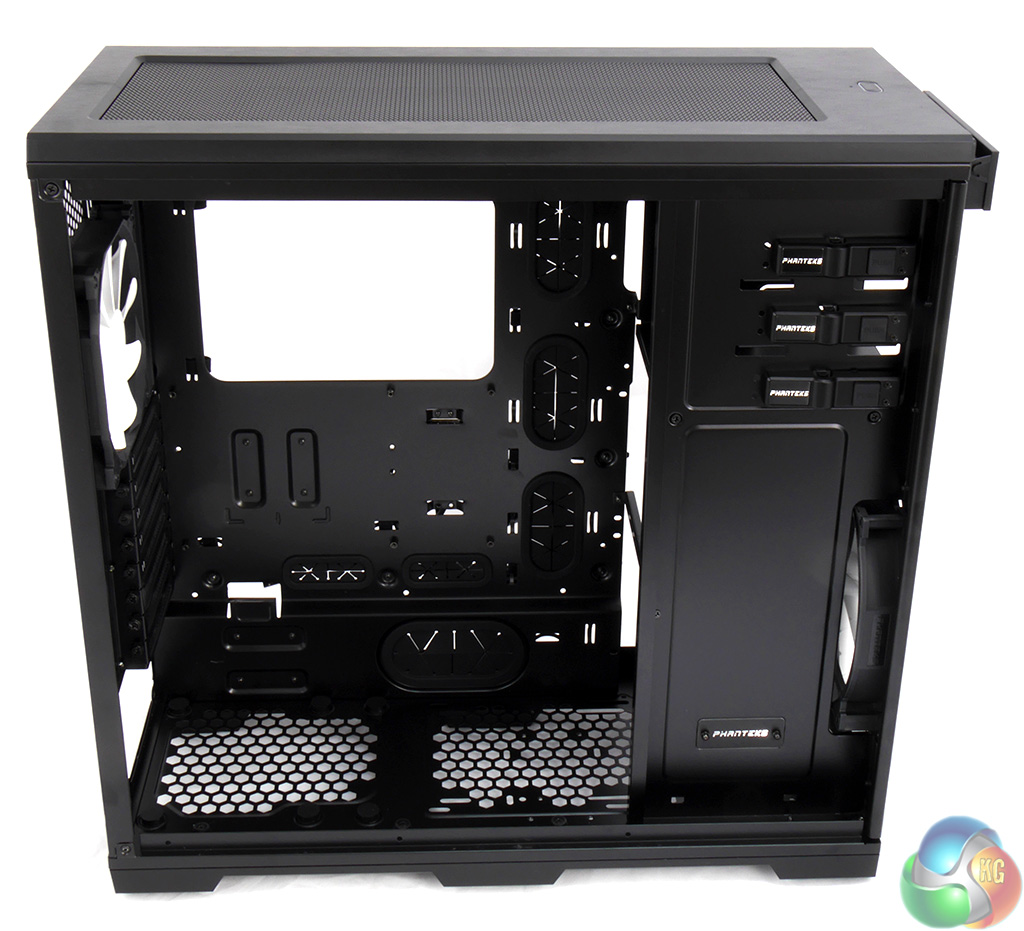
Inside the case there is plenty for room for installing the motherboard, graphics card(s) and CPU cooler.
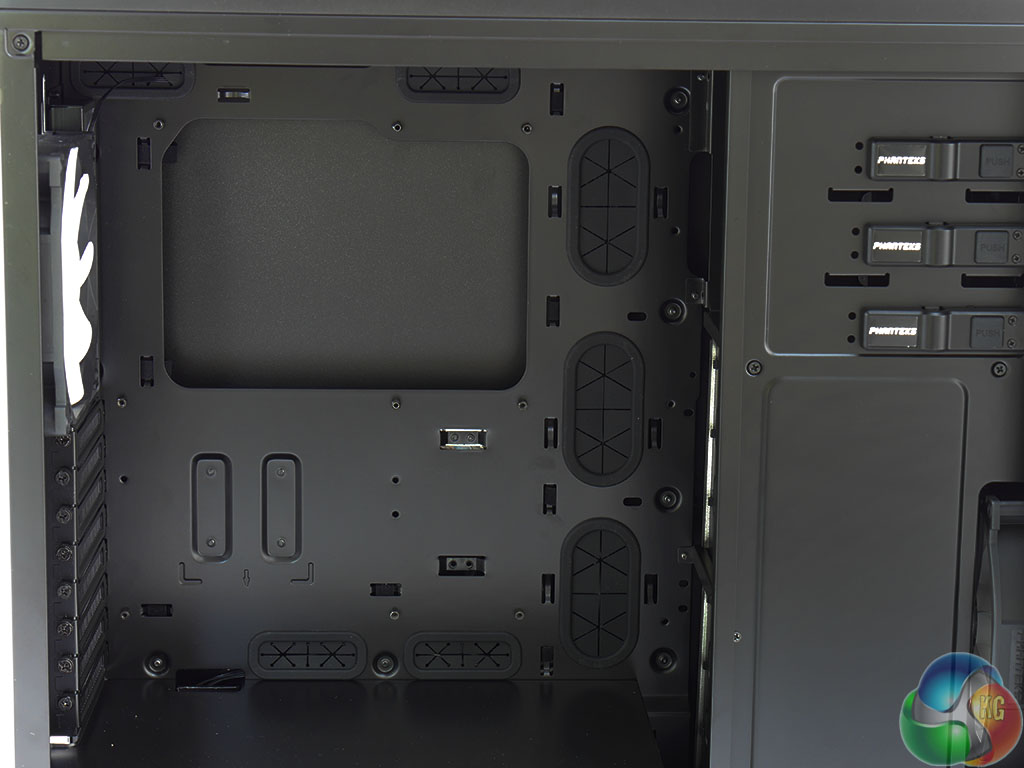
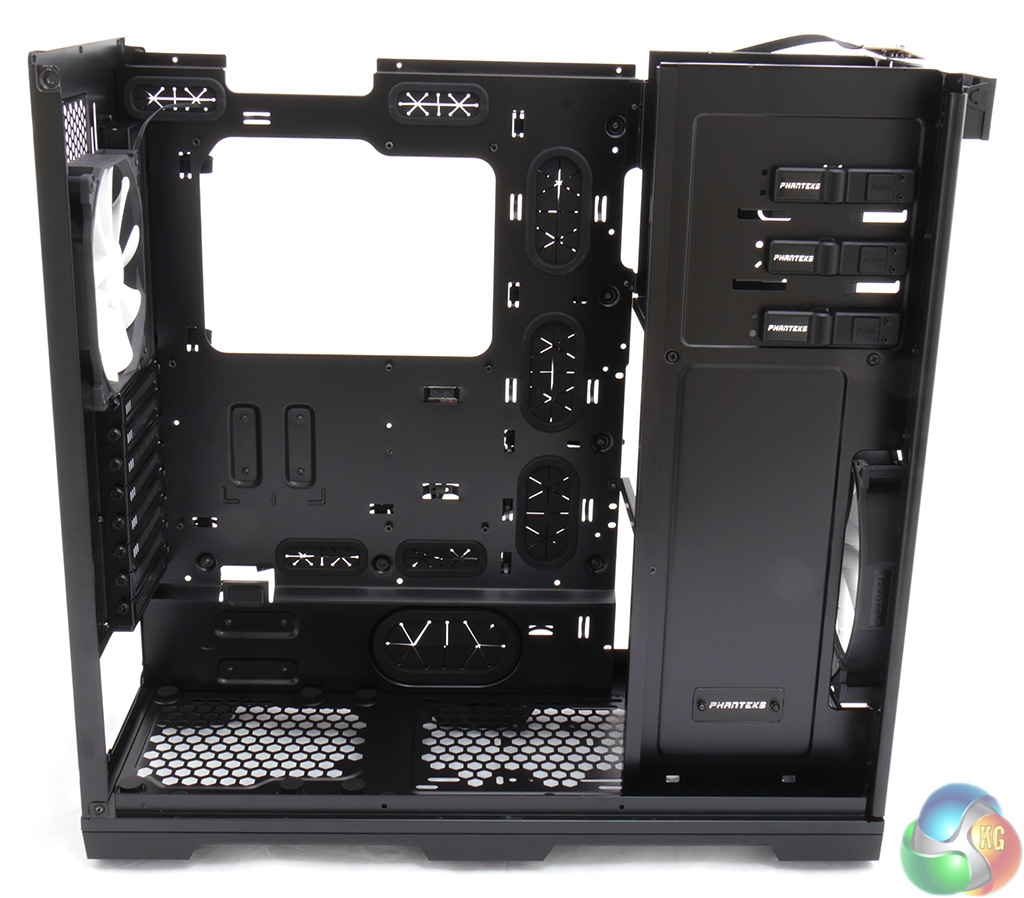
The quality of the steelwork is excellent and there are seven cable holes all round the motherboard tray that are neatly finished with grommets. Phanteks supplies the Enthoo Pro with the motherboard stand-offs installed which means the case is ready for action.
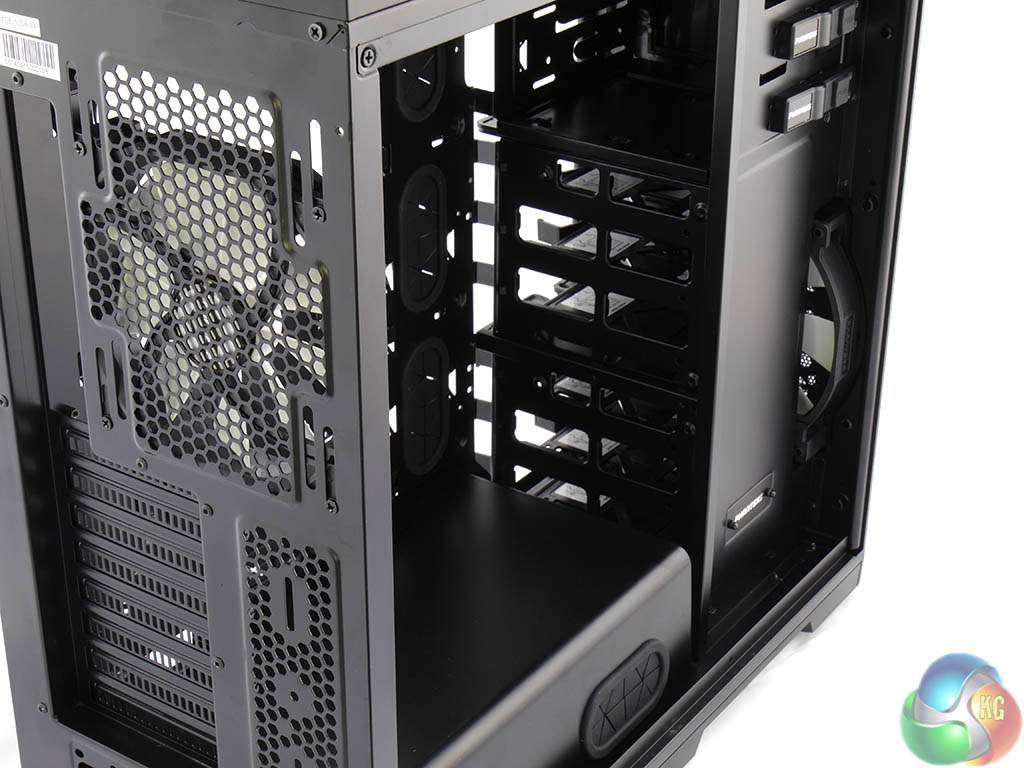
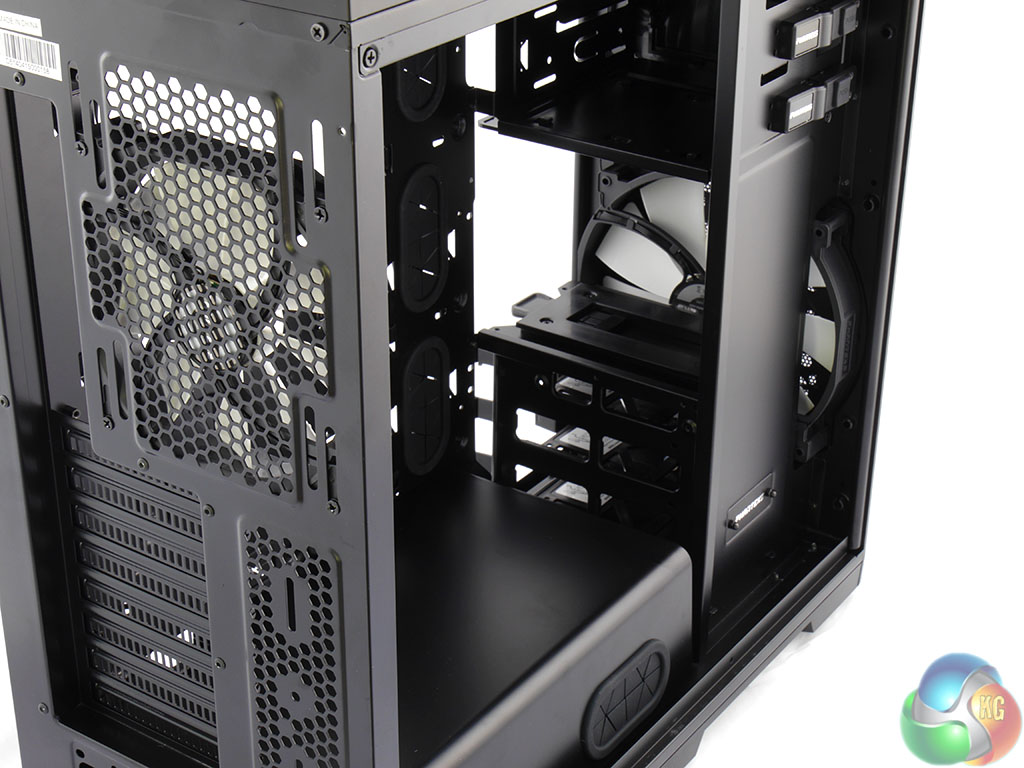
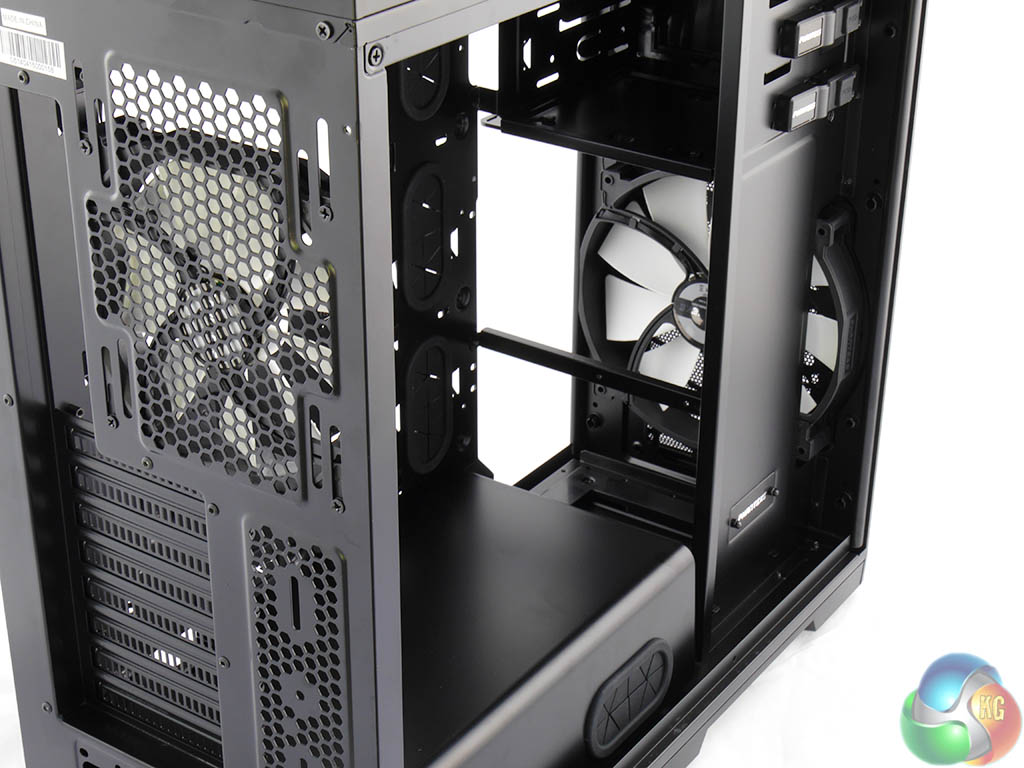
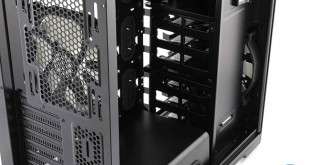
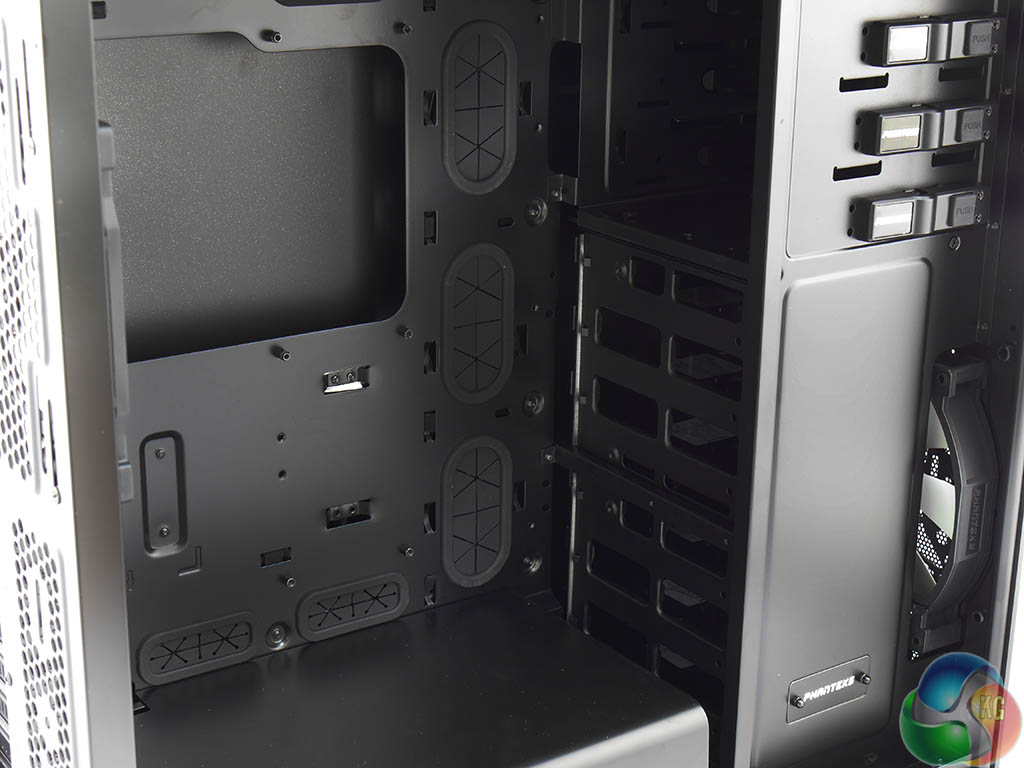
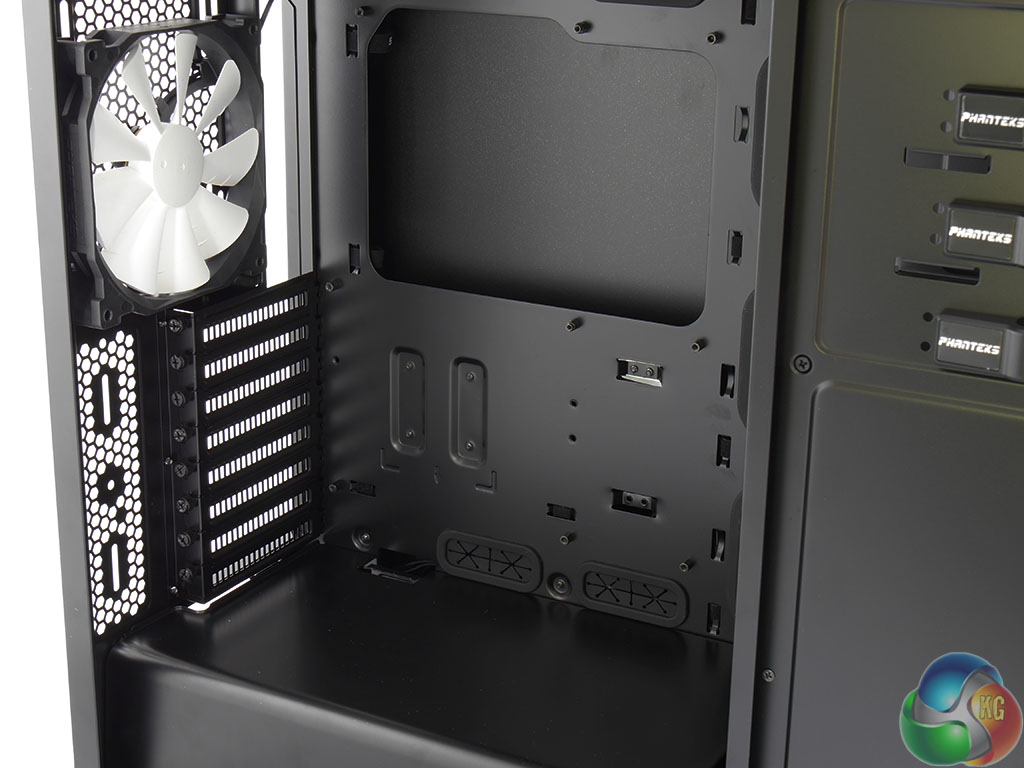
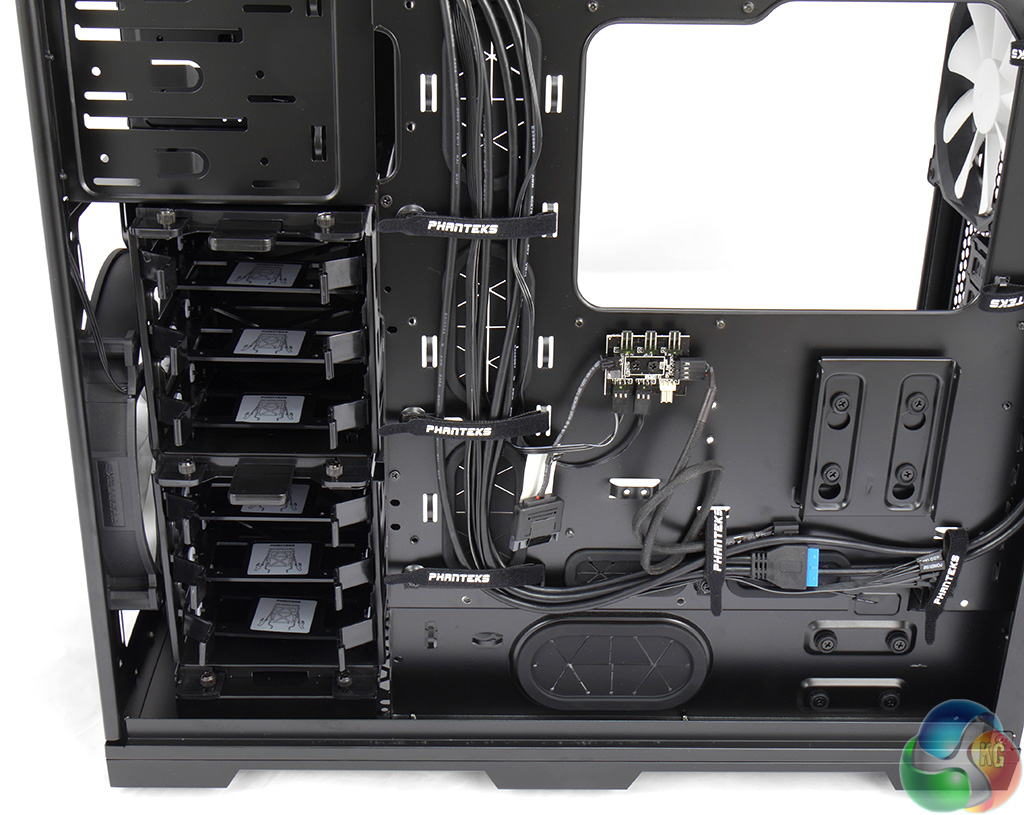
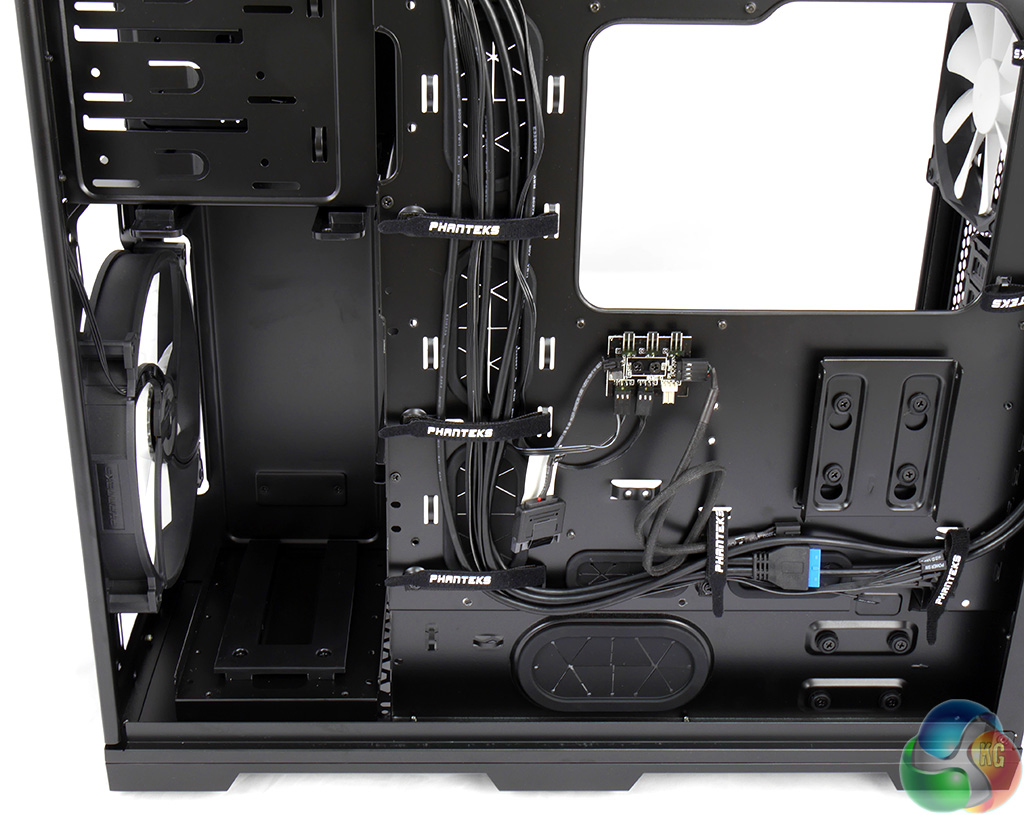
One point that stands out like a sore thumb is the location of the drive tower. It stands directly between the 200mm intake fan and the interior of the case and the stack of 3.5-inch hard drive cages looks like a solid barrier to cooling air.
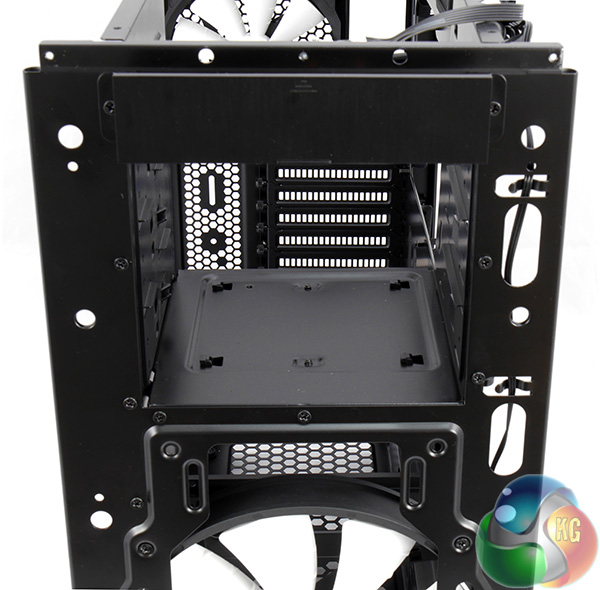
This sequence of photos shows the difference that it makes when I removed the cages and you'll note these are empty cages without any drives in the bays.
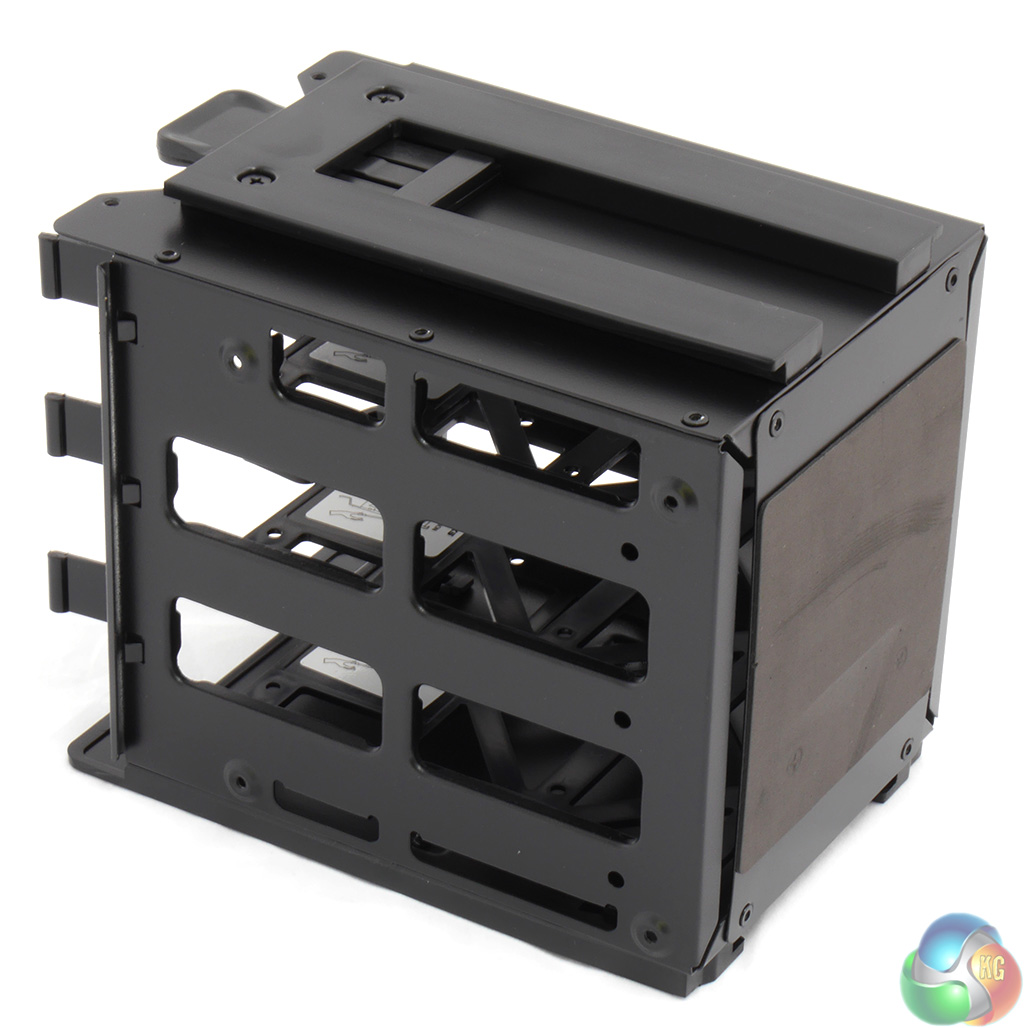

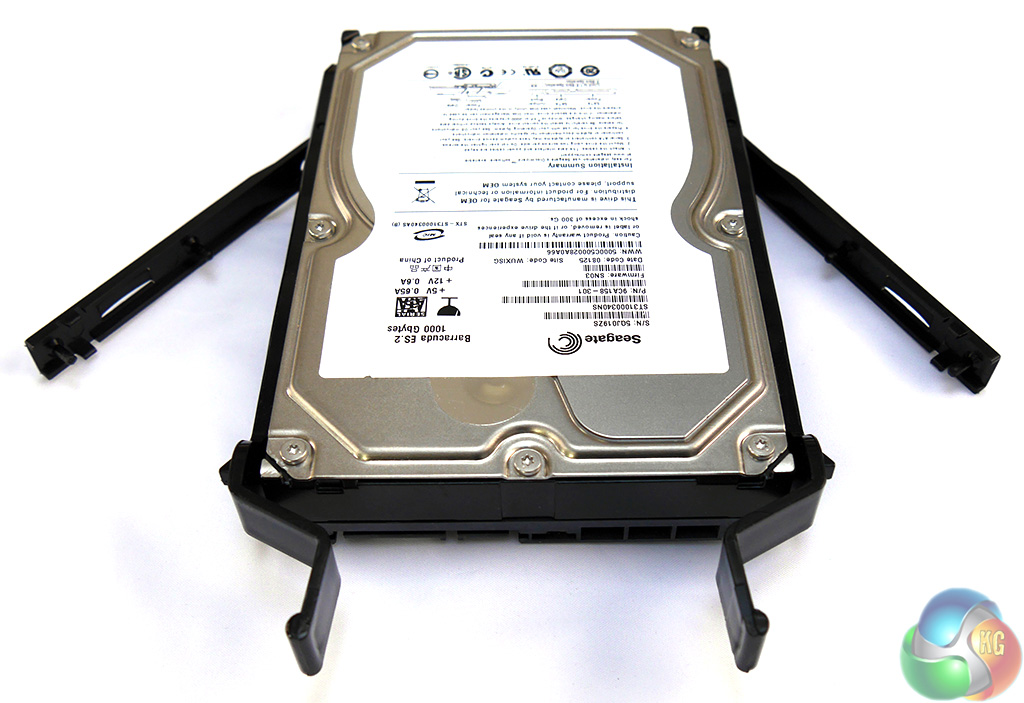
You may think a drive cage is a dull item that doesn't merit a closer look but the amount of work that Phanteks has invested in these items is impressive.
For one things the cages feel sturdy and strong and for another they have key ways on the top and bottom that engage with the drive tower so they slide easily into place. On the back of each tower there is a rubber pad that reduces vibration and ensures the cage doesn't take a knock as it slides home.
Each cage has a pull out holder at the top that makes life very easy when you want to get a firm hold on the tower before you slide it out of place. Remember, hard drives are delicate items and you don't want to cause them any shock damage.
Installing the drives in their cages is another point that Phanteks has considered. Many Tool-free drive cages require you to flex the cage and then slip the drive into place. The design here uses two latching wings that hinge outwards. You place the drive in position and then clip the wings home to hold the drive securely.
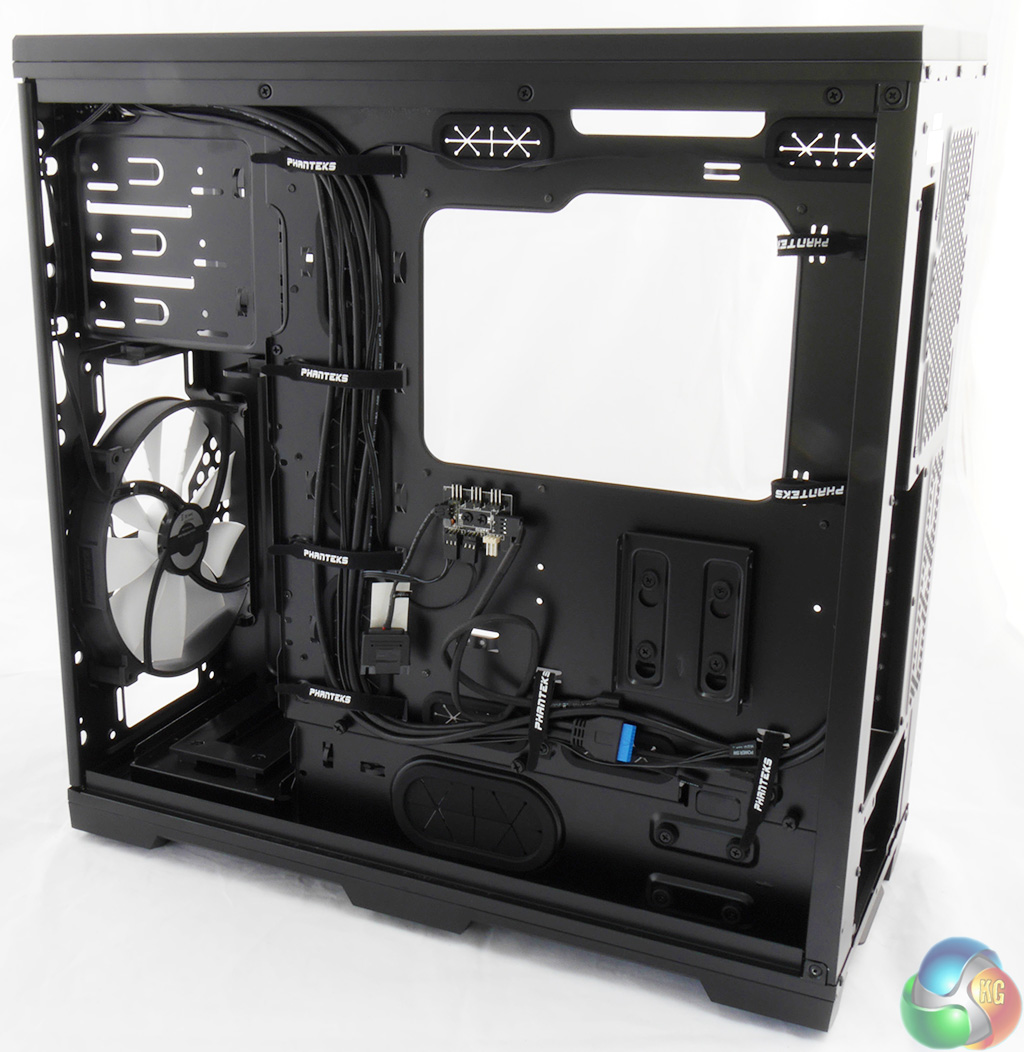
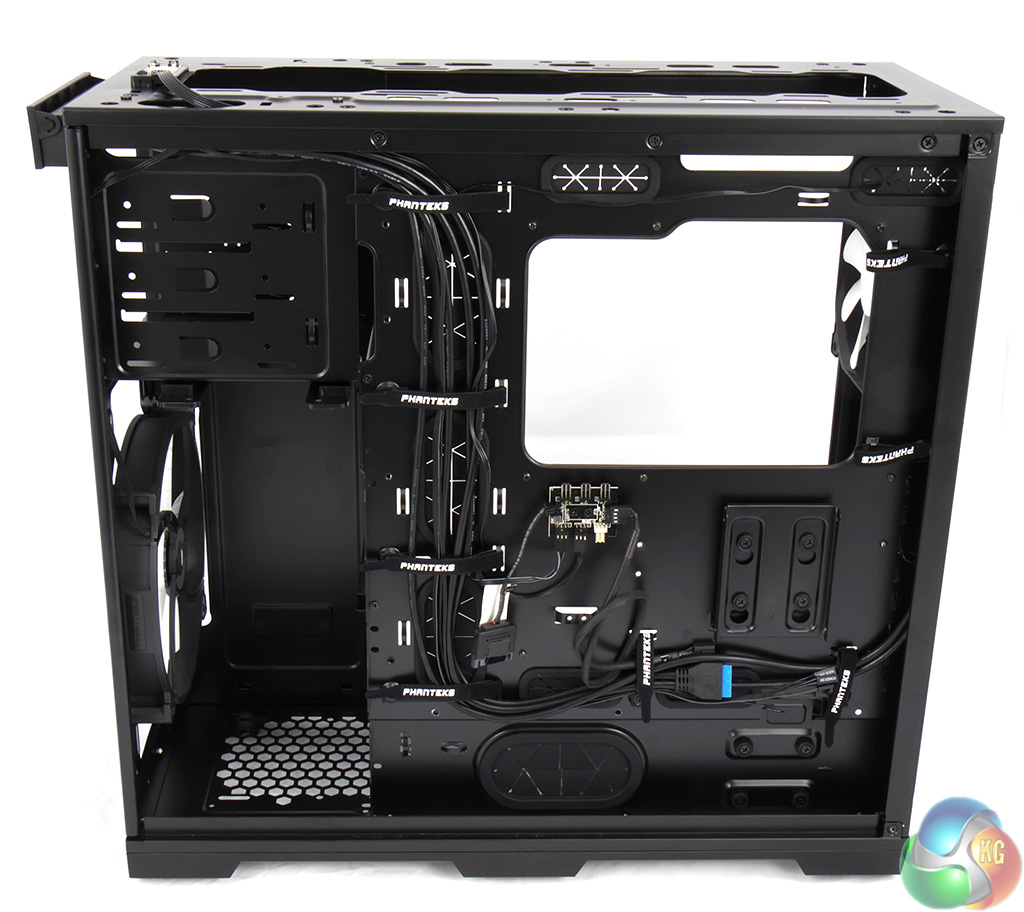
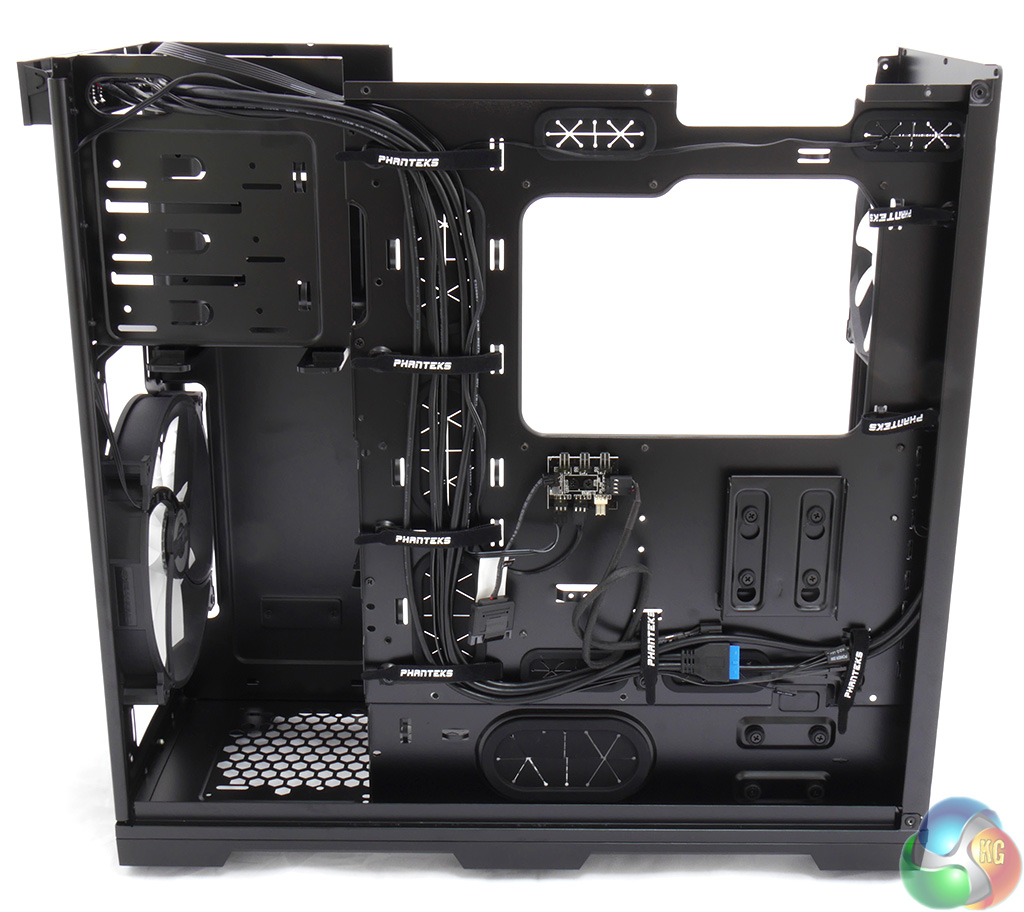
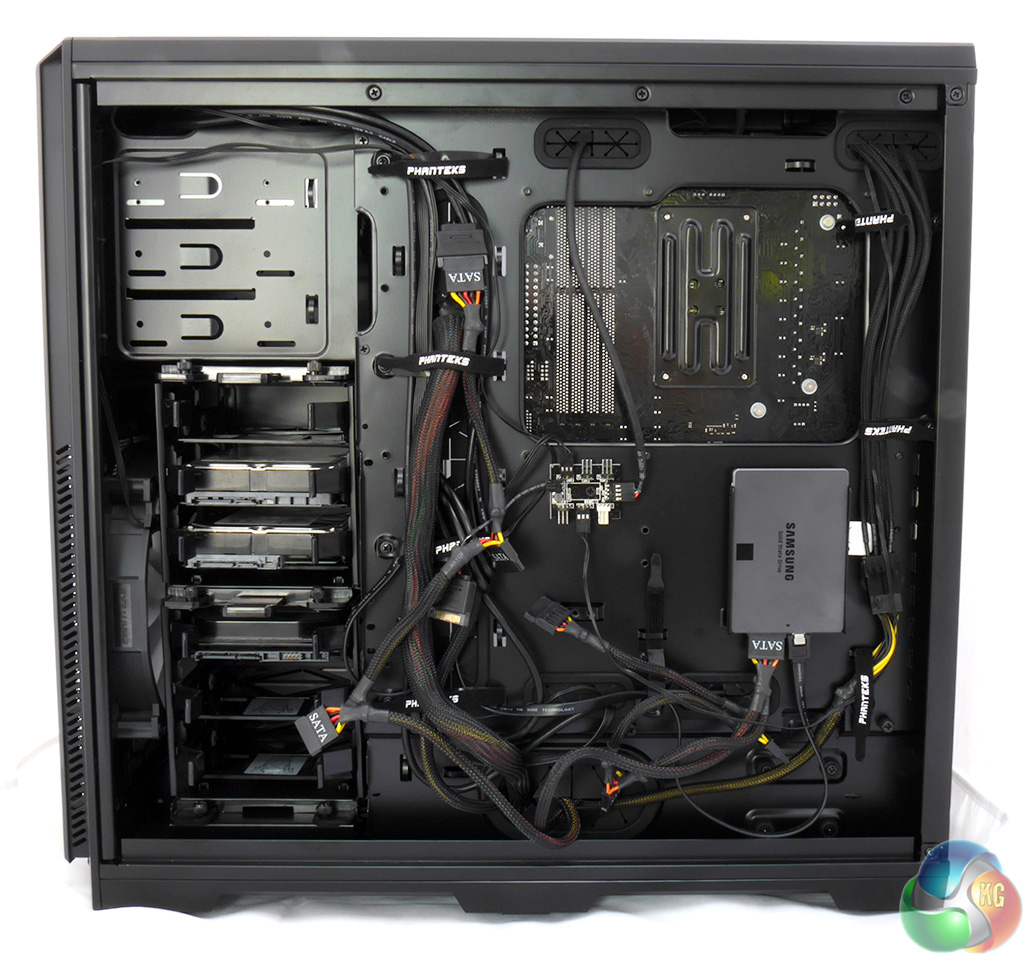
The back of the motherboard tray has been thought through carefully. You've got a minimum of 25mm clearance for tucking away cables but there is a bigger point here.
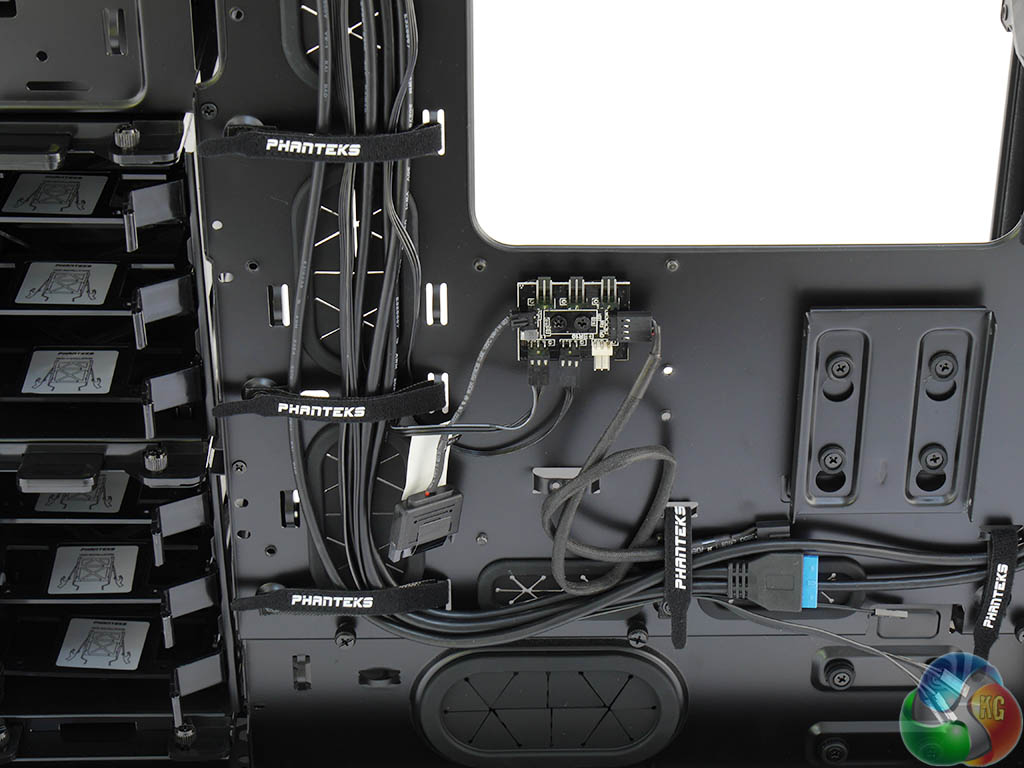
Phanteks has clearly designed the Enthoo Pro somewhat like a theatre where the audience sits in front of the stage and sees one aspect while around the back there is all manner of activity going on out of sight.

Cable management is assisted by six Velcro straps that carry the Phanteks logo. In the course of my PC build for these photos I used precisely two cable ties to route the PCI Express power to the graphics card. The Velcro straps sufficed for everything else. Another feature that helps keep things neat and tidy is the PWM hub.
I'll tackle this later in the review but the idea is that you connect all of your case fans to the hub and then route a single cable to a PWM header on the motherboard so all the fans work in unison. To continue my theatrical analogy, perhaps I should say the fans operate in concert.
The drive cages slide into place from the back of the PC so the power and data cables are kept out of sight.
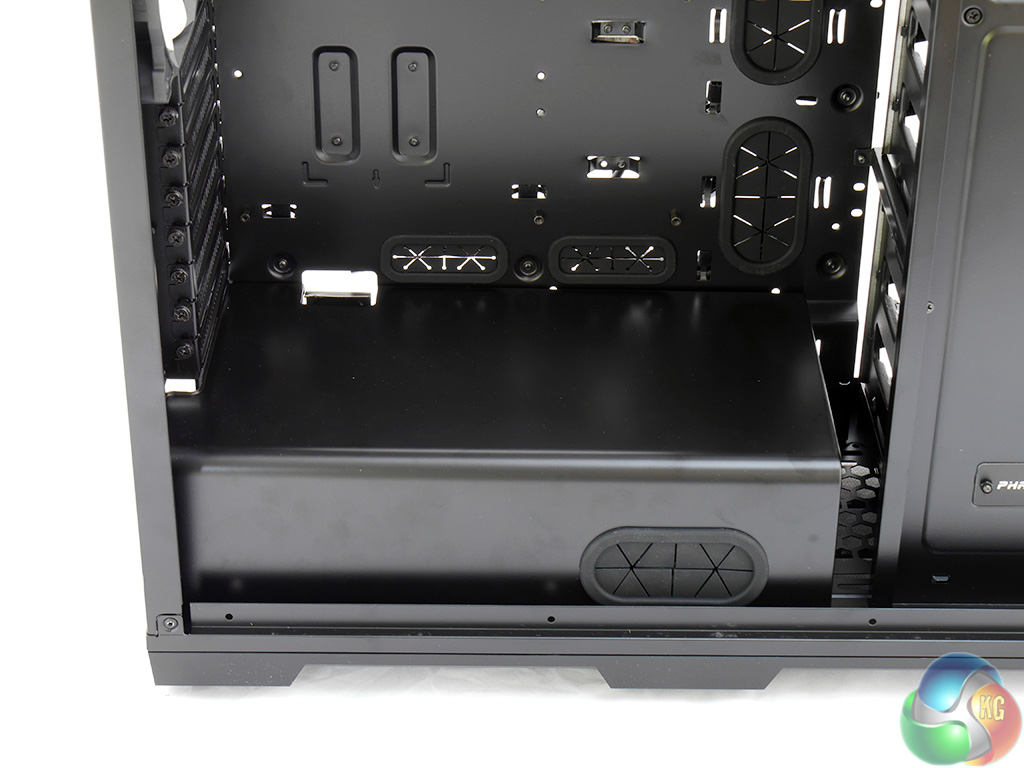
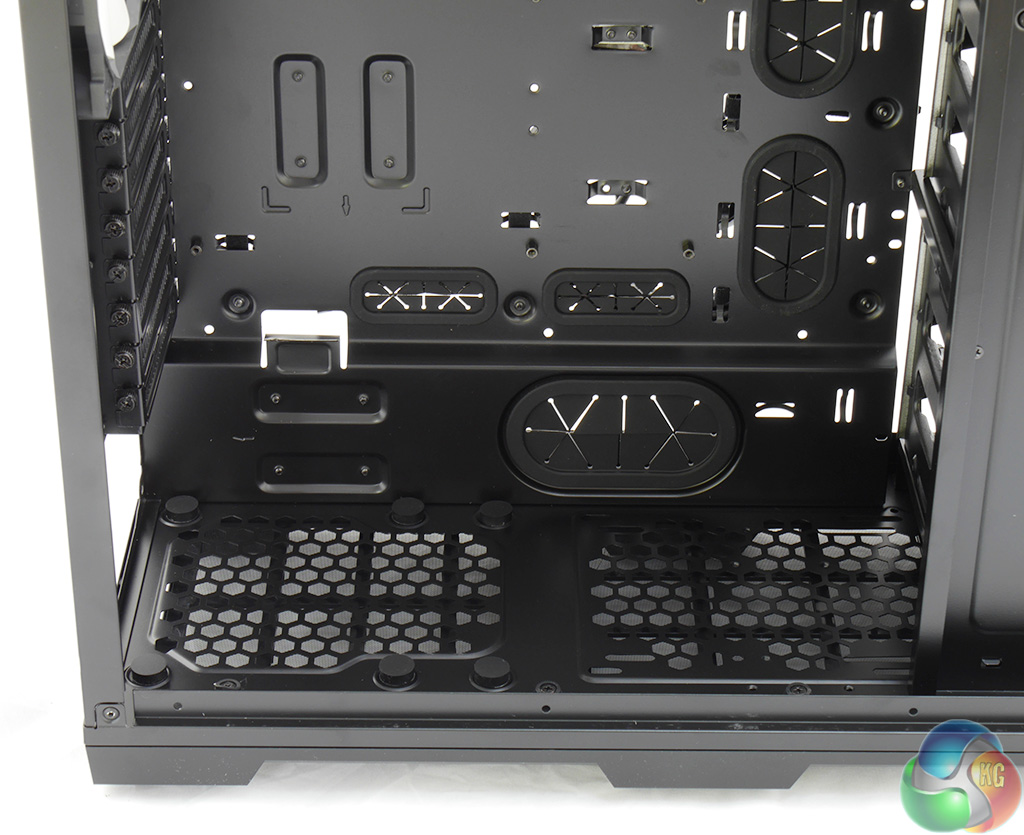
The PSU cover is held in place with three thumbscrews. If you intend to install cooling in the floor of the case you'll need to remove the cover but honestly, I wouldn't go down this route. The PSU cover really helps the installation and there are so many cooling options that you can leave the floor out of the equation.
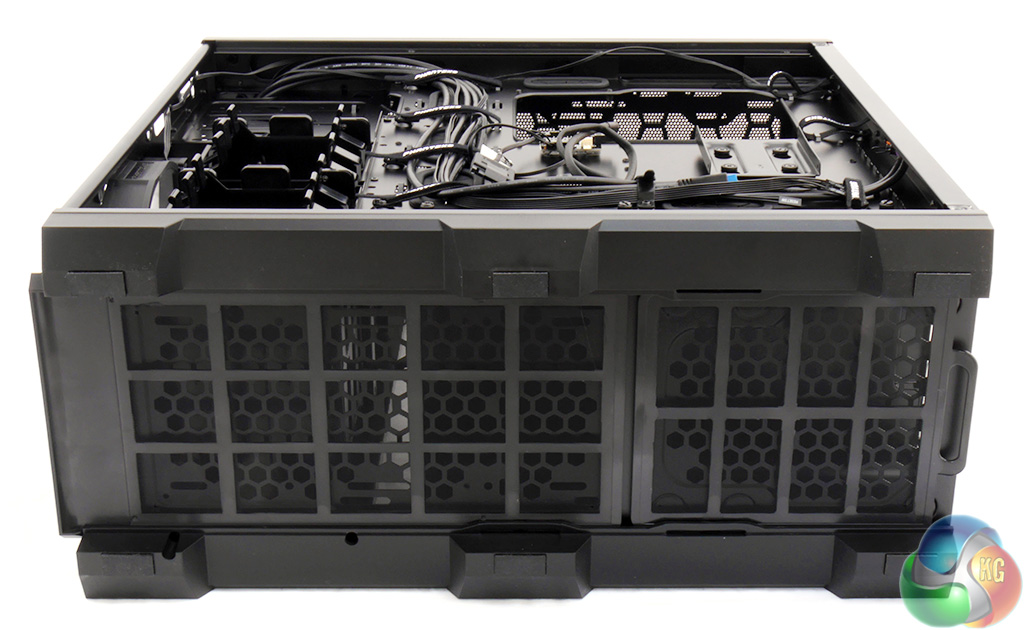

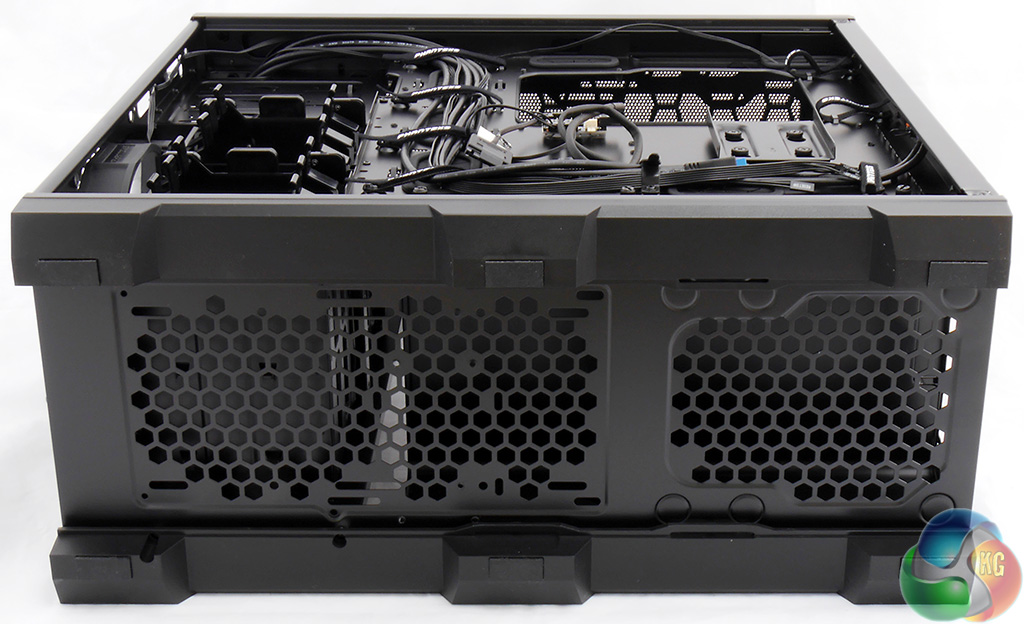
You can see the mounting holes on the floor and the two filters that slide out of the front and rear of the case for cleaning.
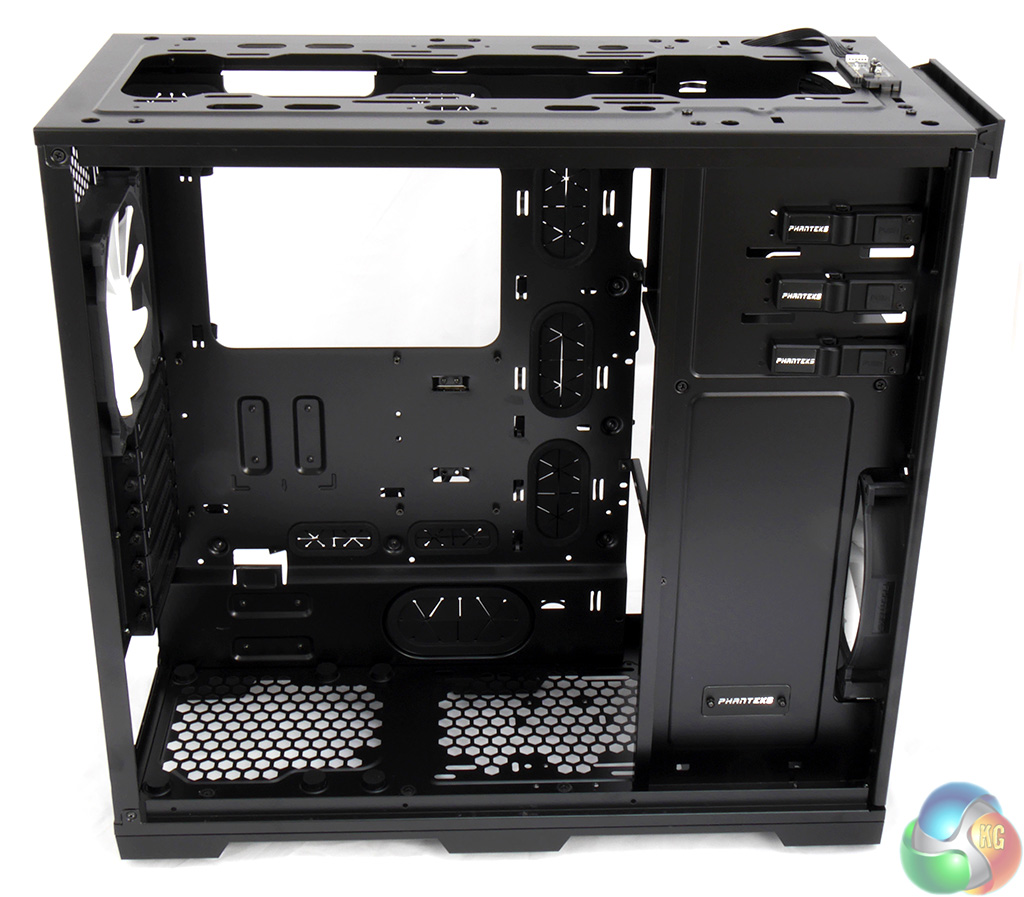
Enthusiasts will love the way you can pull the Enthoo pro to pieces in a matter of minutes.

With the side panels, front panel, top panel and roof removed you are left with a bare skeleton and this will take you about ten minutes to achieve.
If you really want to go to town you can also remove the hard drive tower and the optical drive bays, thanks to the way Phanteks has screwed the case together and that in turn is a real vote in favour of the steel construction.
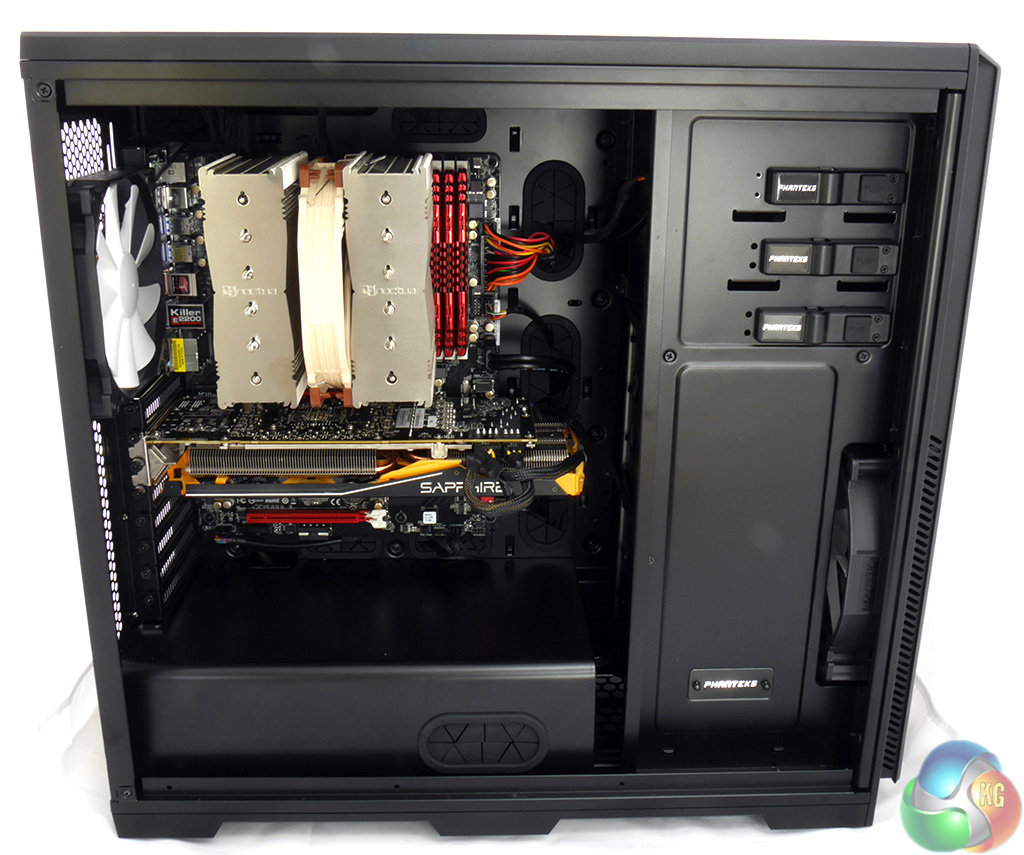
I built a test system using an ASRock 990FX Killer motherboard, AMD FX-8350 processor, four modules of G.Skill Ripjaws X RAM, a Sapphire Radeon Tri-X R9 290 4GB graphics card and a Noctua NH-D15 cooler.
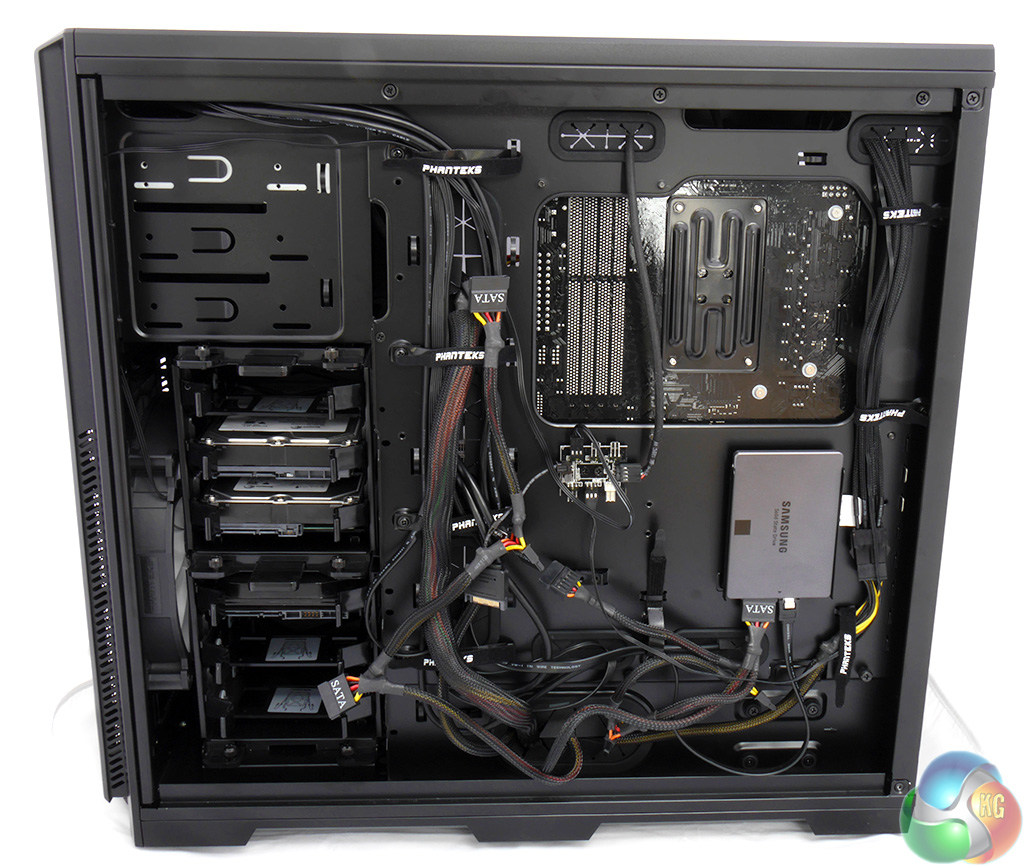
There isn't much to say here as the build was fast, easy and looked nice and tidy in the main compartment. Behind the motherboard tray I could have done more work on the cables but everything is secure and out of sight so this isn't strictly necessary.
The power supply can be mounted with the fan either facing up or down and there are rubber cushions for the PSU to sit on which avoids metal to metal contact.
I installed the Samsung SSD using the upper location for the mounting bracket. There is an alternative position lower down the case.
This mounting bracket has the name Drop-n-Lock which sounds awful but works rather well. Simply put the SSD in place and it snaps home and is held securely.
Sliding the DVD drive into place was simple as the tool-free latches so their job superbly.
The PWM hub is a key feature of this case. It has connectors for six fans and as there are only two fans supplied you have plenty of scope for upgrades. The idea is that you don't trail fan cables across the innards of your PC build looking for fan headers but instead connect a single cable from the PWM hub to a four-pin CPU header.
That one header then controls all of the case fans.
In principle this is a neat idea and Phanteks has included a SATA power connector so you can also connect the hub to a regular header if you don't have a spare PWM header. Initially I was confused and tried to connect the CPU fan to the PWM hub which was a bit dopey of me as the cable will not reach that far.
With the PWM hub connected to the CPU header you are actually obliged to connect the CPU fan to a different motherboard header and in the event with the ASRock 990FX Killer I used Chassis Fan 1 which is also PWM.
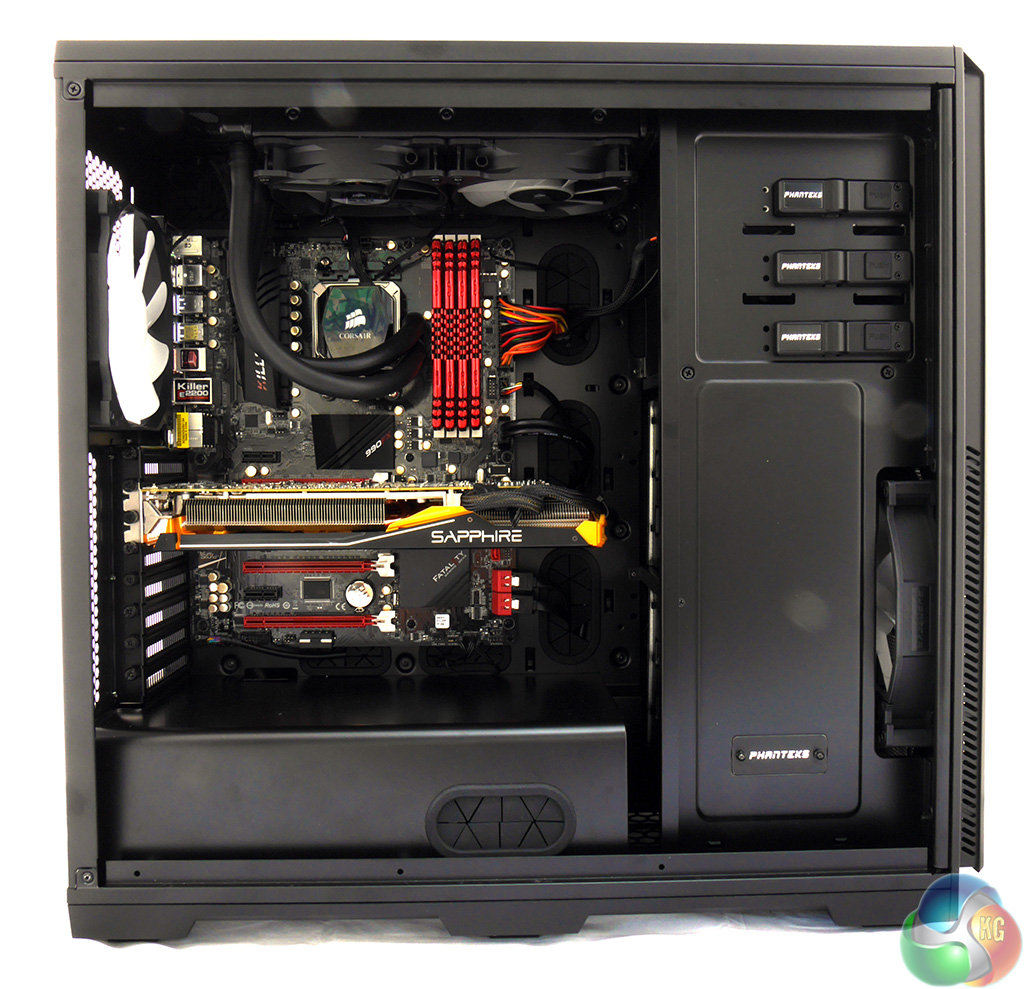
Switching from the Noctua NH-D15 to the Corsair H100i liquid cooler was dead easy. With the top cover removed from the case you are spoilt for choice with mounting holes and with the hot air exhausting from the top of the case you can be sure the PC will run nice and cool.To put this case through its cooling paces I used a test system consisting of an AMD FX-8350 and Radeon R9 290. This system allows us to produce a substantial amount of heat and effectively test the Phanteks Enthoo Pro‘s cooling capabilities.
For stress testing we use a mixture of Prime95 and FurMark to create the maximum heat output. Prime95′s ‘Small FFTs’ setting allows us to stress our CPU. FurMark’s ‘GPU Burn-in’ mode creates the maximum amount of load our GPU is ever likely to see.
Test System:
- Processor: 4GHz AMD FX-8350.
- Motherboard: ASRock 990FX Killer.
- CPU cooler: Corsair H100i.
- Memory: G.Skill Ripjaws X 1600MHz RAM.
- Graphics card: Sapphire Radeon Tri-X R9 290 4GB.
- Power supply: Akasa Freedom Power 1000W.
- Storage drives: Samsung 840 EVO SSD.
- OS: Windows 7 Professional 64-bit.
Thermal Performance Test Procedures:
- The case’s default fan configuration is used to give an accurate interpretation of the out-of-the-box performance.
- The Phanteks Enthoo Pro‘s default fan configuration is: 1x 200mm front intake, 1x 140mm rear exhaust fans.
- We allow the system to idle for 15 minutes and record the stable temperatures.
- We allow the system to operate under extreme stress for 15 minutes and record the stable temperatures.
Assess cooling.
While I was getting to grips with the PWM hub I initially used the SATA power connector on the hub which isn't necessary when you have a PWM connection. The result was that the two Phanteks case fans roared away at high speed and broke the 51dBA mark.
While this undoubtedly kept the case cool it was completely unacceptable for daily use and I used the ASRock BIOS to slow the fans down.
I want to emphasize here that the case fans were not running at full speed and the system could undoubtedly have been cooler, however the noise levels would have been unacceptable. This was a decent compromise for a gaming PC that you could use daily and the workload of Prime95 and FurMark was an extremely taxing test.
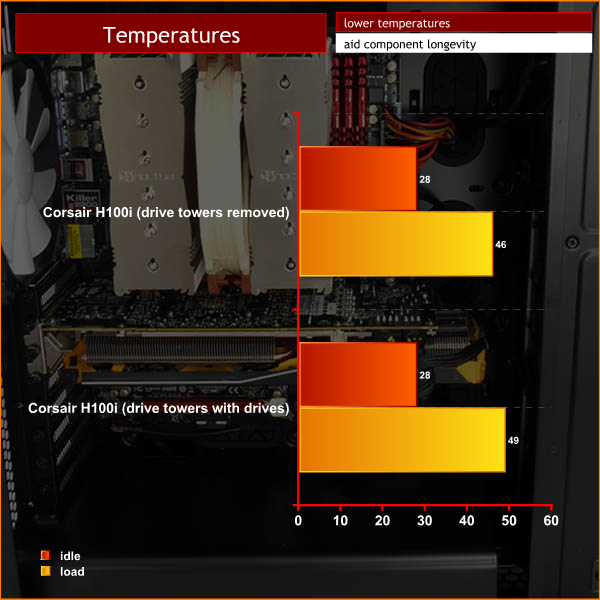
The CPU temperature was affected by the airflow from the front of the case with the drive towers and drives in place. The Corsair H100i is a good cooler but the benefit here surely comes from air that is flowing upwards and straight out of the roof of the case without any hindrance.
Acoustic Performance
Acoustic Performance Test Procedures:
- We placed our Digital Sound Level Meter one metre away from the case.
- The Phanteks Enthoo Pro‘s default fan configuration is: 1x 200mm front intake, 1x 140mm rear exhaust fans.
Assess noise
Cranking up the PWM settings would make the 200mm case fan roar to such an extent that it was unbearable. It was also unnecessary as the low noise settings kept the toasty FX-8350 well within safe limits even while it was running synthetic benchmarks.
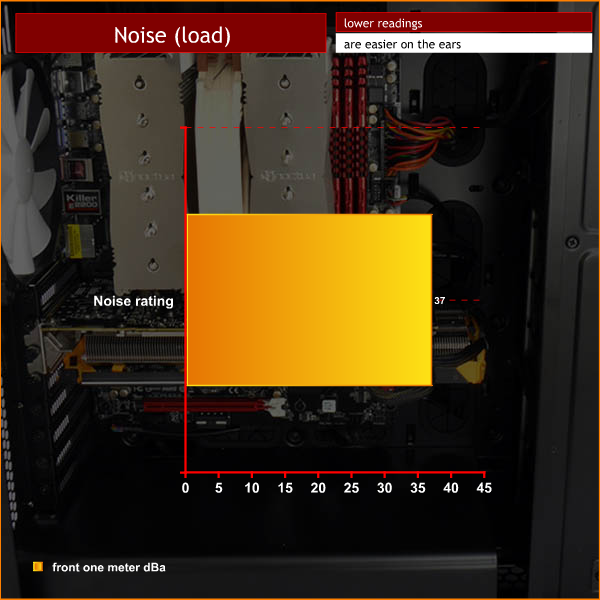
We tested with the Corsair H100i liquid cooler which has two 120mm fans that were blowing straight out of the roof of the case. If you want to drop noise levels further, then we recommend using some of the Aerocool Dead Silence fans – check out our review here.
The Phanteks Enthoo Pro is a stunningly good piece of hardware. Build quality is nigh faultless and the level of features on offer make the modest asking price appear a bargain.
I do adore aluminium cases but this steel and plastic model could easily convert me – the build quality is just that good.
There are plenty of features that grab the attention such as tool free hard drive and optical drive bays, as well as the power supply cover. The PWM fan hub is a great idea that really helps you to keep the PC build looking neat. Cable management in this case is exemplary and the finished PC build looks very tidy.
If you use the Enthoo Pro with its stock fans you will have a top notch PC case that cools the most extreme hardware without any problems – although the noise levels might cause some annoyance. If this is a problem, then check out our review of the Aerocool Dead Silence fans, over here.
Installing a closed loop water cooling system such as H100i increases the cooling levels but also raises the noise slightly.
With all the fan and radiator options that are on offer with the Enthoo Pro I am utterly confident you could build a PC that cools like a champ while keeping the noise emissions nice and low.
You can buy the Phanteks Enthoo Pro from Overclockers UK, over here. The Windowless model costs £79.99, and the Windowed model is £89.99 inc vat.
Discuss on our Facebook page, over HERE.
Pros:
- Low price.
- Superb build quality.
- Epic cooling.
- The PWM hub manages your fan connections.
- Massive array of options for the watercooling fraternity.
- Cable management is excellent.
- PSU cover keeps the build tidy.
- Tool-free throughout.
- Top notch drive cage arrangement.
- Easy to dismantle and rebuild.
- Excellent manual and accessories.
Cons:
- Standard fans are noisy when they run at speed.
- If you load the drive tower with hard drives you'll have to consider the impact on cooling.
- The power button is easy to touch by mistake.

KitGuru says: This superb case offers a massive array of options for cooling and is a natural choice for anyone building a high-end PC on the cheap.
Awesome looking case ! they really are impressing me so far with the attention to detail on their cases.
My only concern with the PWM hub would be connecting six fans to a single PWM connection on the motherboard. You could easily exceed the maximum wattage capability of a single PWM connection.
The motherboard only supplies PWM signal to Phanteks PWM controlled 3-pin fan hub and PSU supplies the power. The master fan on header 1 sends rpm singal to motherboard.
Those of us with Enthoo Primo hubs love them and can’t wait to buy them as an accessory.
Can this case fit a 360mm radiator without removing the 5,25 bays ?
no, because the fans are to be mounted inside the case with the radiator it will be too thick and will interfere with the top 5.25 bay. A good alternative is the enthoo luxe which allows for the fans to be mounted in the top shroud allowing a 45mm rad to be installed and not mess with the top 5.25 bay