We will be documenting the installation process of the Nepton 240M with a Socket 2011 motherboard. Cooler Master provide a fairly detailed installation guide which runs us through the process.
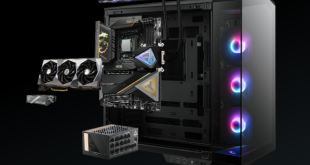
First of all we must attach the appropriate brackets to the CPU block, which will depend on whether you are building an Intel or AMD system. We installed the Intel brackets, requiring two screws through either side.

We were a little surprised at the quality of the brackets that Cooler Master have included with the unit, which sport an unsophisticated bare metal finish. These would look significantly better if they were painted (or anodised) black.
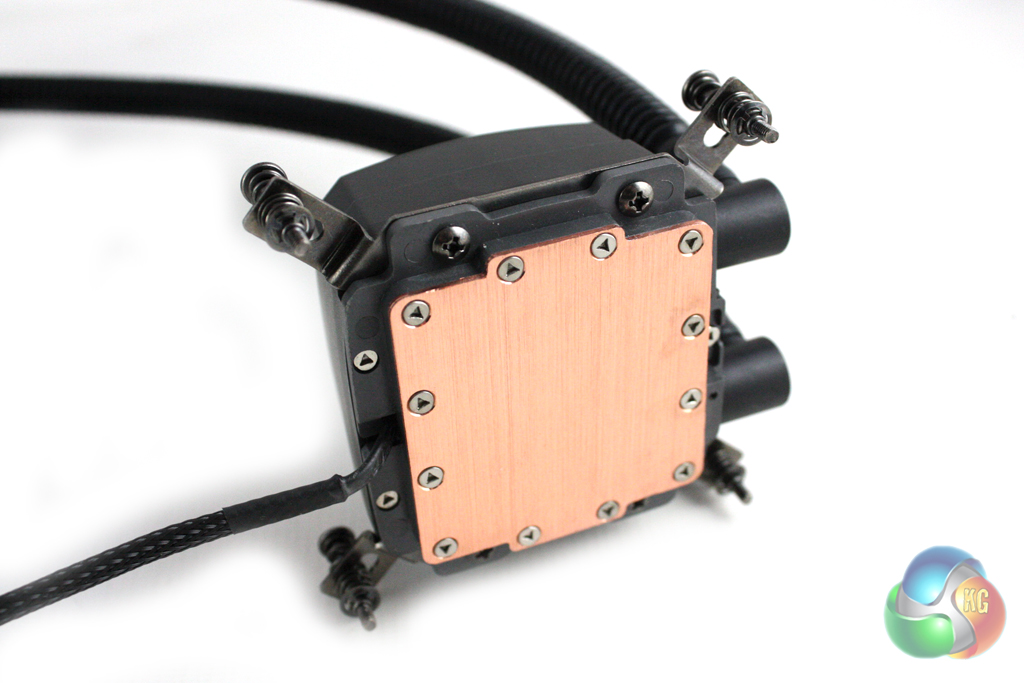
Then, it is a simple matter of screwing the stand-offs directly into the socket and locking down the CPU block using the screws on the corners of the brackets. Of course, you will need to apply thermal paste before doing this.
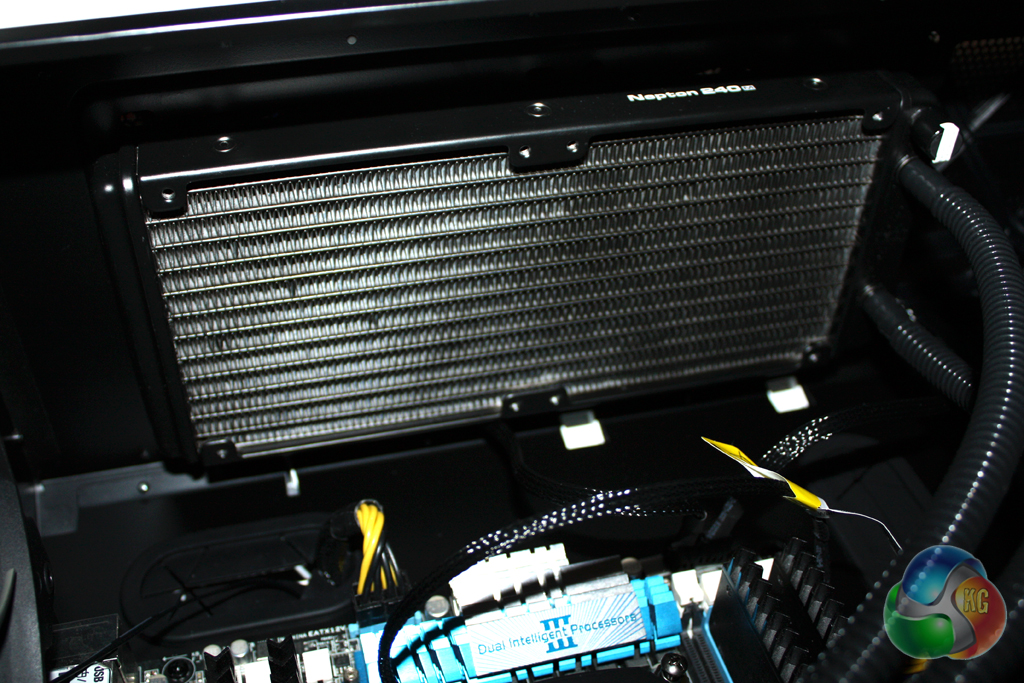
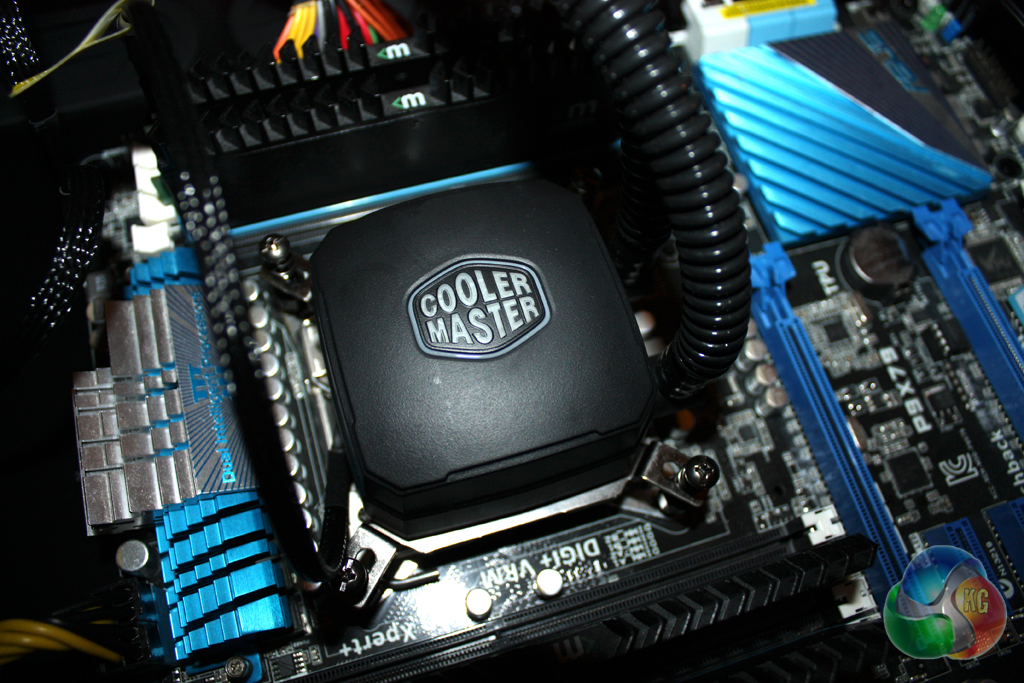
Finally, the radiator and fans must be installed into your case. Depending on your preferences, you can install the fans in a push, pull, or push-pull (requiring two additional fans) configuration.
Cooler Master thoughtfully include all the necessary screws for these configurations, which are actually thumbscrews. This saves a lot of hassle with a screwdriver, but also means the screw heads do not sit flush with the metal of your case.