

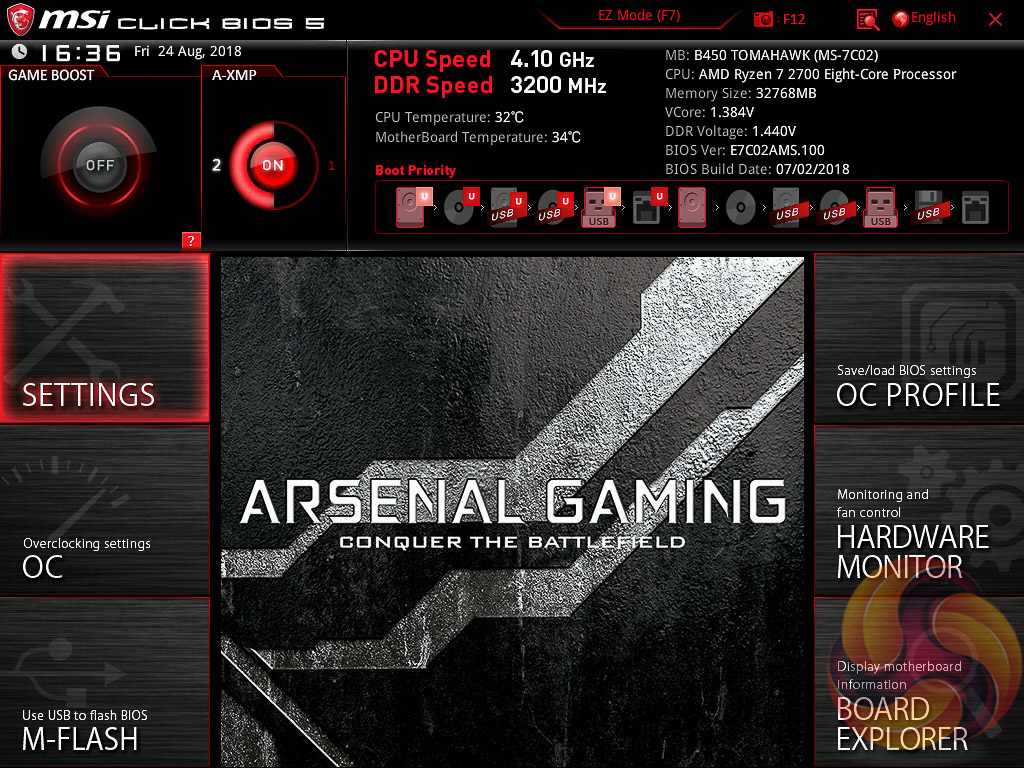
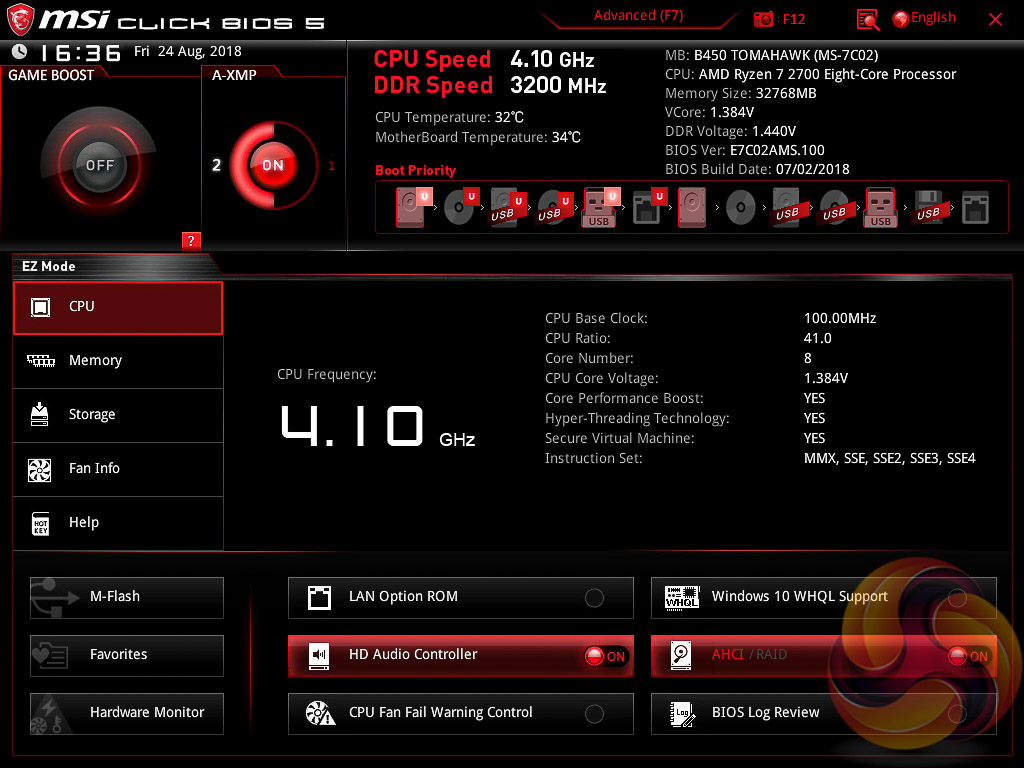
MSI’s UEFI has remained relatively consistent across its range of “gaming” motherboards for AMD & Intel platforms for the last few years. The MSI B450 Tomahawk sports version 5 of MSI’s Click BIOS which launches into an EZ Mode splash screen with an option to head into the advanced mode with the press of F7.
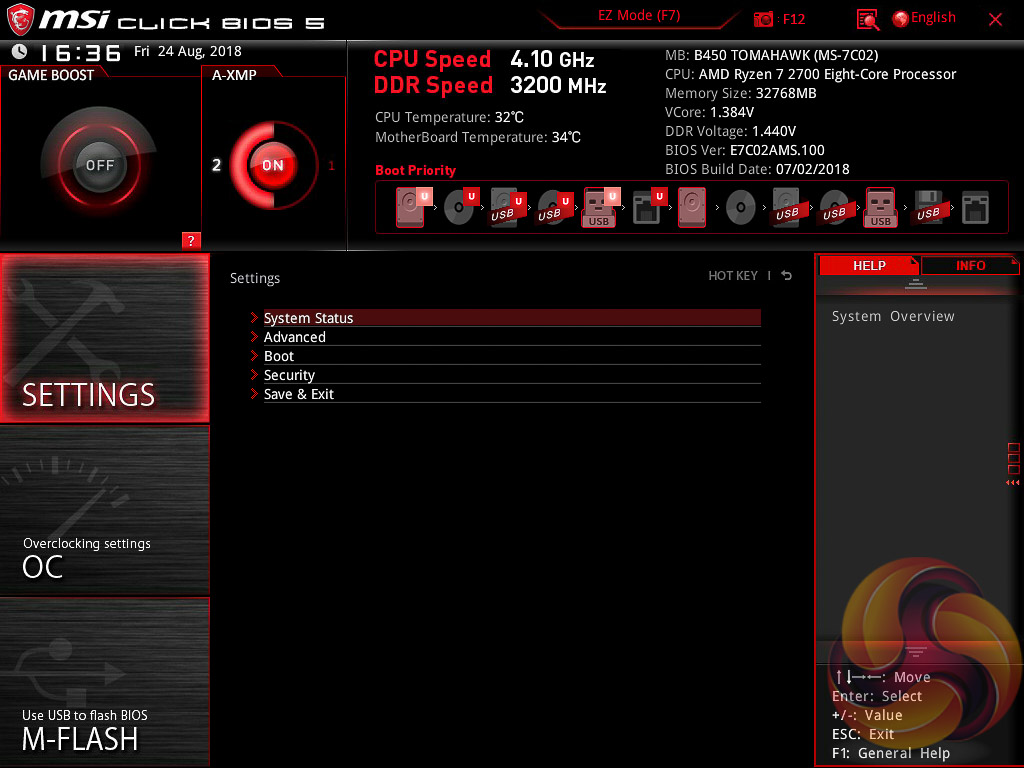

Settings has a number of useful parameters for booting, integrated peripherals and onboard devices. The Advanced entry has the most sub menus and options to play with including the ability to toggle various different compatibility modes for storage and USB devices.
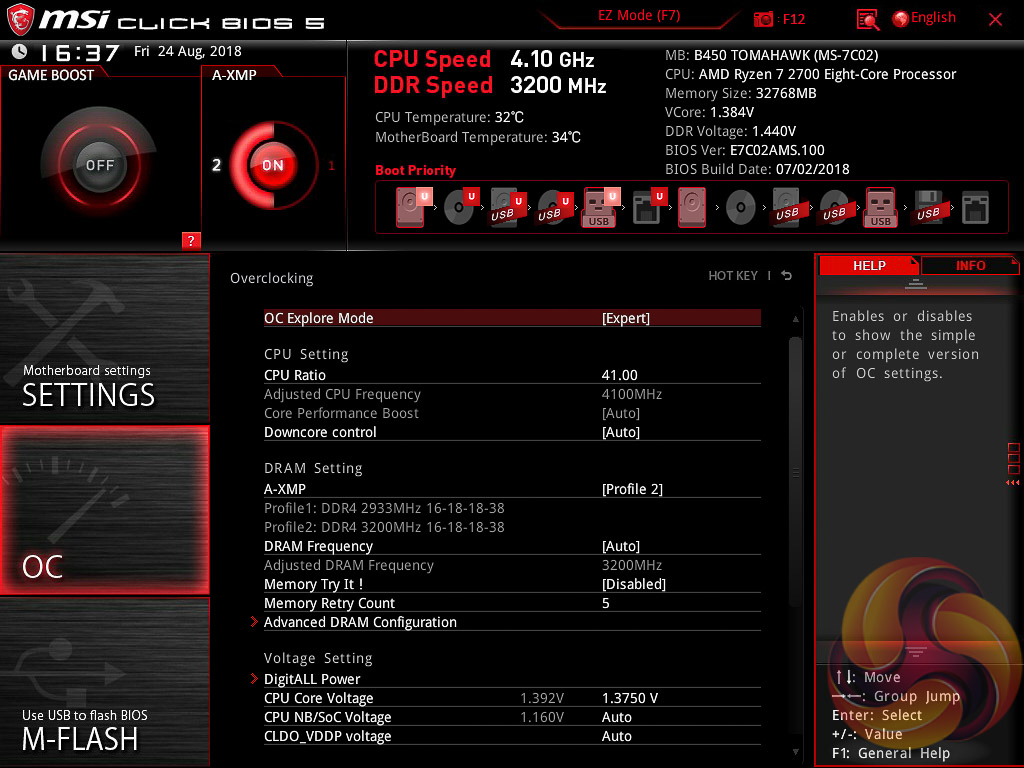
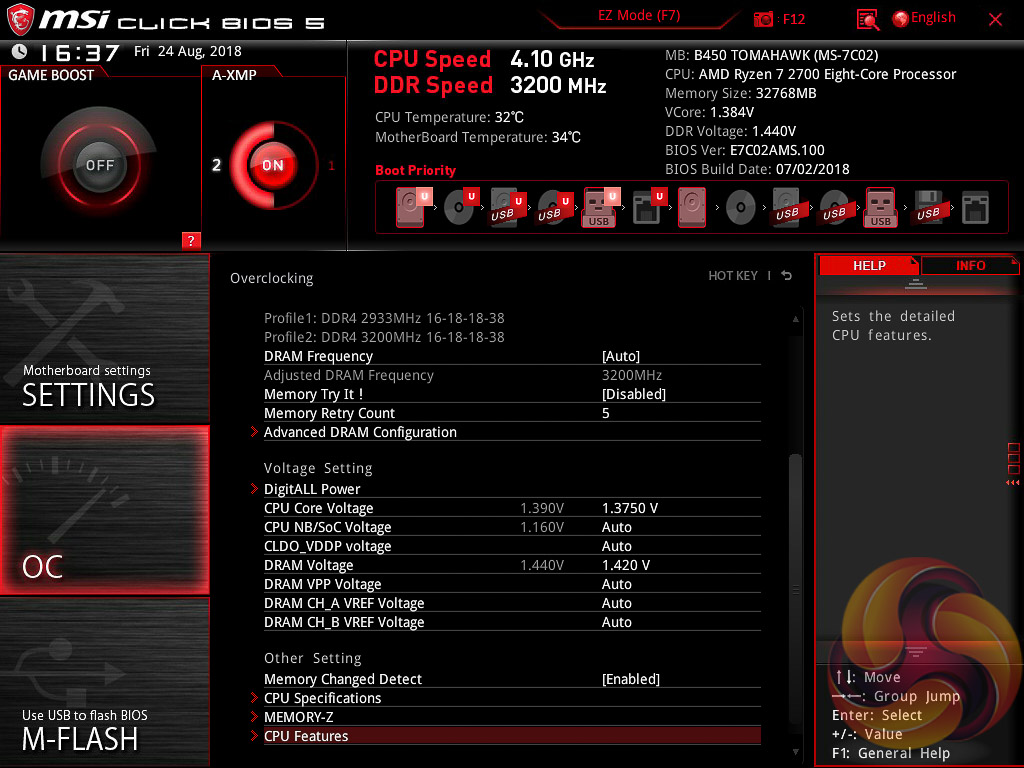
The real substance of the BIOS for most users is found in the OC tab where frequency and voltage settings related to the CPU, DRAM and other system components is found. It is advisable to toggle the “OC Explore Mode” into Expert straight away since the Normal mode does hide some useful options.
MSI implements “A-XMP” profiles, effectively AMD XMP profiles which translates the Intel XMP profiles for the AMD system. In our case the 3200MHz XMP profile on the G.Skill memory kit seemed to translate correctly in terms of major timings, frequency and the voltage, but was not stable.
By default it applied too much voltage (1.38 instead of 1.35 that it showed in the UEFI) and still wasn't stable, by manually increasing the voltage to 1.4 volts we were able to get the system stable, but even then it would increase the voltage further to 1.44v.
MSI issued an updated v1.10 (build date 03/08/2018) BIOS after we finished our benchmarking, but this new BIOS version exhibited the same problems as the v1.0 BIOS we tested with initially.
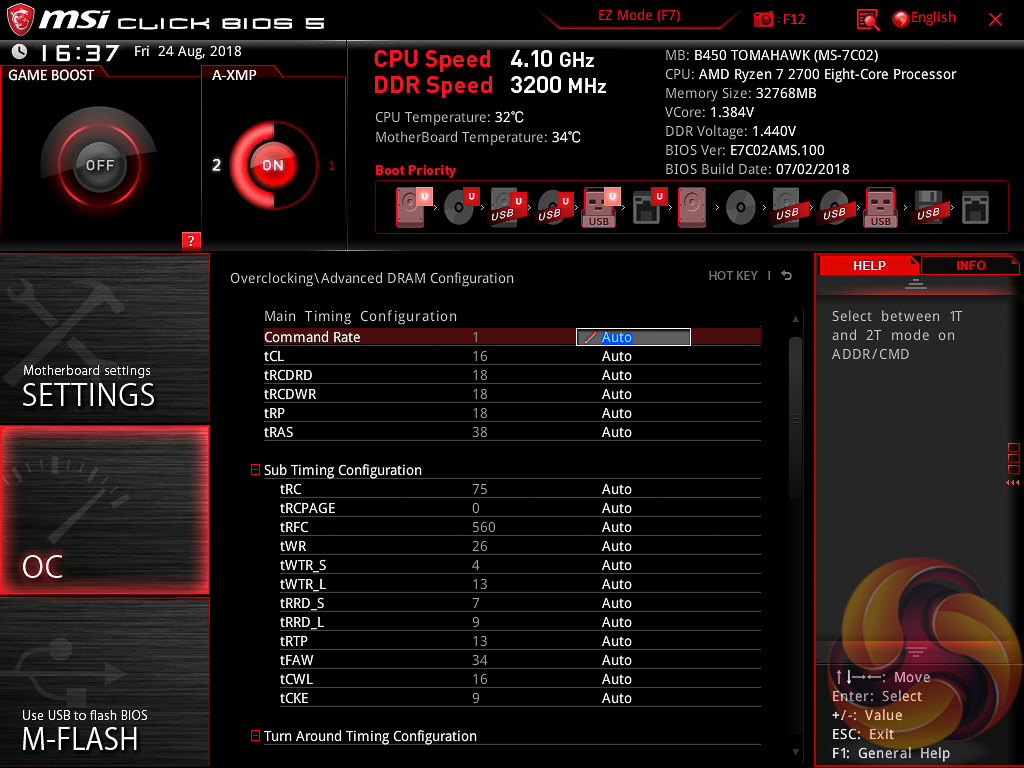
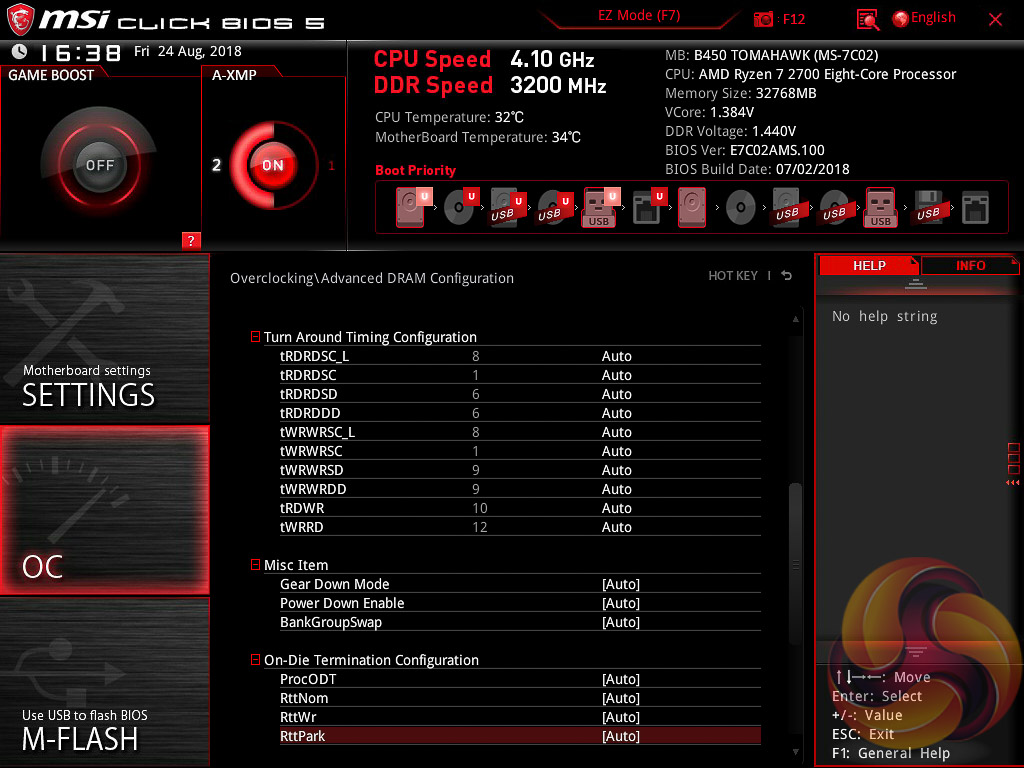
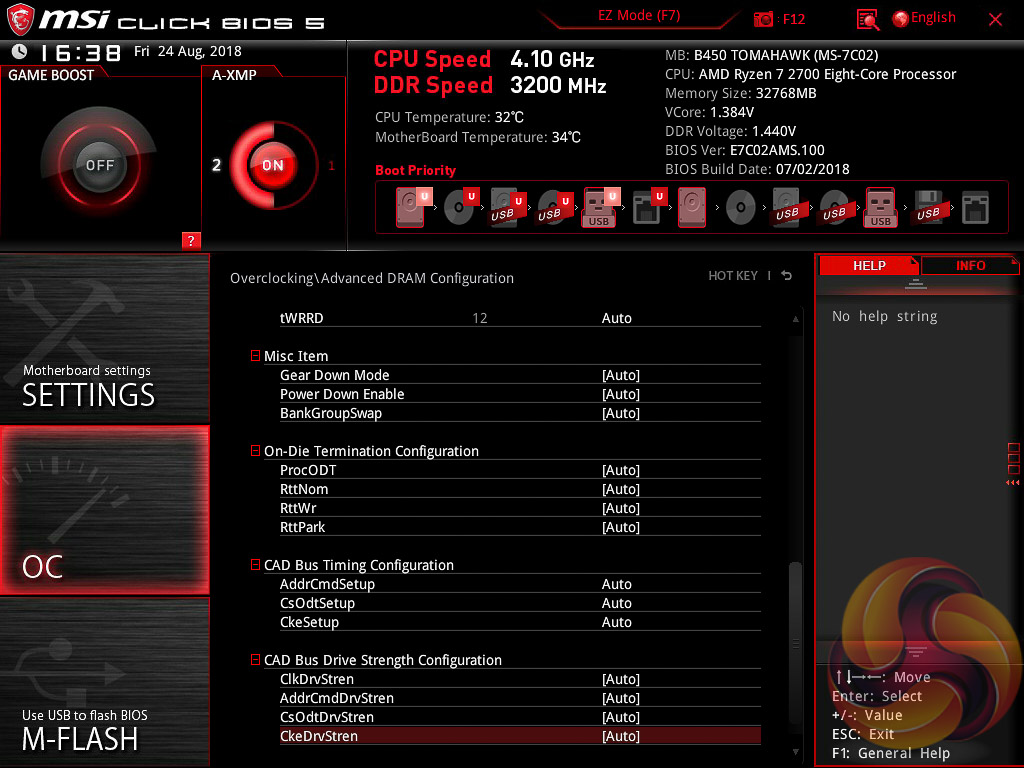
There are an extensive array of options for secondary and tertiary DRAM timings, as well as other obscure DRAM parameters. We expect that MSI may need to tweak the “Auto” behaviour of these advanced settings on this motherboard, as well as some of the system voltages, to prevent future issues with XMP profiles.
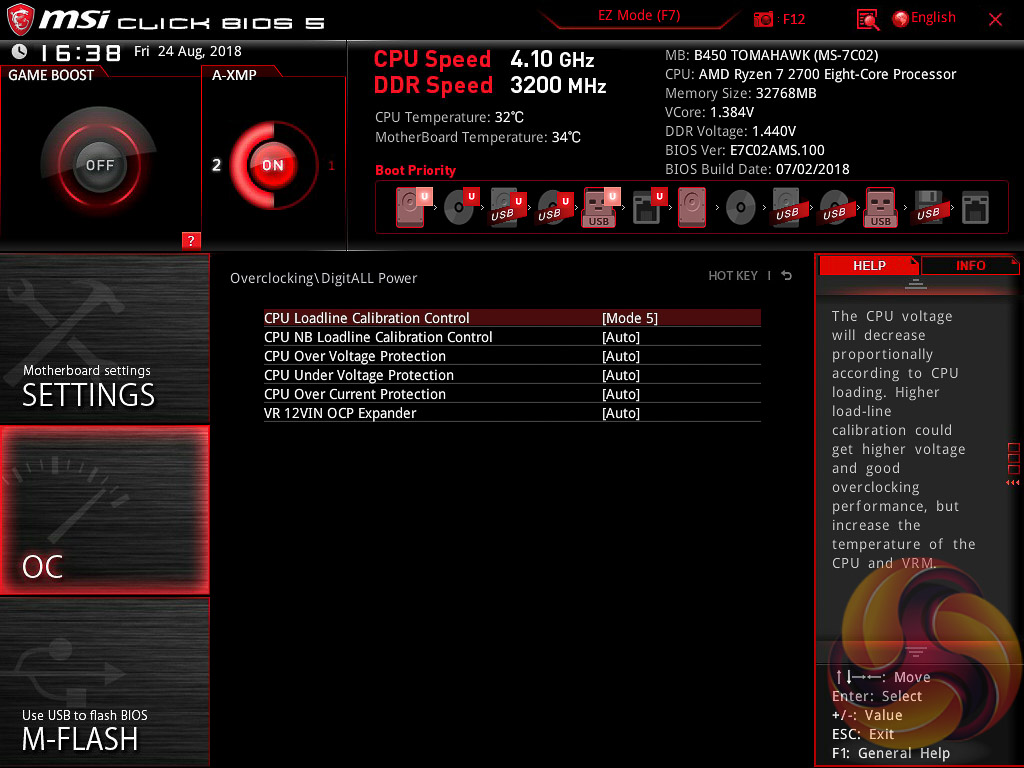
The range of LLC options is extensive with Mode 1 (most aggressive) to Mode 8 (least aggressive). From our testing Mode 4 seemed to be adequate for maintaining the input voltage set in the UEFI at a fairly constant level, Mode 5 resulted in slight reduction to the programmed voltage.
Within this section you can also program the North Bridge (NB) LLC settings, not that there's much benefit from tinkering with this for the purposes of CPU overclocking, though sometimes increasing it can aid stability.
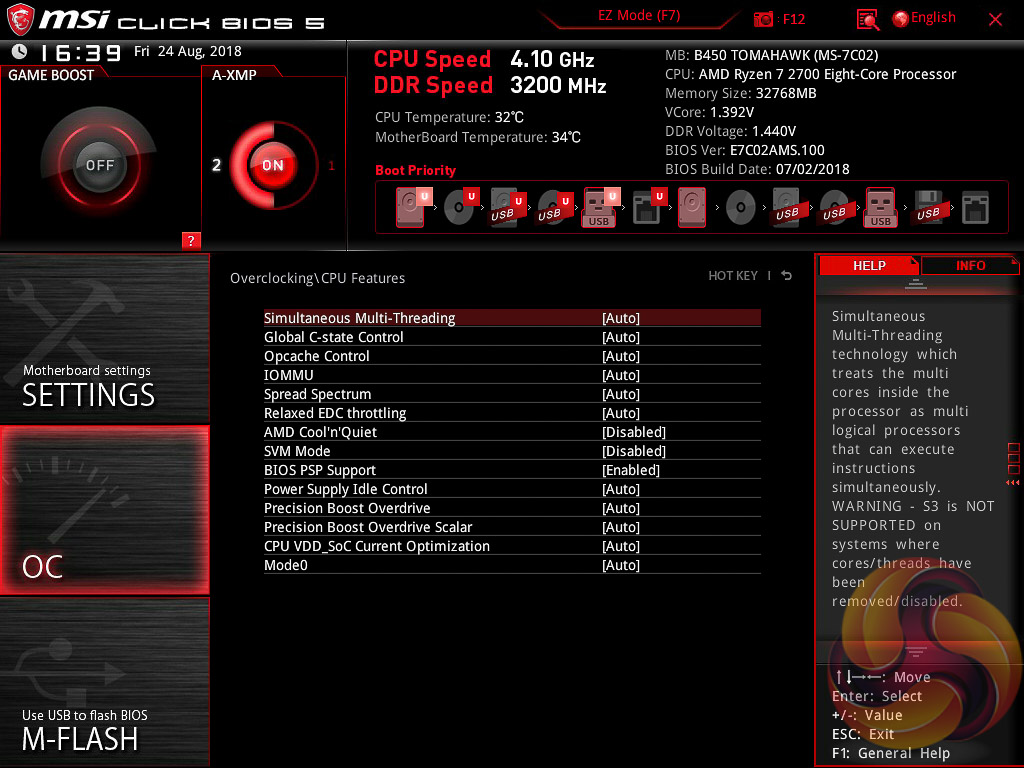
Some of the AMD-specific CPU features and settings can be found in the “CPU Features” section such as Precision Boost Overdrive settings.
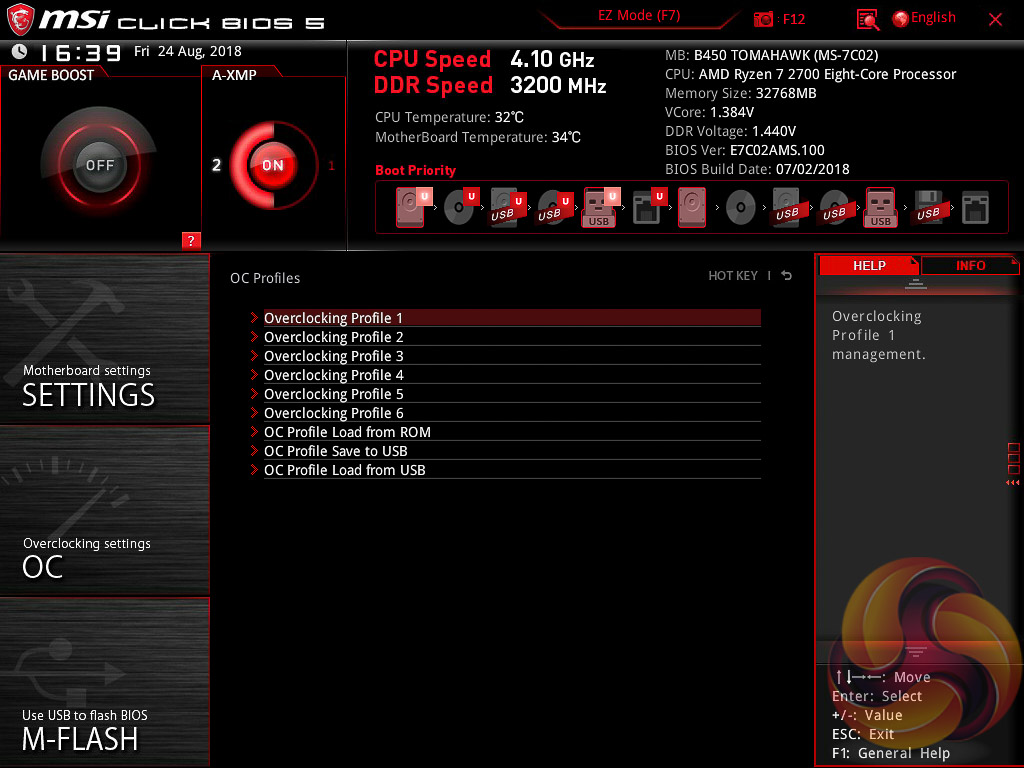
The OC Profile section hasn’t changed a great deal in successive generations, it still allows you to save OC profiles to blank slots, load in OC profiles from a USB stick or export them to a USB stick. It’s a useful capability that should facilitate sharing of decent OC profiles on forums and across the internet more generally.
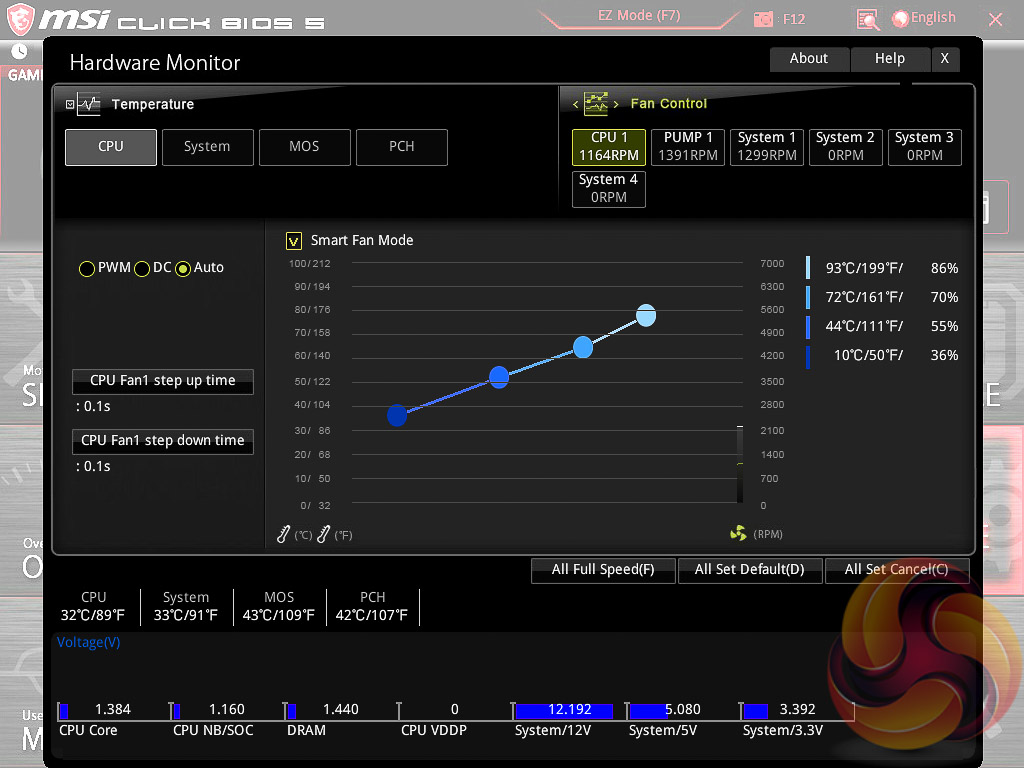
Hardware Monitor is the primary method of changing fan profiles within the UEFI environment for each of the six fan headers.
The fan controls are adequate for this motherboard allowing you to change the temperature source for each temperature-guided fan profile and the “step-up” time between each of the adjustment thresholds (hysteresis).
The only concern is that there isn’t an easily accessible set of fan profiles – there’s a default (auto-type) option or full speed and the ability to pick between DC or PWM. However, some more traditional pre-calculated fan profiles like Quiet, Normal, Turbo and Full-Speed would be well founded and make fan tuning an easier task.
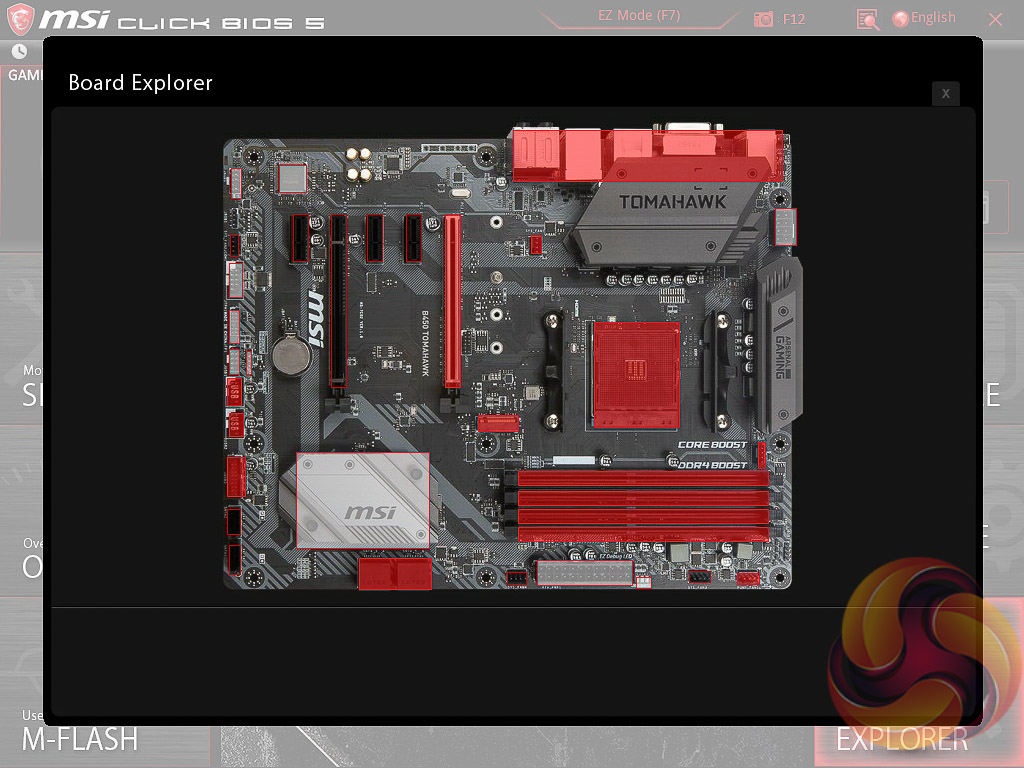
Board Explorer is a visual interface for seeing what is connected to the various sections of the motherboard and some information about those connected entities.
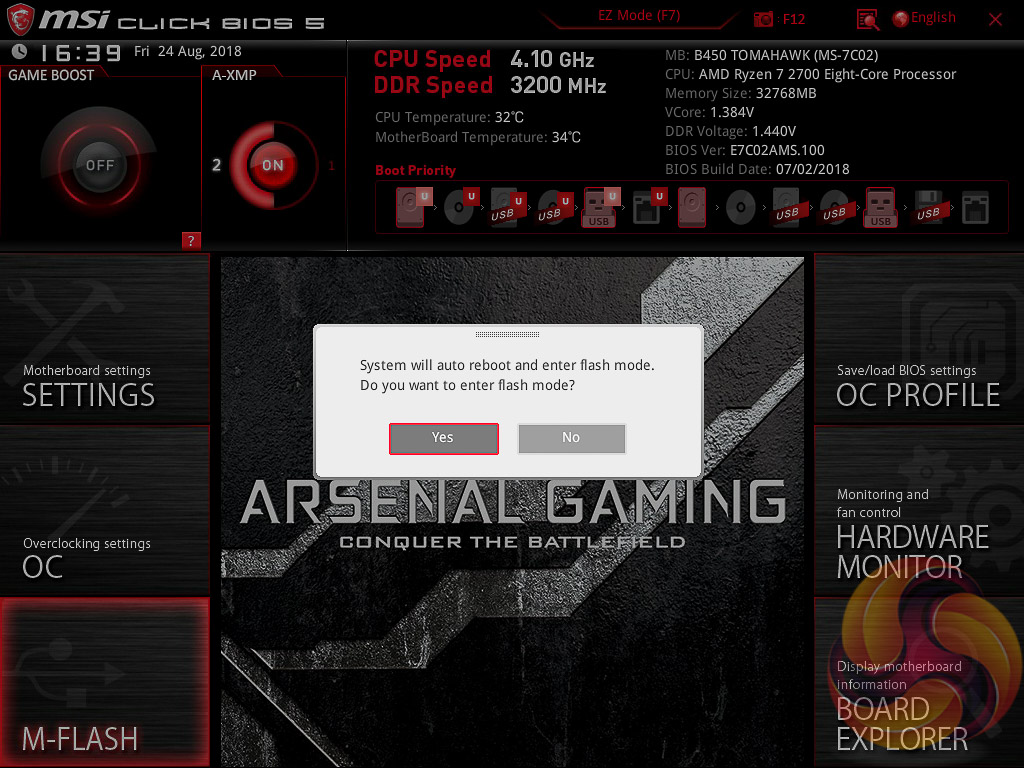
M-Flash forces you to reboot to enter the flashing process which is somewhat tedious, though in practice all motherboard vendors will eventually reboot multiple times during the flashing process to apply the updates. However, you can’t view any of the M-Flash options or interface without conducting a reboot, whereas most vendors will at least allow you to navigate around in the interface, see what options are available to you and even start the flash, before a reboot is eventually required.
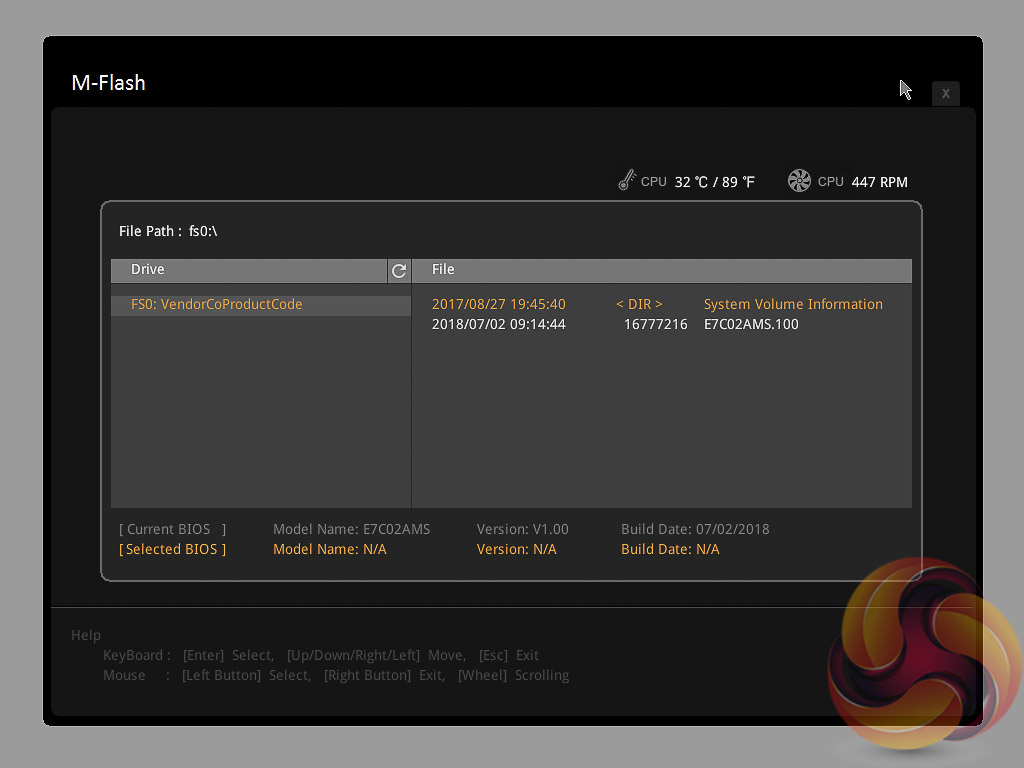
Unlike some rival solutions you can’t see local drives in M-Flash to source the update file or update directly over the internet, only removable media such as USB drives are supported. MSI would benefit from bolstering the functionality of it’s M-Flash utility. The BIOS flashback port on the rear I/O is a bonus at least.
