

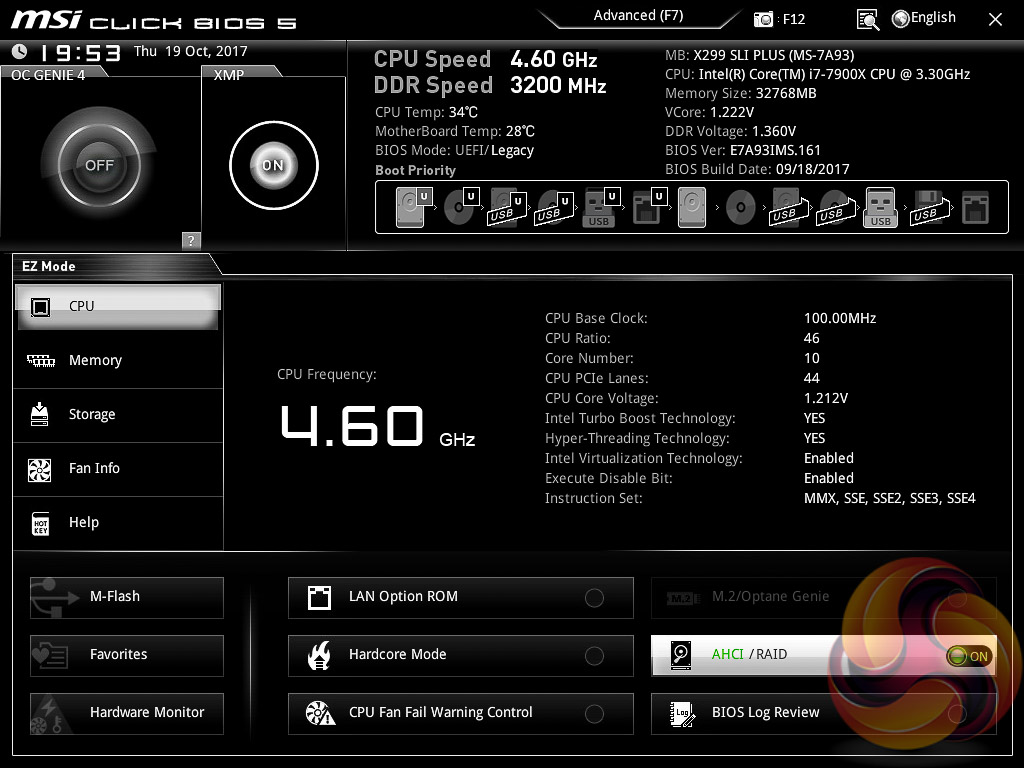
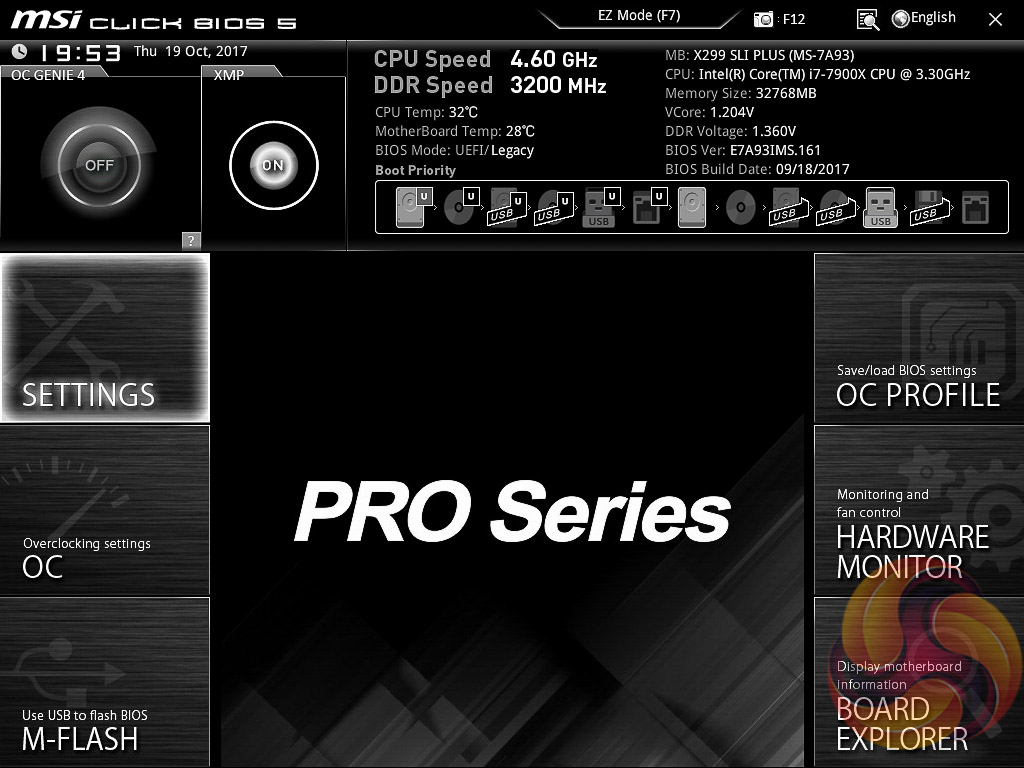
MSI’s UEFI has remained relatively consistent across its range of high-end motherboards for Intel platforms for the last few years. The MSI X299 SLI Plus sports version 5 of MSI’s Click BIOS which launches into an EZ Mode splash screen with an option to head into the advanced mode with the press of F7.
The EZ mode is designed for a quick and high-level overview of key choices like memory XMP, basic system diagnostic data and boot order.
The Game Boost “overclocking button/dial” settings can be toggled from within the UEFI environment. The user simply has to change the Game Boost Function Control to By BIOS Options and the options can be edited in the top left section of the UEFI. In effect this makes the physical Game Boost dial found on higher-end boards is an unnecessary luxury so consumers considering MSI motherboards without Game Boost dials, such as this one, shouldn’t feel short-changed in any way.
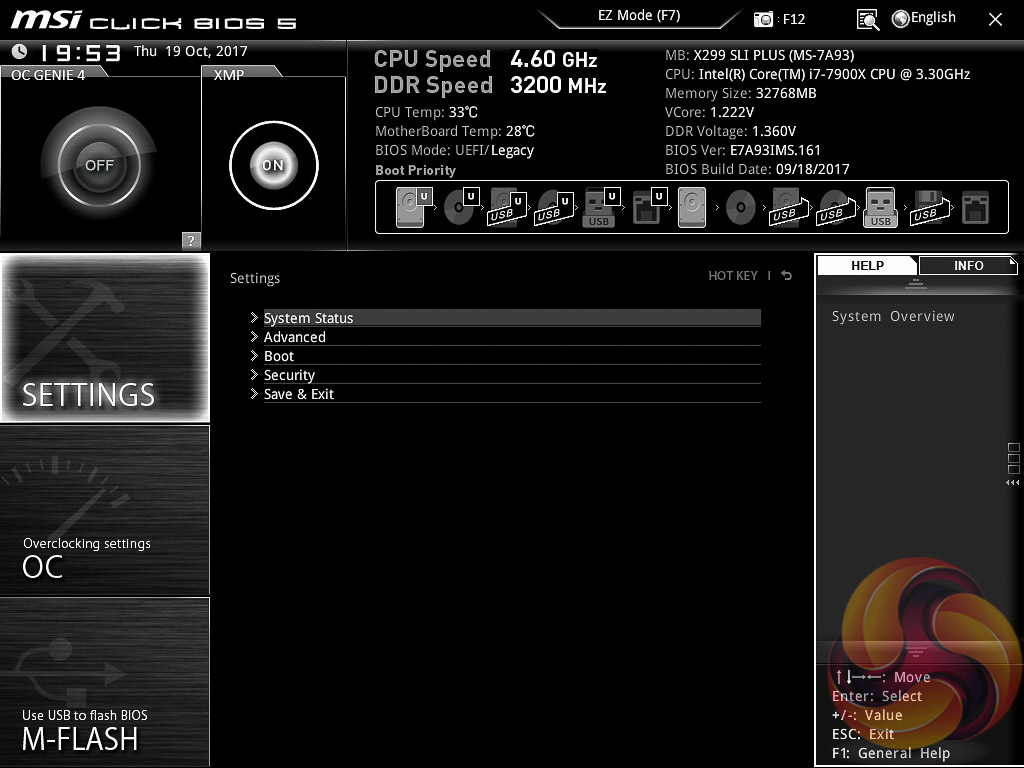
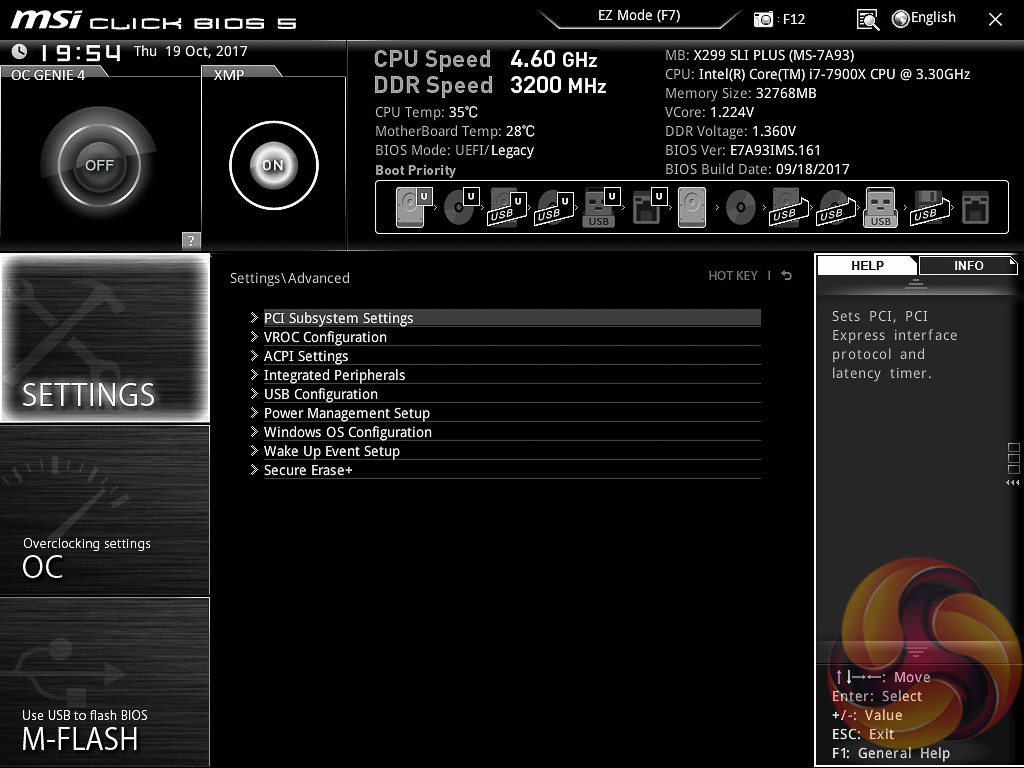
Settings has a number of useful settings for booting and integrated peripherals. The Advanced entry has the most sub menus and options to play with including the ability to toggle various different compatibility modes for storage and USB devices.
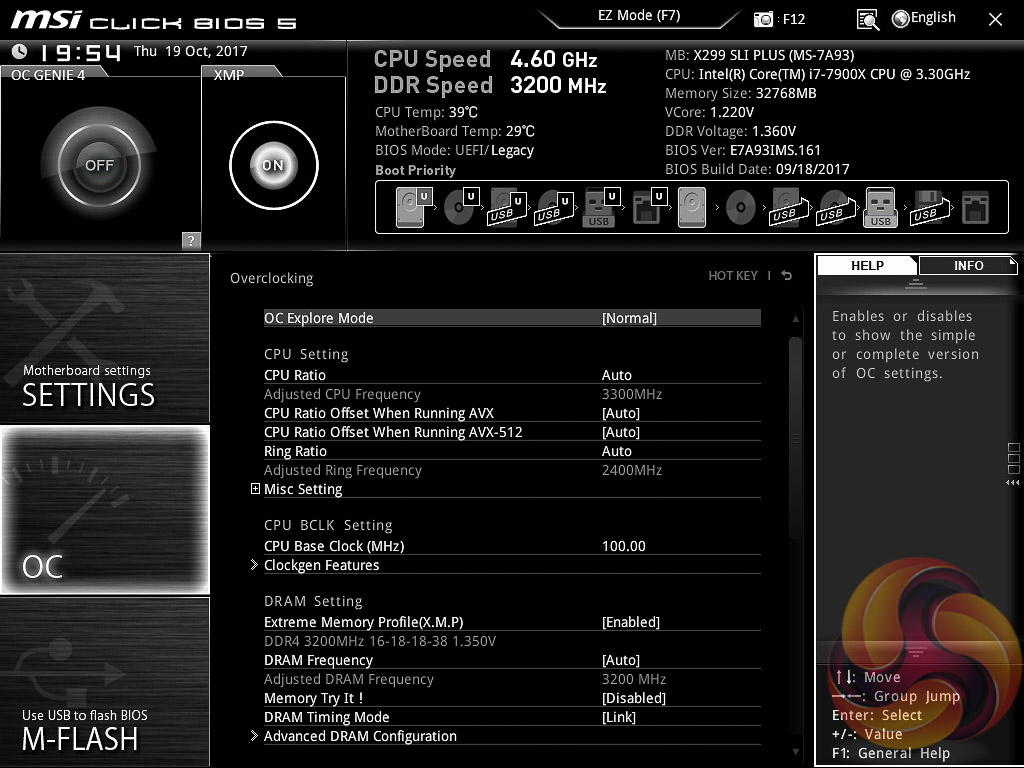
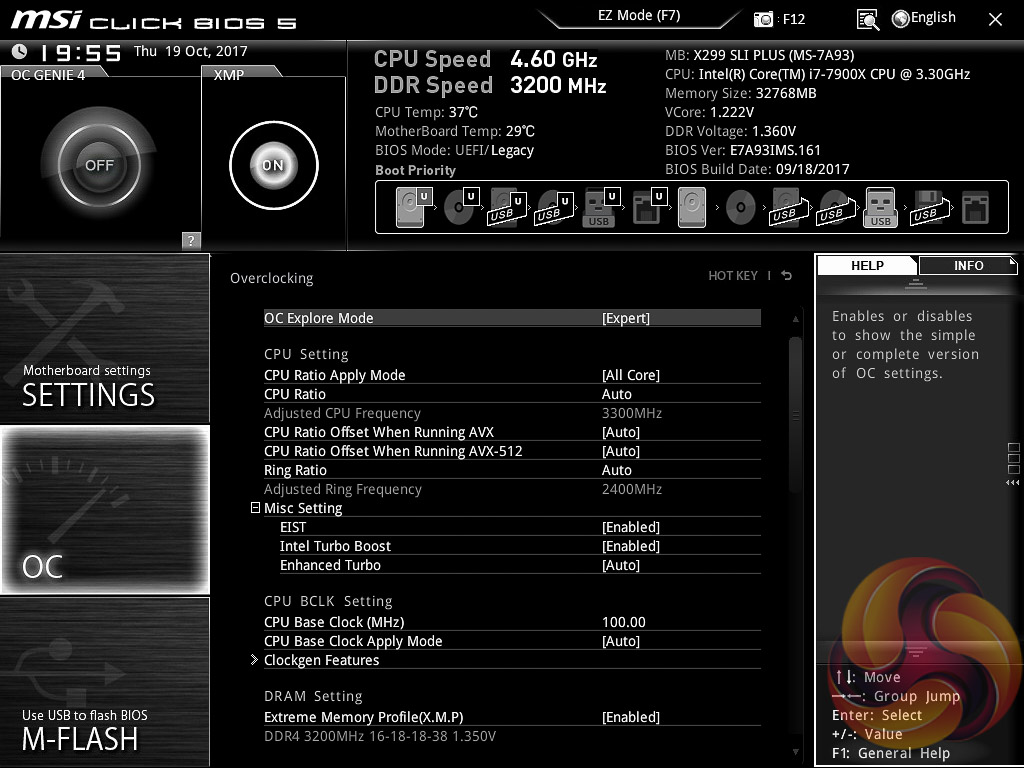
The real substance of the BIOS for most users is found in the OC tab where frequency and voltage settings related to the CPU, DRAM and other System components are found. It is advisable to toggle the “OC Explore Mode” into Expert straight away since the Normal mode does hide some useful options.
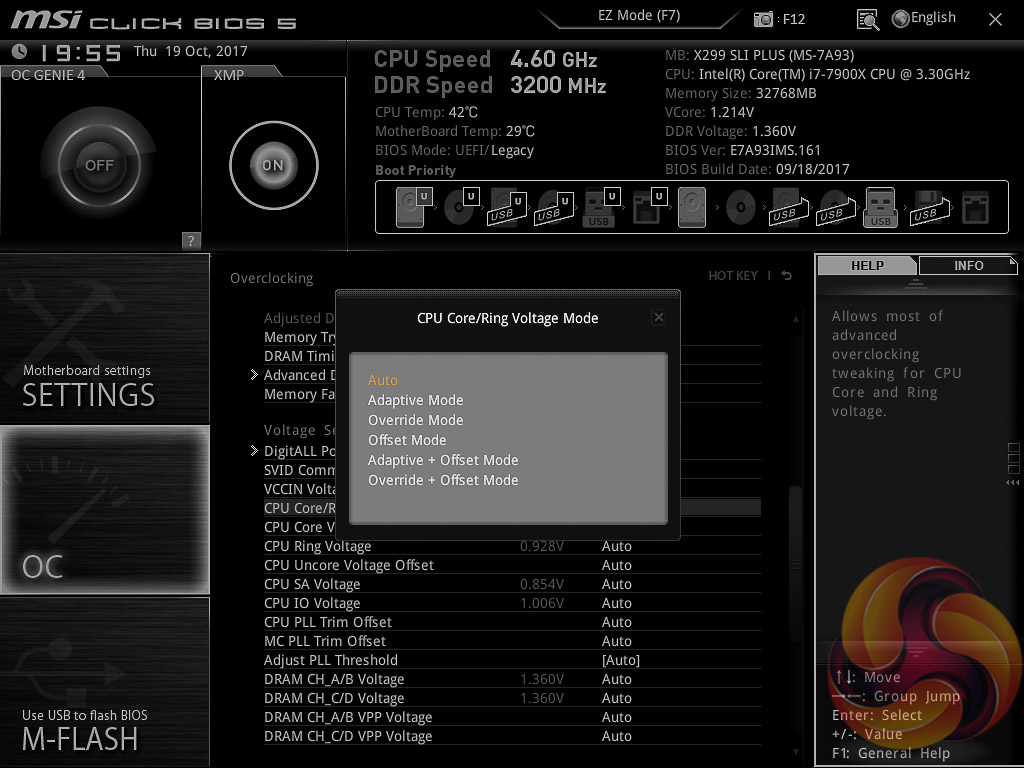

The most important of those is the ability to pick how CPU voltage is applied, by enabling Expert mode you can pick from a number of voltage modes including Adaptive, Override, Offset, Adaptive + Offset or Override + Offset.
The range of LLC options is extensive too with Mode 1 (most aggressive) to Mode 8 (least aggressive) as well as an option for No overvolting, which is even less aggressive on the voltage than Mode 8. From our testing mode 2 will ensure an almost perfect voltage stability under load, mirroring the voltage specified in BIOS, while mode 3 isn’t far off either. The visual diagram MSI provides within the BIOS is useful in ascertaining the behaviour of each CPU LLC mode.
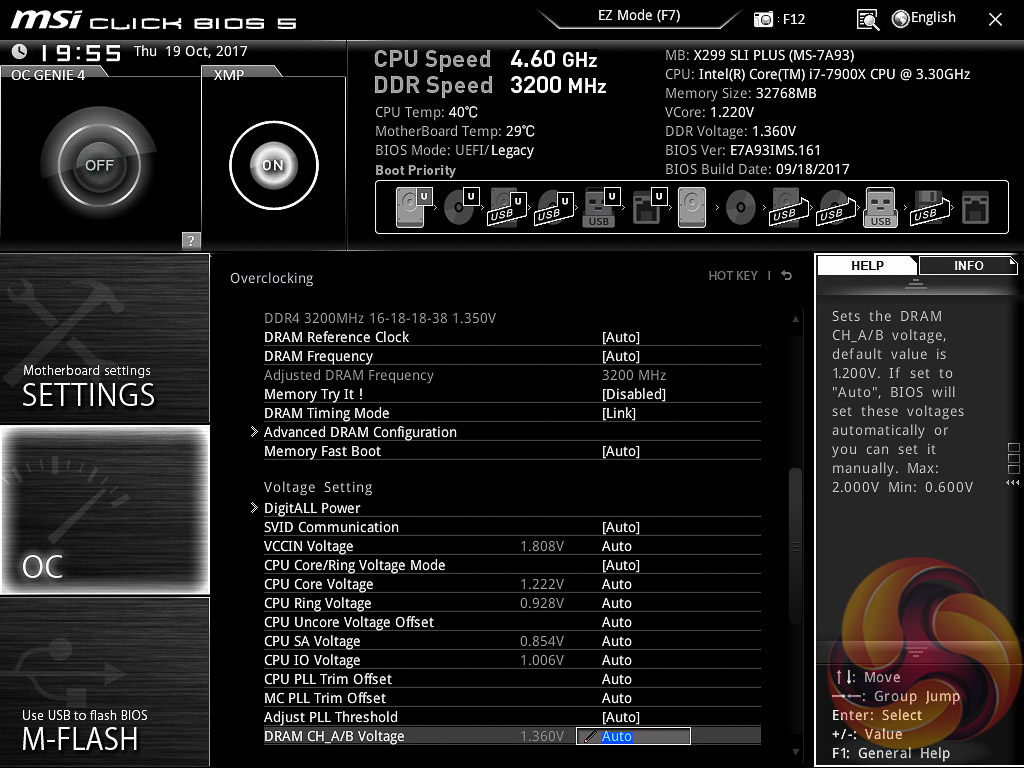
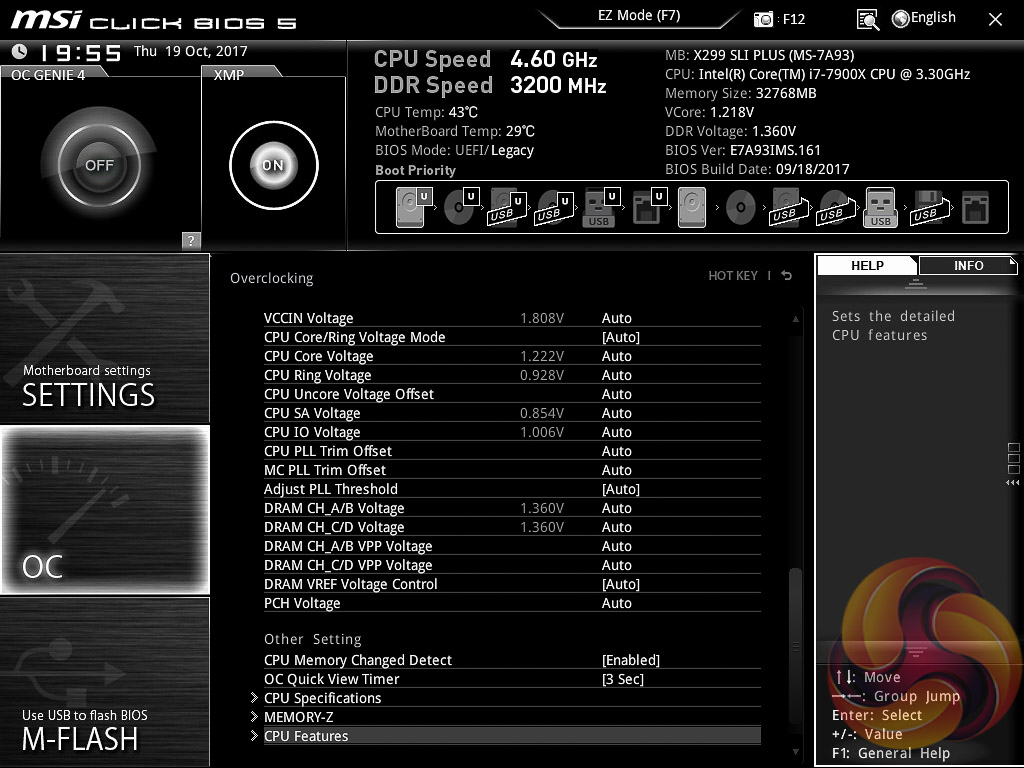
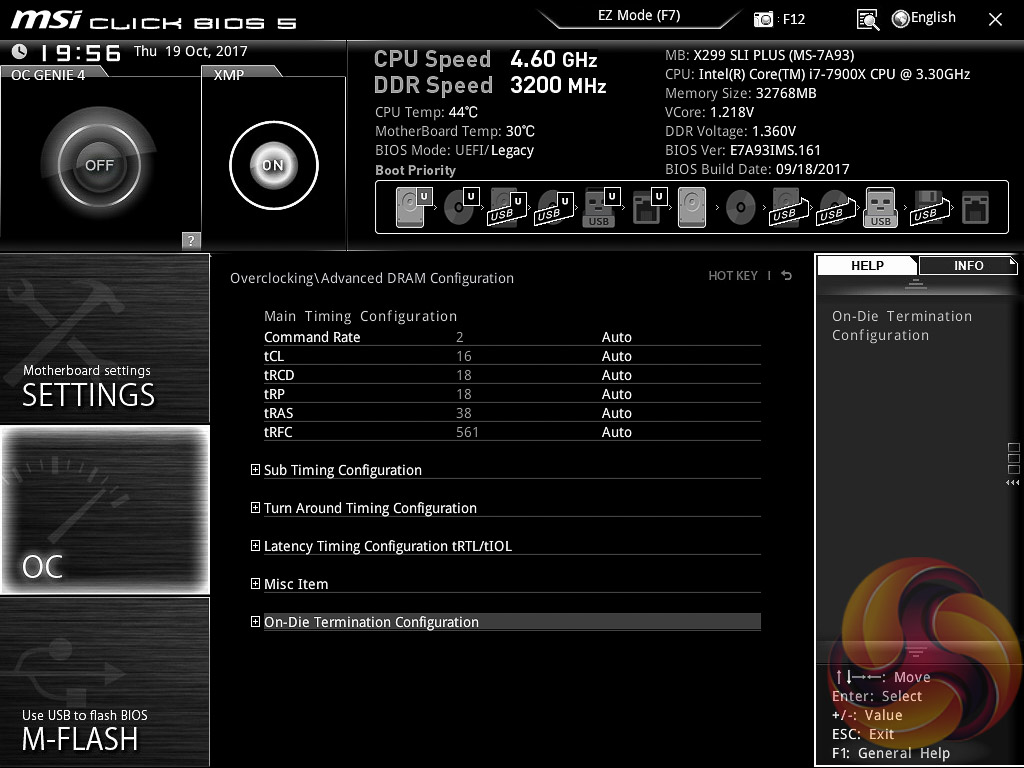
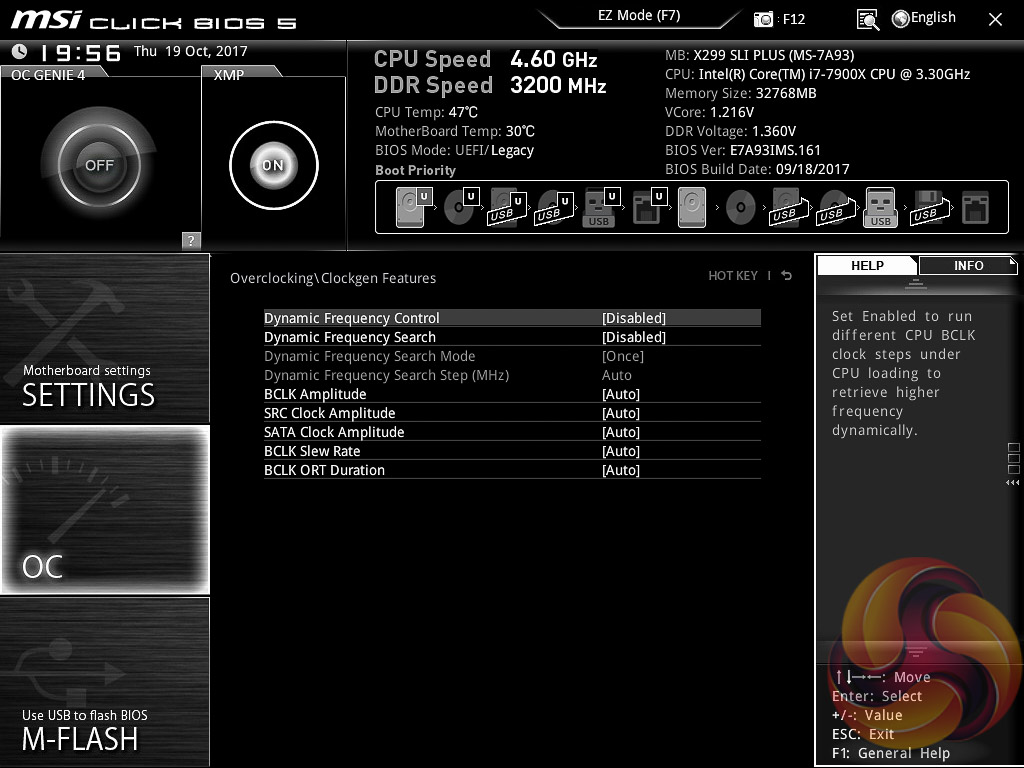
Within the rest of the OC section are a further range of specific configuration options for clock generation, DRAM and a whole plethora of voltages, offsets and other miscellaneous settings.
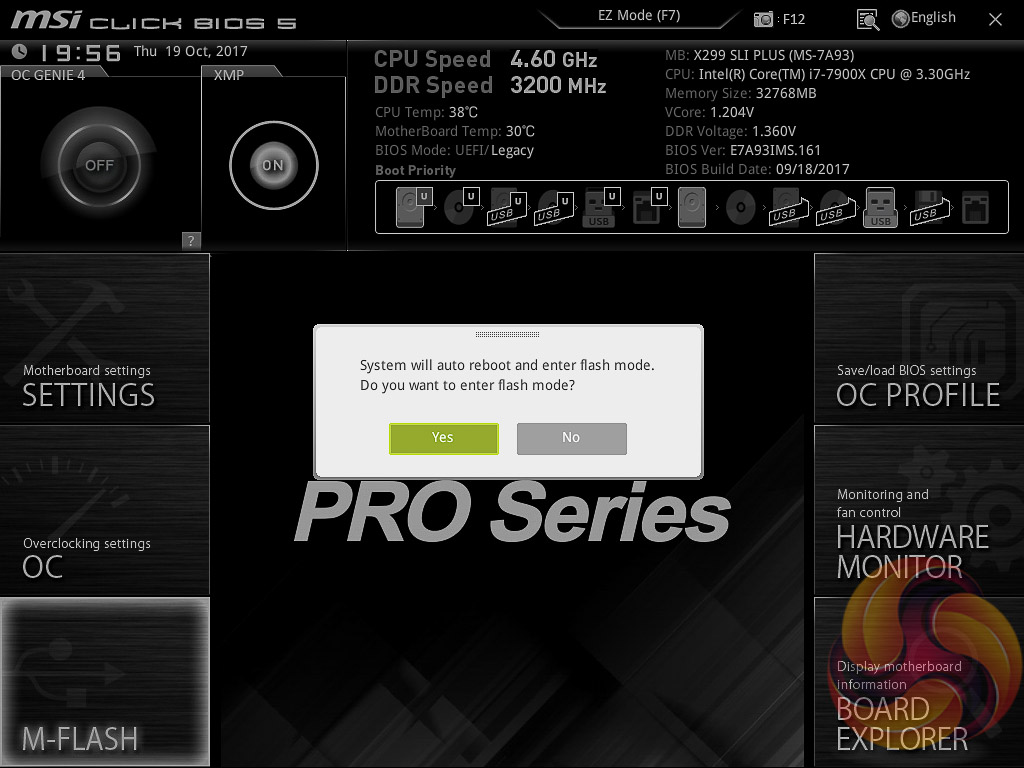

M-Flash forces you to reboot to enter the flashing process is somewhat tedious though in practice all motherboard vendors will eventually reboot multiple times during the flashing process to apply the updates. However, you can’t view any of the M-Flash options or interface without conducting a reboot, whereas most vendors will at least allow you to navigate around in the interface, see what options are available to you and even start the flash, before a reboot is eventually required.
Unlike some rival solutions you can’t see local drives in M-Flash to source the update file or update directly over the internet, MSI would benefit from bolstering the functionality of it’s M-Flash utility. The BIOS flashback port on the rear I/O is a bonus at least.
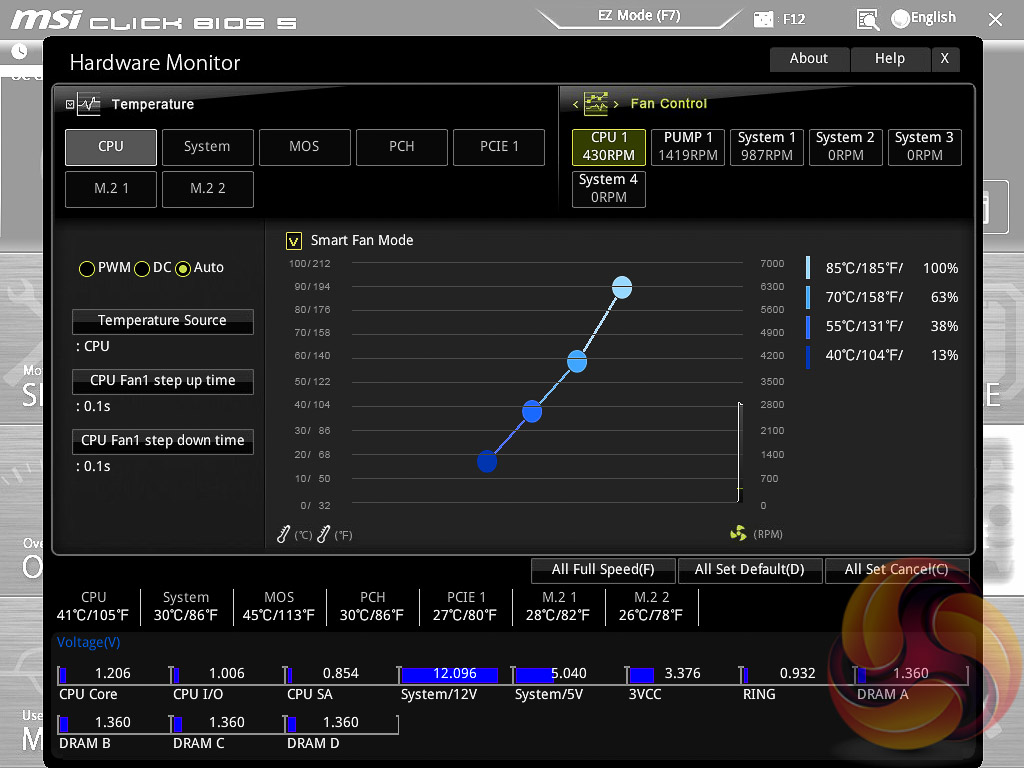
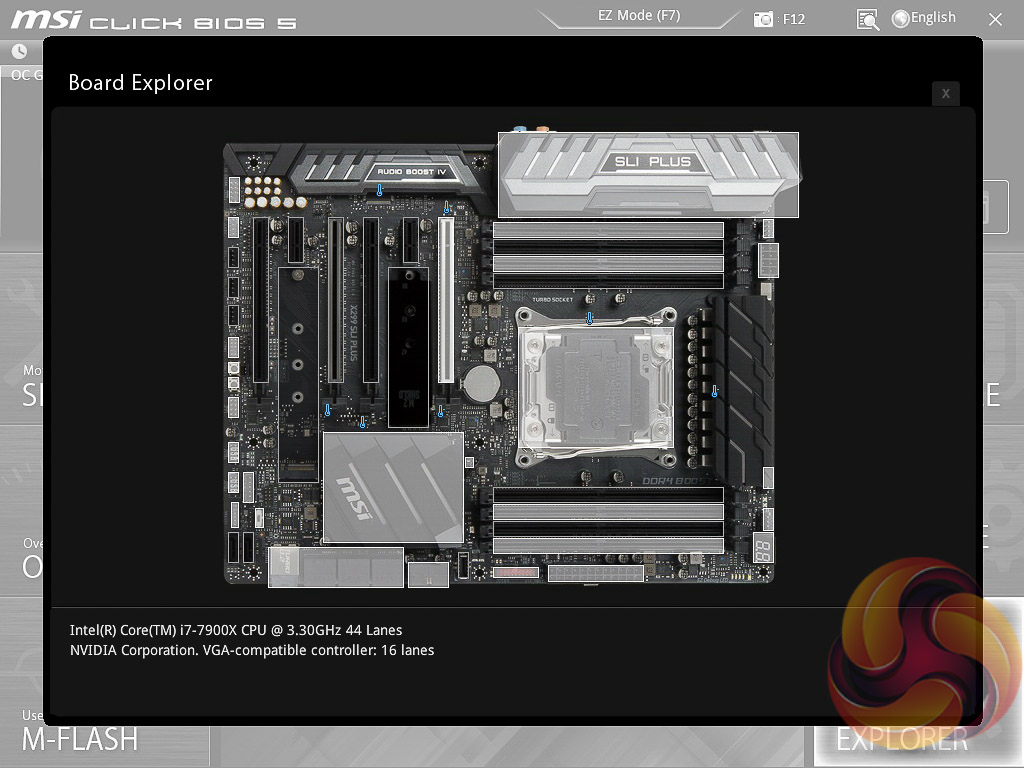
The last two tiles of the MSI UEFI refer to visual tools. Board Explorer is a visual interface for seeing what is connected to the various sections of the motherboard and some information about those connected entities. Hardware Monitor has more practical use in that it’s the primary method of changing fan profiles within the UEFI environment for each of the six fan headers.
The fan controls are adequate for this motherboard allowing you to change the temperature source for each temperature-guided fan profile and the “step-up” time between each of the adjustment thresholds (hysteresis).
The only concern is that there isn’t an easily accessible set of fan profiles – there’s a default (auto-type) option or full speed and the ability to pick between DC or PWM. However, some more traditional pre-calculated fan profiles like Quiet, Normal, Turbo and Full-Speed would be well founded and make fan tuning an easier task.
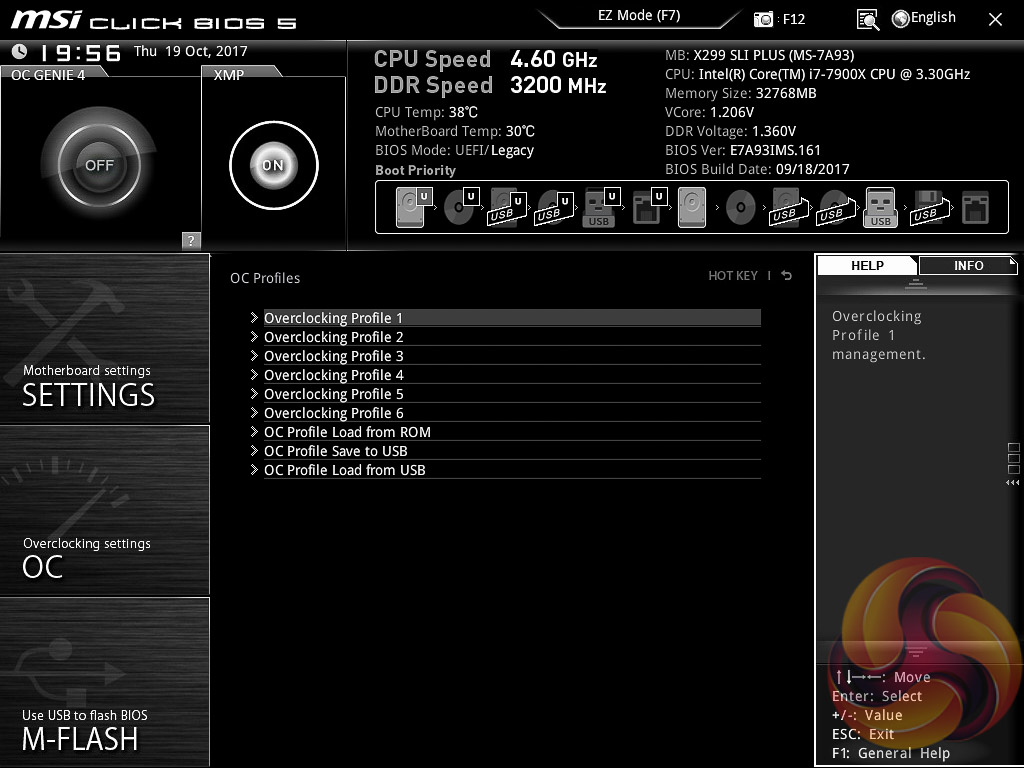
The OC Profile section hasn’t changed a great deal in successive generations, it still allows you to save OC profiles to blank slots, load in OC profiles from a USB stick or export them to a USB stick. It’s a useful capability that should facilitate sharing of decent OC profiles on forums and across the internet more generally.
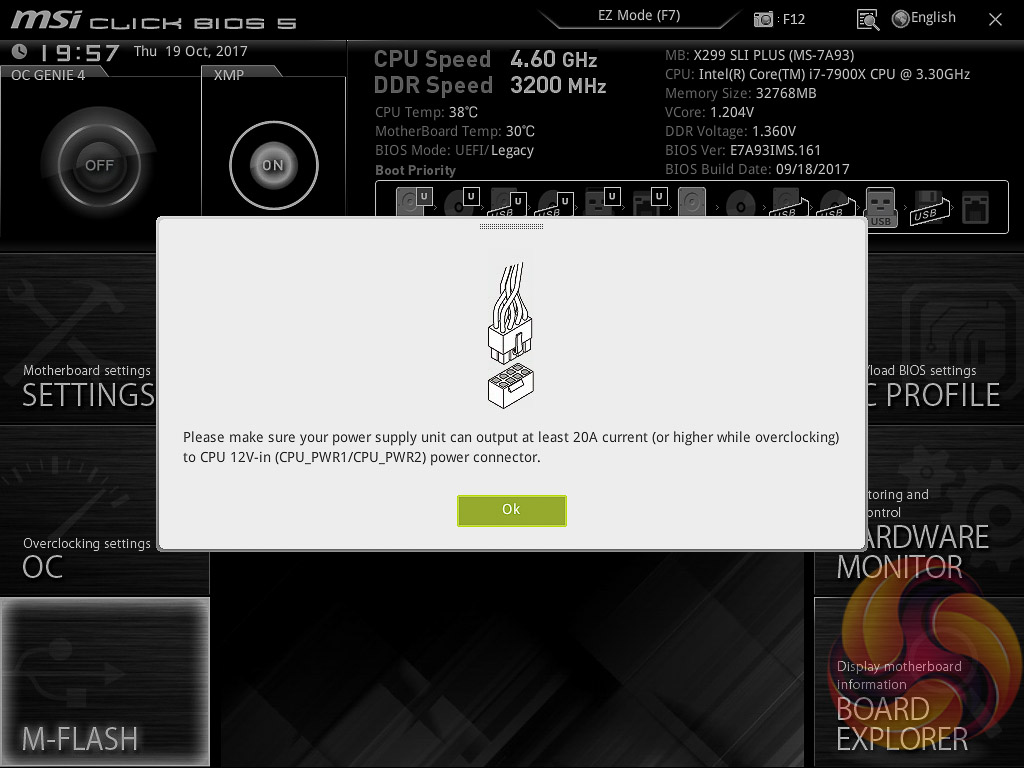
One of the newest features of MSI’s latest BIOS version for X299 is a reminder, when overclocking, that a PSU with at least 20 Amps of spare capacity for the 12v rail is needed. Note that any power requirement for the graphics card should be subtracted from the PSUs rated maximum +12 volt amperage to figure out what is left for the CPU.

Thanks for the useful information. Very helpful!!!