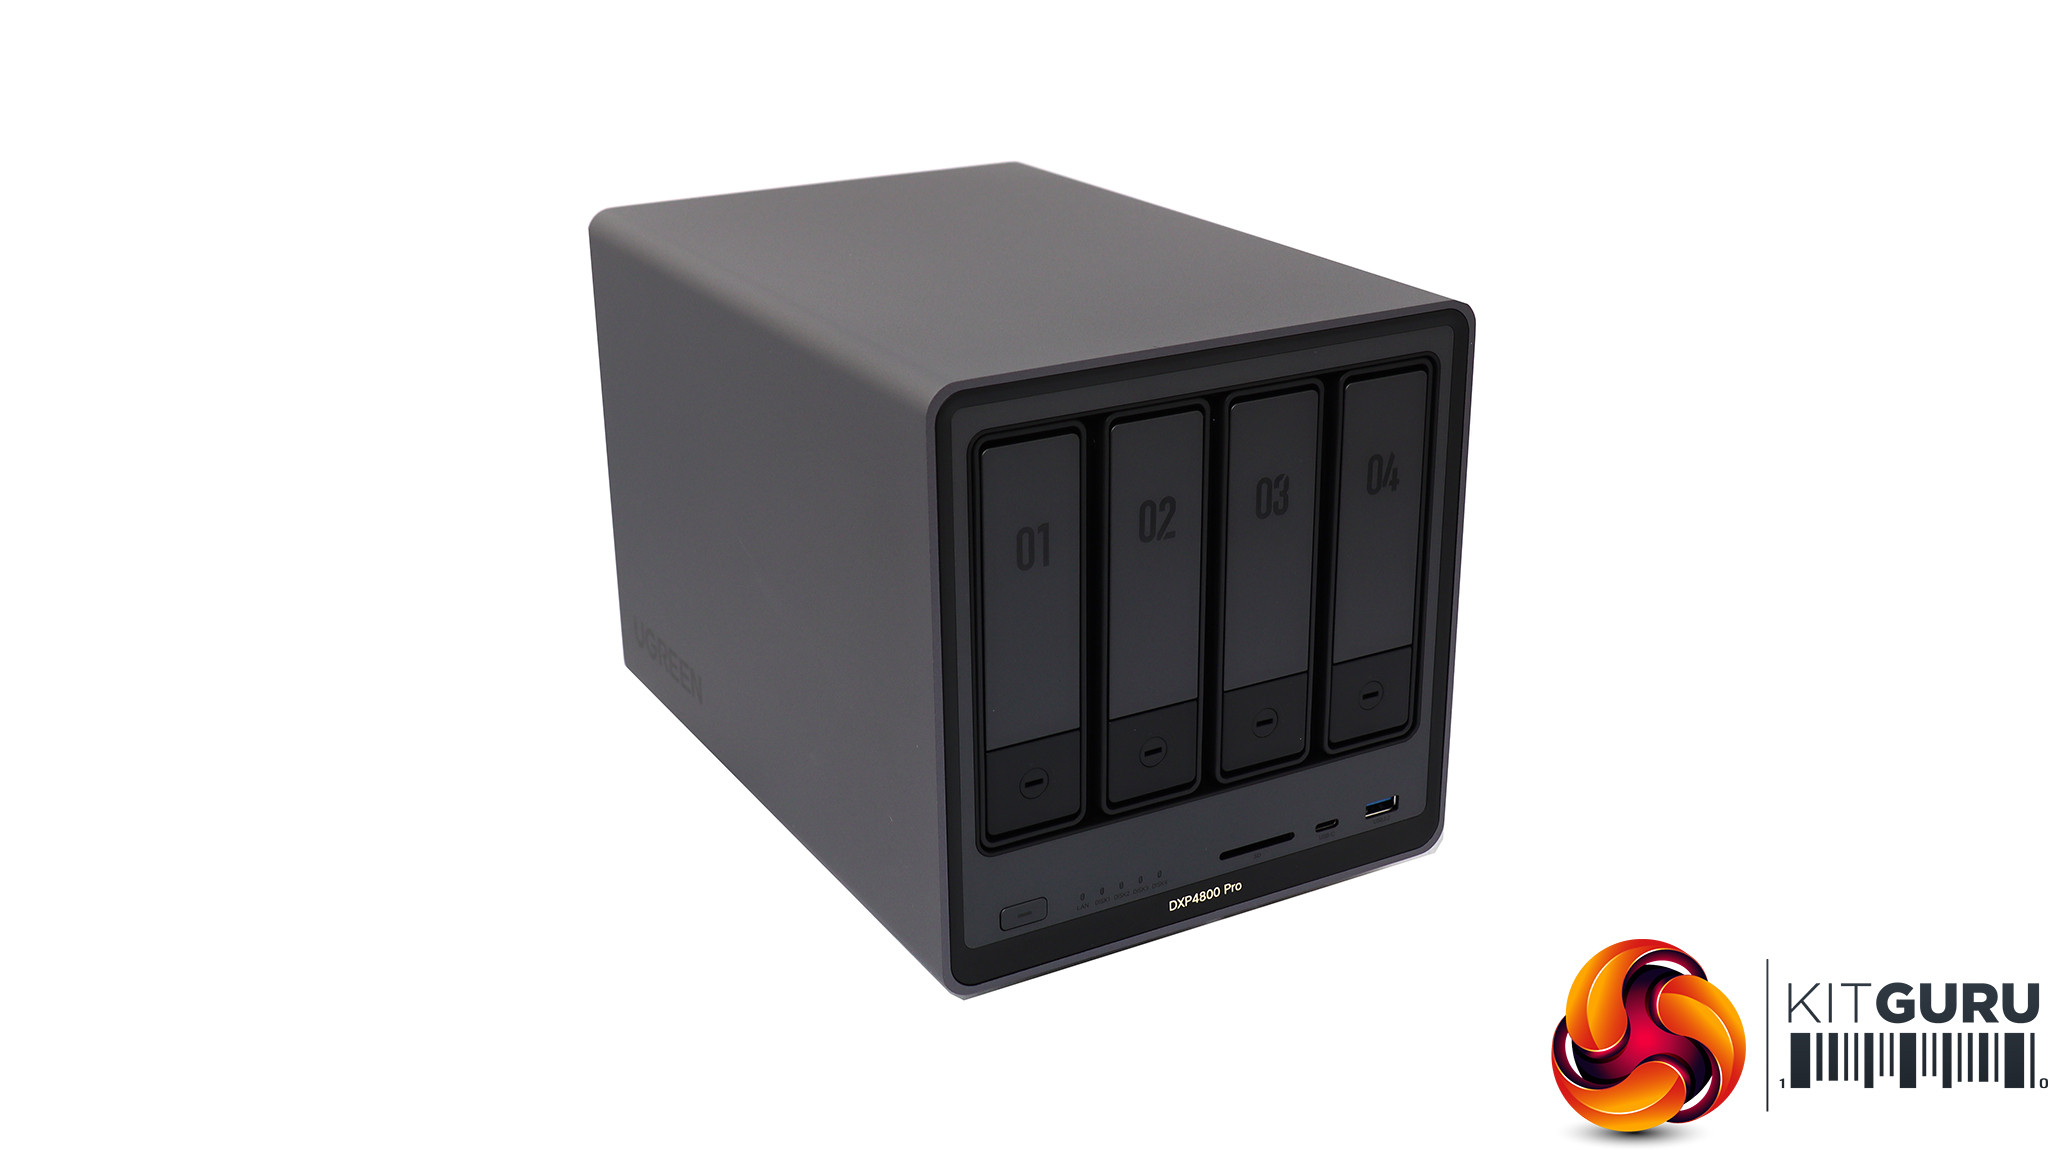
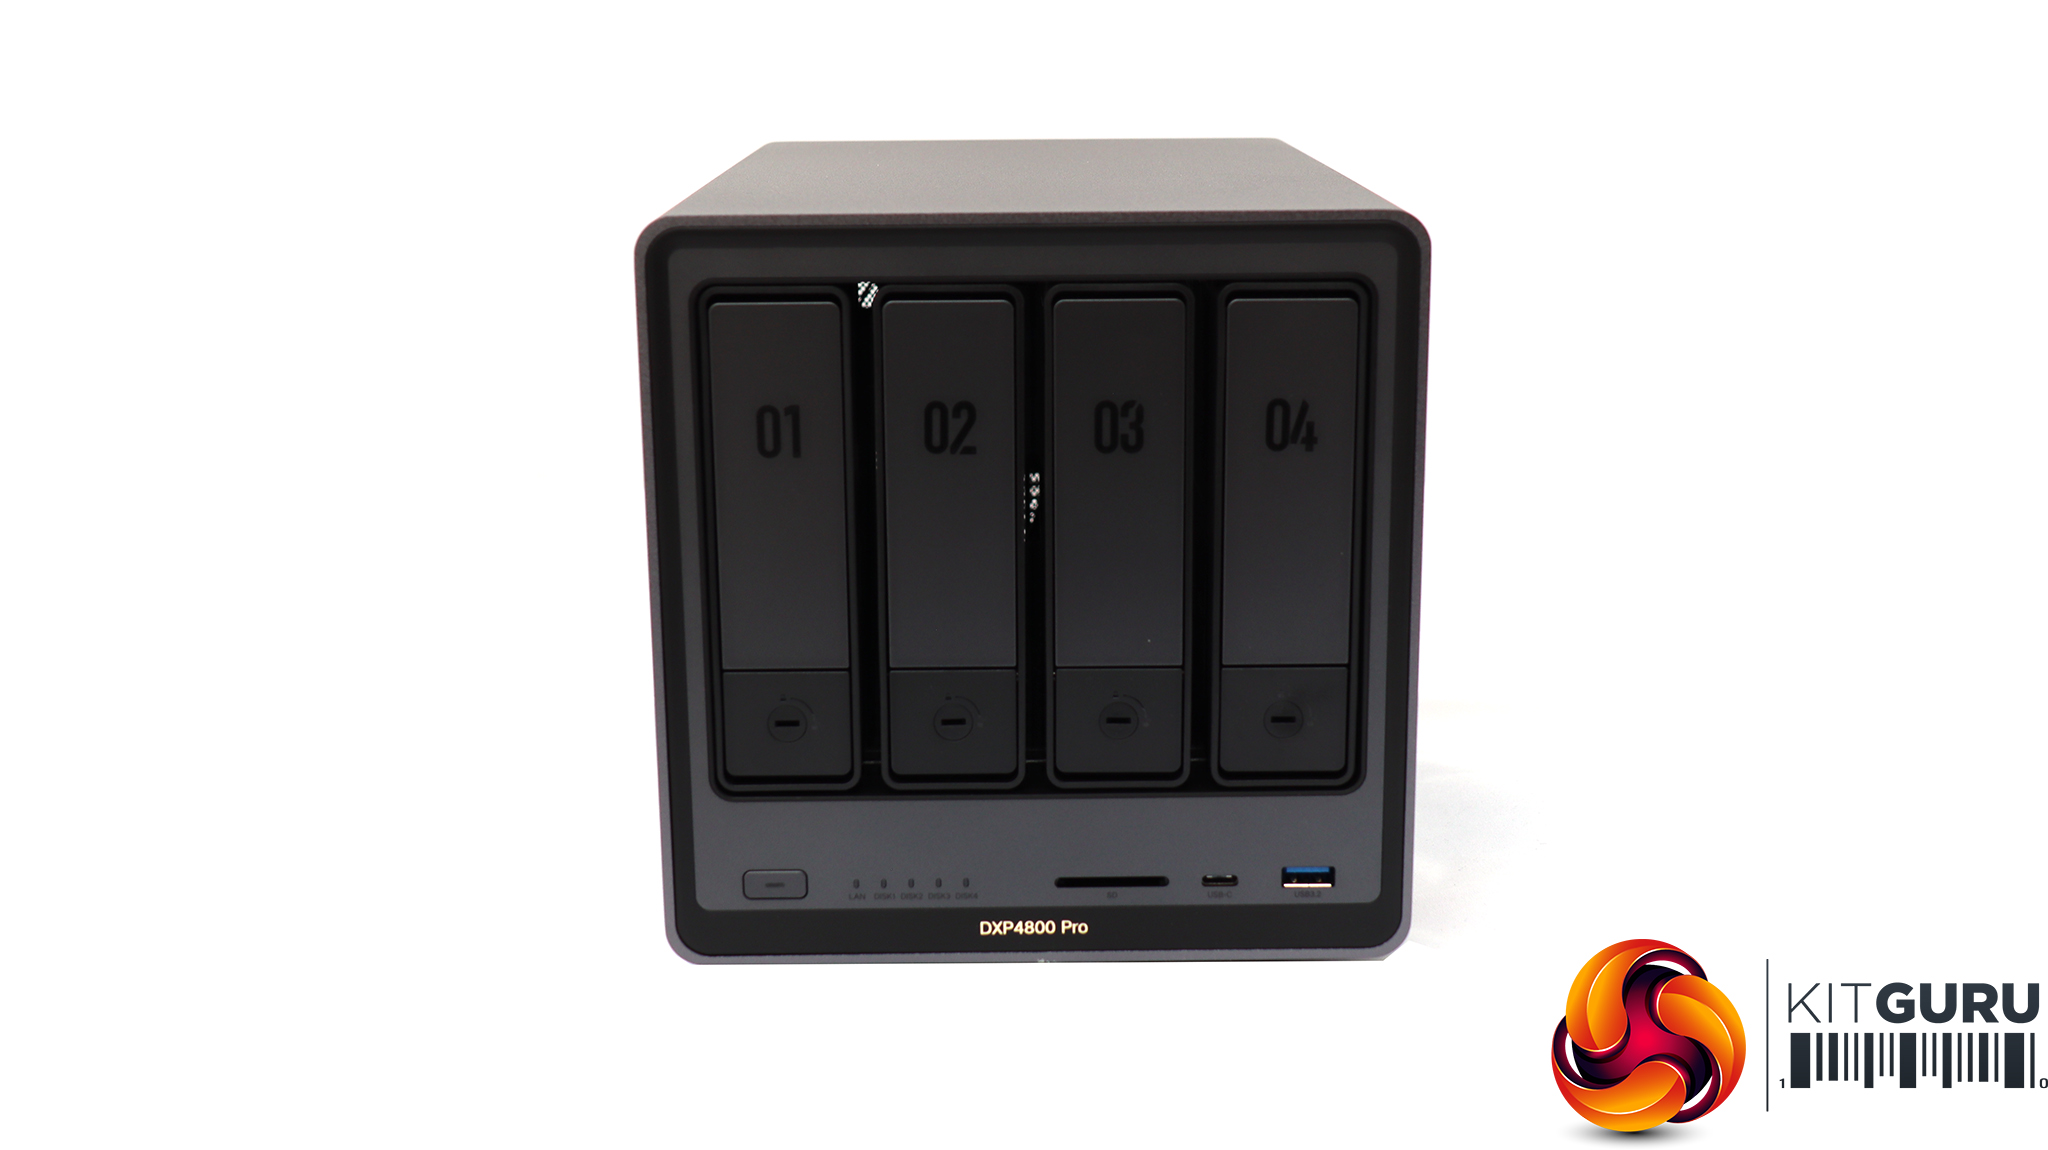
The Ugreen NASync DXP4800 Pro is physically almost identical to the Plus variant. The only obvious difference is that it says “Pro” on the front. Beneath the front drive bays is an innocuous power button and strip of five LEDs. Then there is a front SD card reader (SD 3.0 level) plus USB C and Type A ports, both operating at USB 3.2 Gen 2 (10 Gbps) speed.
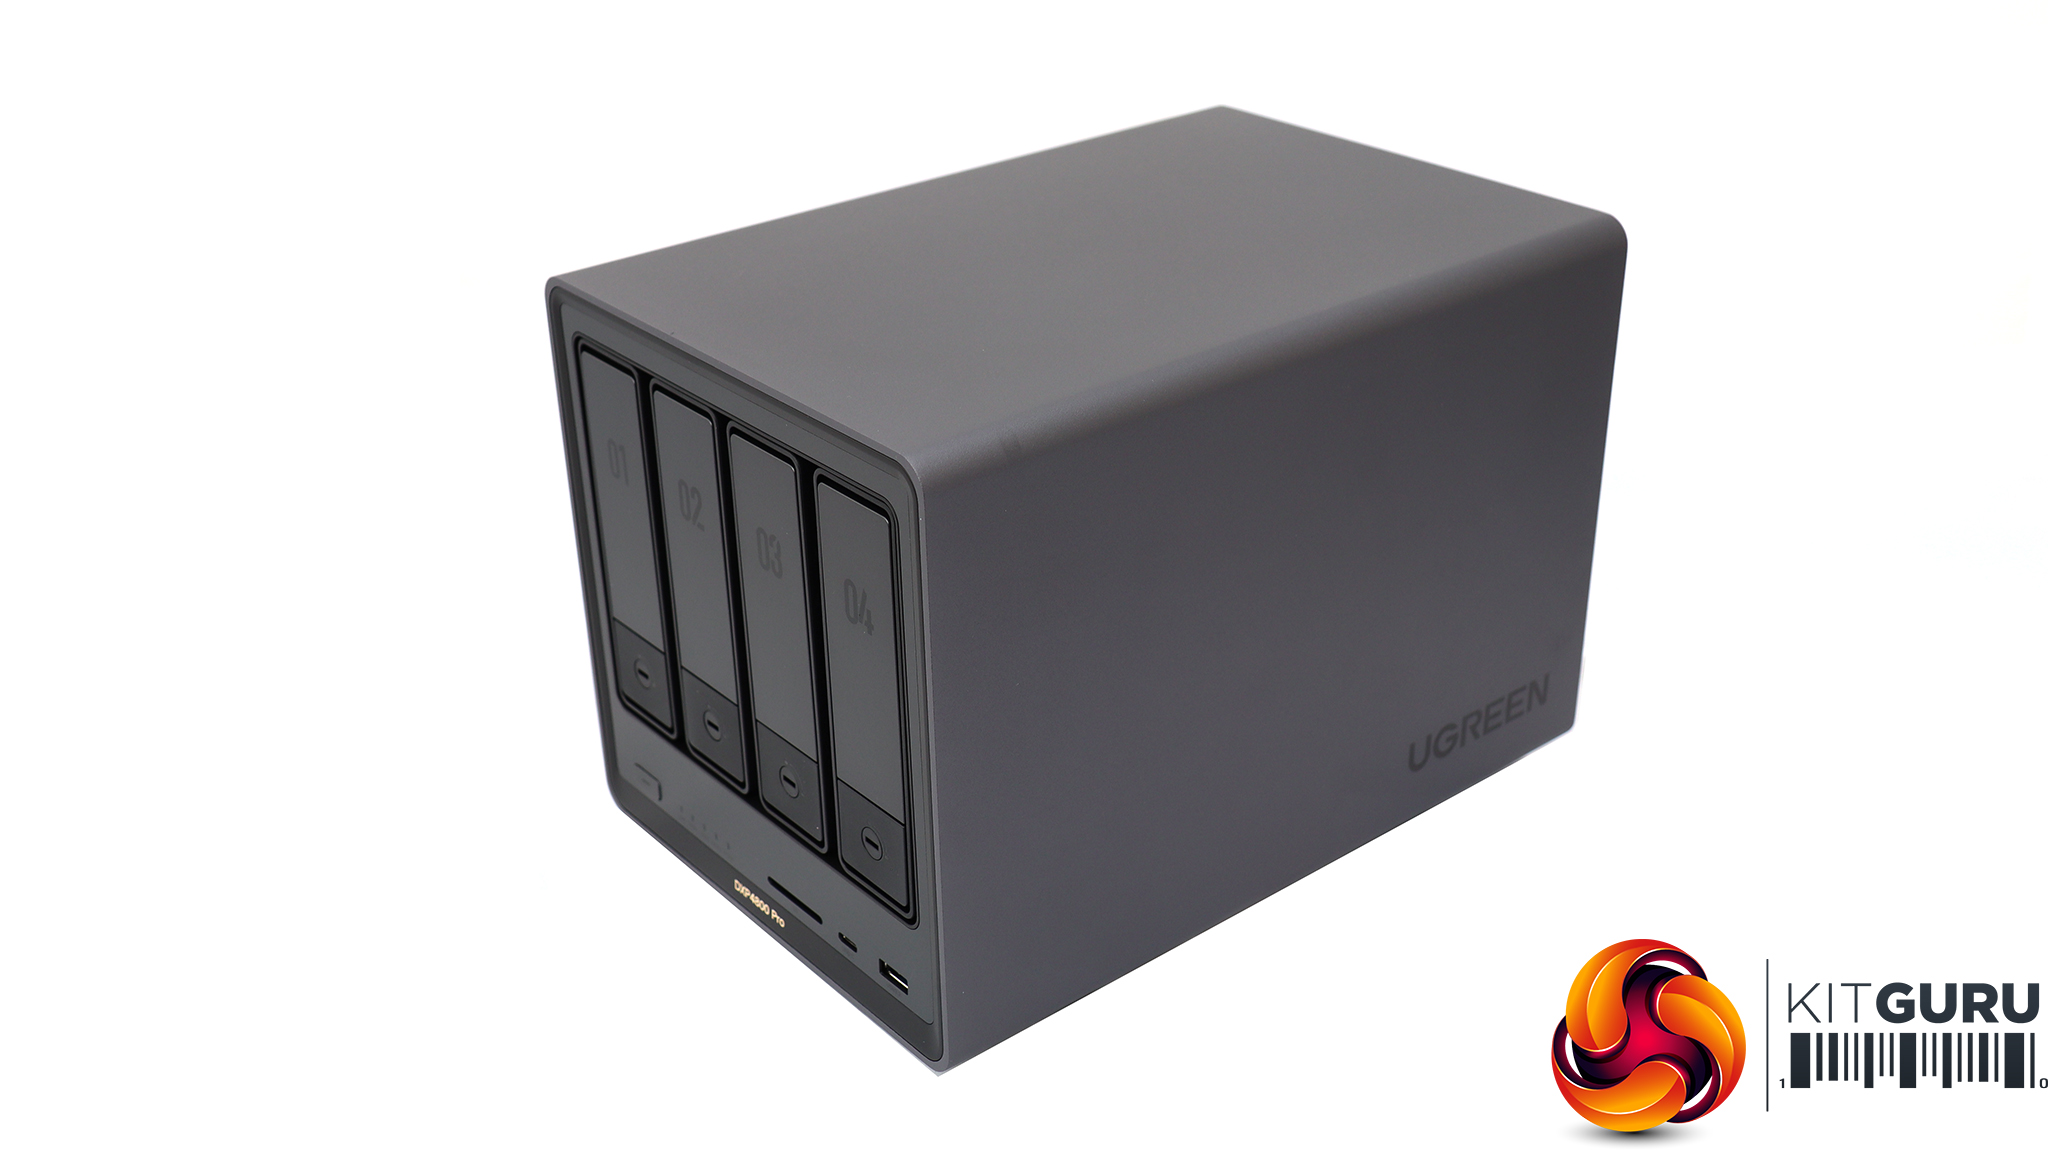
The rear is dominated by a large 140mm cooling fan, with a magnetically attached dust filter. This can easily be removed for cleaning. Below this is a row of ports, starting with the connection for the power on the right. Then there's a reset button, followed by the two Ethernet ports. If you look really closely, you can see that the one on the right is 10Gbit and the next one along 2.5Gbit. Then there's a pair of USB 2.0 ports on top of each other, plus USB 3.2 Gen 1 Type A – all the faster USB ports are on the front, where they are more easily accessed. Finally, you get an HDMI port that supports 4K at 60Hz. This enables you to connect directly to a monitor or TV, enabling direct video playback or local visibility of the operating system. It will also be useful if you install your own Linux on the device.
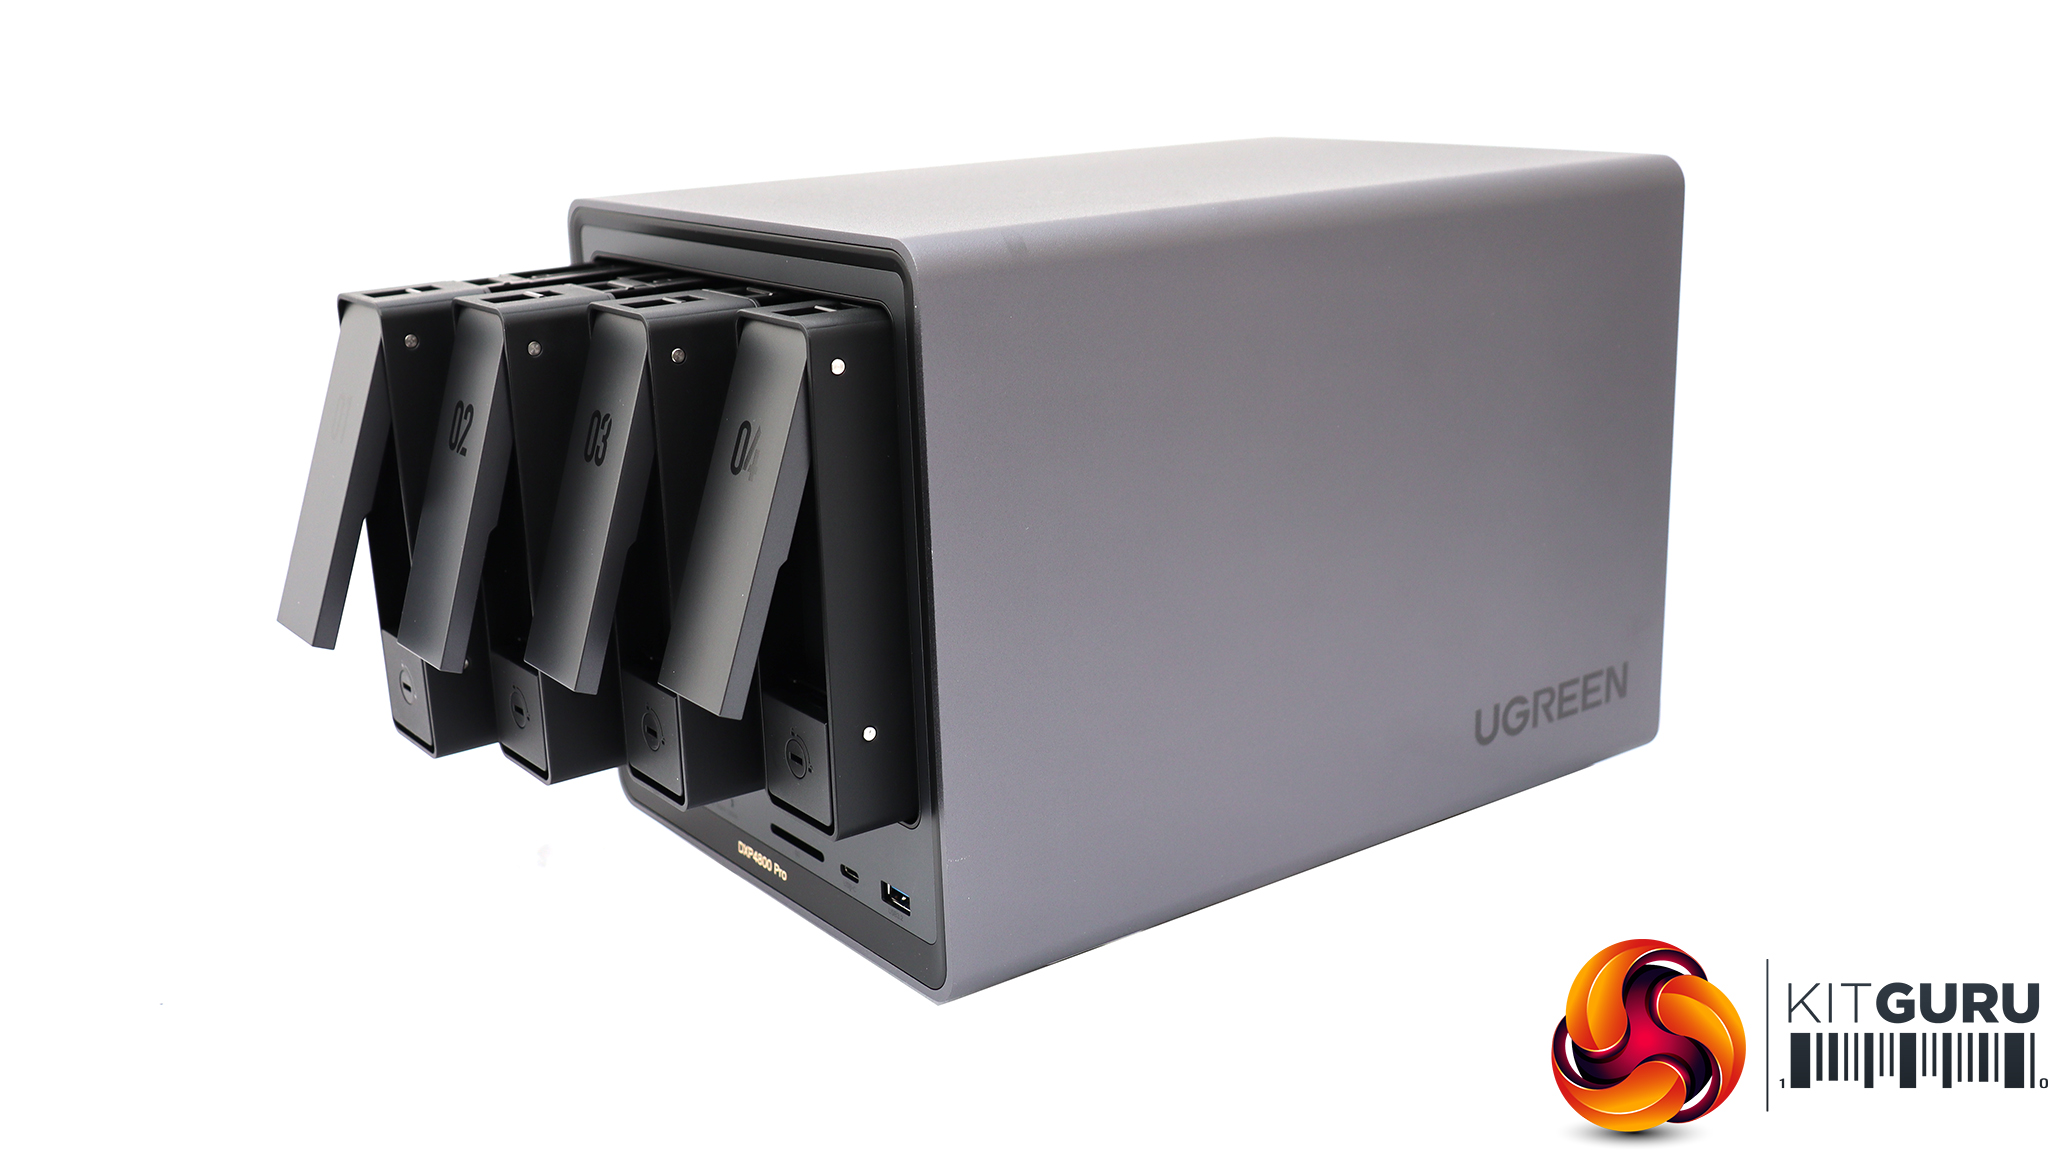
You press the button on the bottom of each bay to slide it out – unless of course you have locked them with one of the keys. If you lose these, they're not full keys and a flathead screwdriver would do the trick too. The bays are very obviously numbered so you get them in the right order.
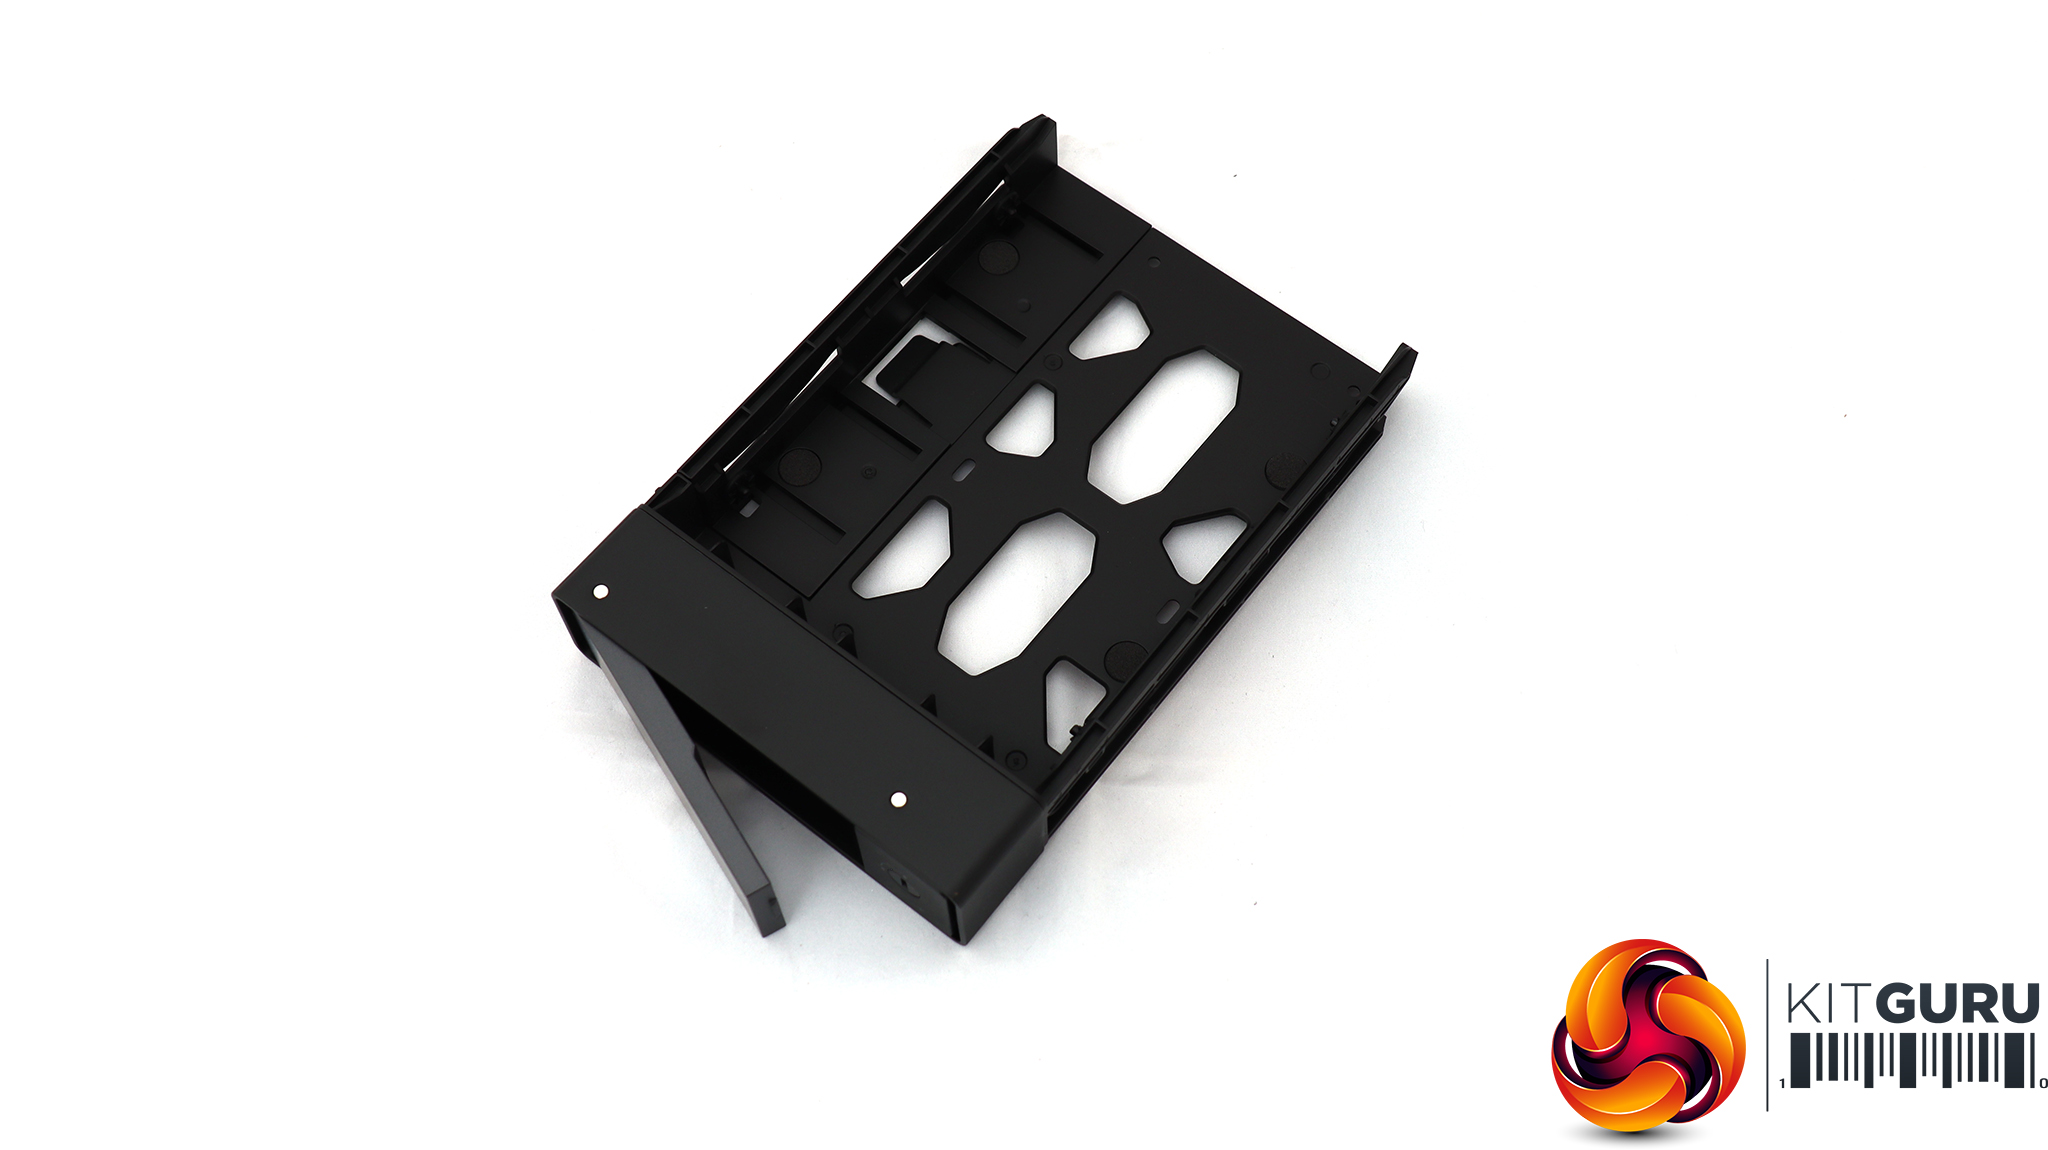
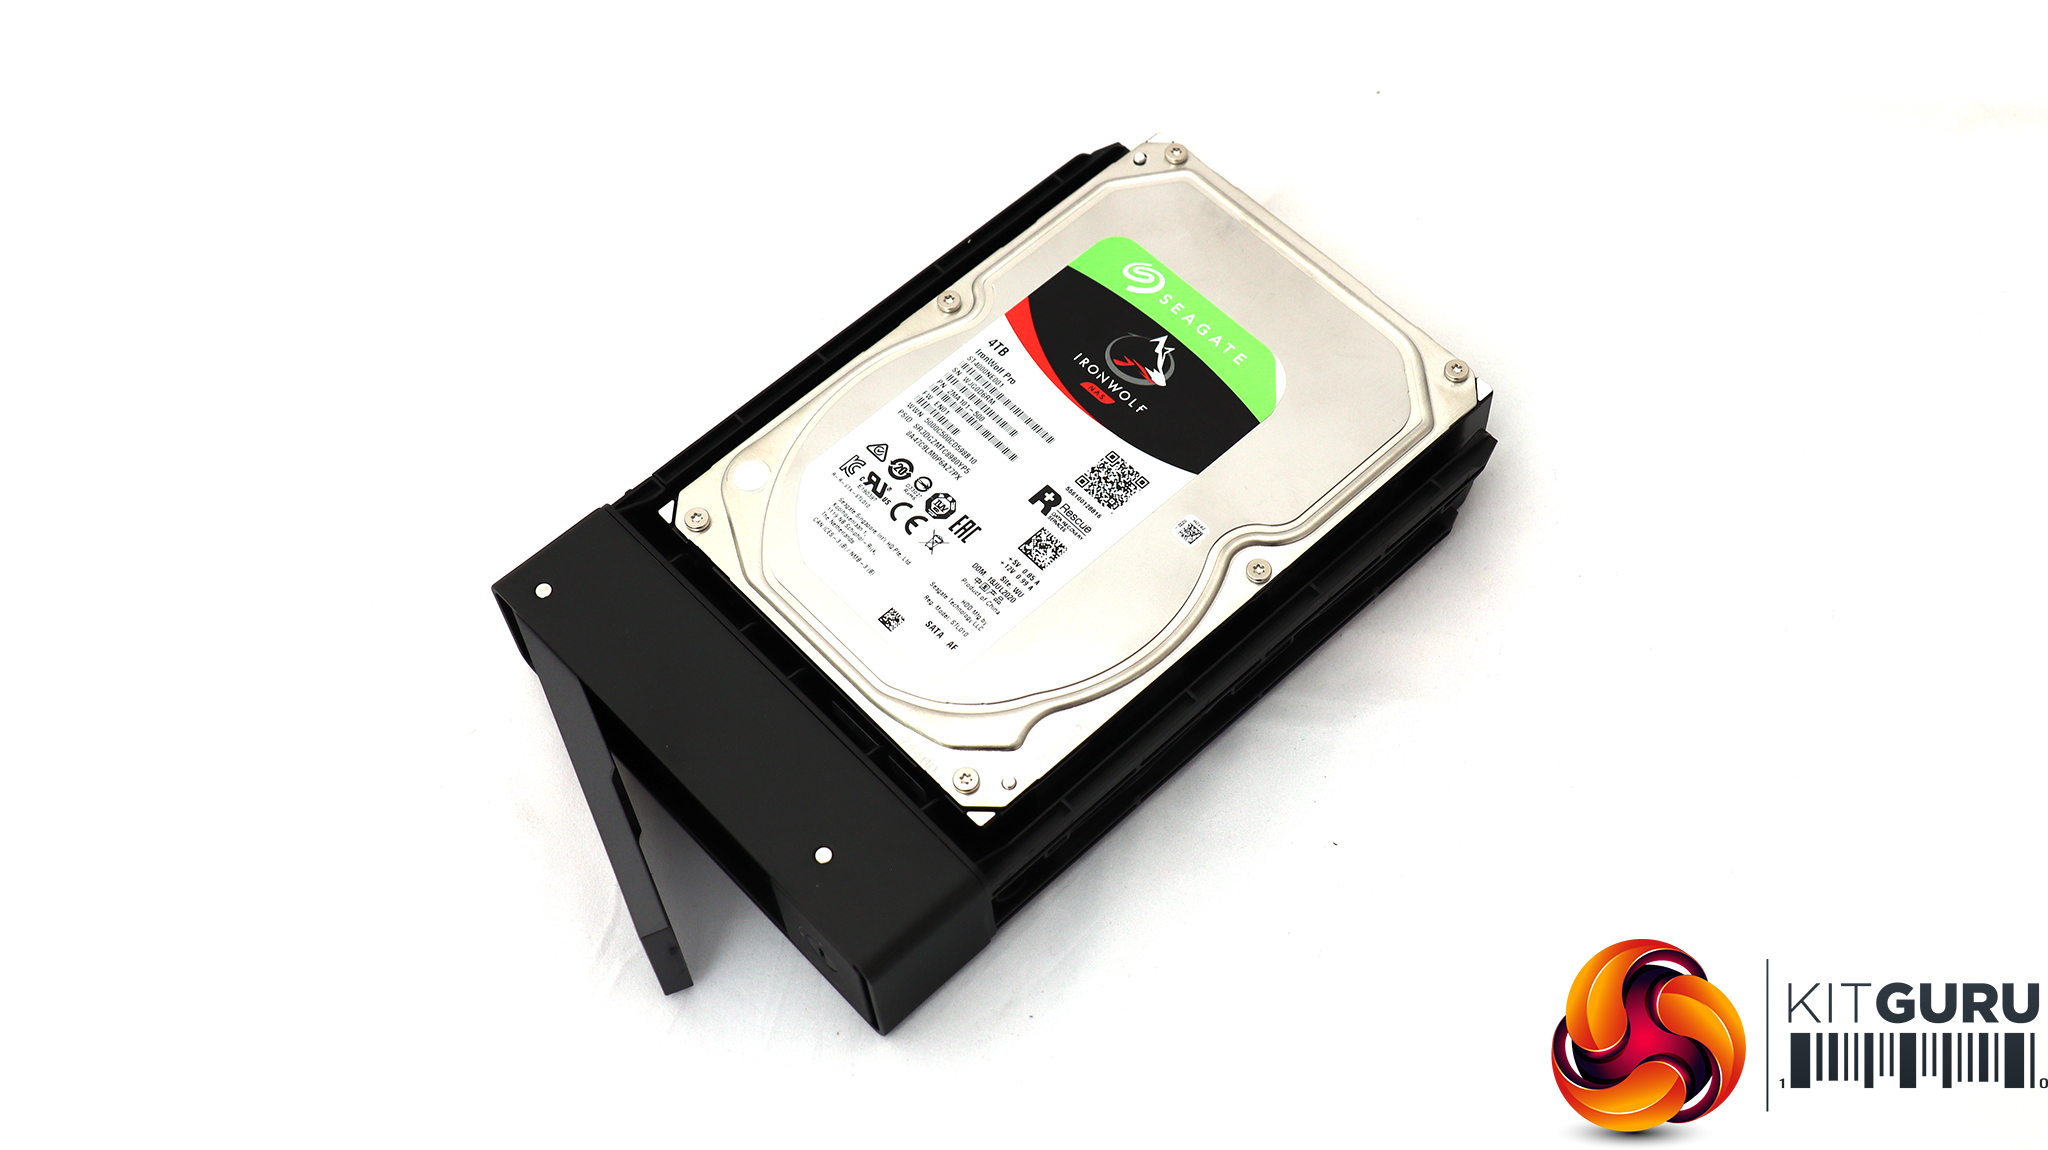
If you're fitting 3.5in drives in the bays, installation is entirely tool-free. You simply slide the bay out, then press a button on the bottom to slide the side out slightly. Then you can position the drive on the bay so that the pegs fit into its drive holes. Slide back the edge section until it clicks into place, and the drive is ready to be slotted back into the chassis. The whole process takes less than 30 seconds. If you want to use 2.5in drives, however, you will need to use the screws supplied in the box.
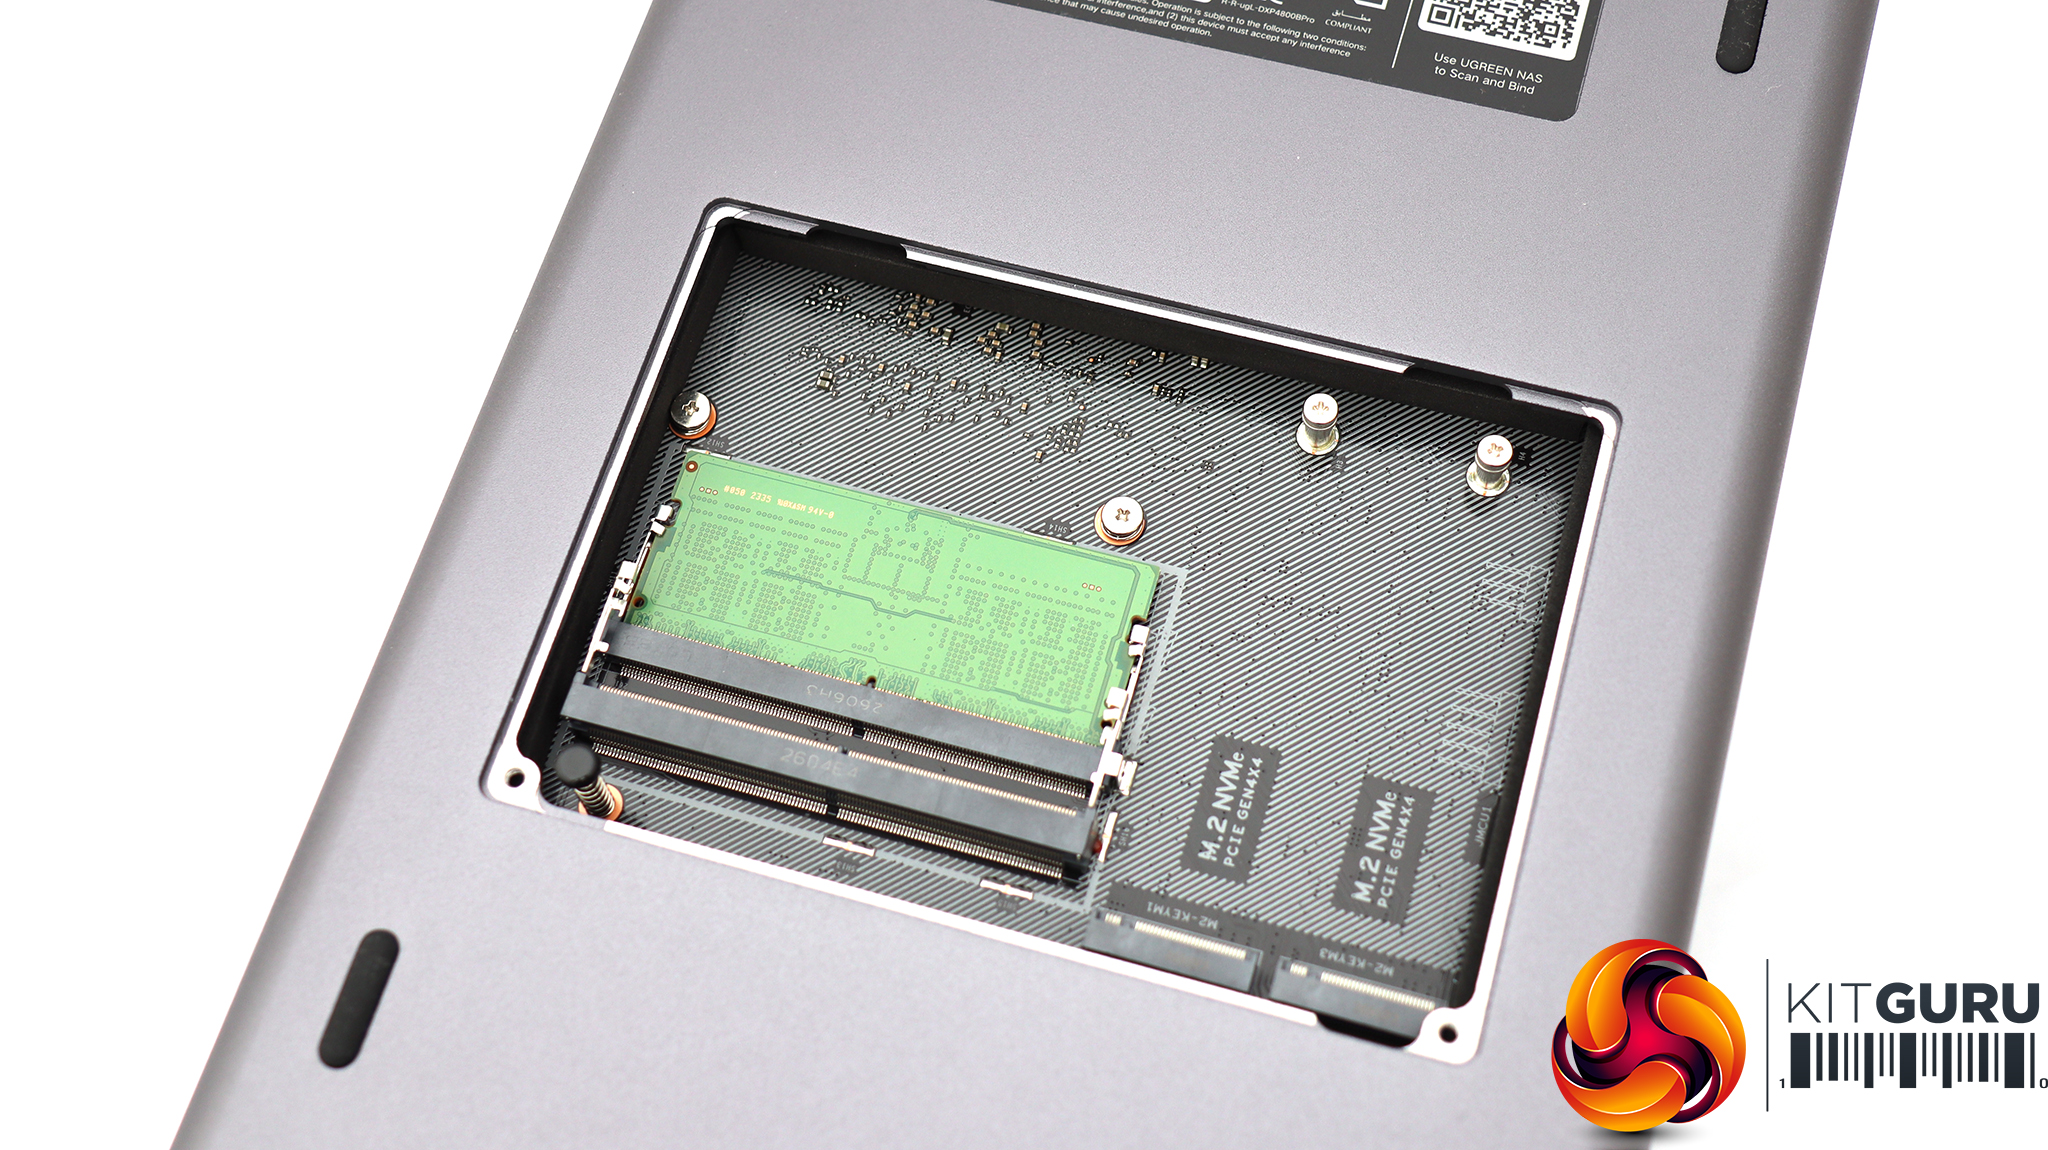
If you turn the NASync DXP4800 Pro chassis upside down, you can detach a little panel on the bottom. This reveals two SO-DIMM slots where you can expand the memory, plus a couple of M.2 slots for NVMe drives. These are only compatible with 2280 format drives.