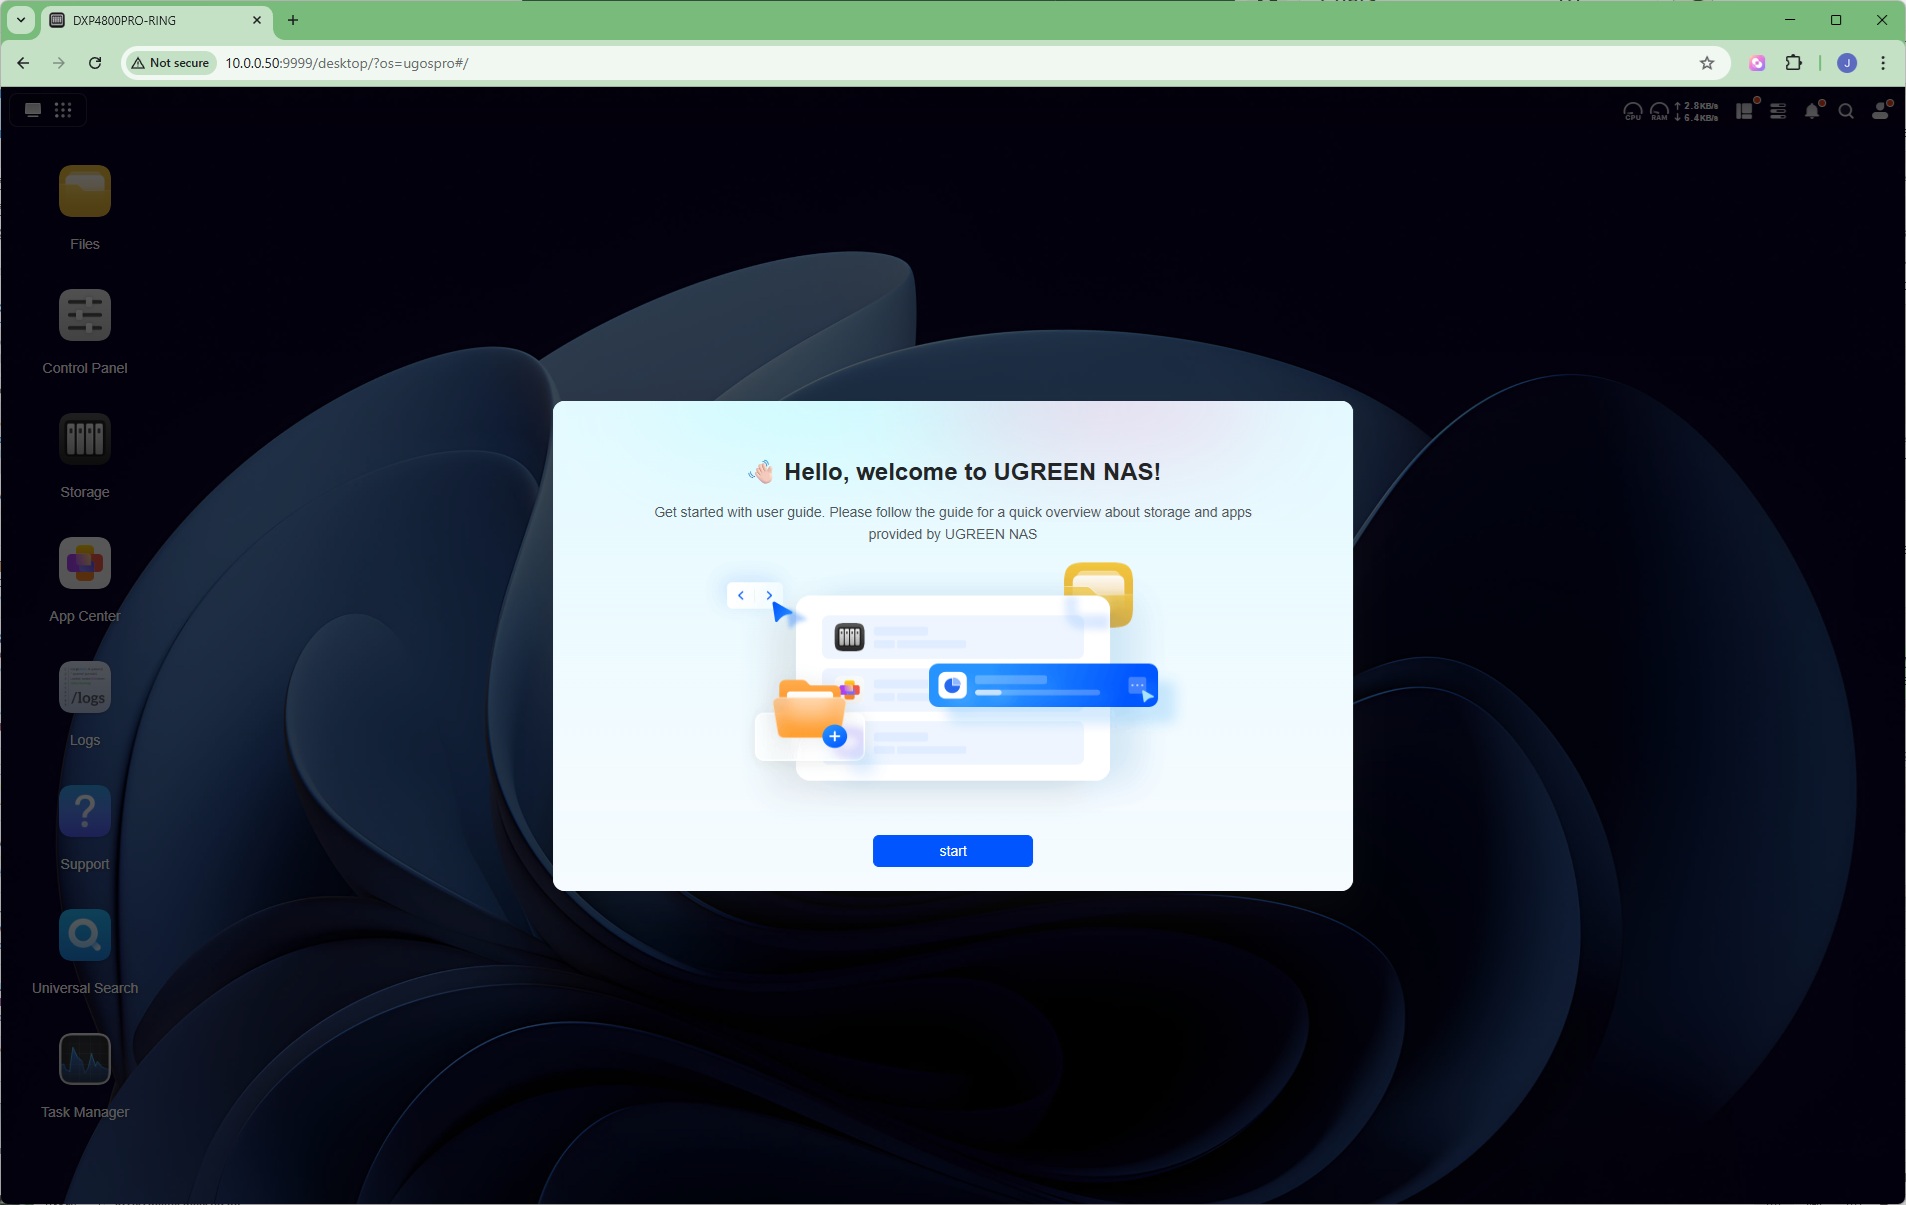
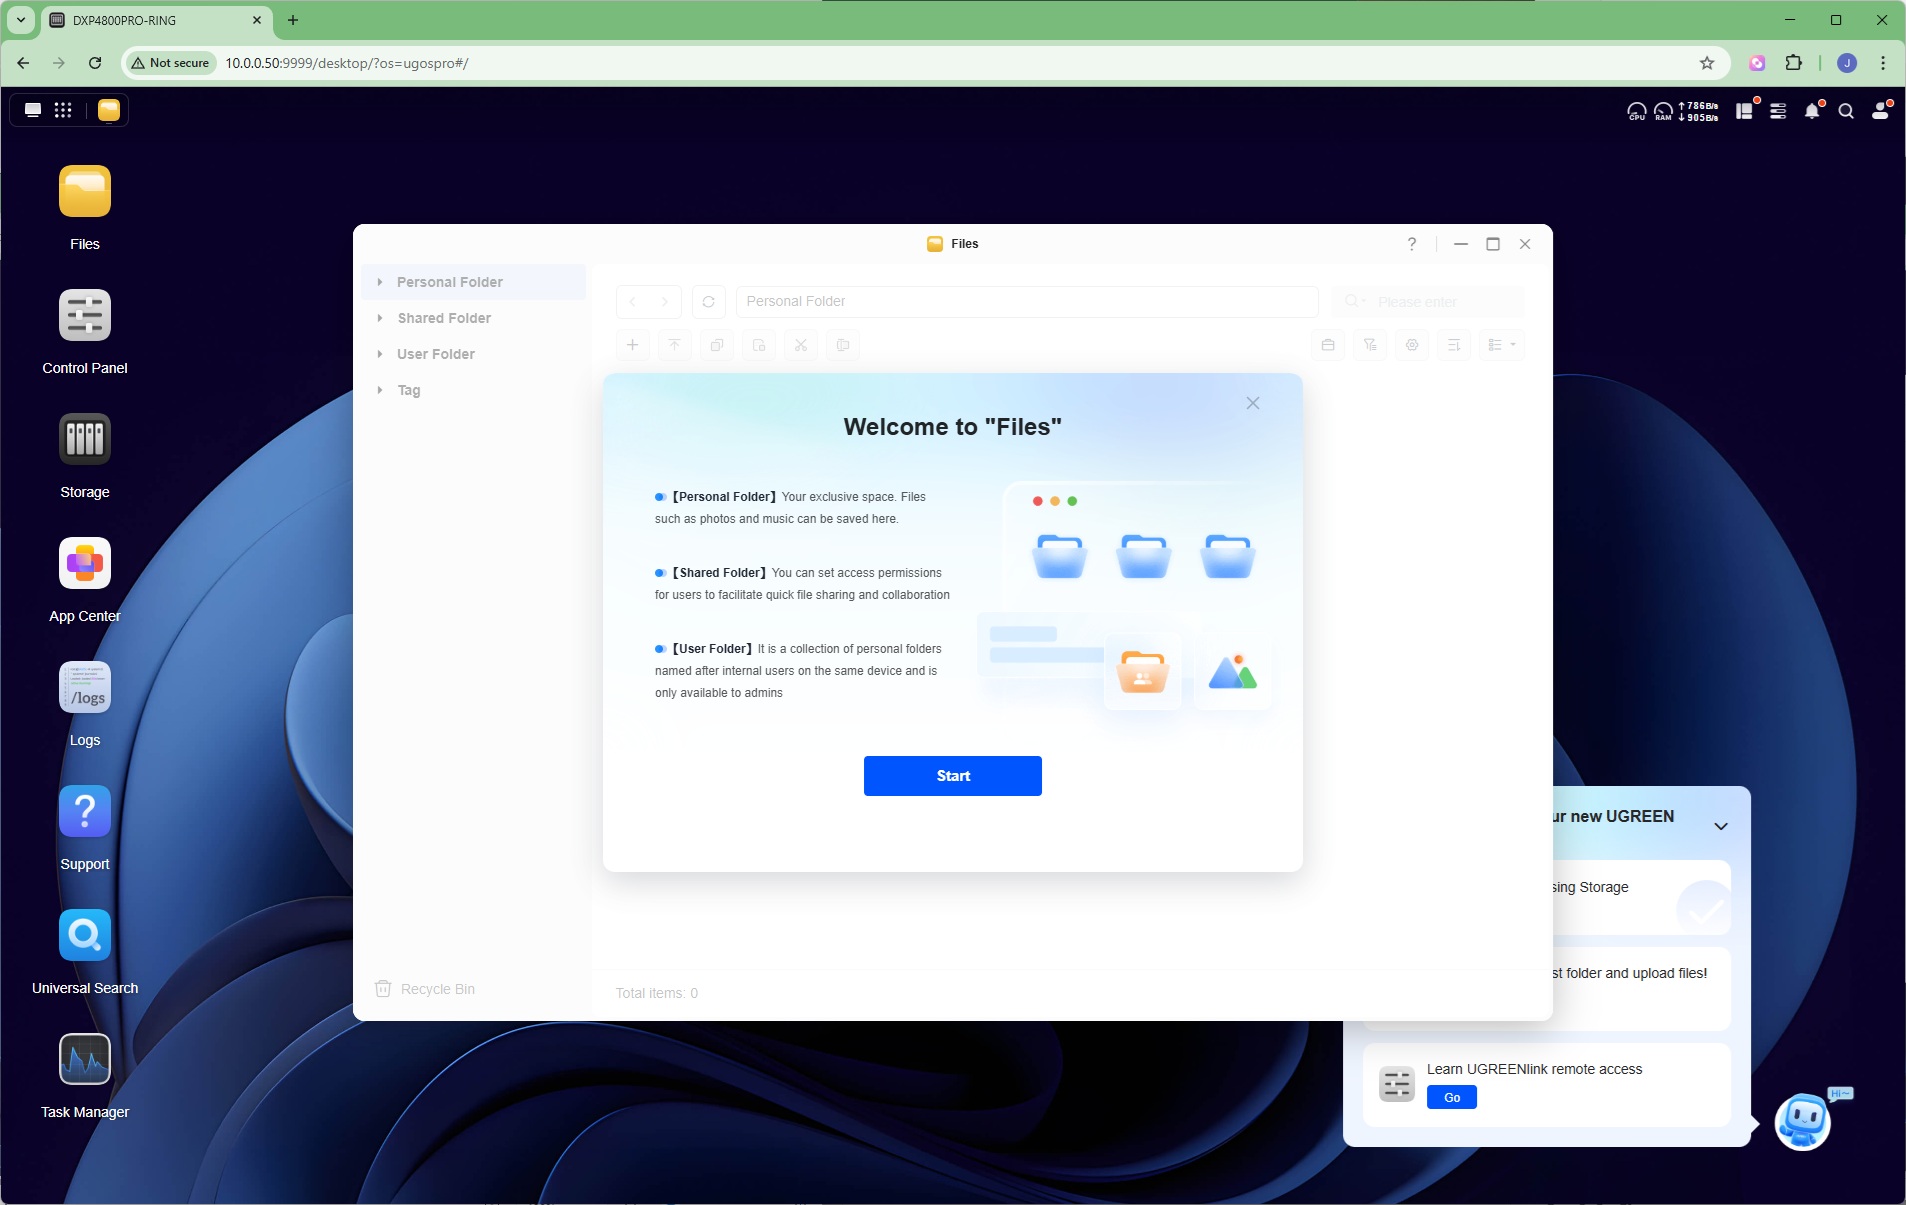
After the reboot, you can log into the UGOS Pro interface, where you're met with a welcome screen for the wizard setup process.
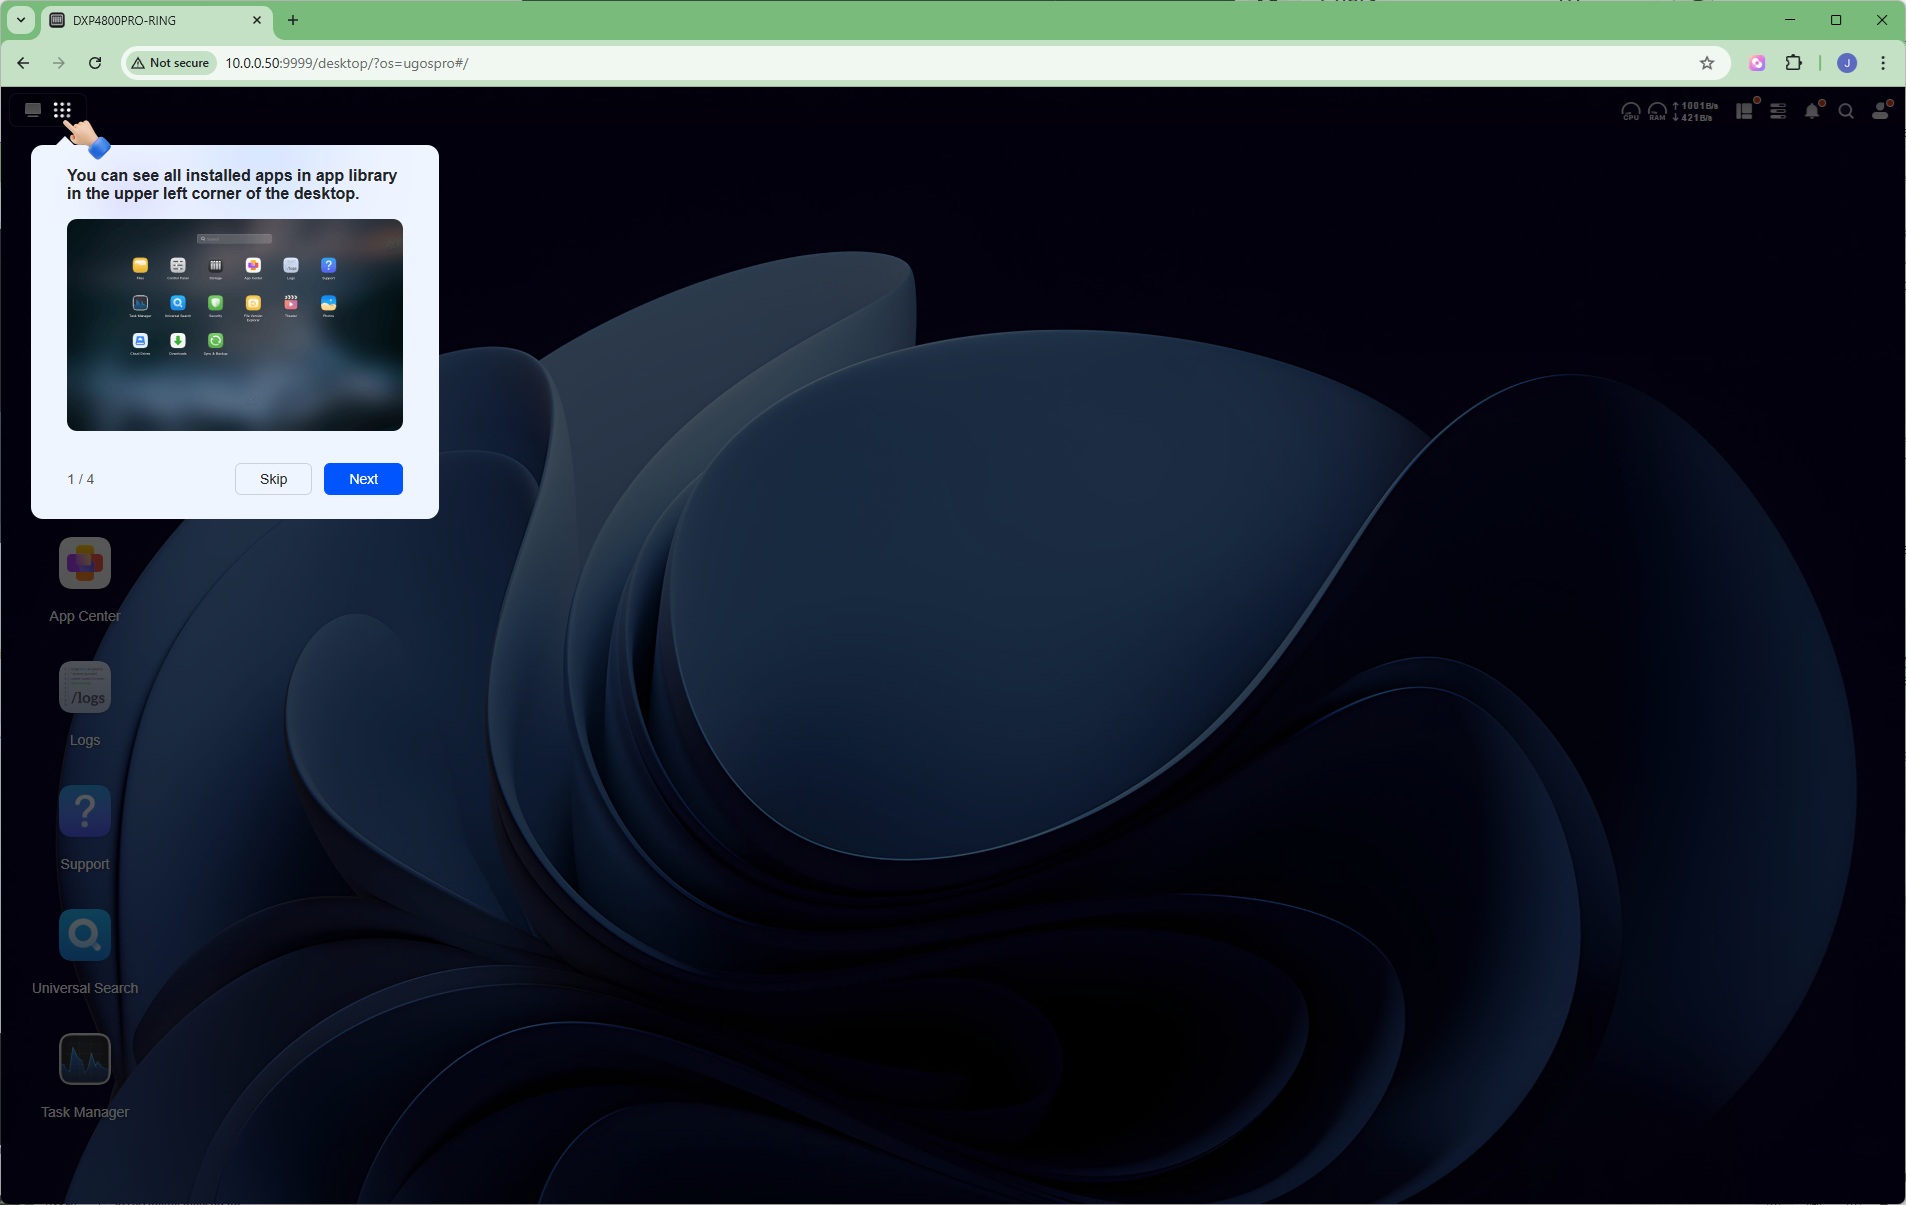
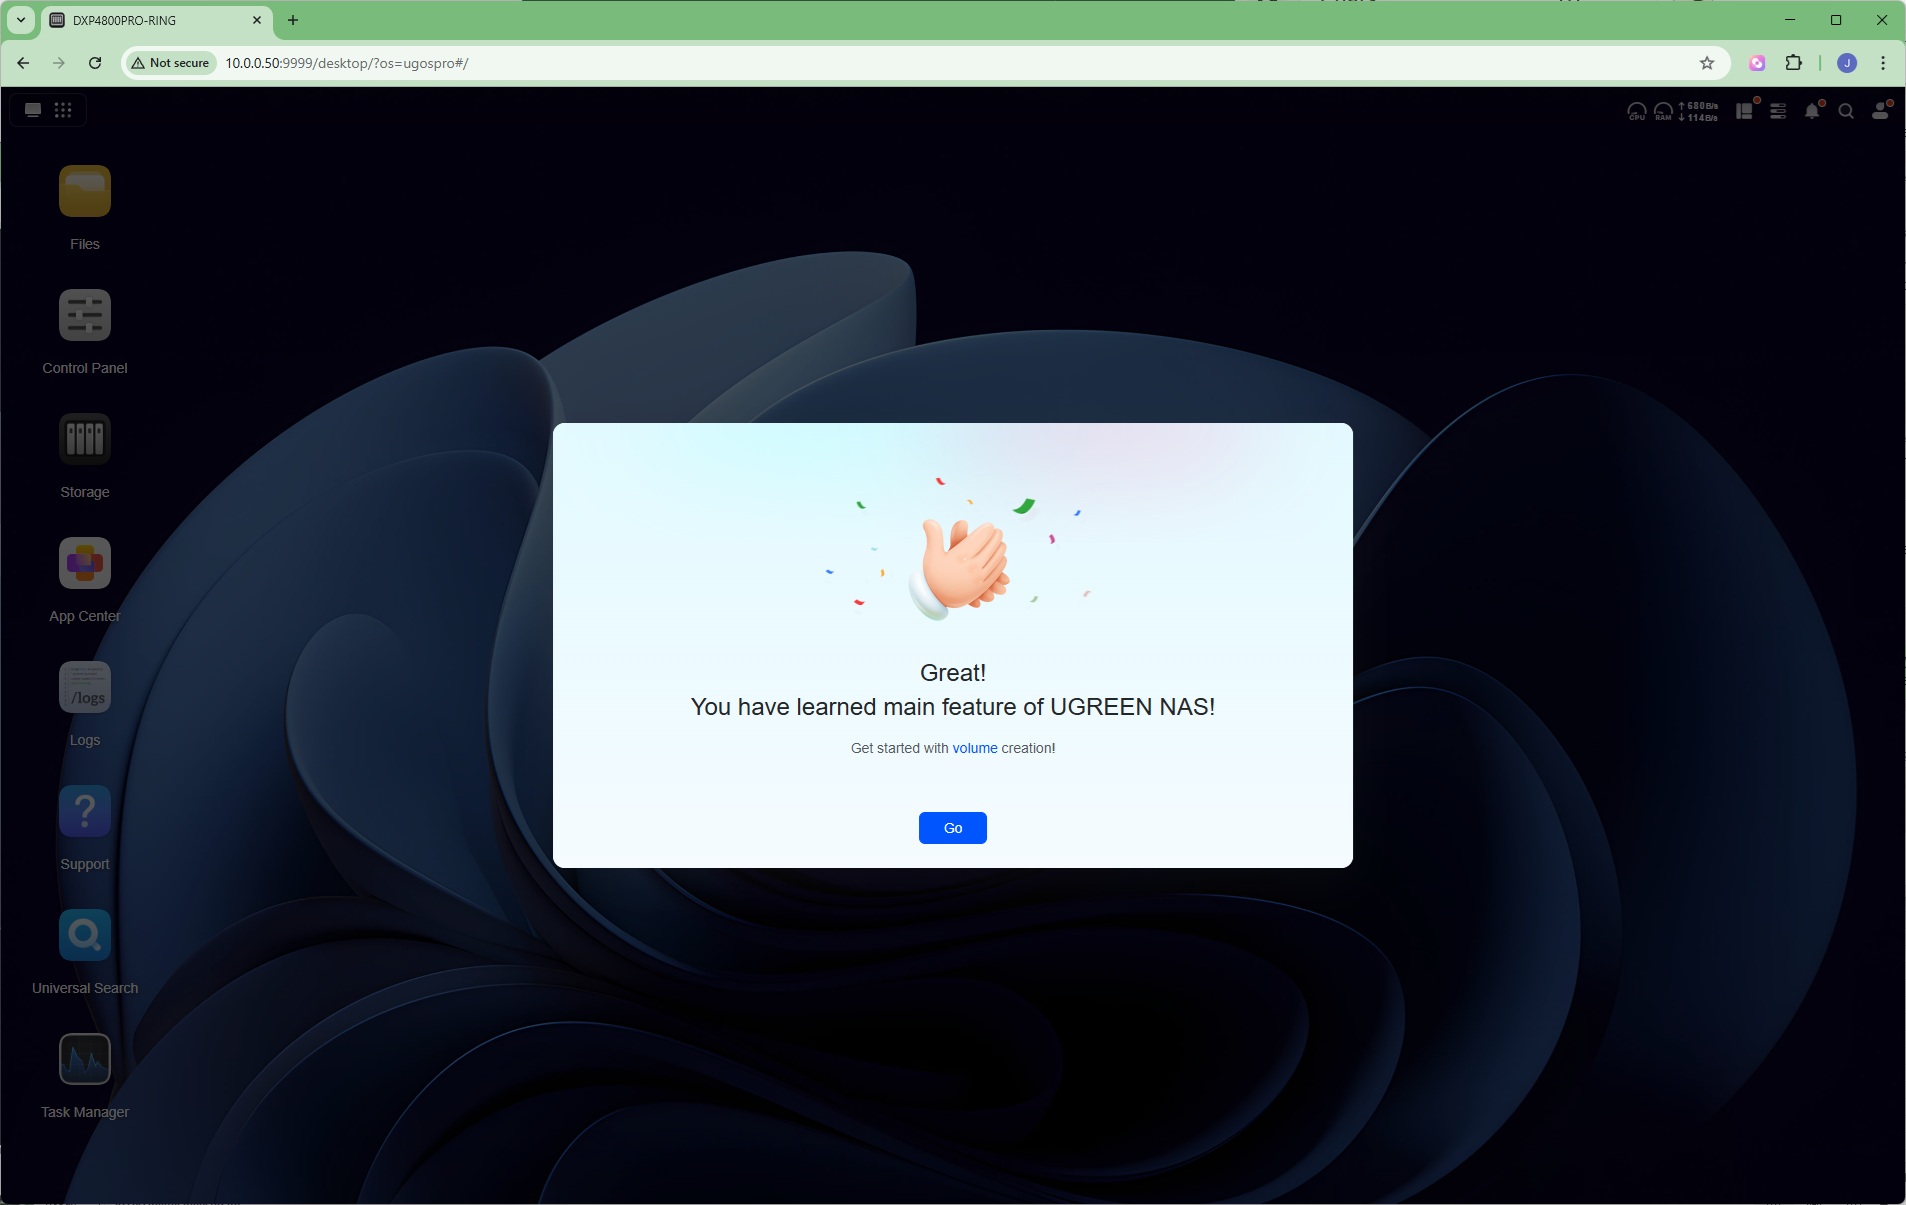
You're then given a brief guided tour of the interface.
Storage Manager – Creating a storage pool
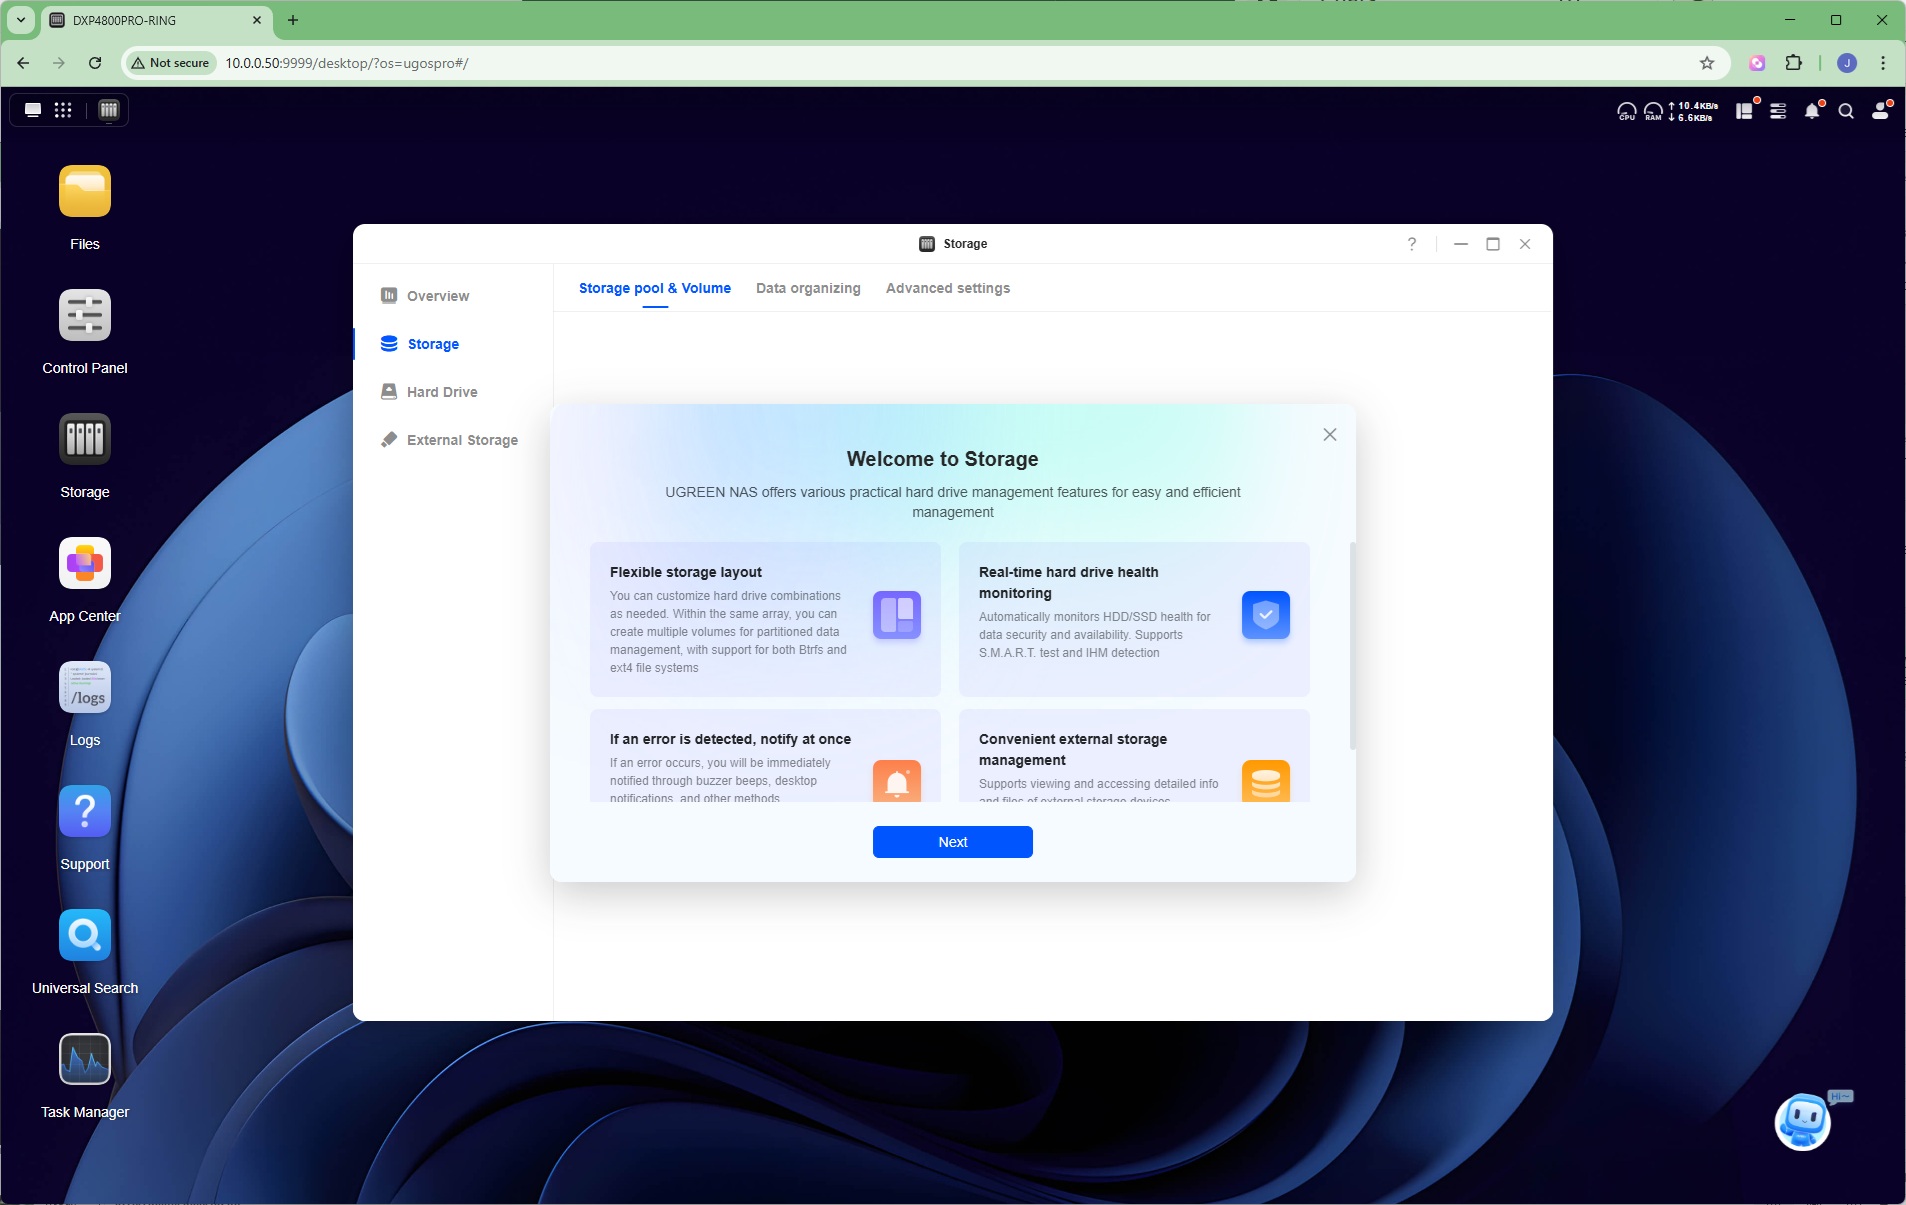
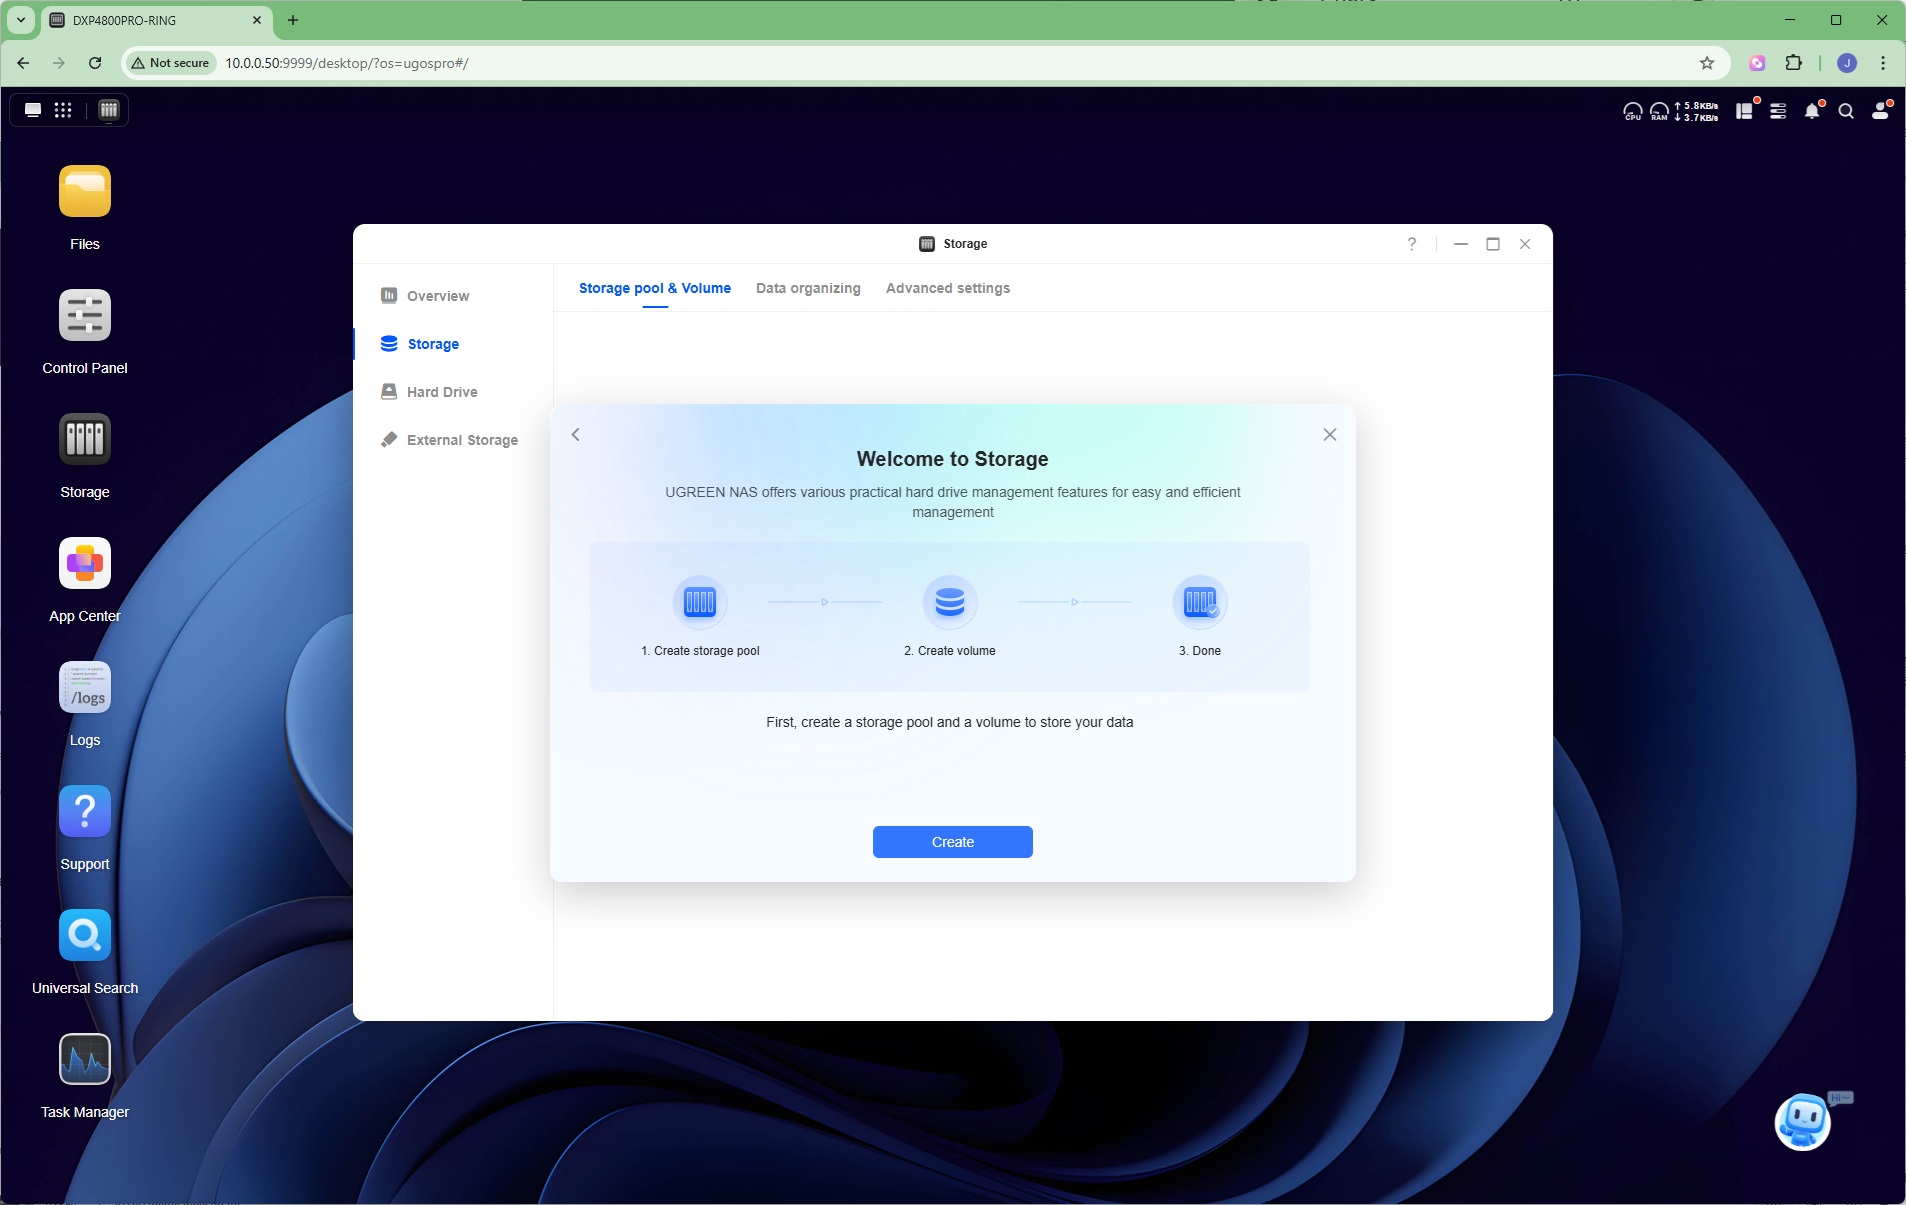
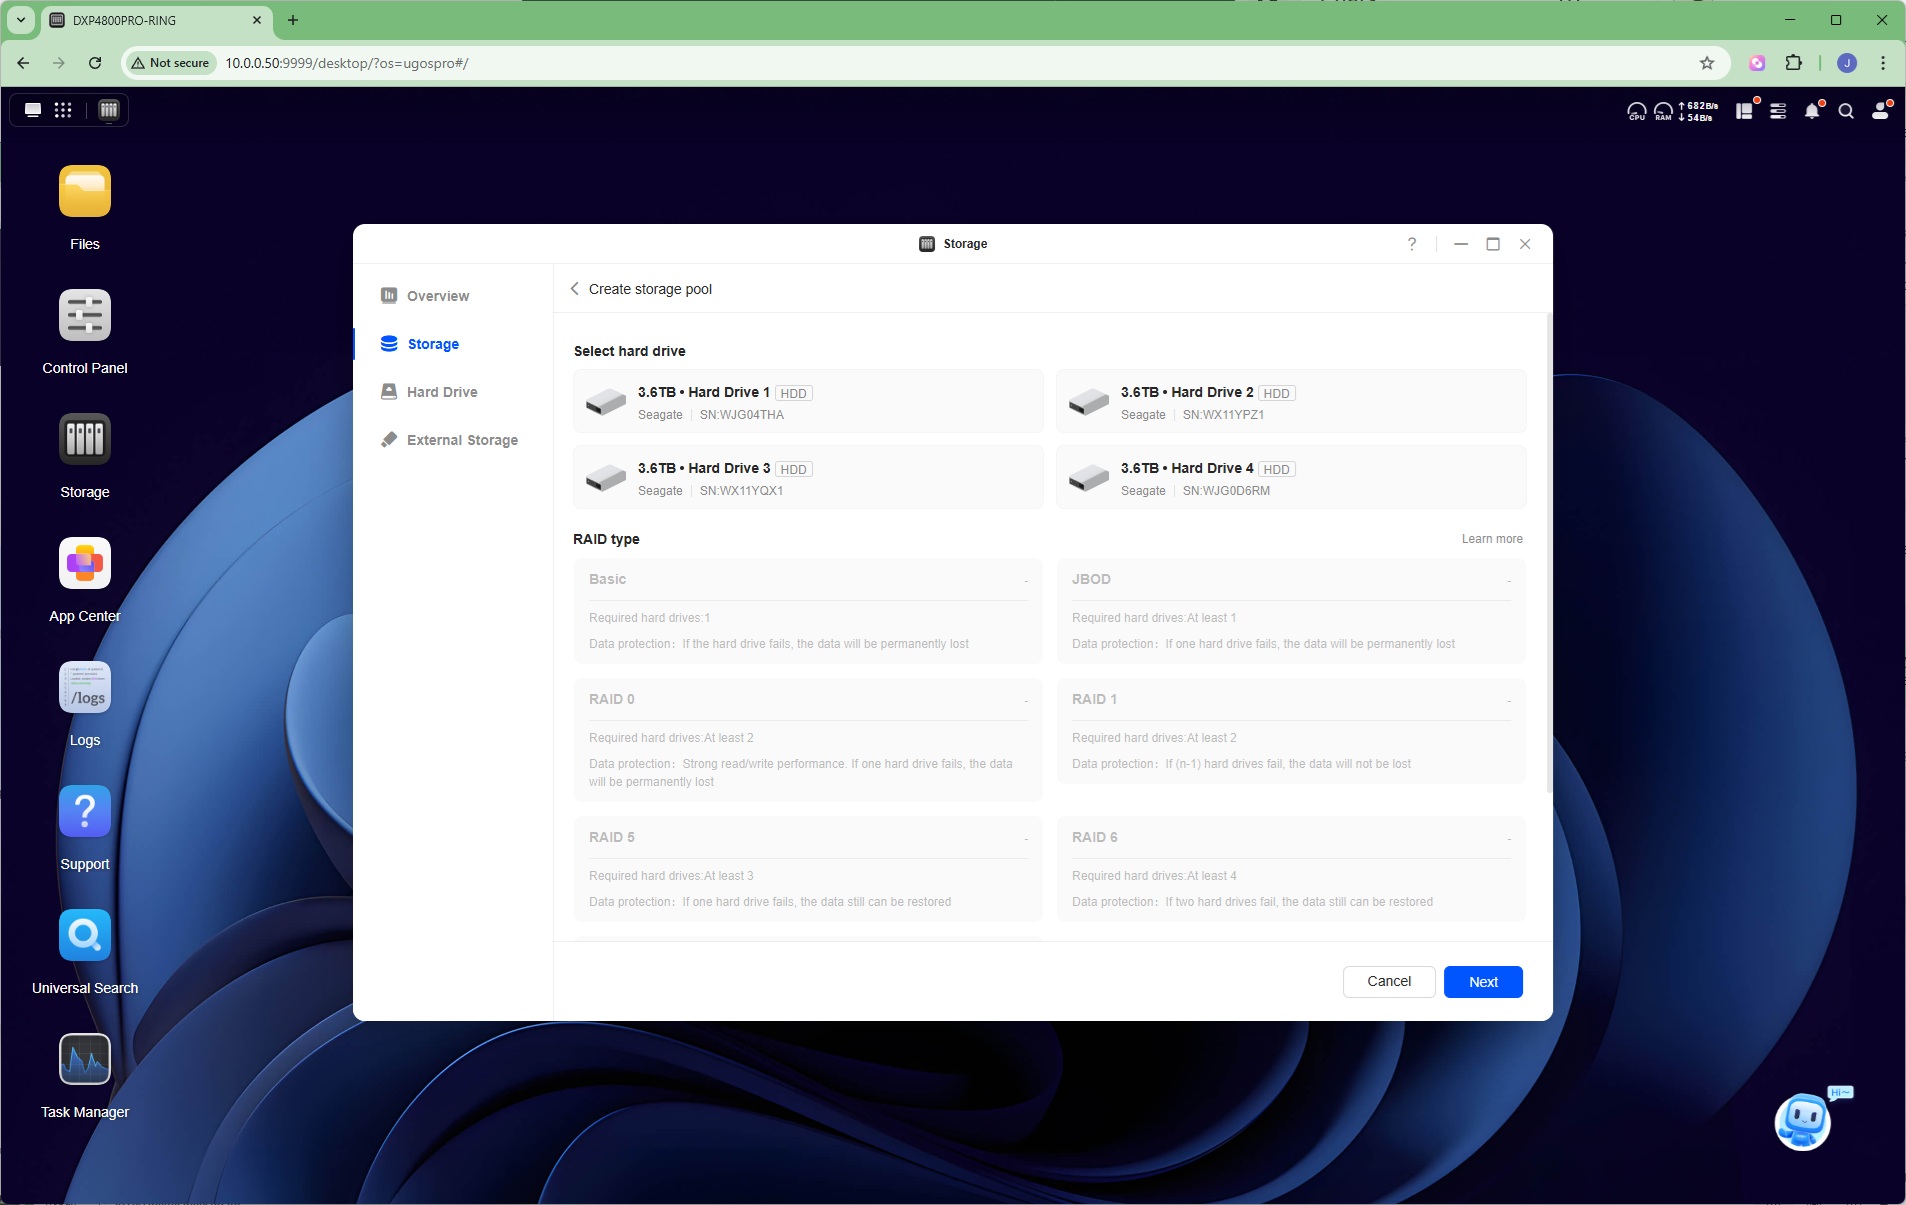

After the guided tour, you're prompted to go through the process of setting up your storage pool, starting with an overview of the capabilities. The stages of the process are then outlined, starting with selecting which of the installed drives you'd like to use in your initial storage pool. Once you've done that, you can choose which RAID level to use.
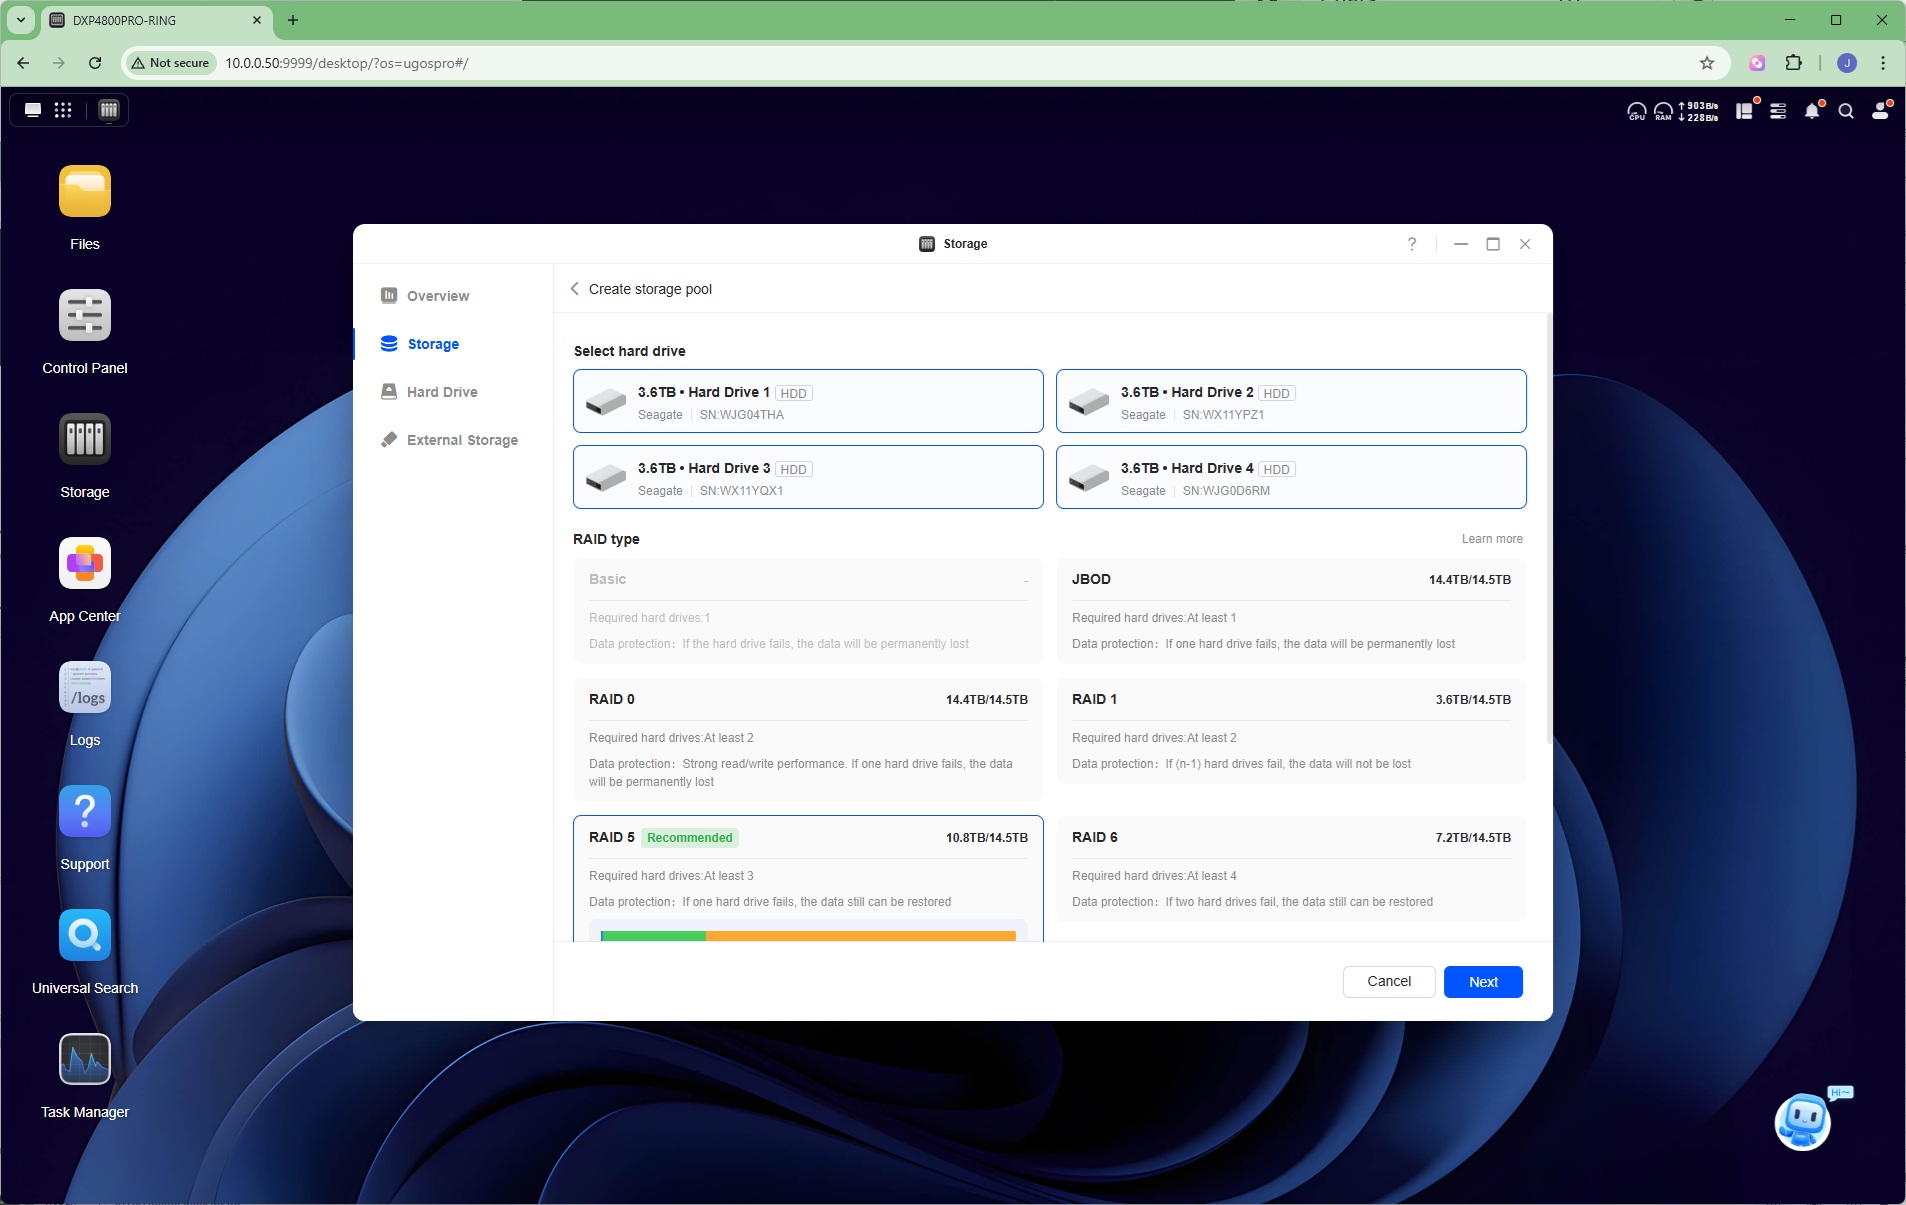
Basic is just direct access to a single drive, while JBOD bundles all selected drives into a single pool with no protection. Then there's RAID 0, which reads and writes to multiple disks in parallel to improve performance, but without any protection. RAID 1 is mirroring, where data is written to at least two disks at once, meaning that if one goes down, the other or others will have an identical copy of your files. RAID 5 is a more complicated system involving at least 3 drives where one drive is used for parity. Losing a single drive won't lose any data, because every file is on two physical disks. RAID 6 is similar but requiring four drives and you can lose two disks without losing any data, although total capacity is lower than for RAID 6 (about half the total native capacity). Invisible in the screenshot above is RAID10, which requires four drives. This is RAID 0 and 1 combined – so you write in parallel, but with mirroring. So you can lose a disk without losing data, but you also only get half the capacity of your drives.
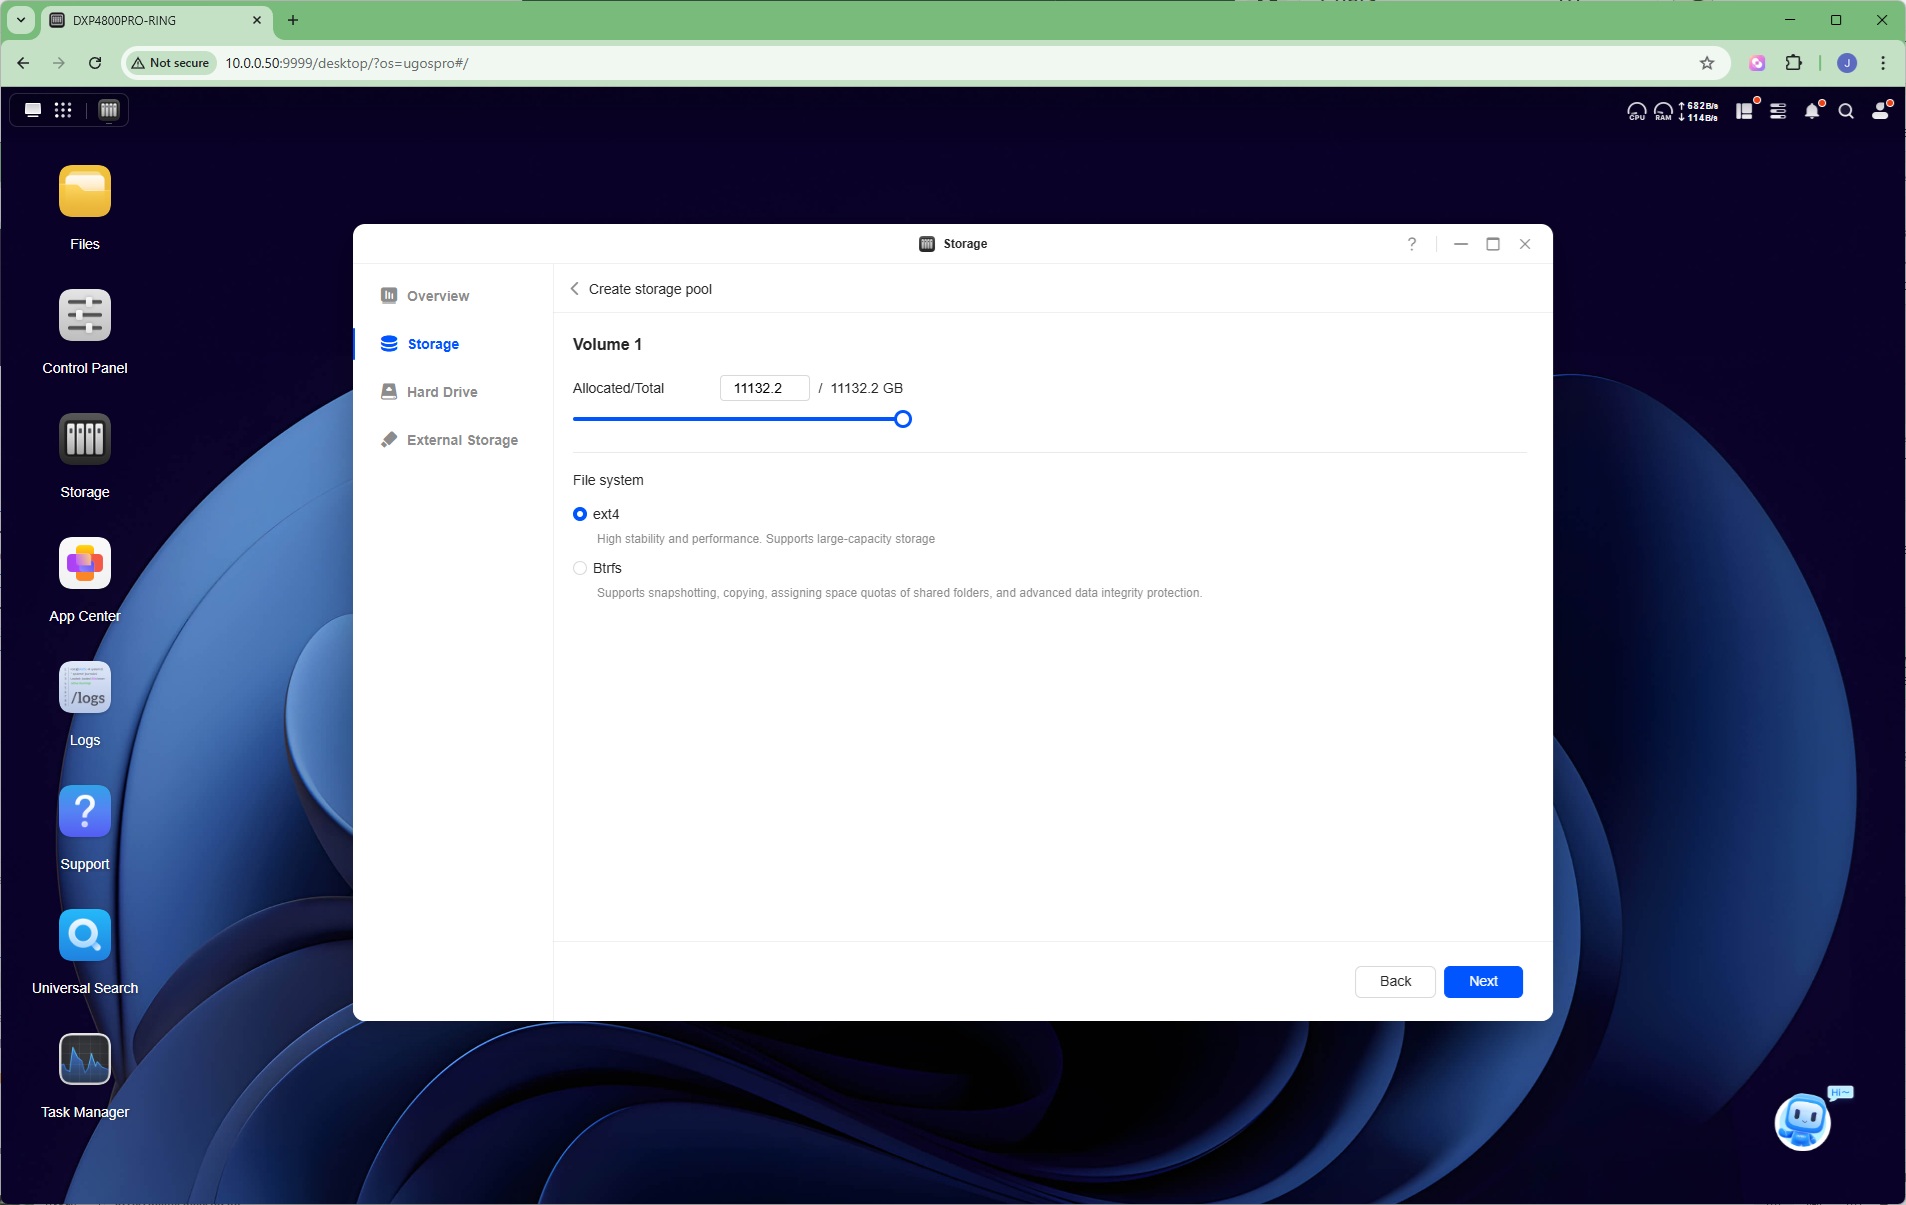
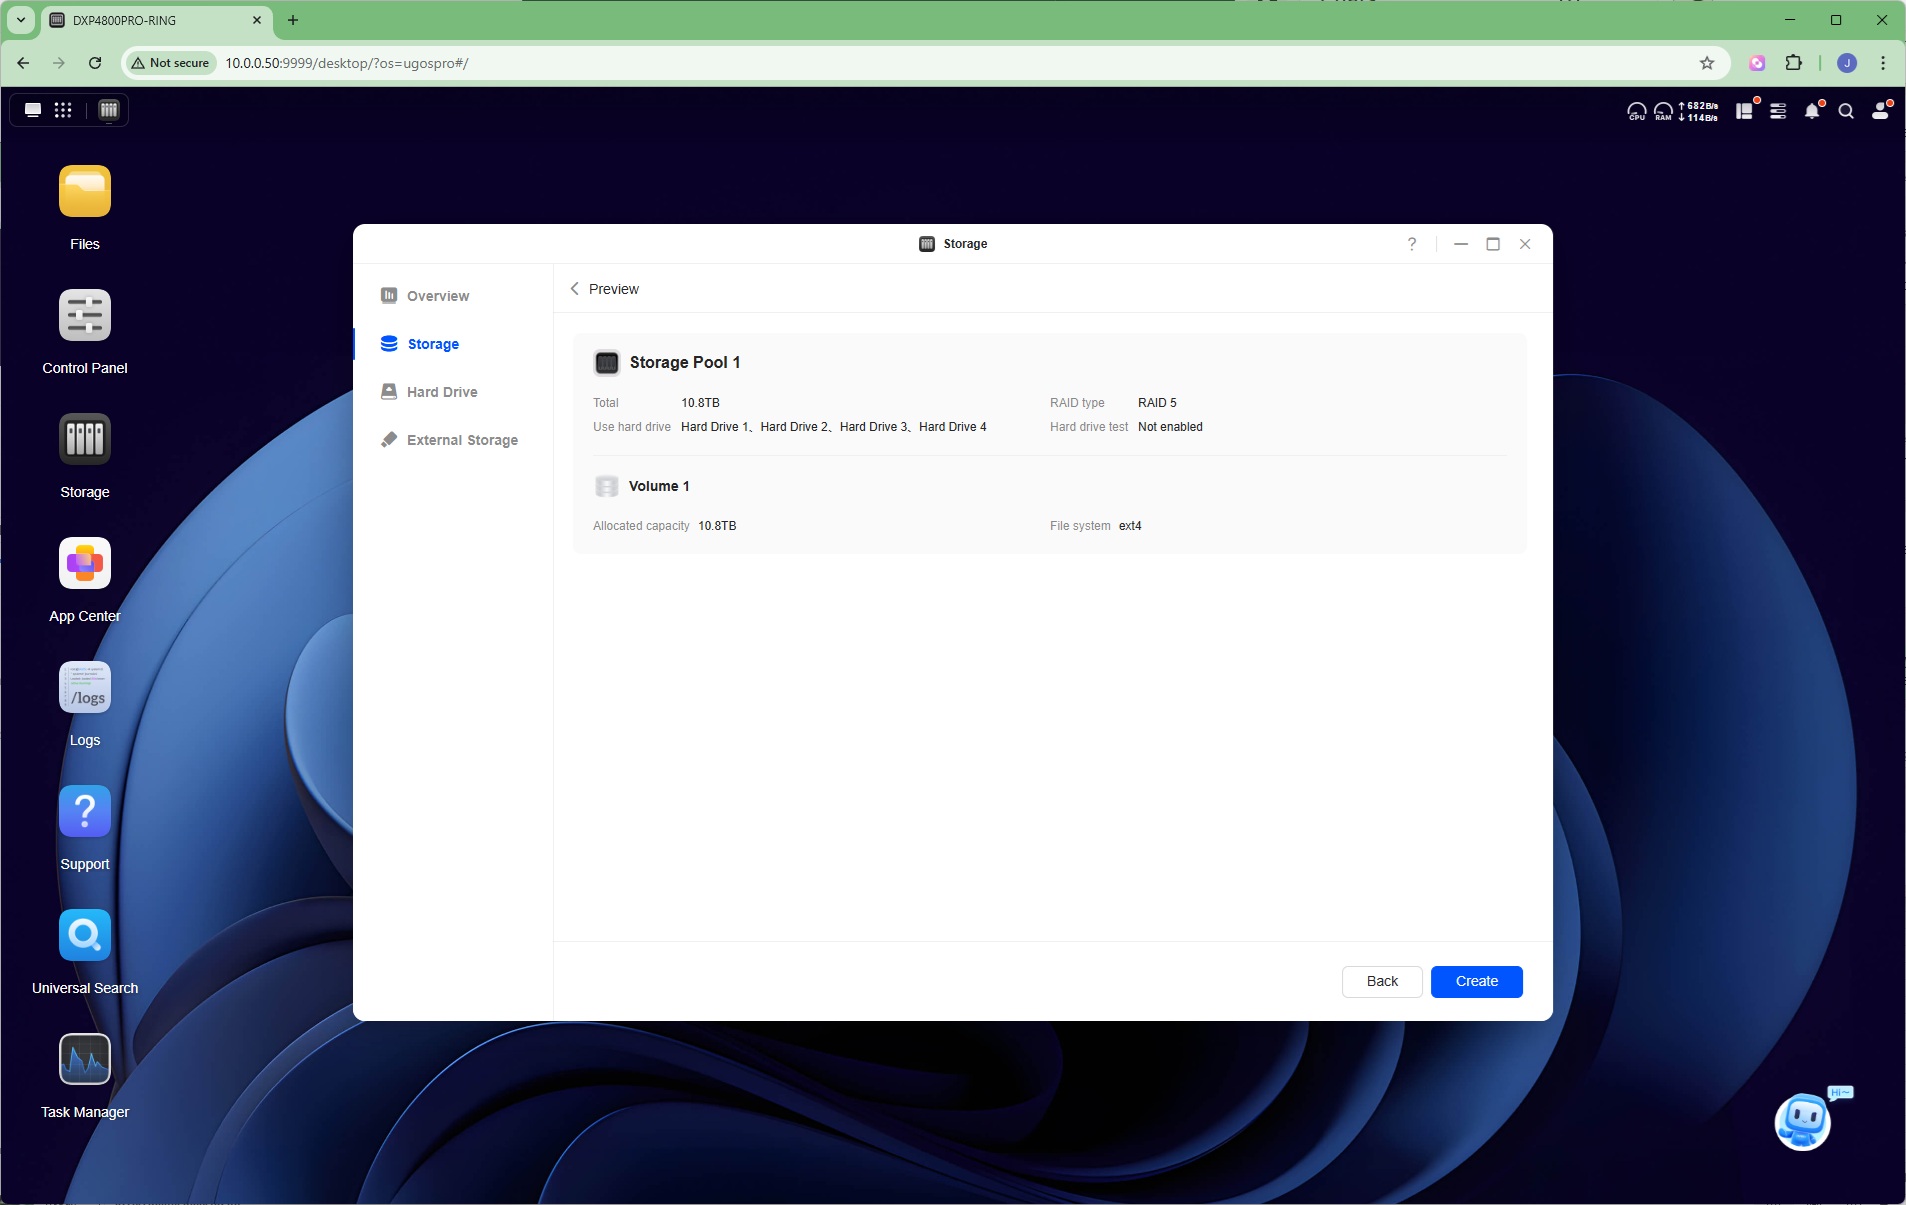
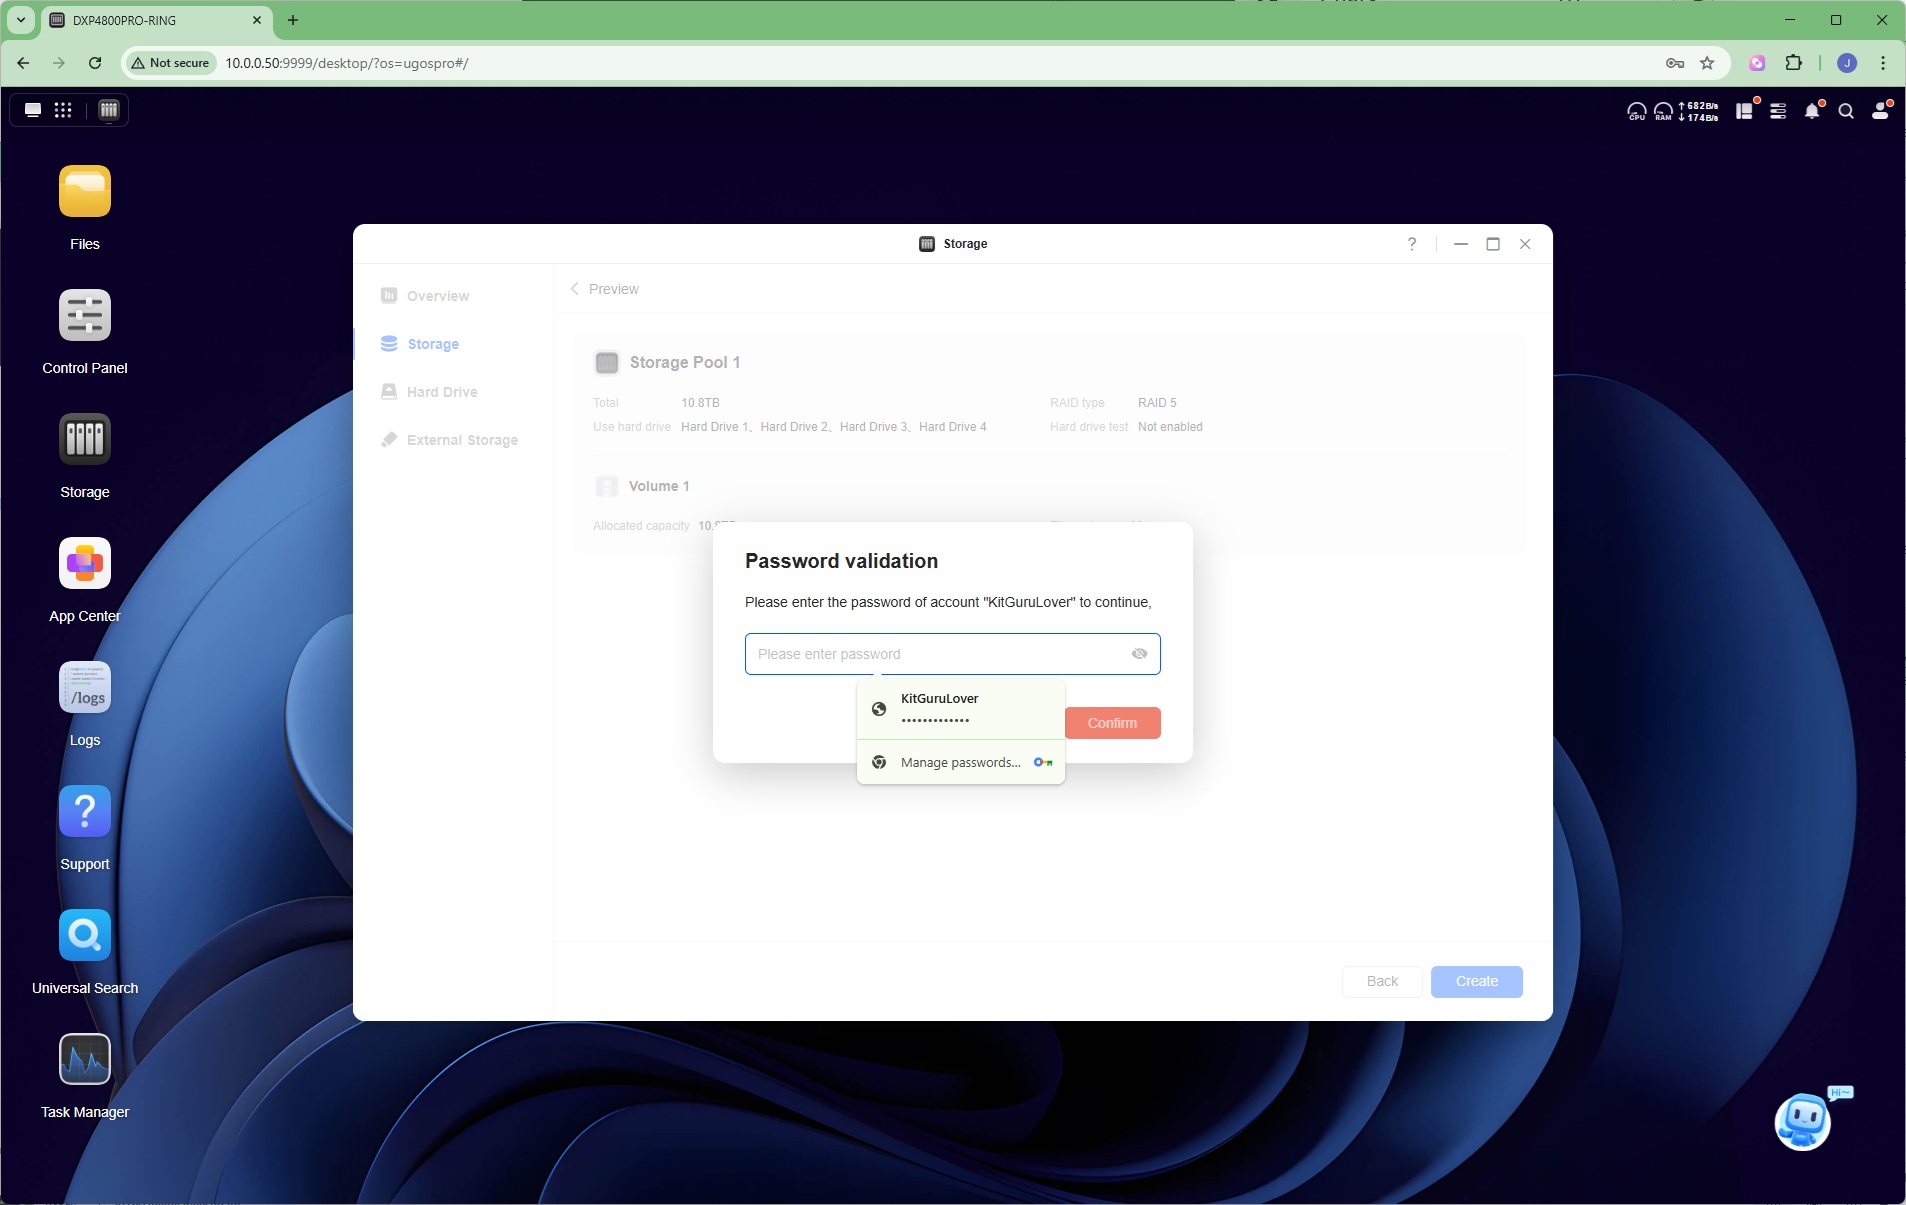
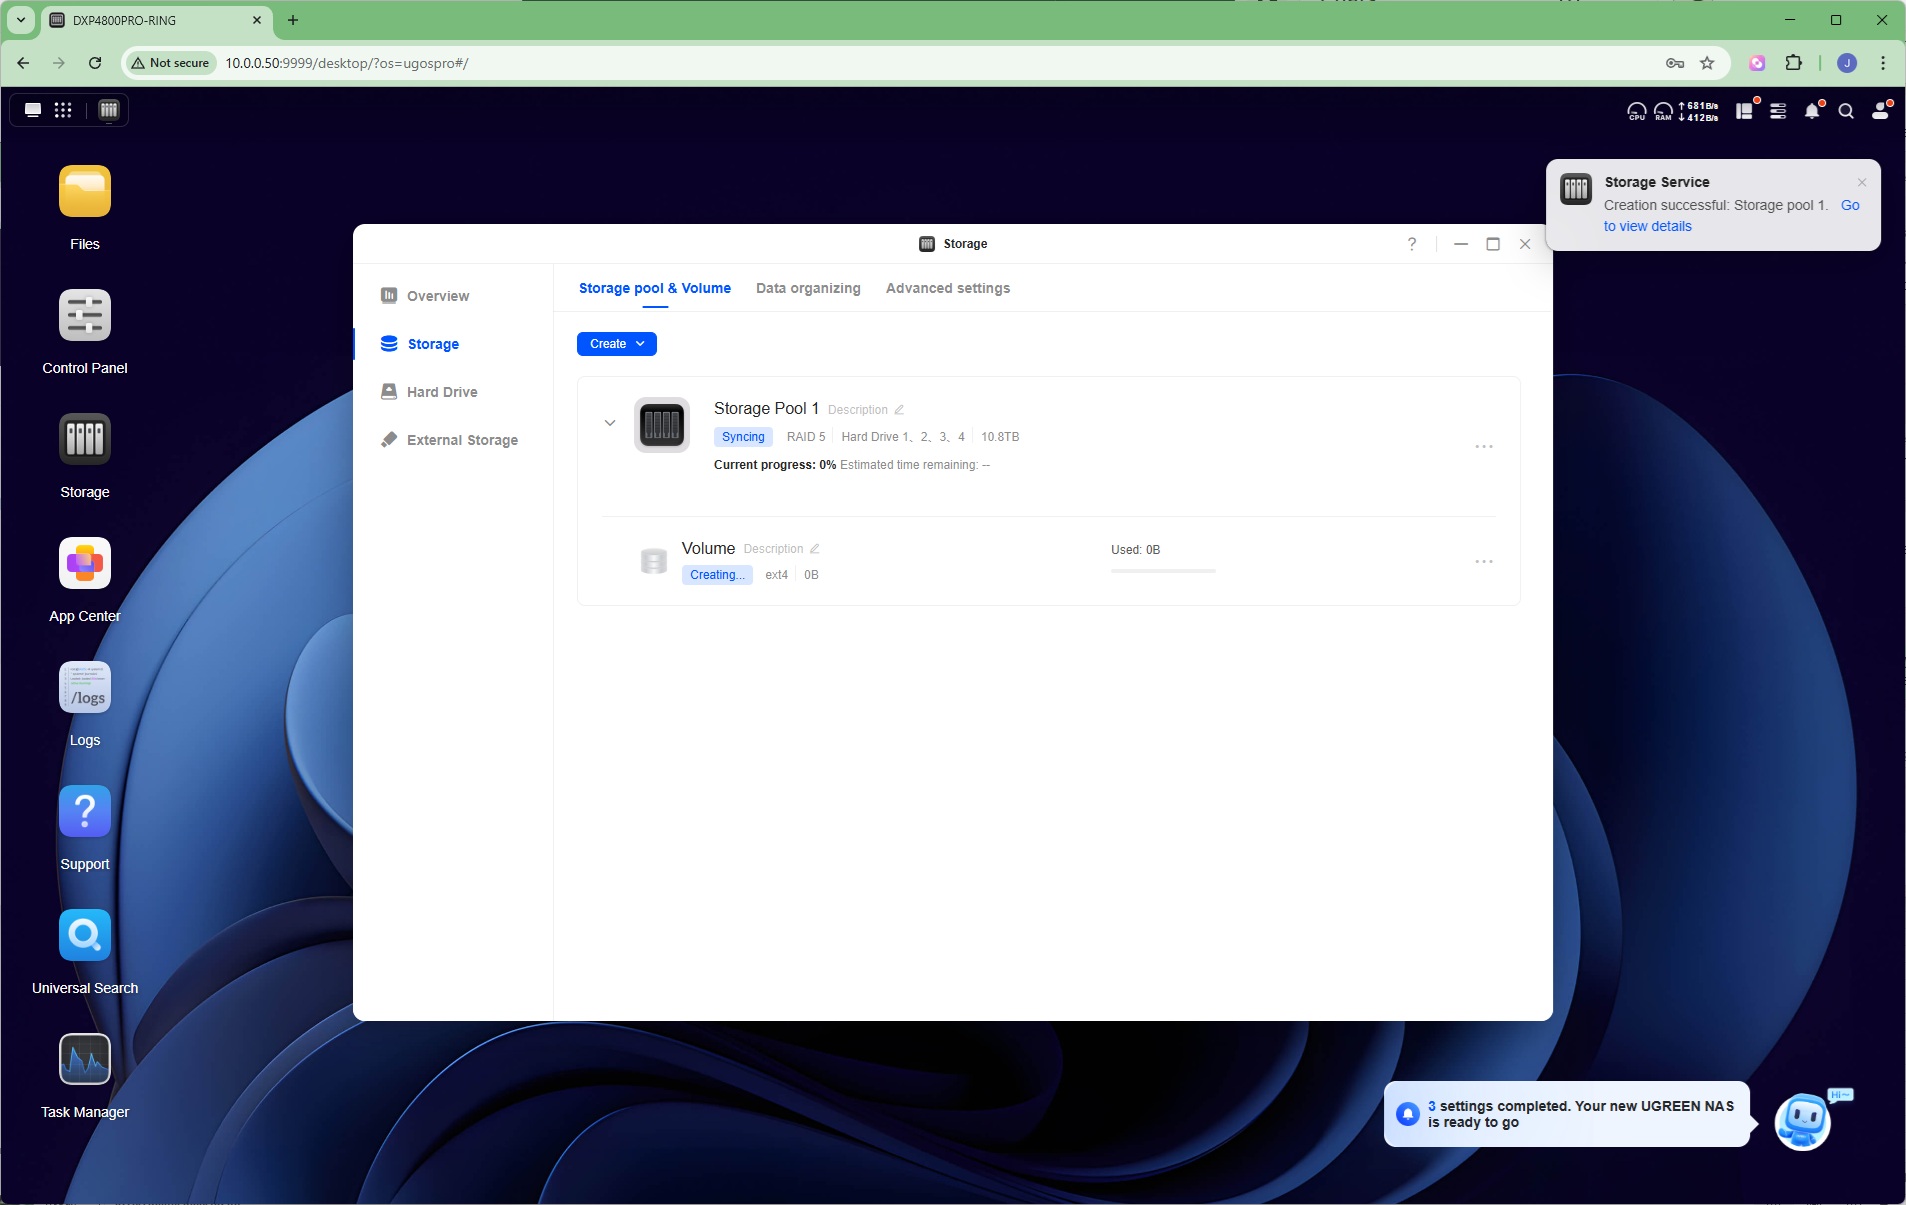
We selected the default RAID 5, because it blends fault tolerance with improved read speeds and fault tolerance. This is the typical choice for a NAS box offering more than two drives. You can select either ext4 or Btrfs formats for the resulting storage pool. You then get to review your choices, before hitting the Create button to build the pool. After a warning that all existing data will be destroyed by this process, you have to provide the administrator password again, and then finally the formatting process will begin. It will take quite a while for a RAID 5 volume to optimise and then synchronise, so best to go make a cup of tea at this point, or even a full three-course meal, although you can already use the volume during synchronisation.
Creating Folders
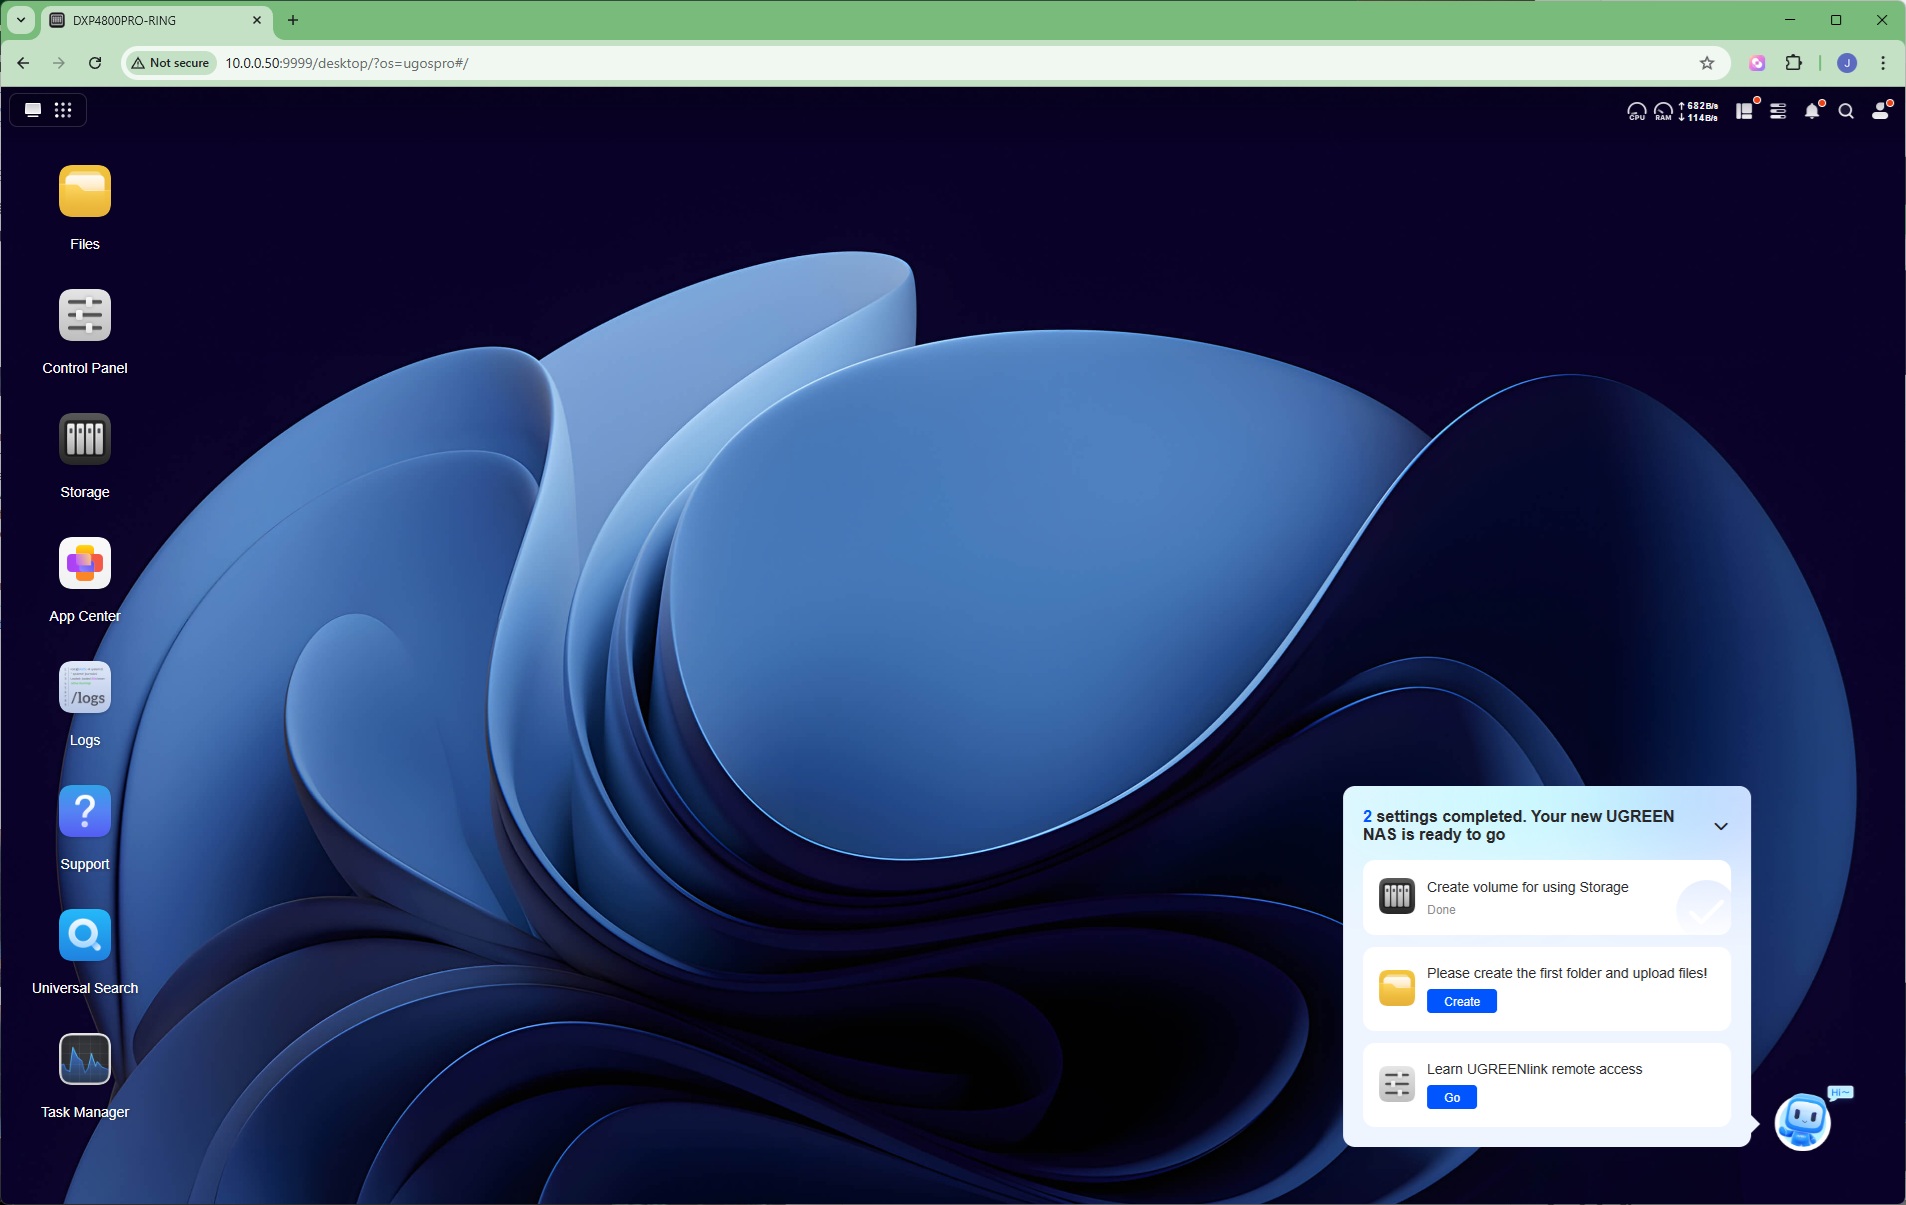
The friendly figure in the bottom right-hand side is prompting us to complete some more tasks, starting with creating a folder.
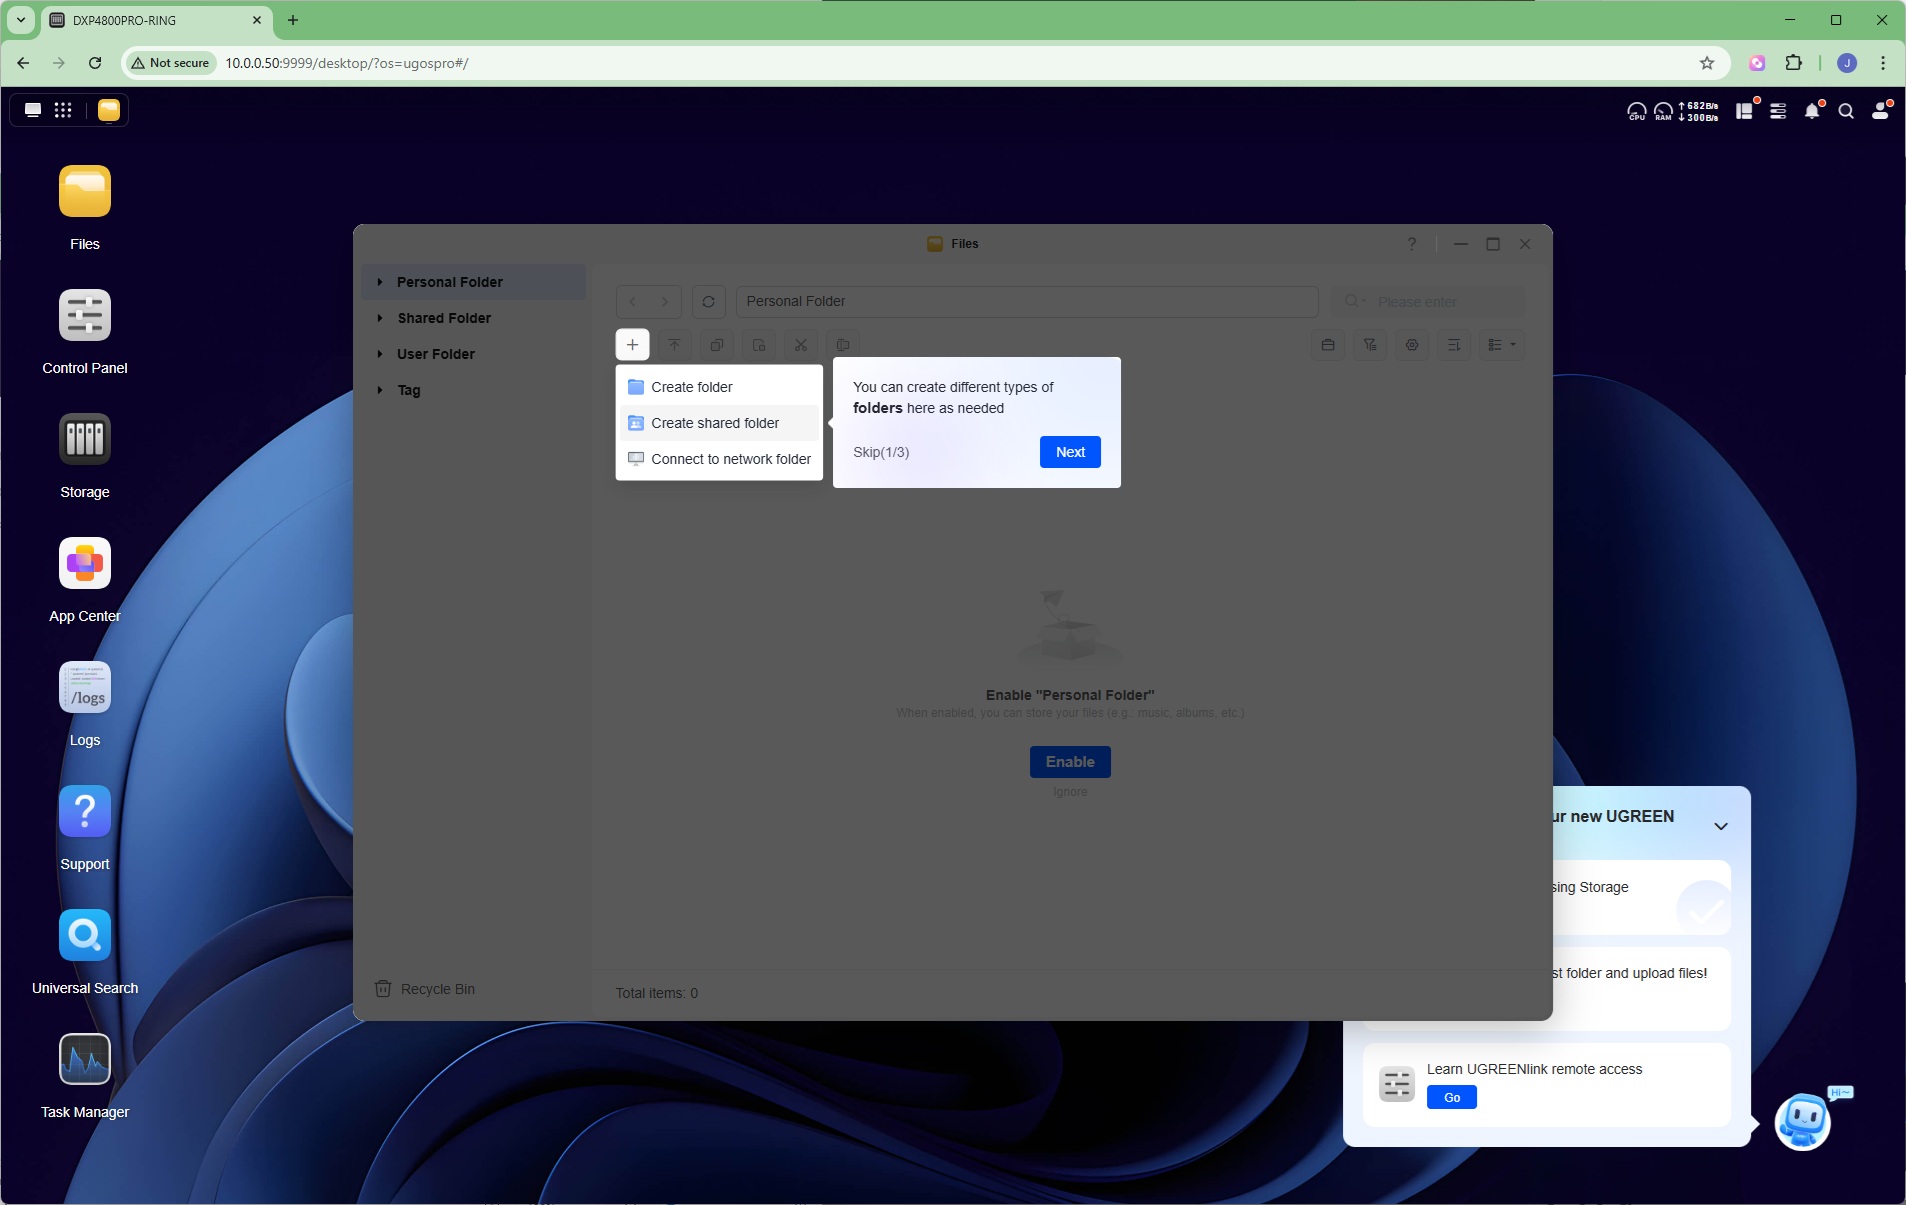
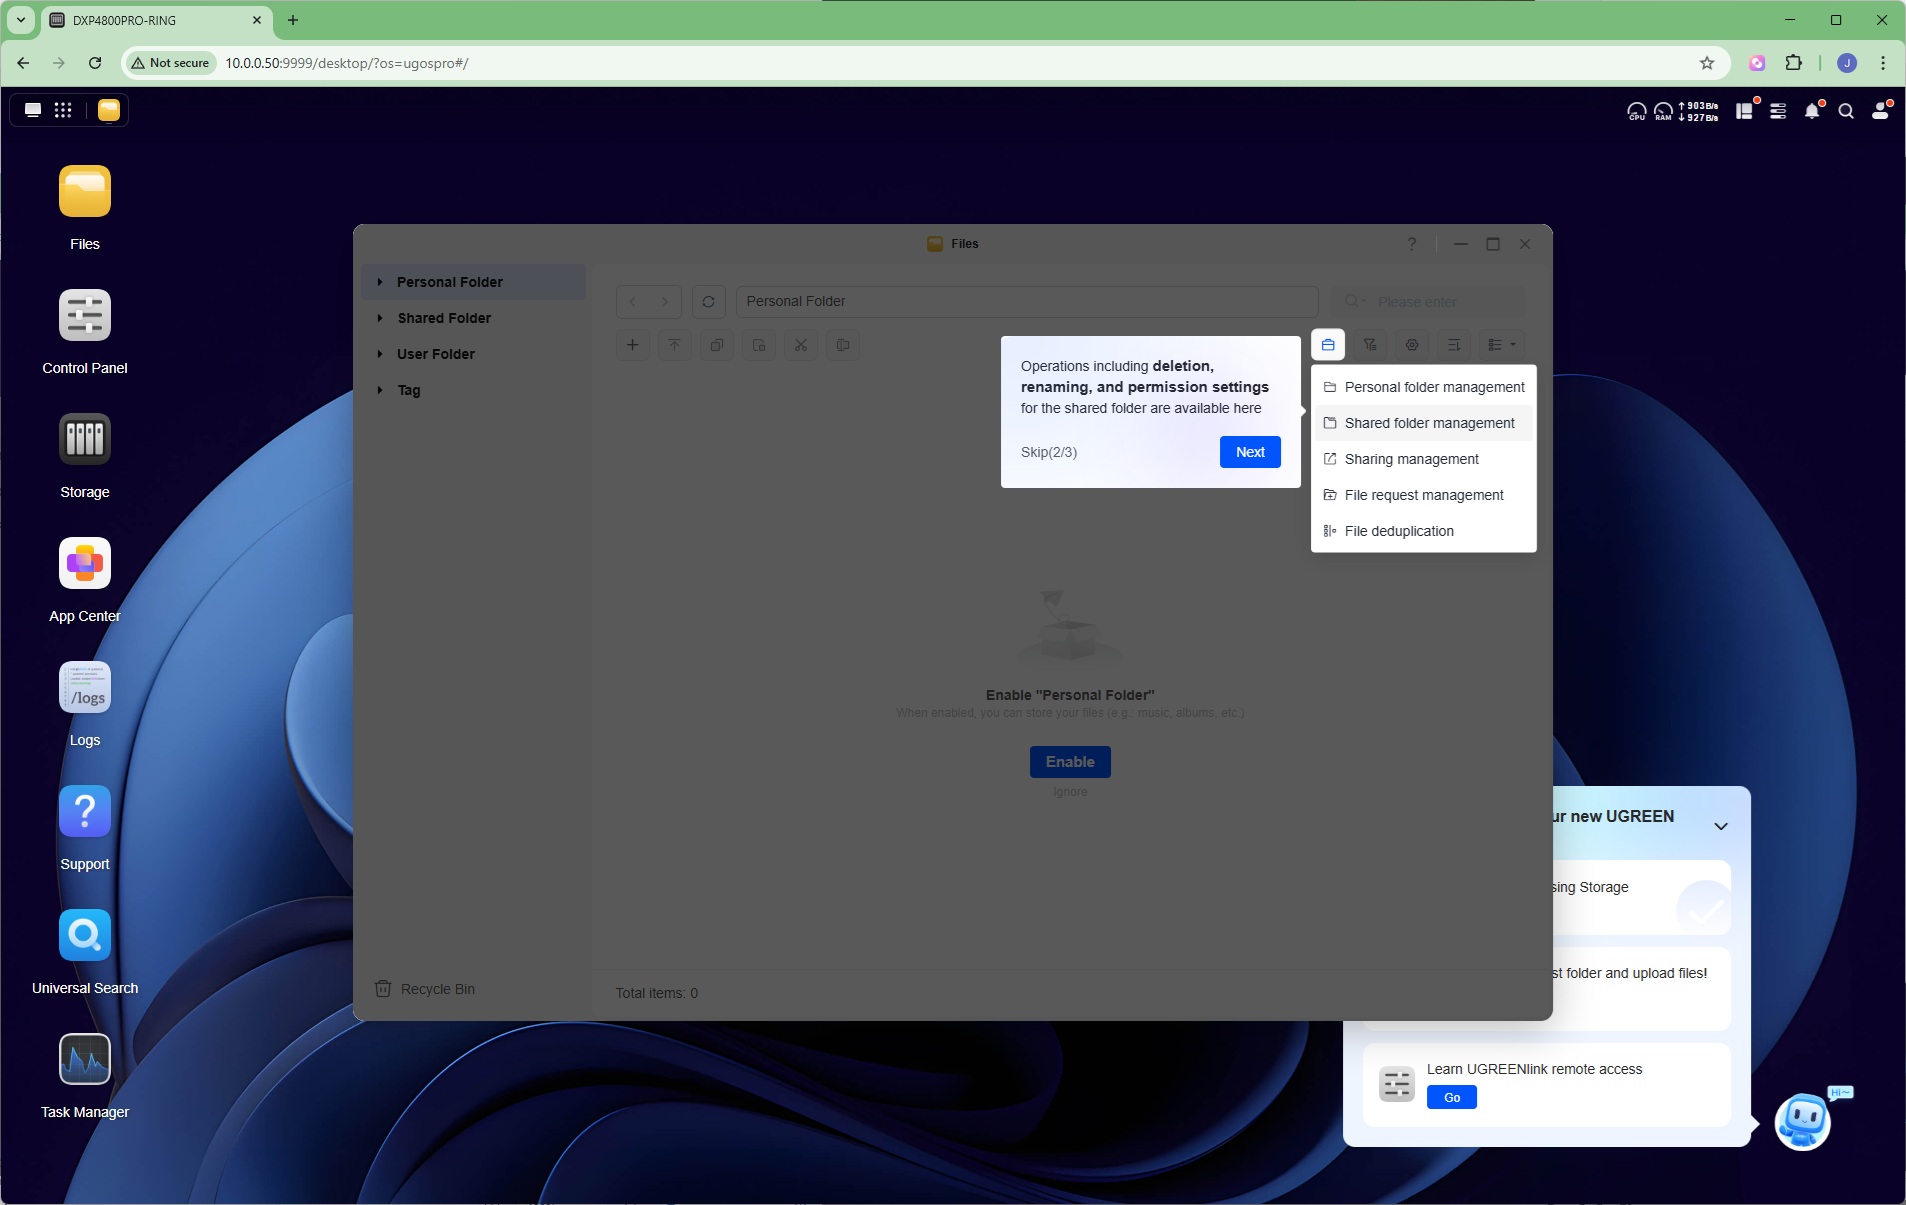
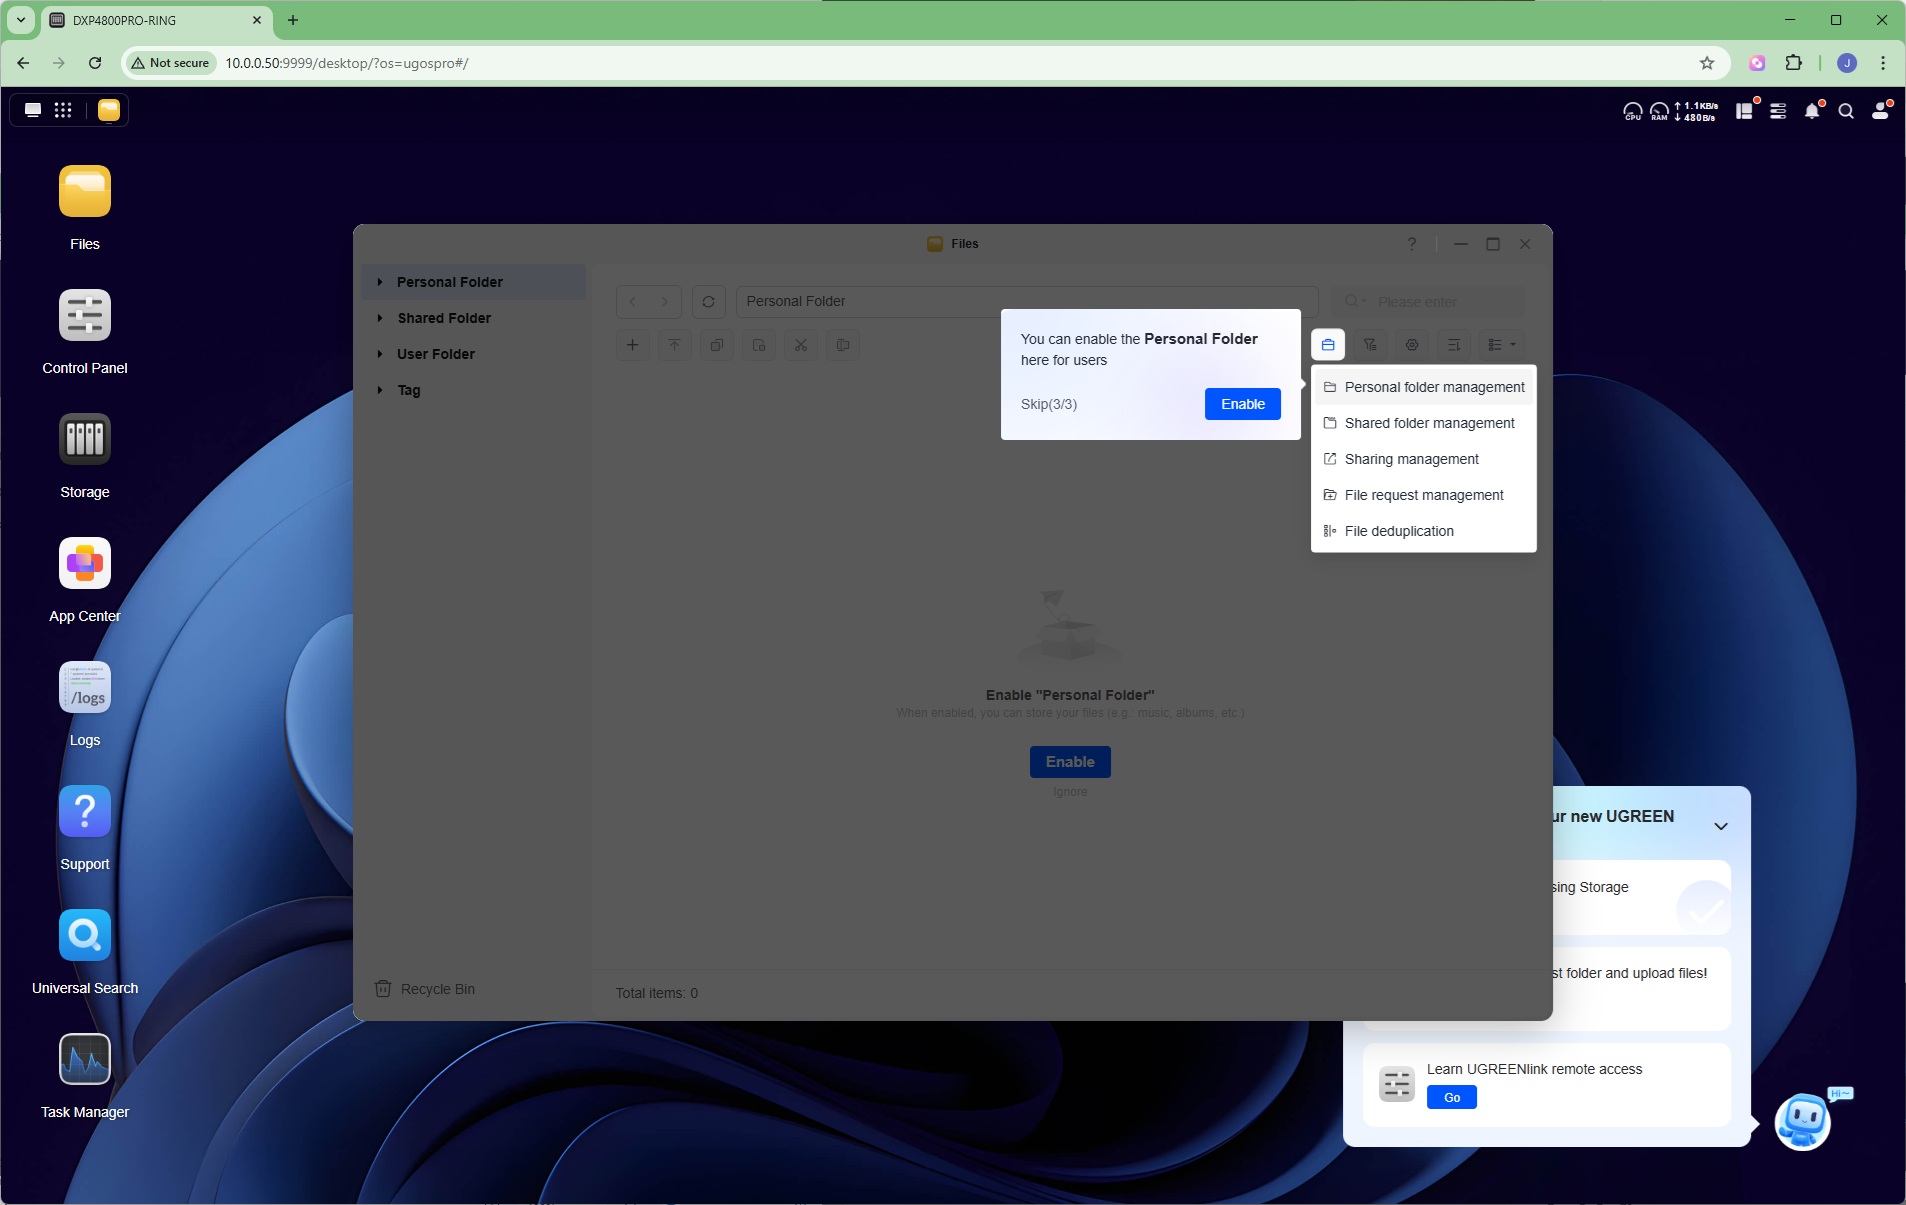
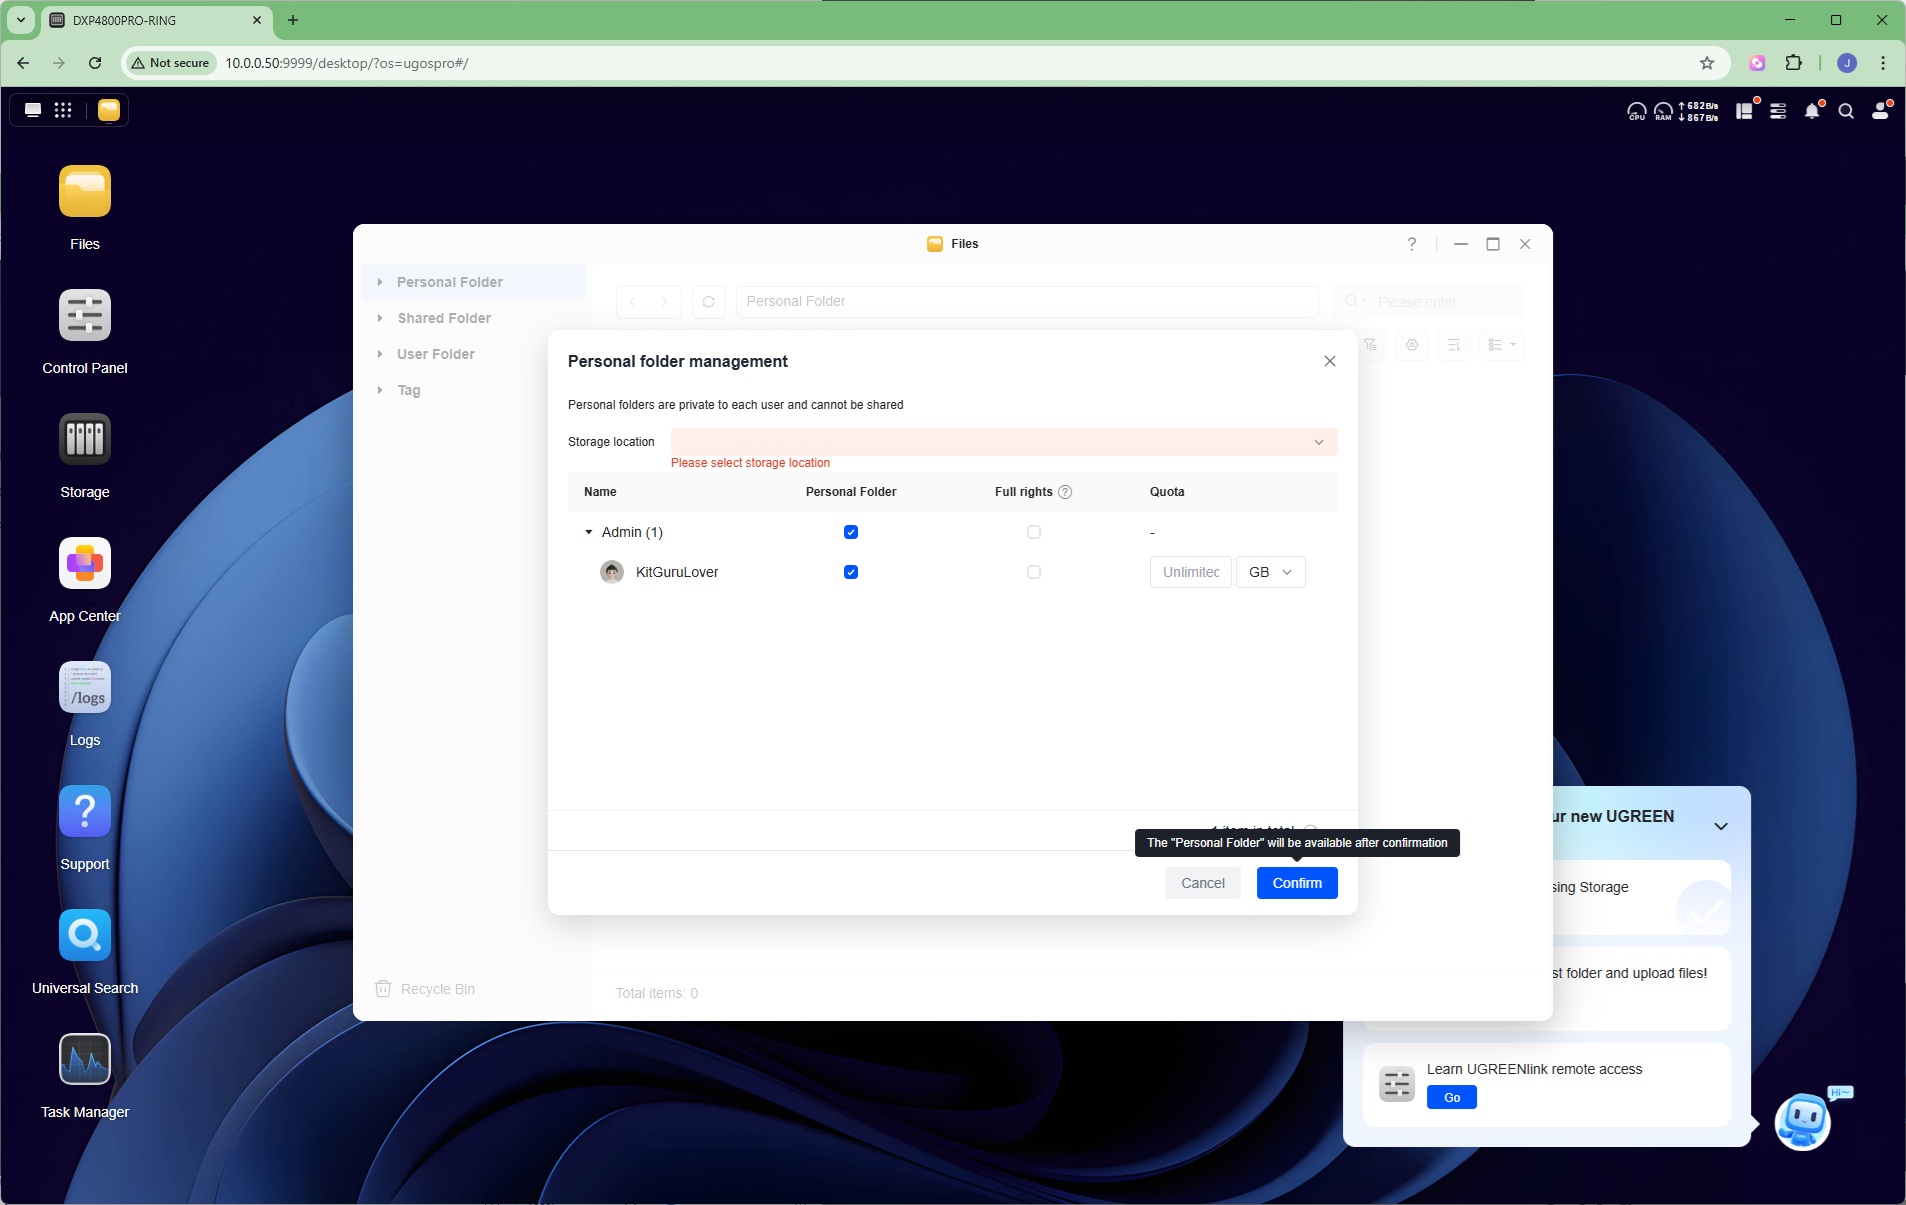
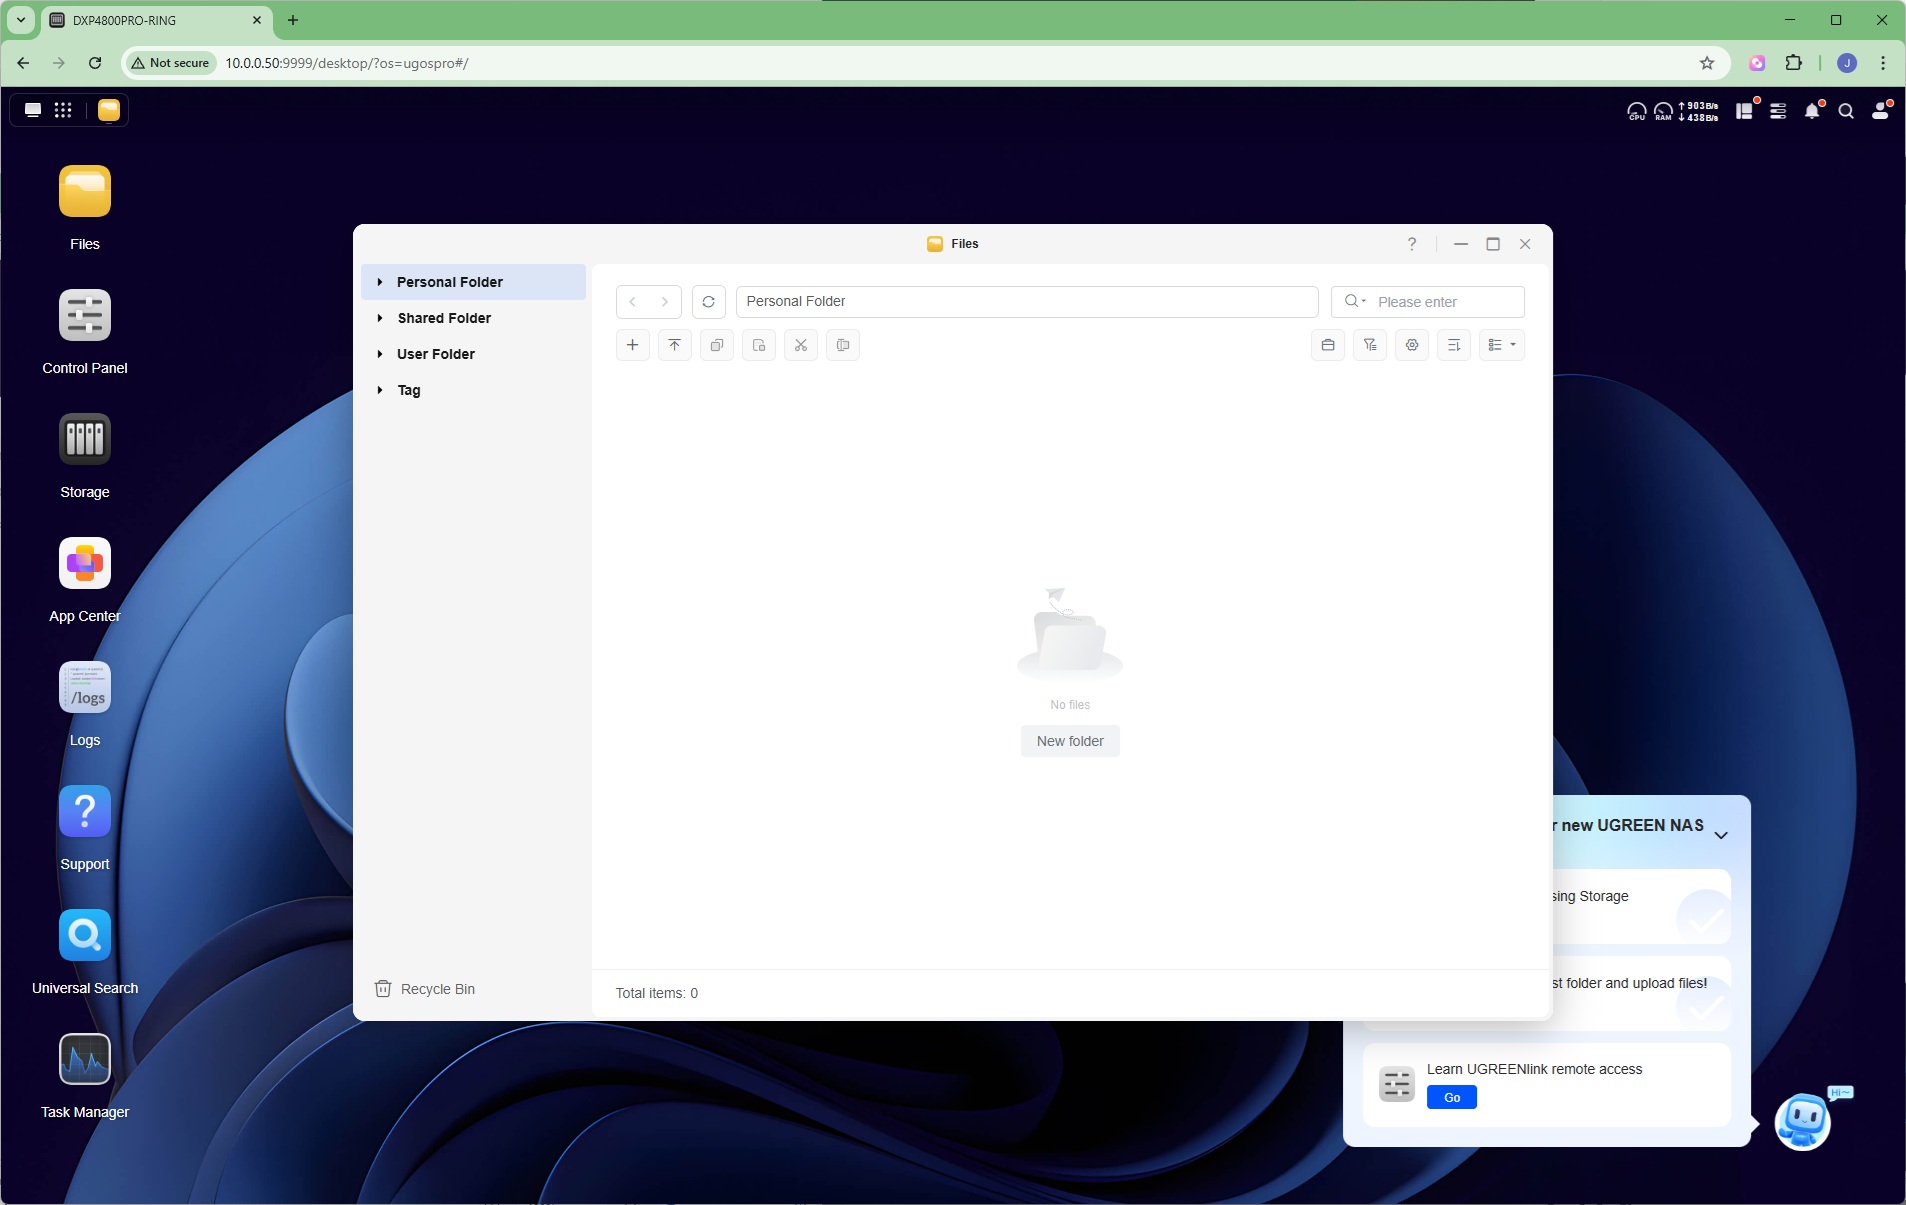
After an interface tutorial, you're guided through the process, where you select the volume to use and then the folder is created.
Remote Access
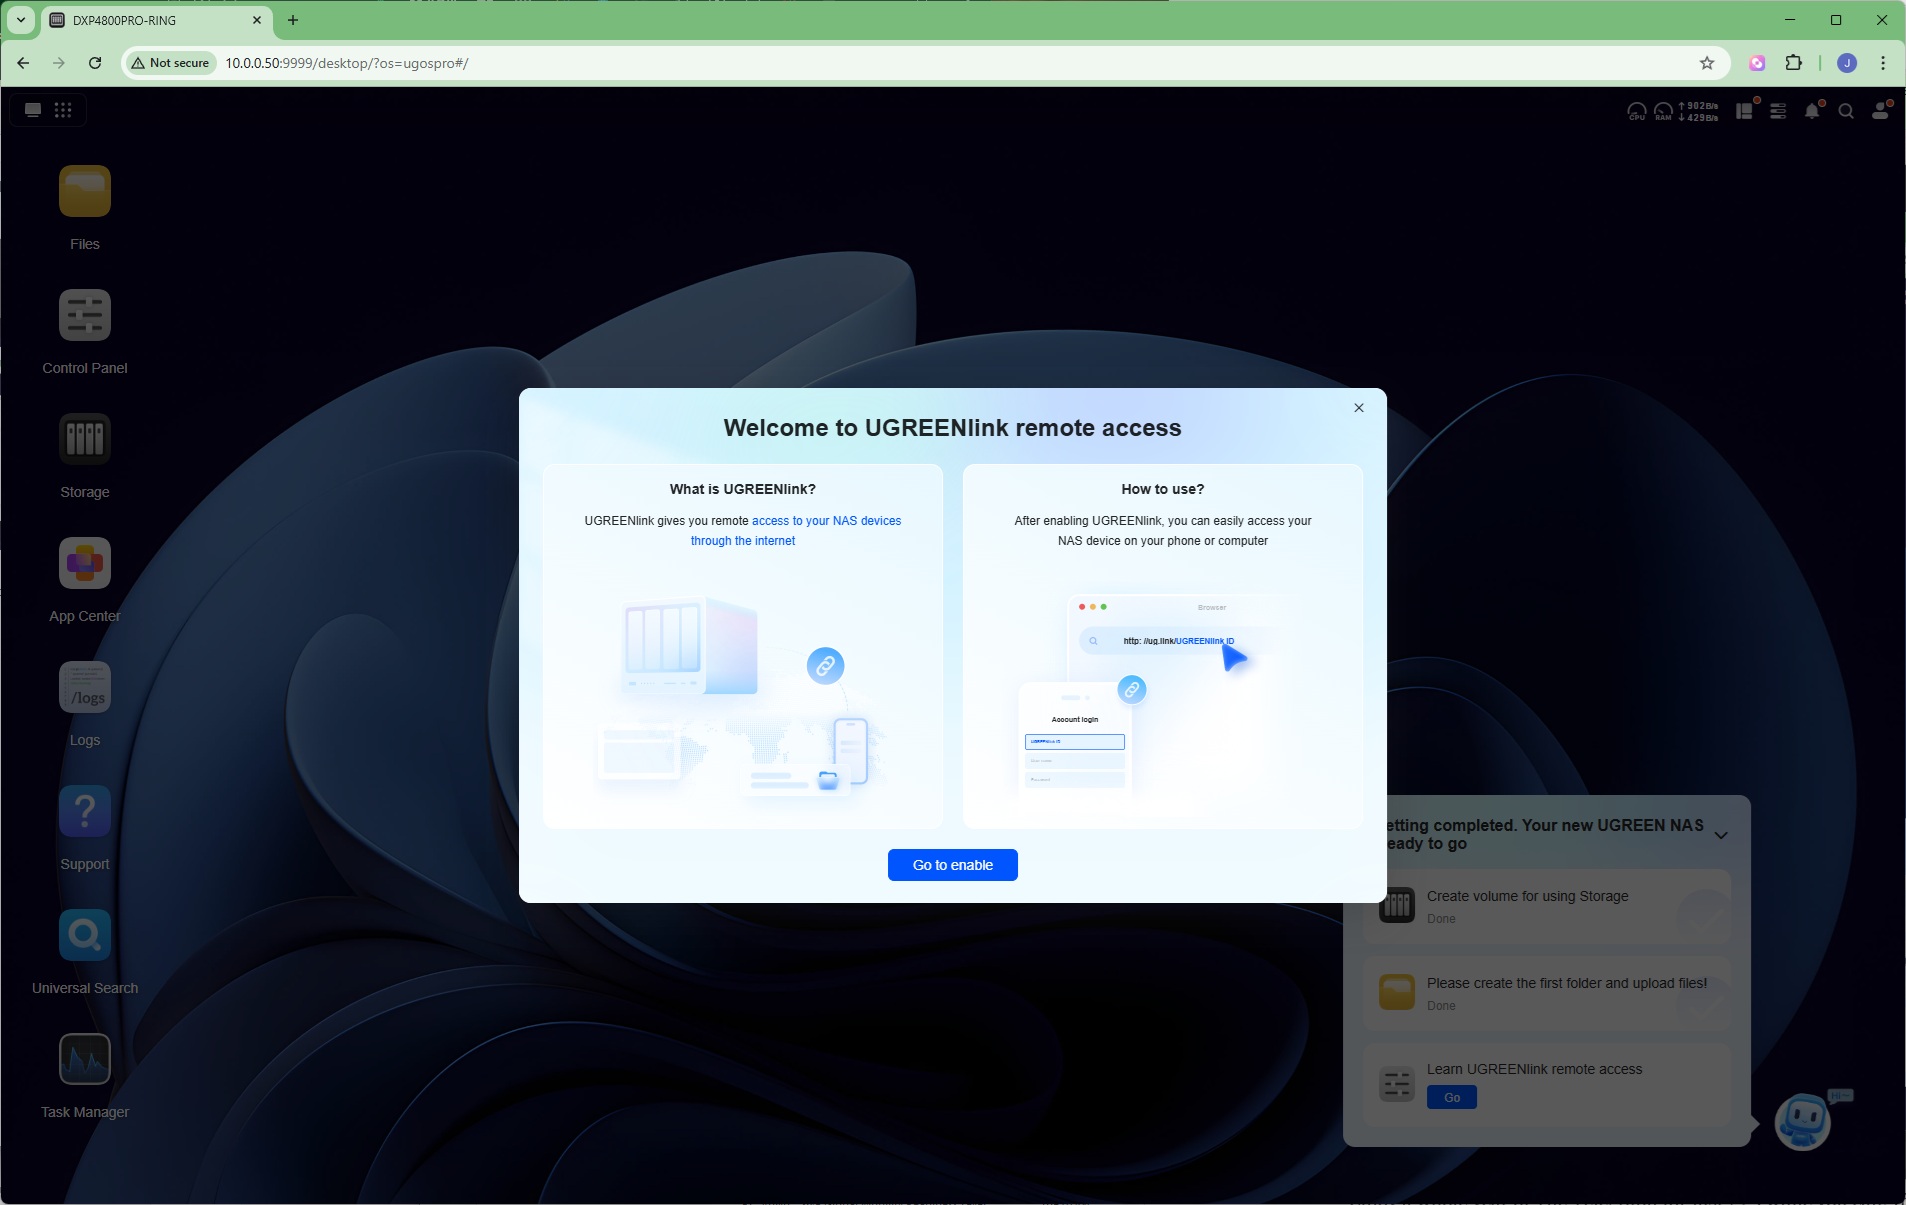
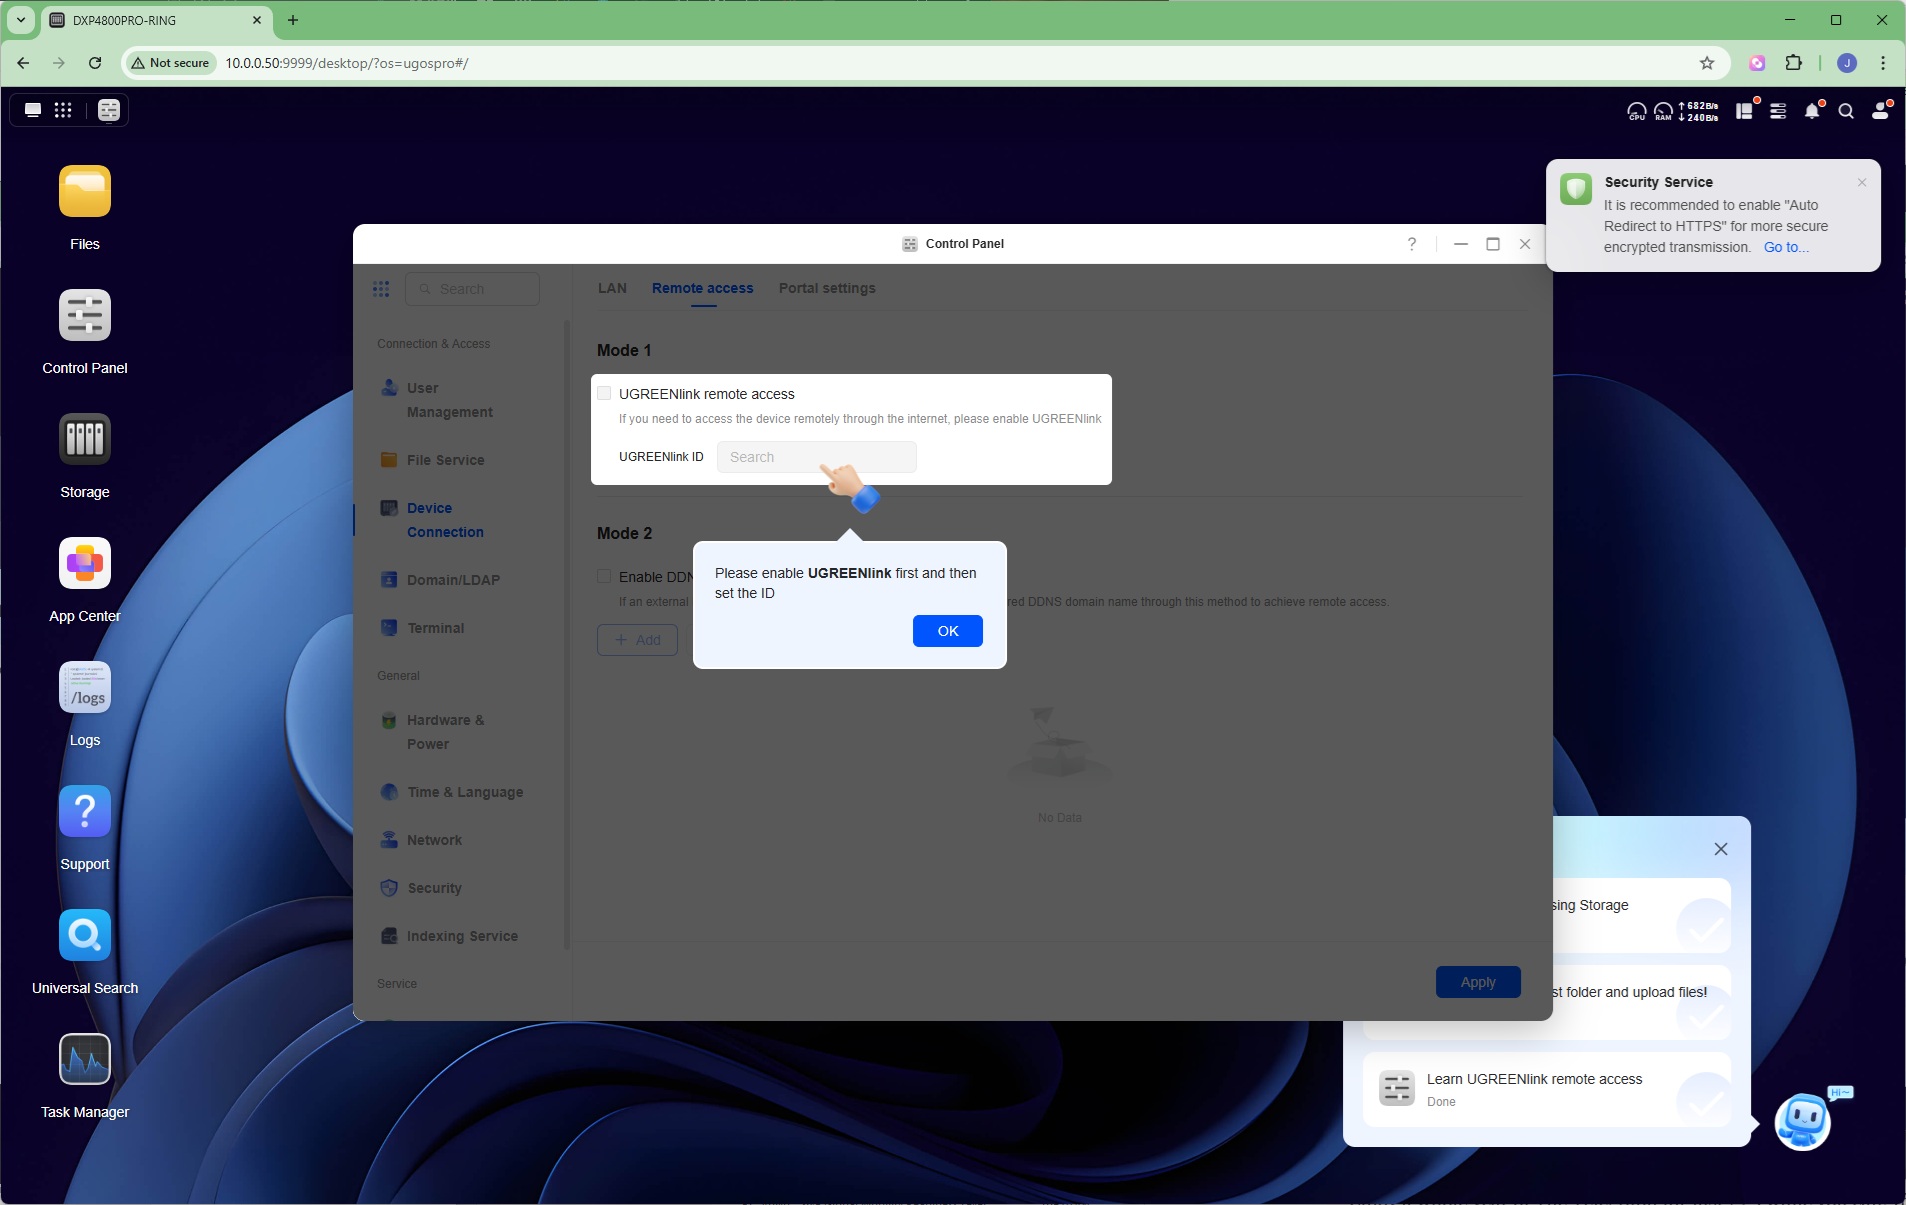
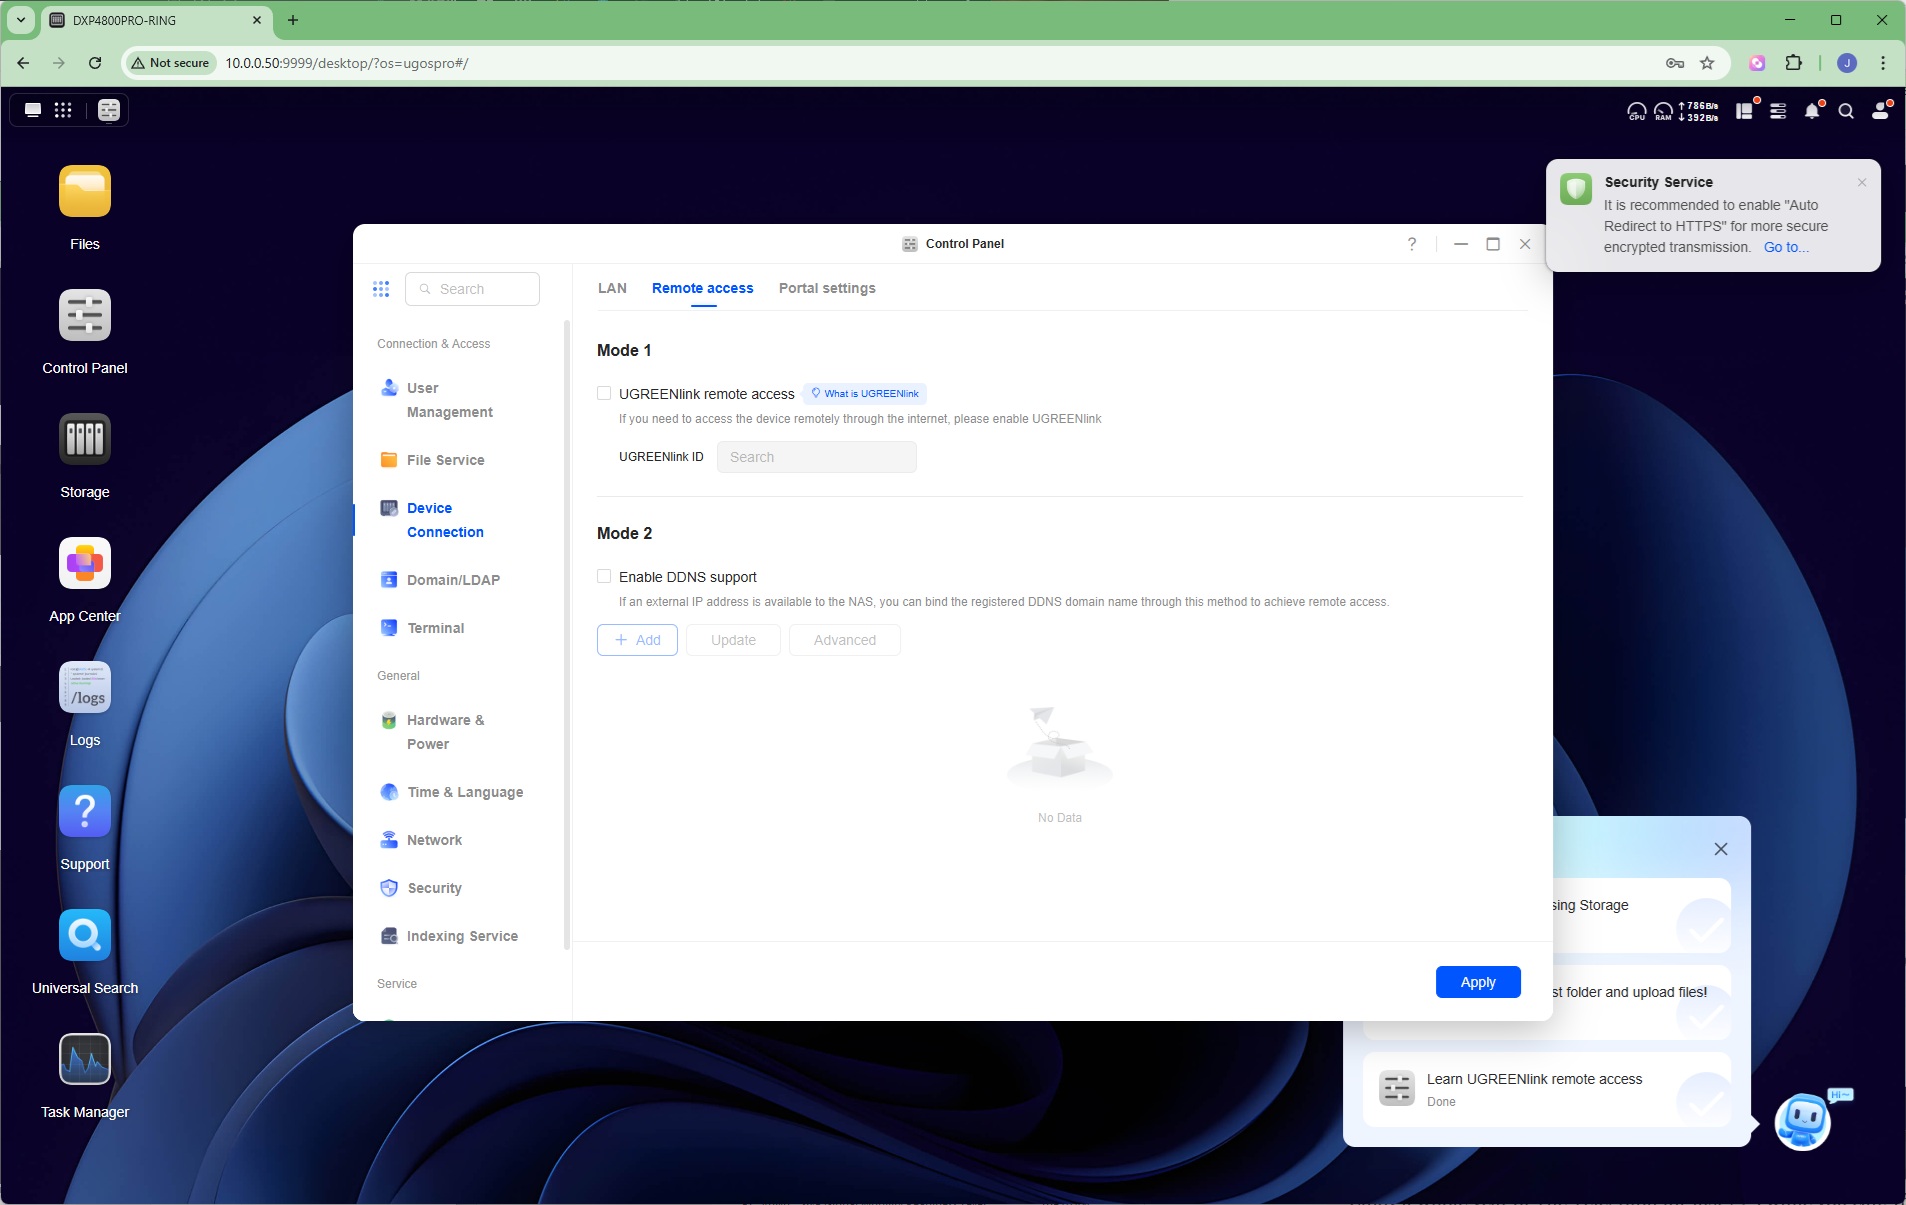
The final setup stage is enabling remote access. You can either use UGREENlink or more traditional Dynamic DNS, although this will probably also require configuration of your router as well. For DDNS, noip.com, duckDNS, Alibaba Cloud, Tencent Cloud, Peanut Shell, cloudflare and Huawei Cloud are supported. You may note a certain Chinese bias within these options.
Storage Manager
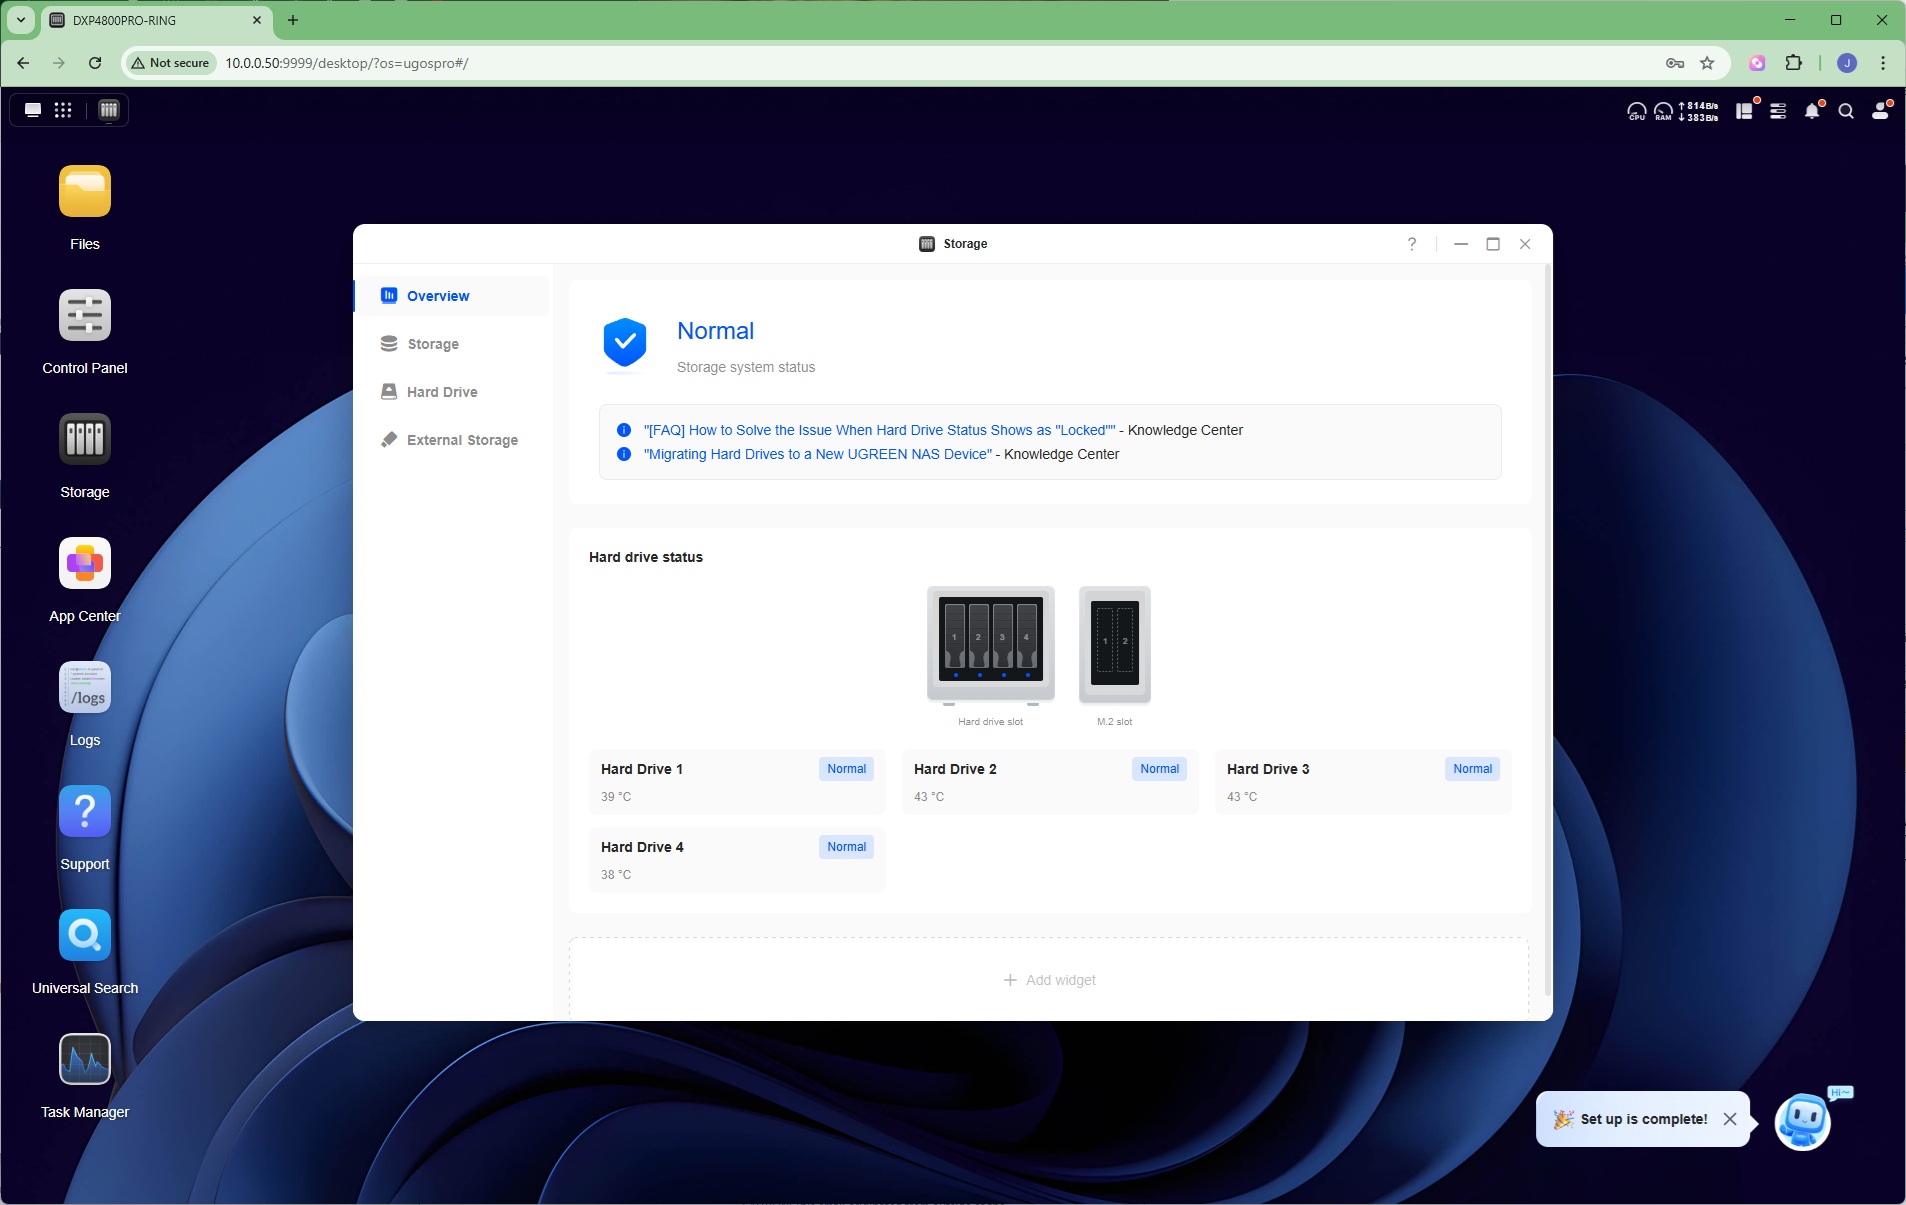
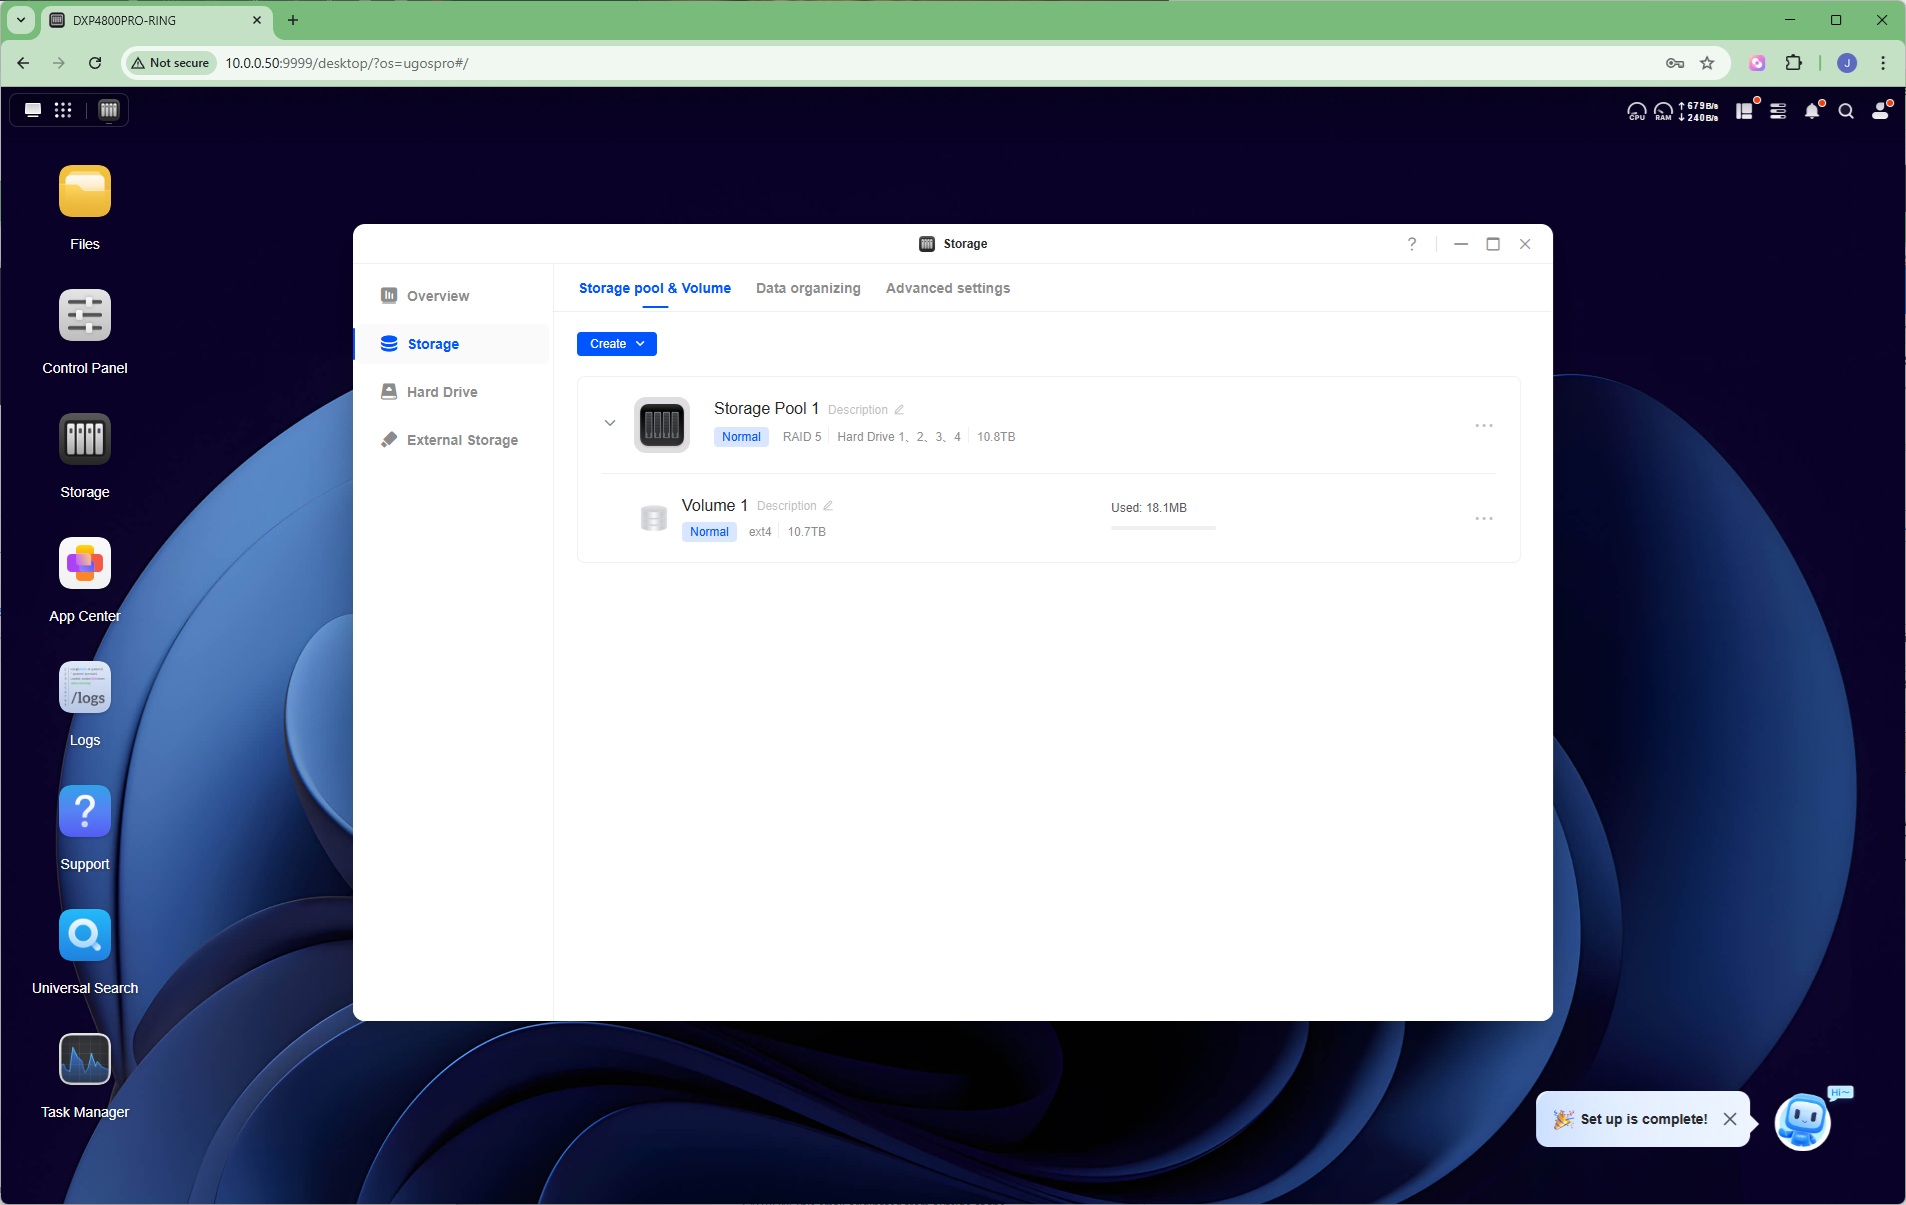

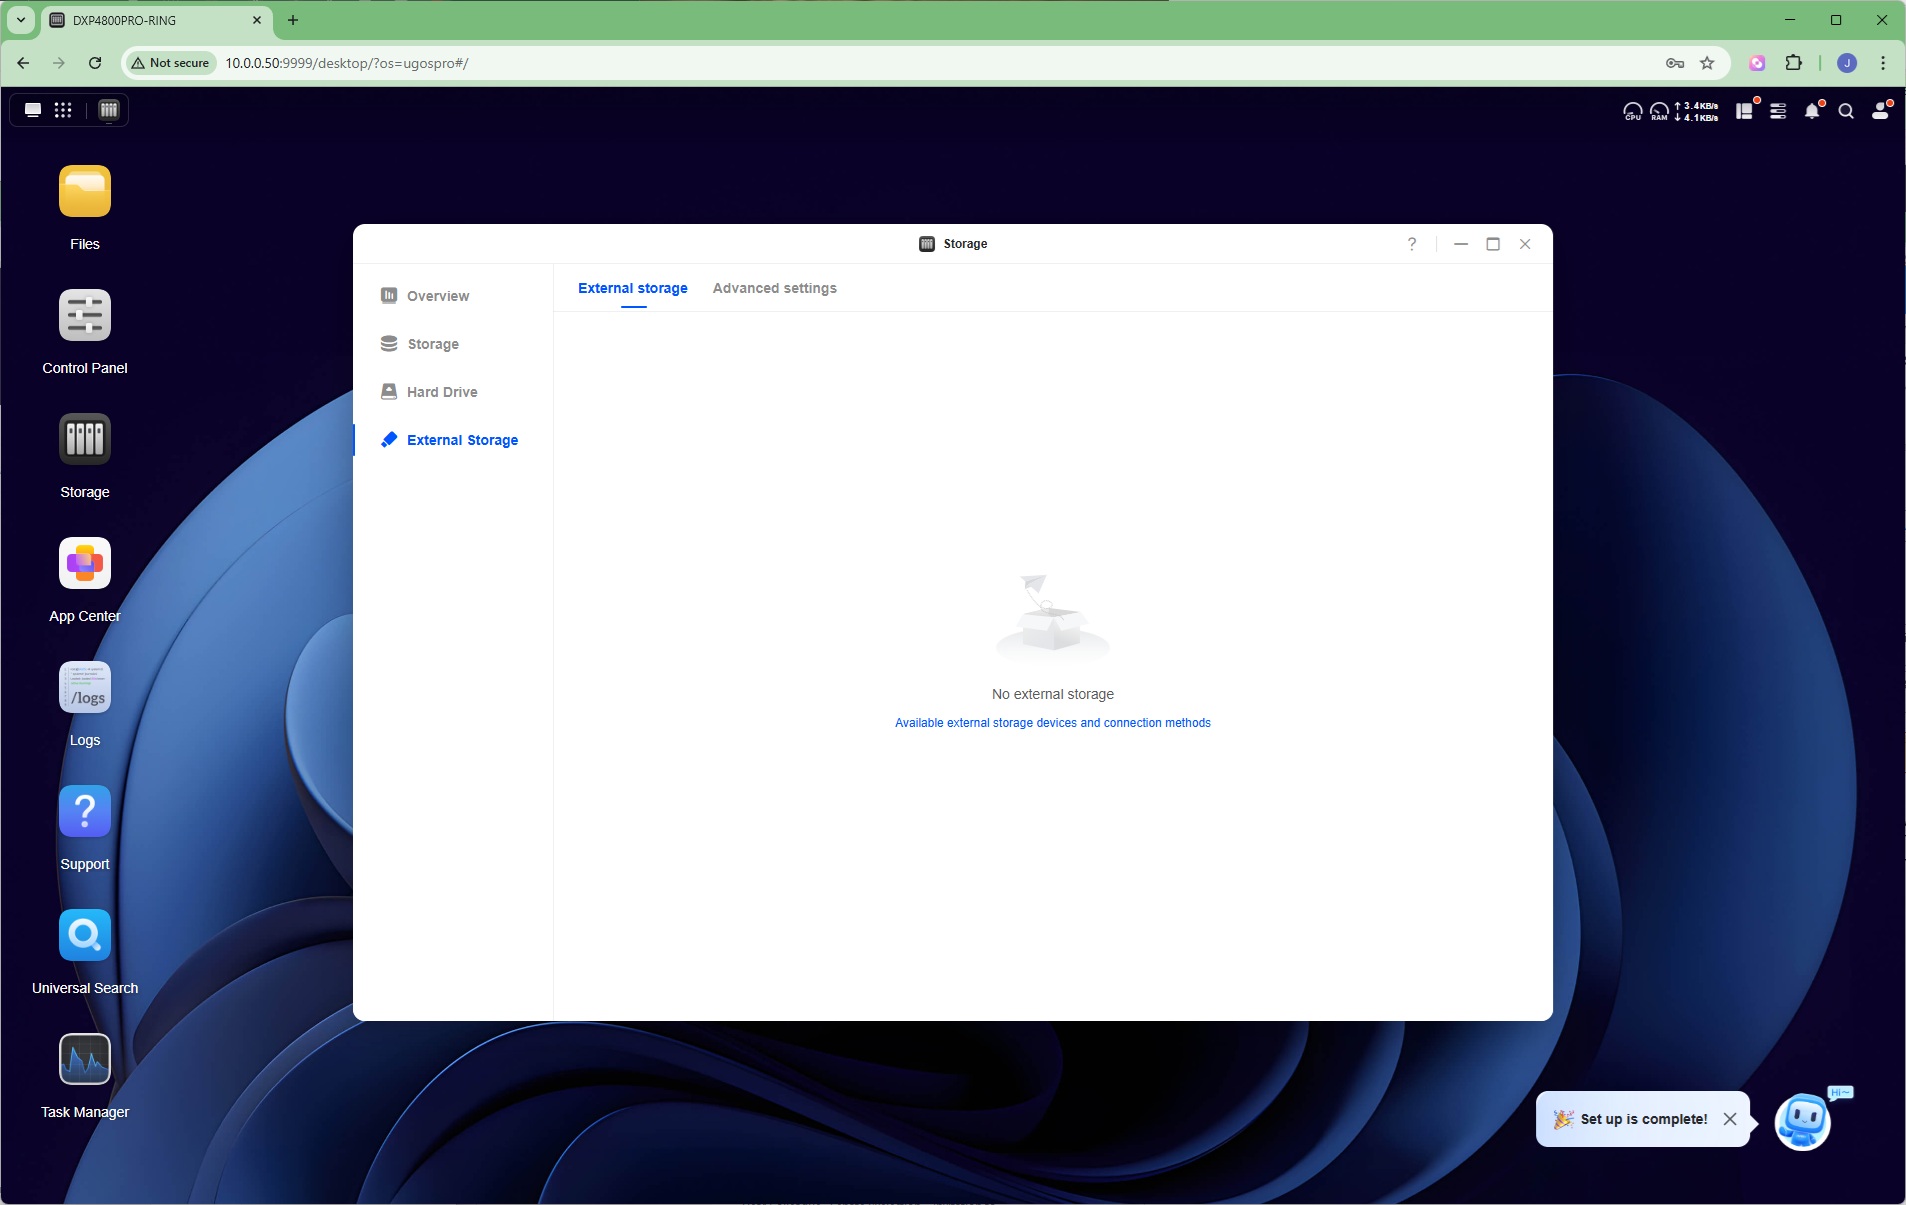
With your volumes set up, you can return to the Storage manager to check status, create more pools, perform data organisation, change advanced settings like prioritising read/write or data synchronisation for RAID 5, check drive health, and configure external storage devices like SD cards and USB flash drives.
Control Panel
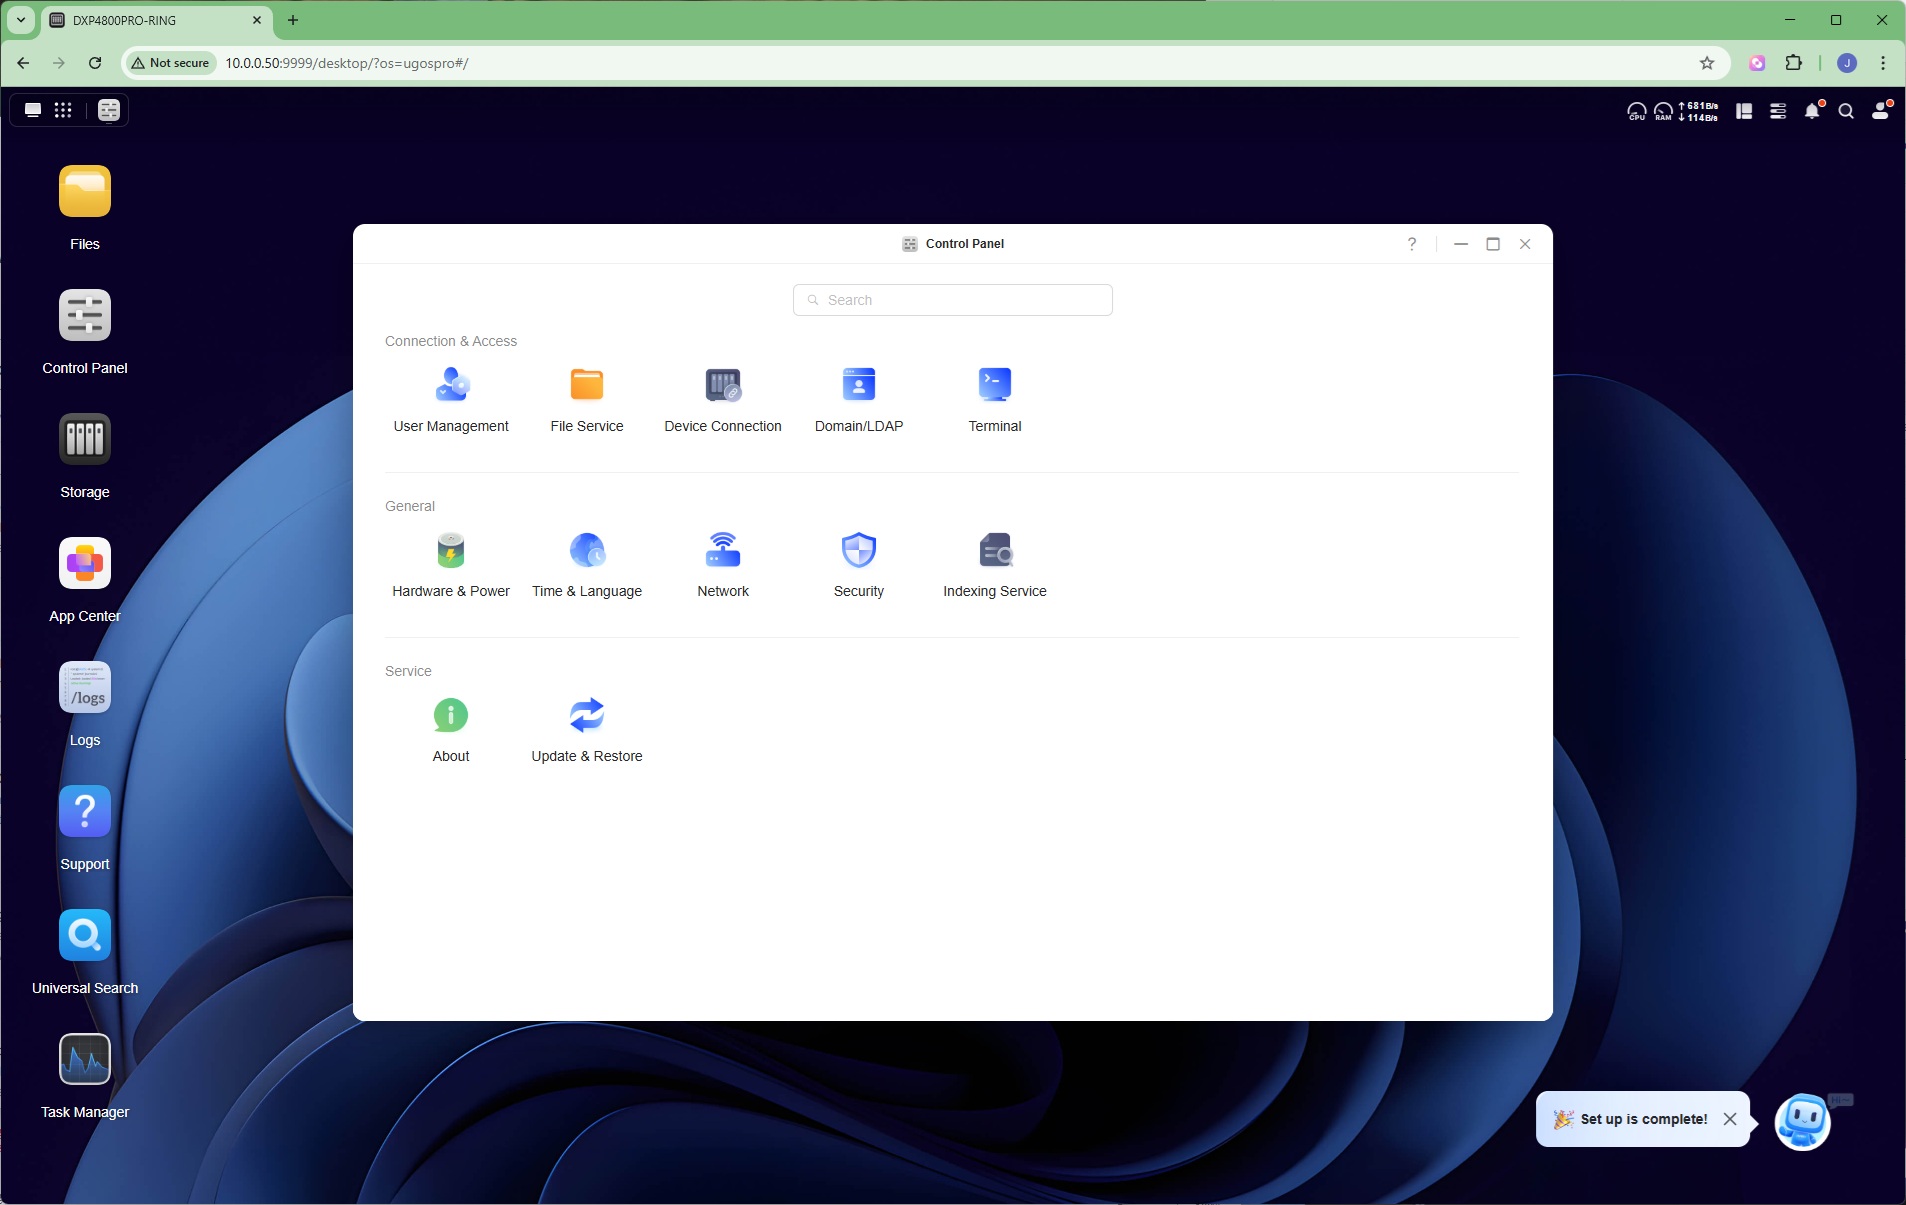
The Control Panel is where you configure all the main features of the NAS box.
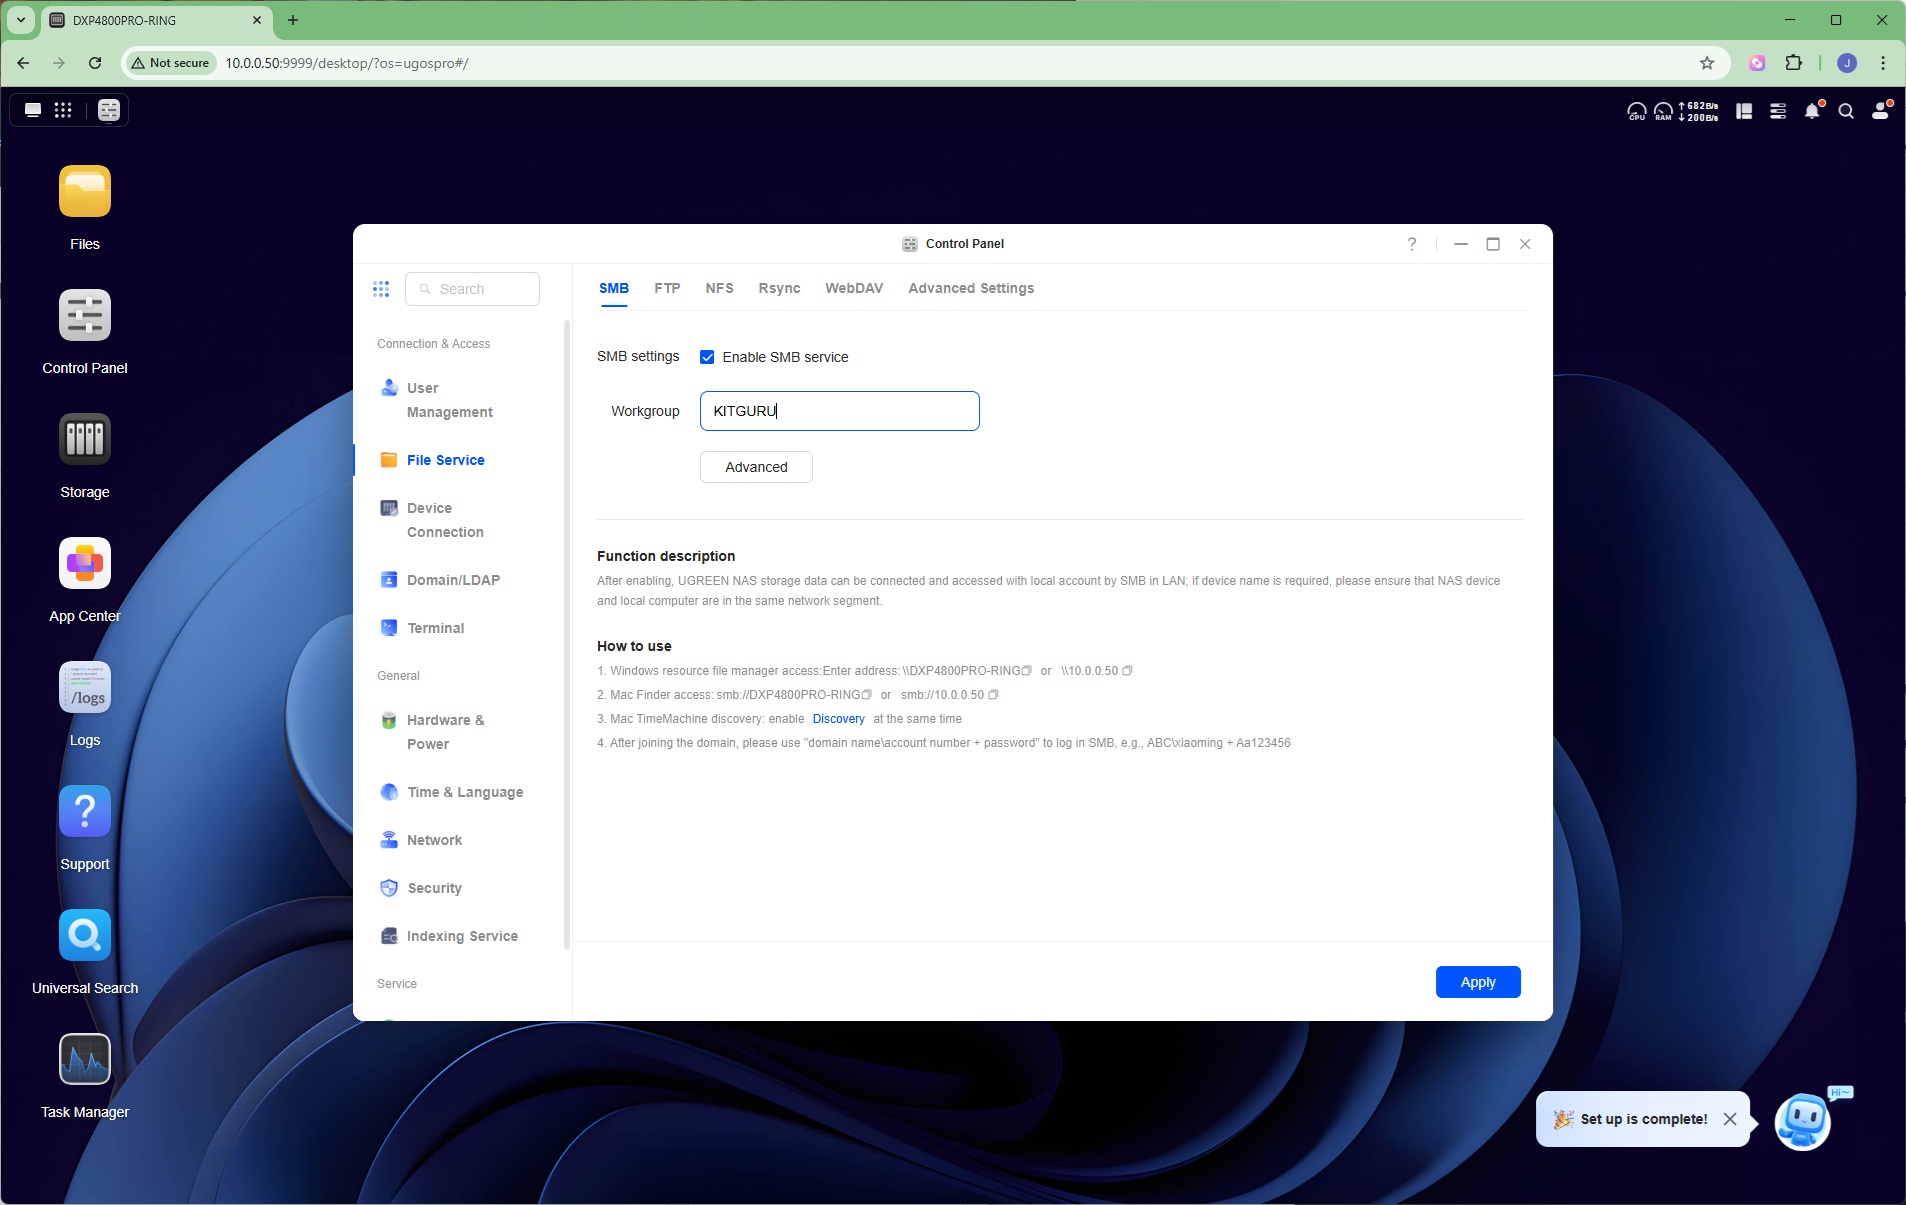

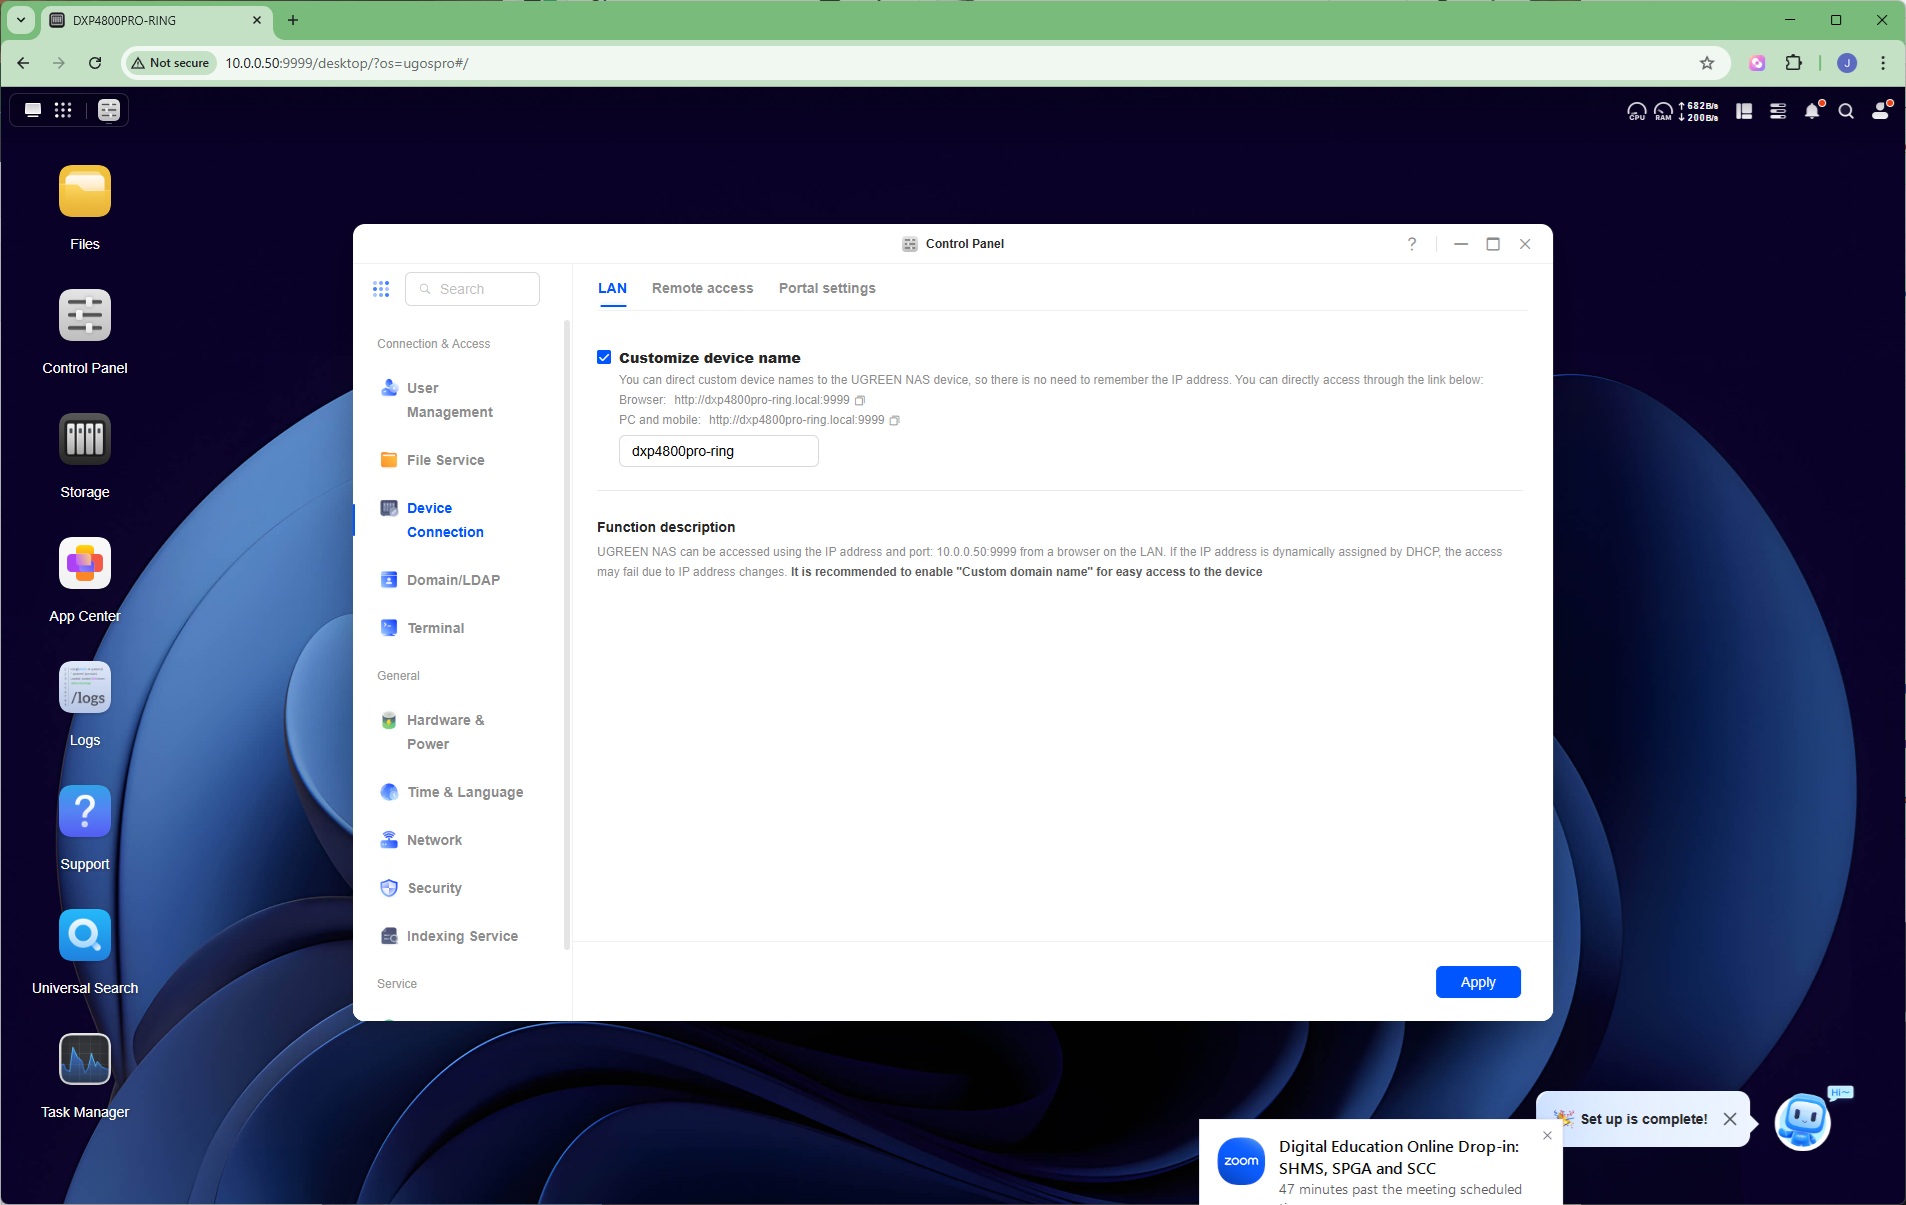

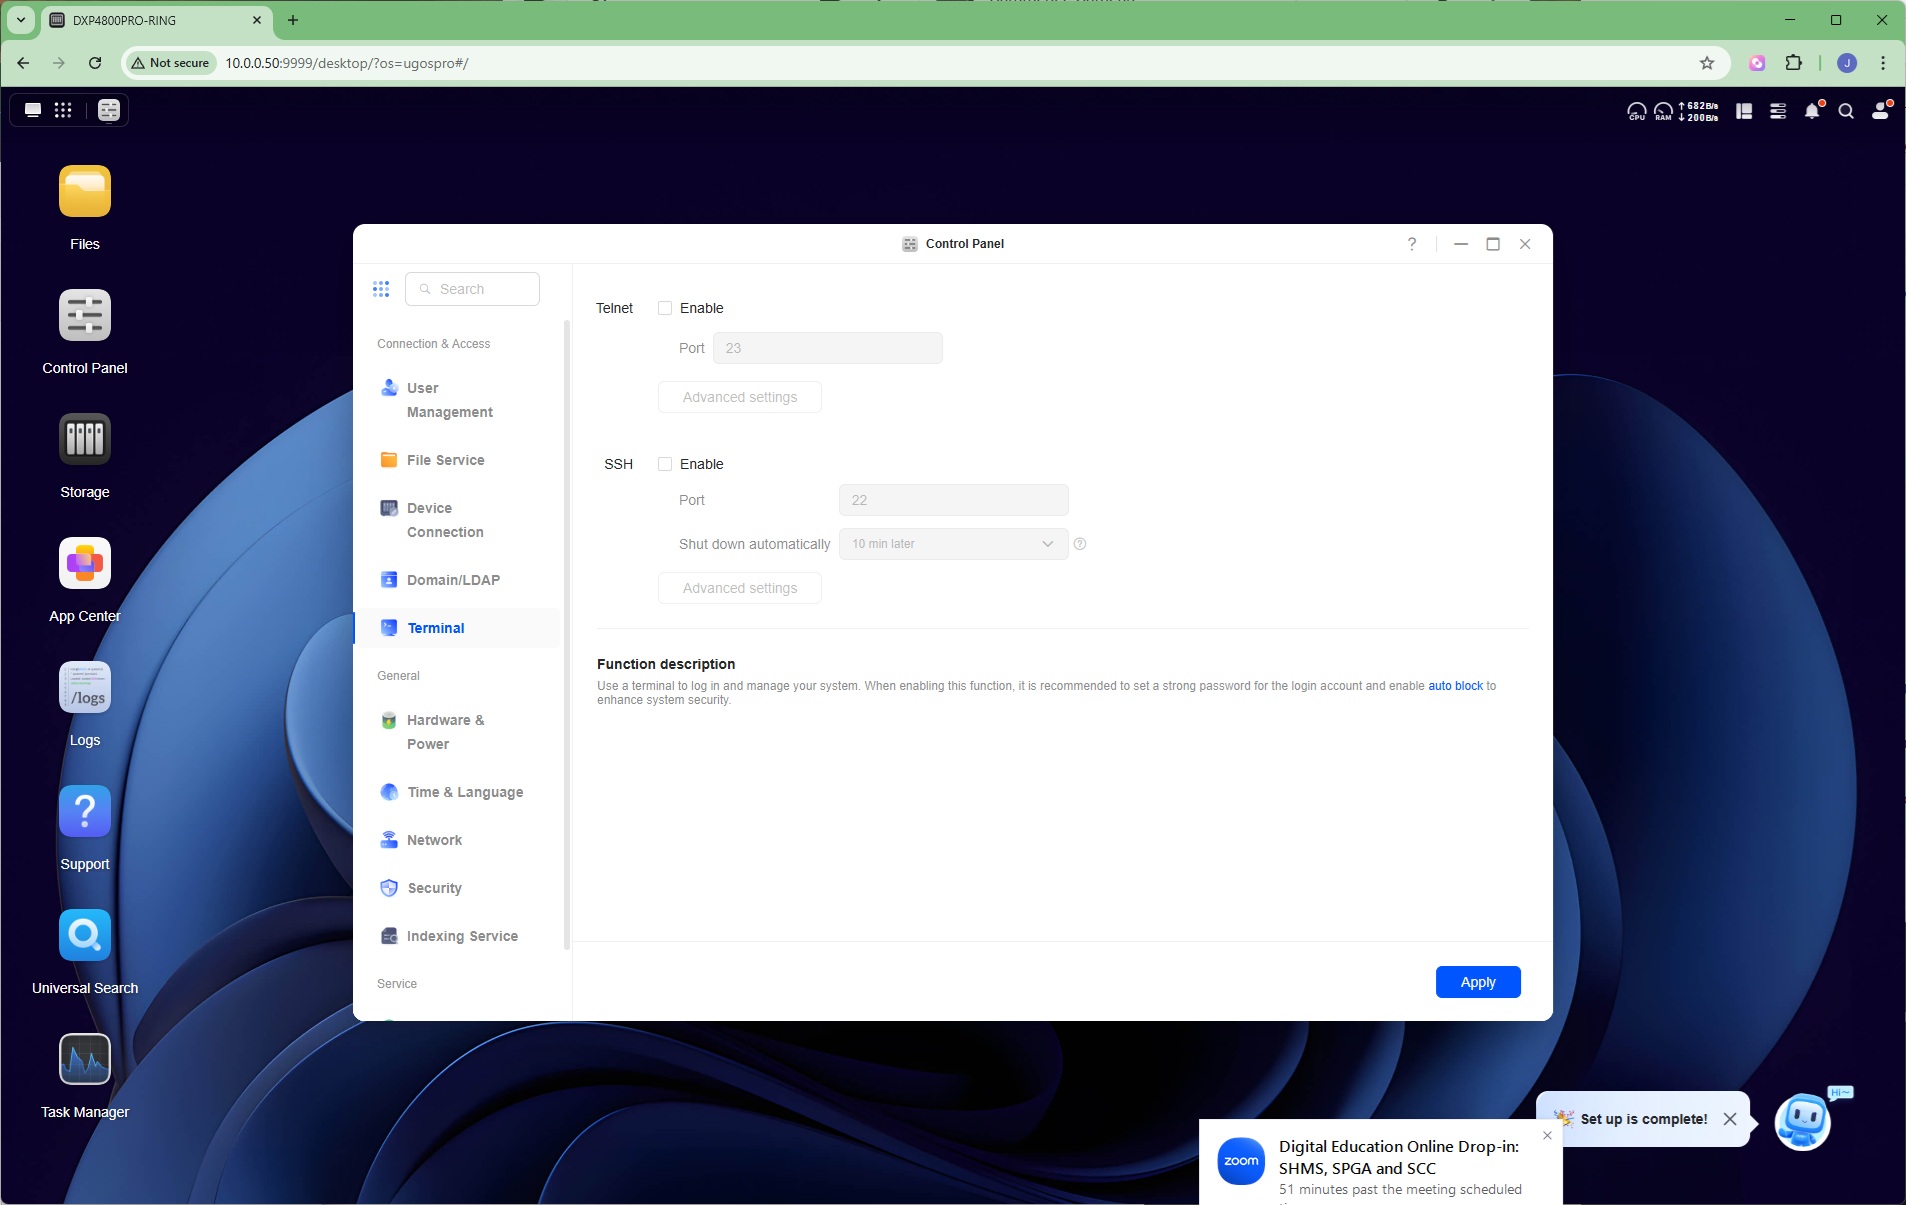
You won't want to access all the files through the administrator login, so here is where you can set up users with lower privileges for regular file access. There is comprehensive File Service support, including SMB for Windows network file sharing, FTP, NFS, Rsync for remote backup between Ugreen NAS devices, and WebDAV (where folders can be accessed over the Internet like a regular local folder share). Under advanced, you can enable wsdd2 for Windows discovery, Bonjour for Apple's Time Machine, and UPnP for media server sharing. In the Device Connection section, you can change the device connection, configure remote access (see above) and set up how accessing the administration interface functions (e.g. forcing HTTPS for security). You can put the NAS box on an LDAP domain, and enable terminal access via telnet and/or SSH.
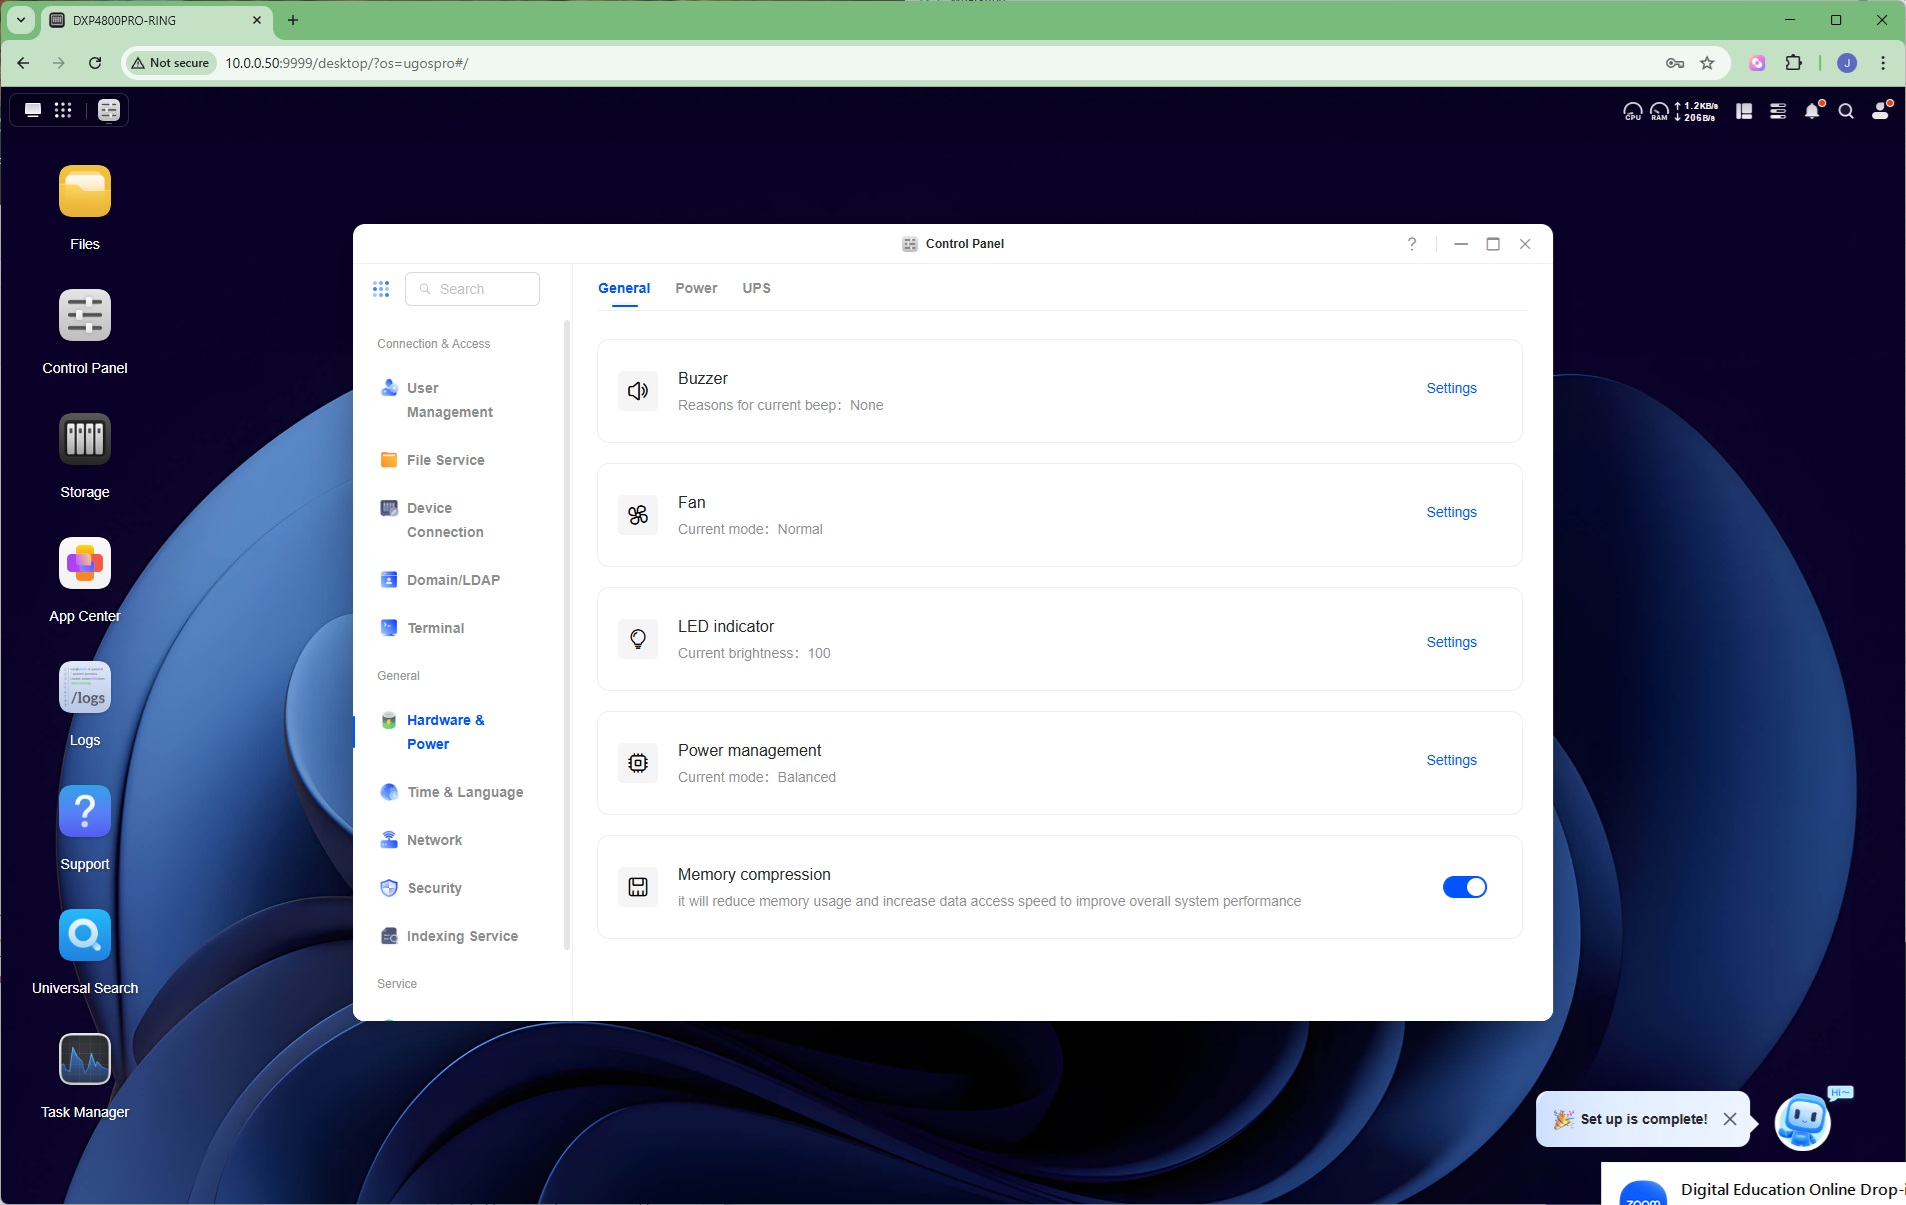
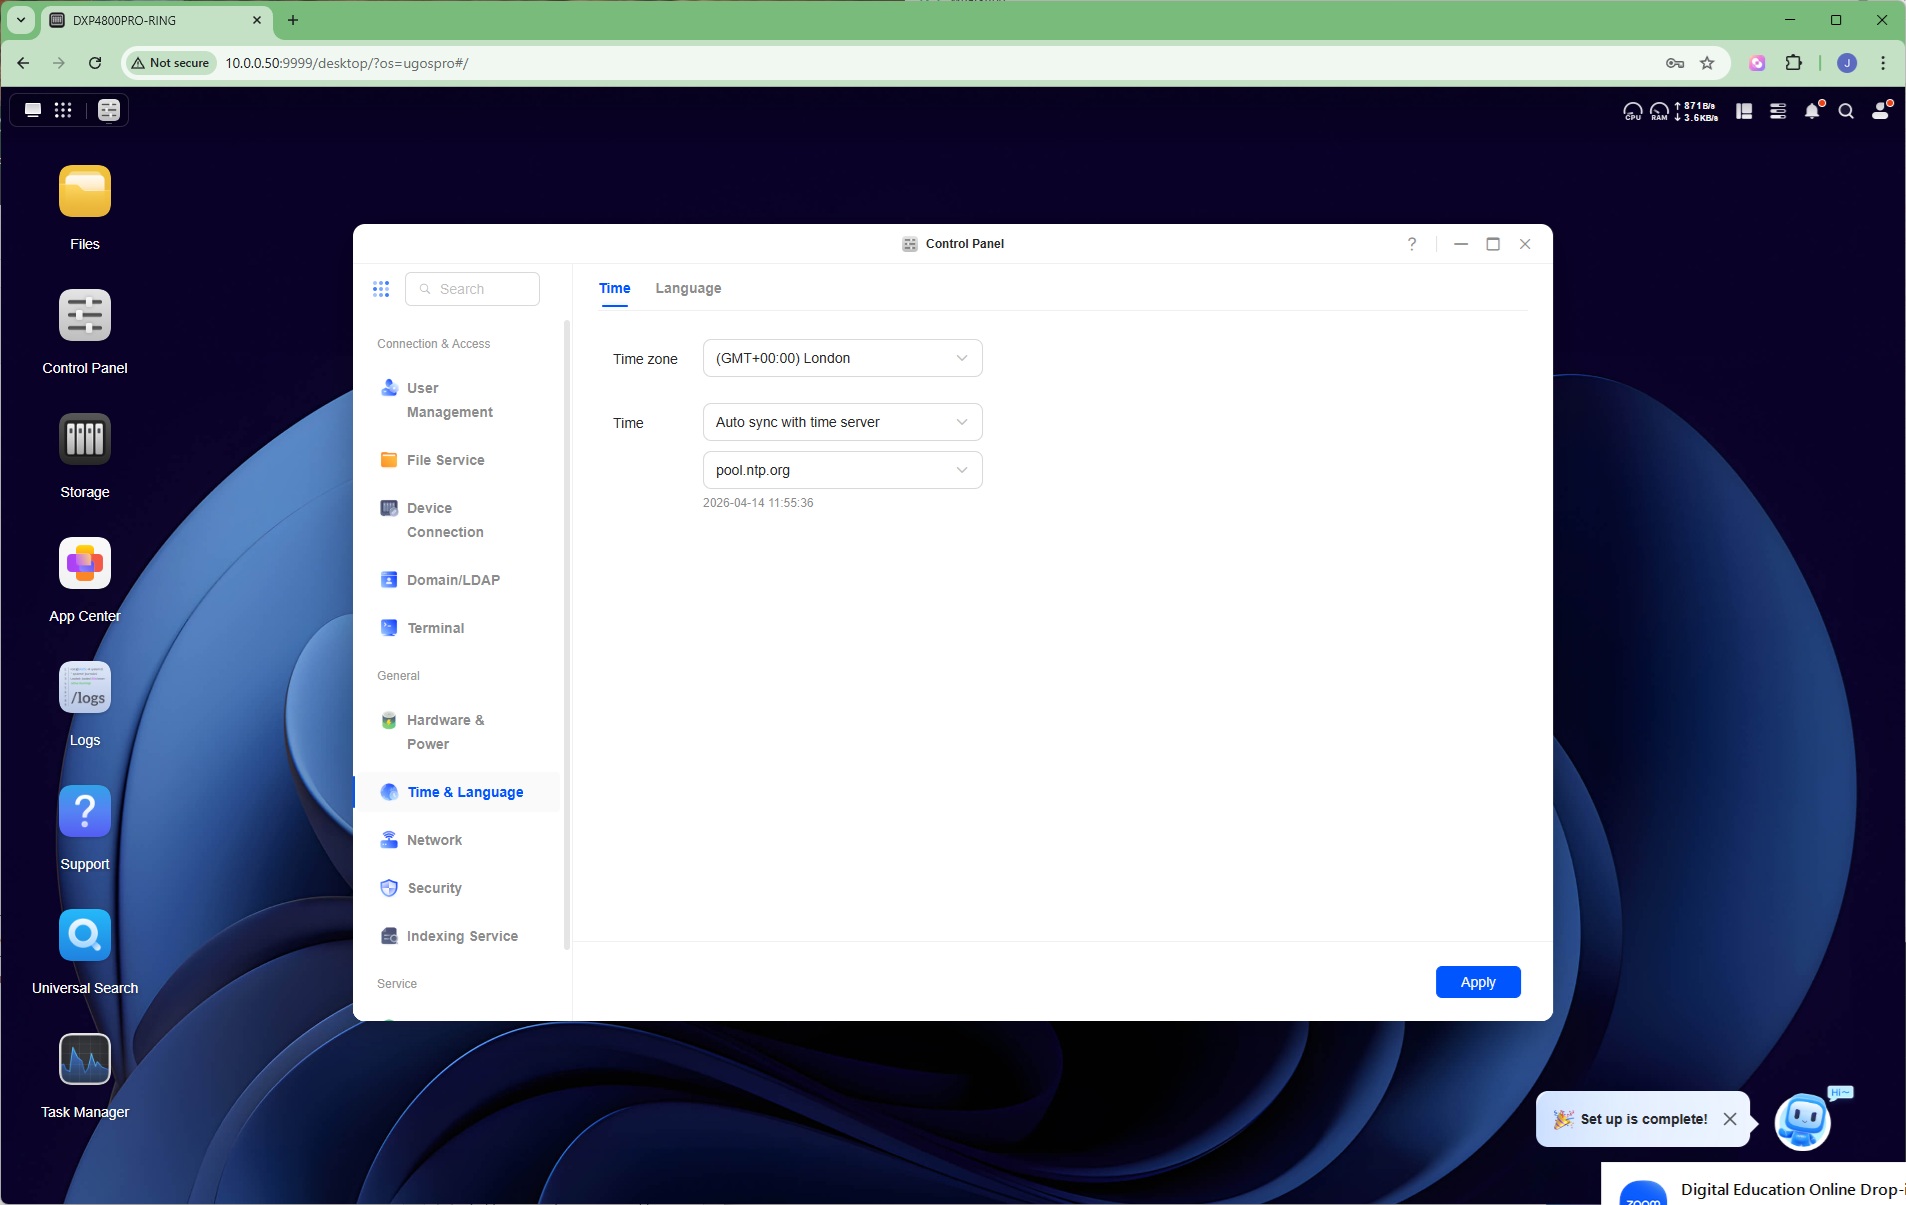
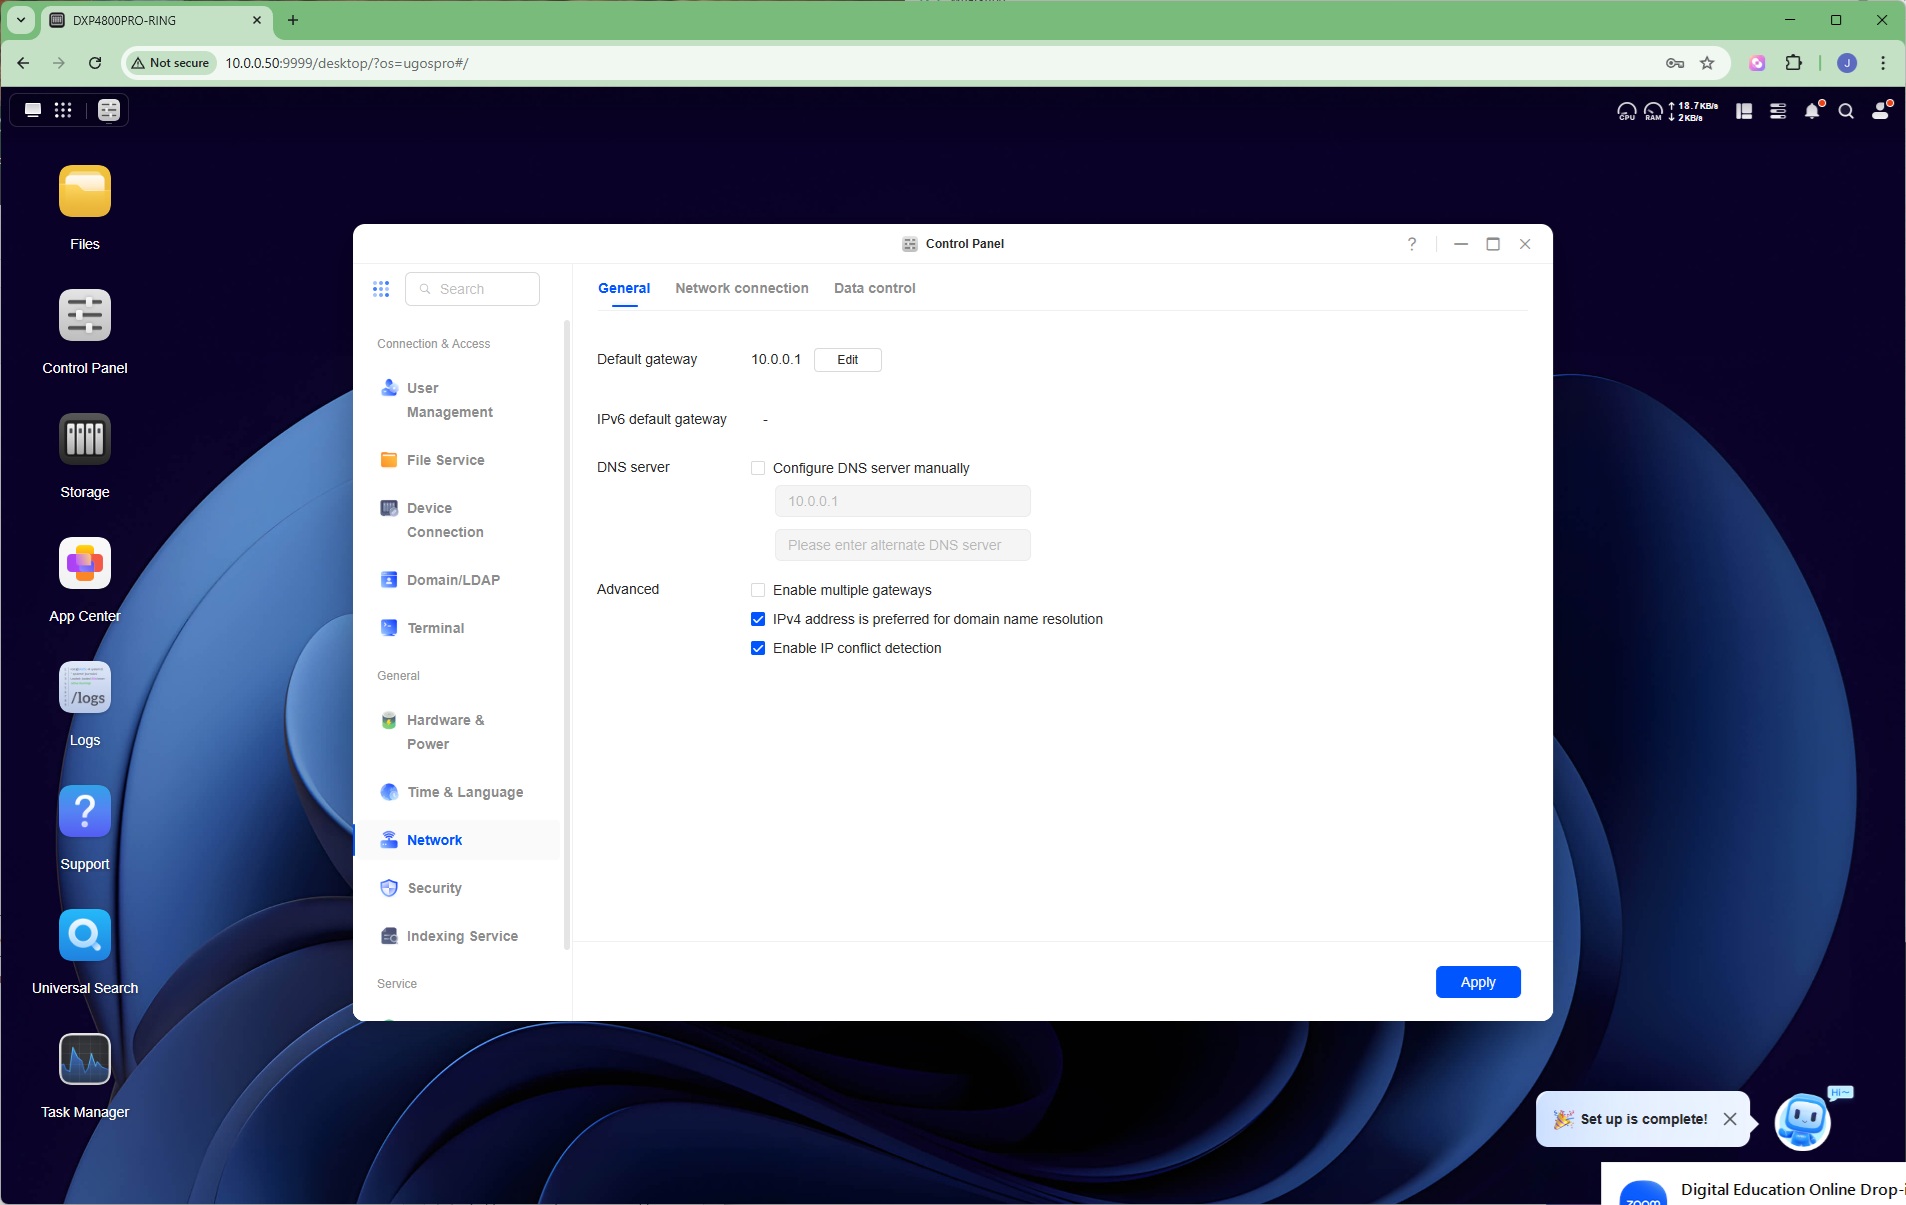
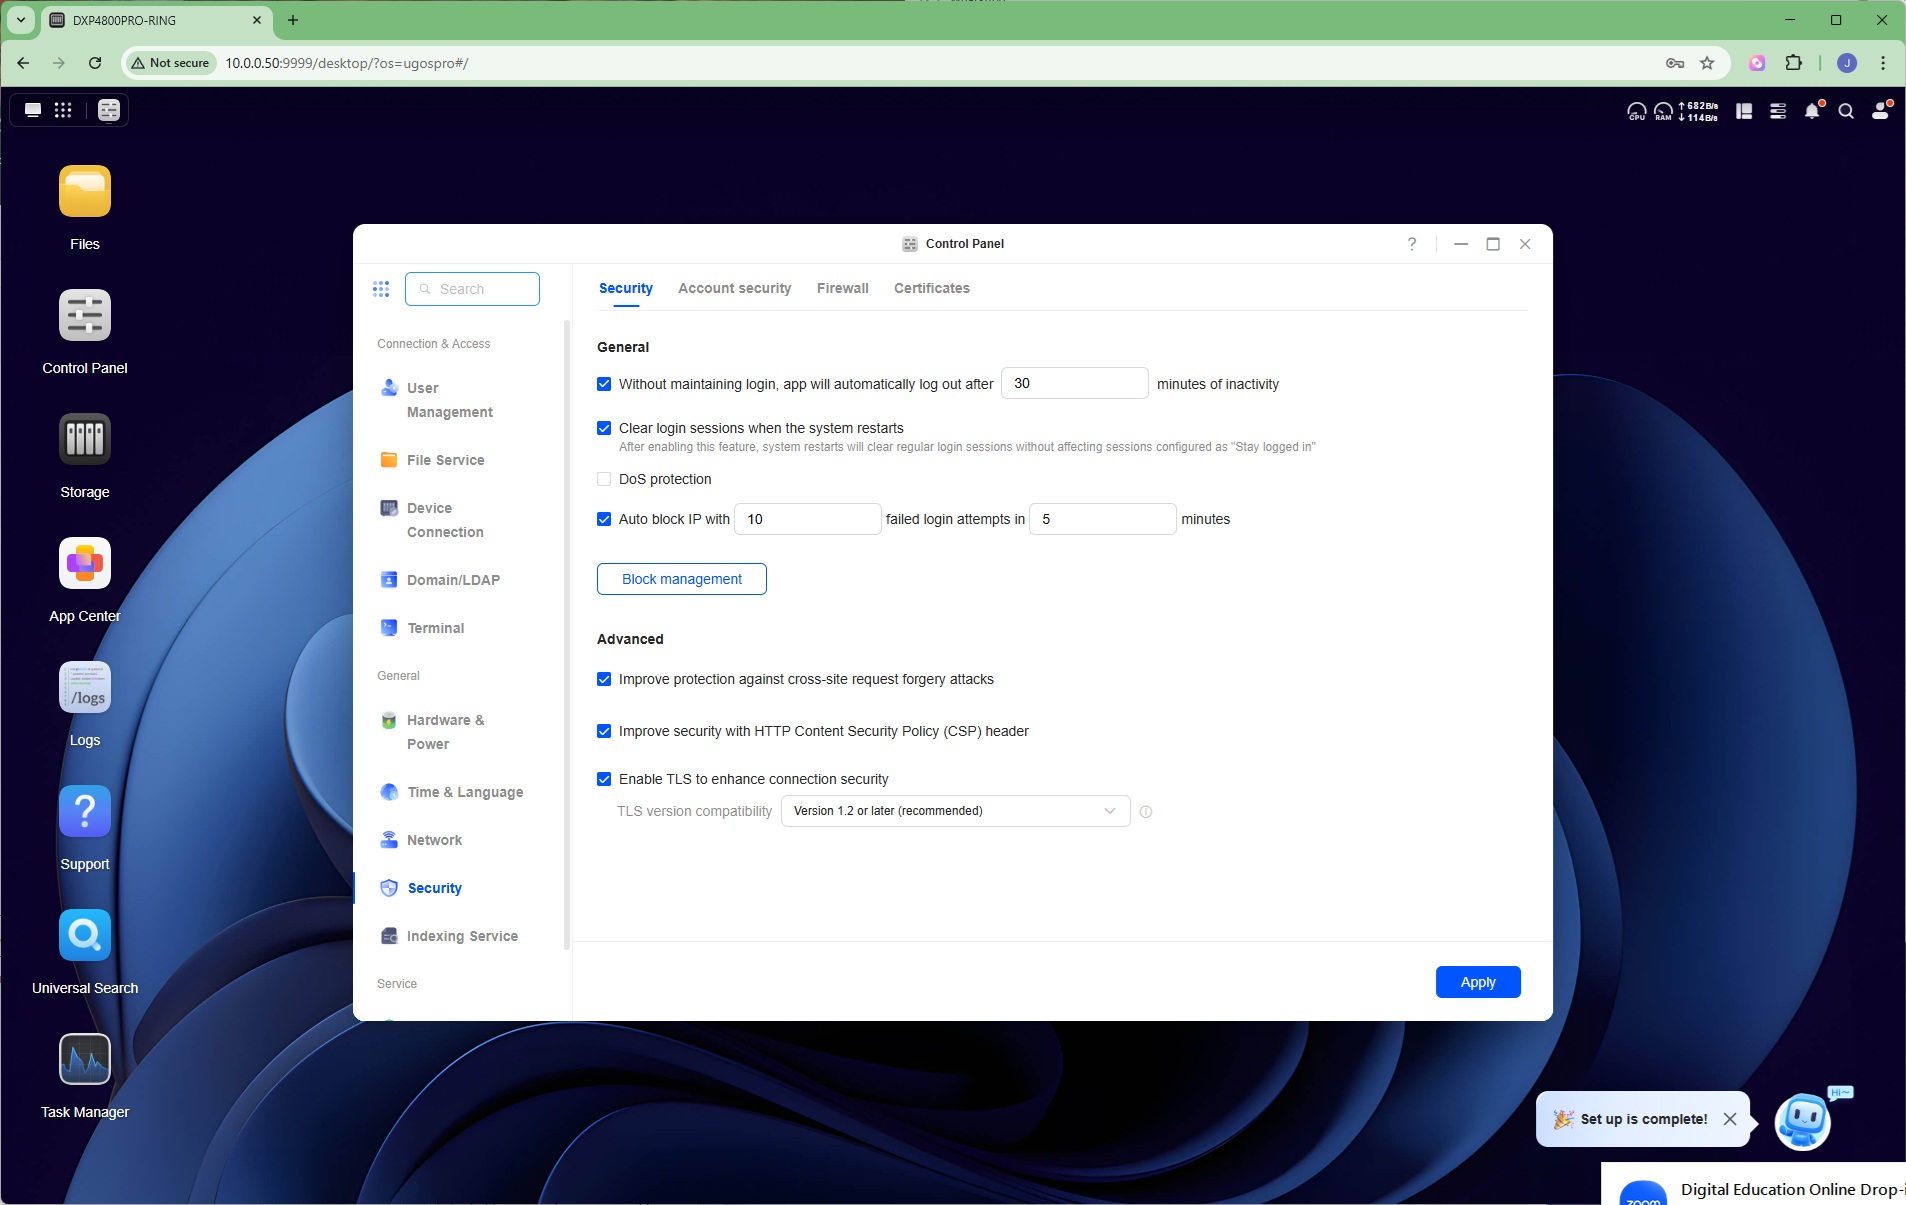
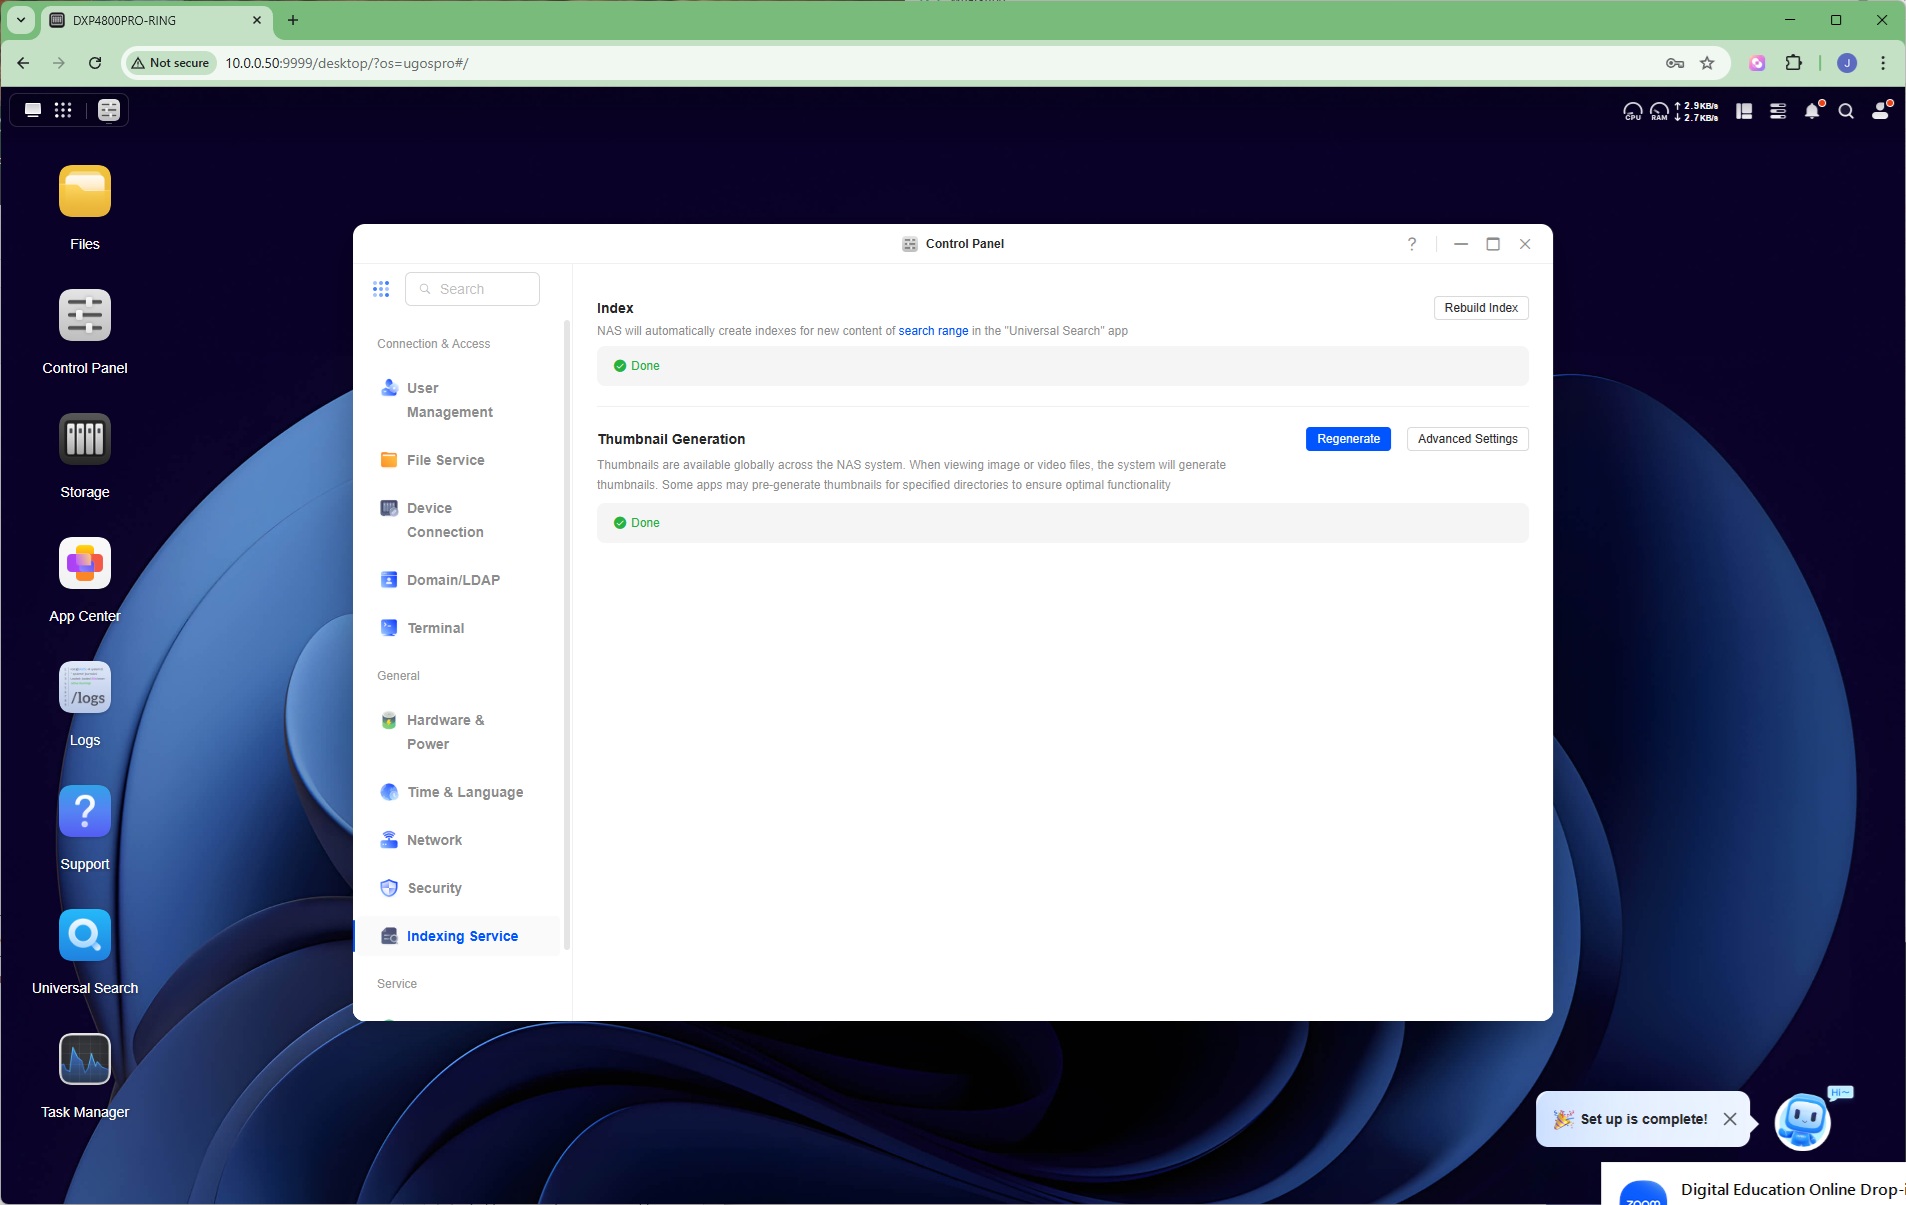
In the General section you can configure how hardware features like the buzzer, fan and LEDs behave, as well as the power configuration (such as hard drive sleep times), and UPS connection. You can set up a time server and change the interface language. There are LAN and DNS configuration options, plus security options including two-factor authentication, a built-in firewall, and certificate management. Finally, you can view the indexing service and force rebuilding or thumbnail regeneration.
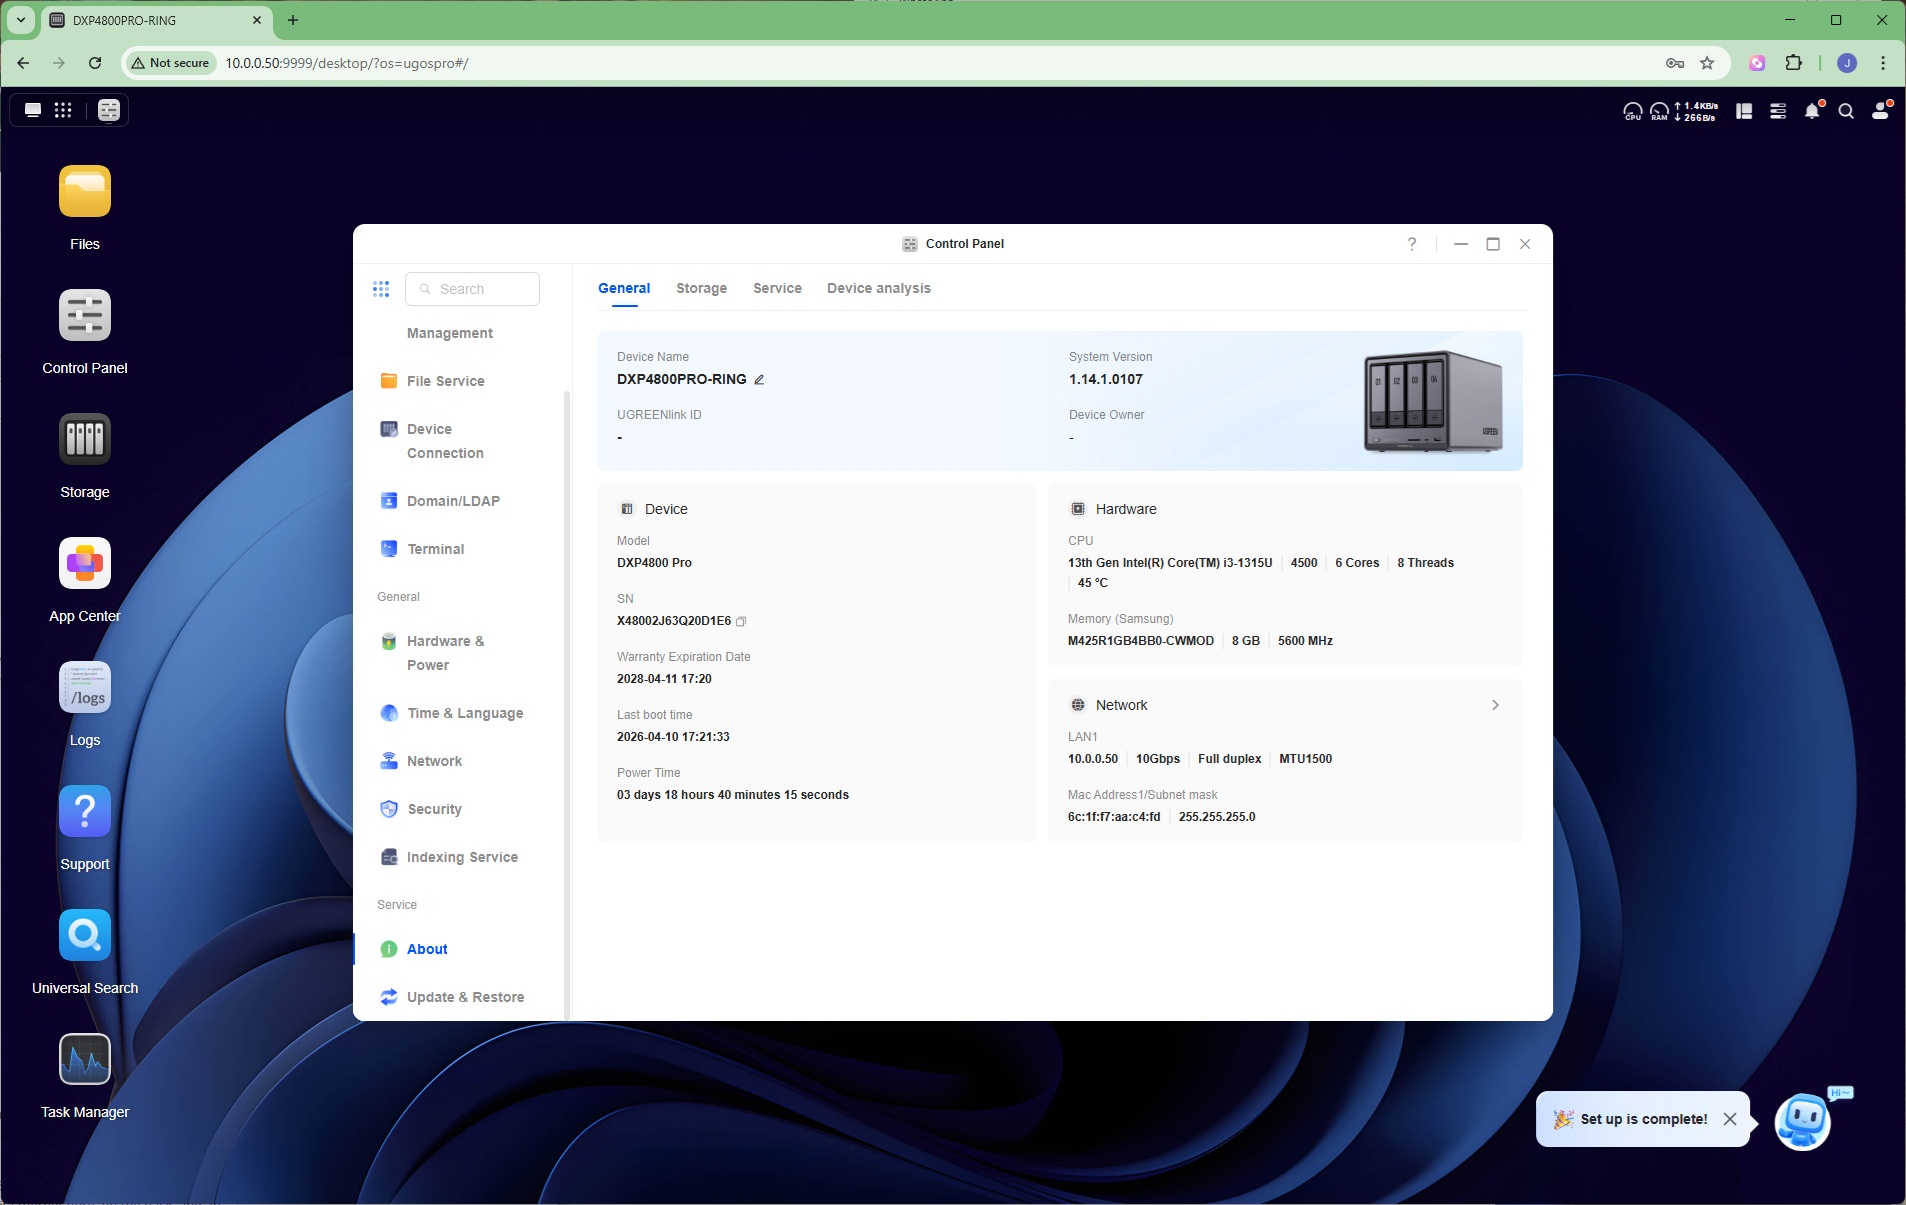
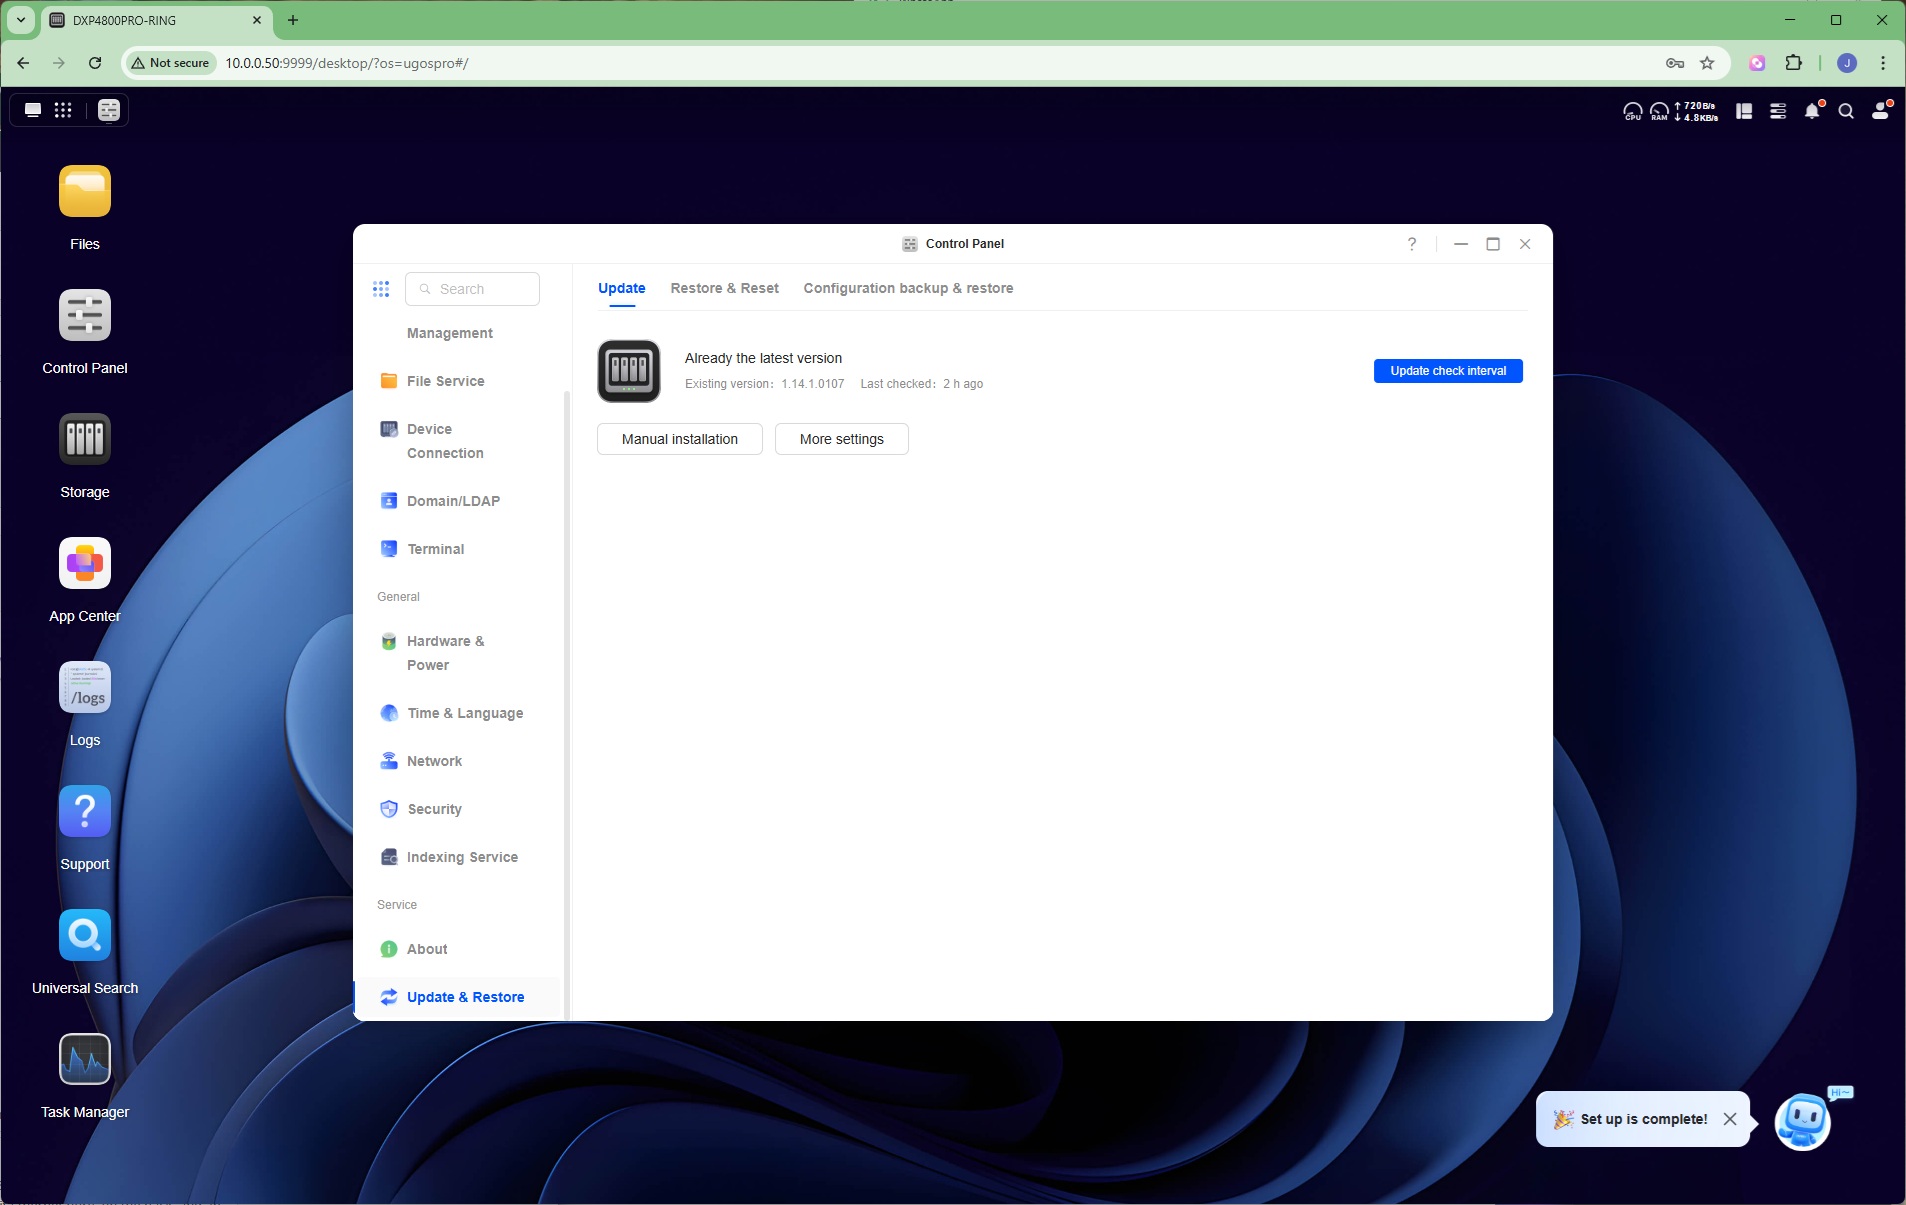
Finally, under service you can view all the current details of your device and its installed drives, or update firmware, reset to factory defaults, and save or restore the current configuration.
App Center
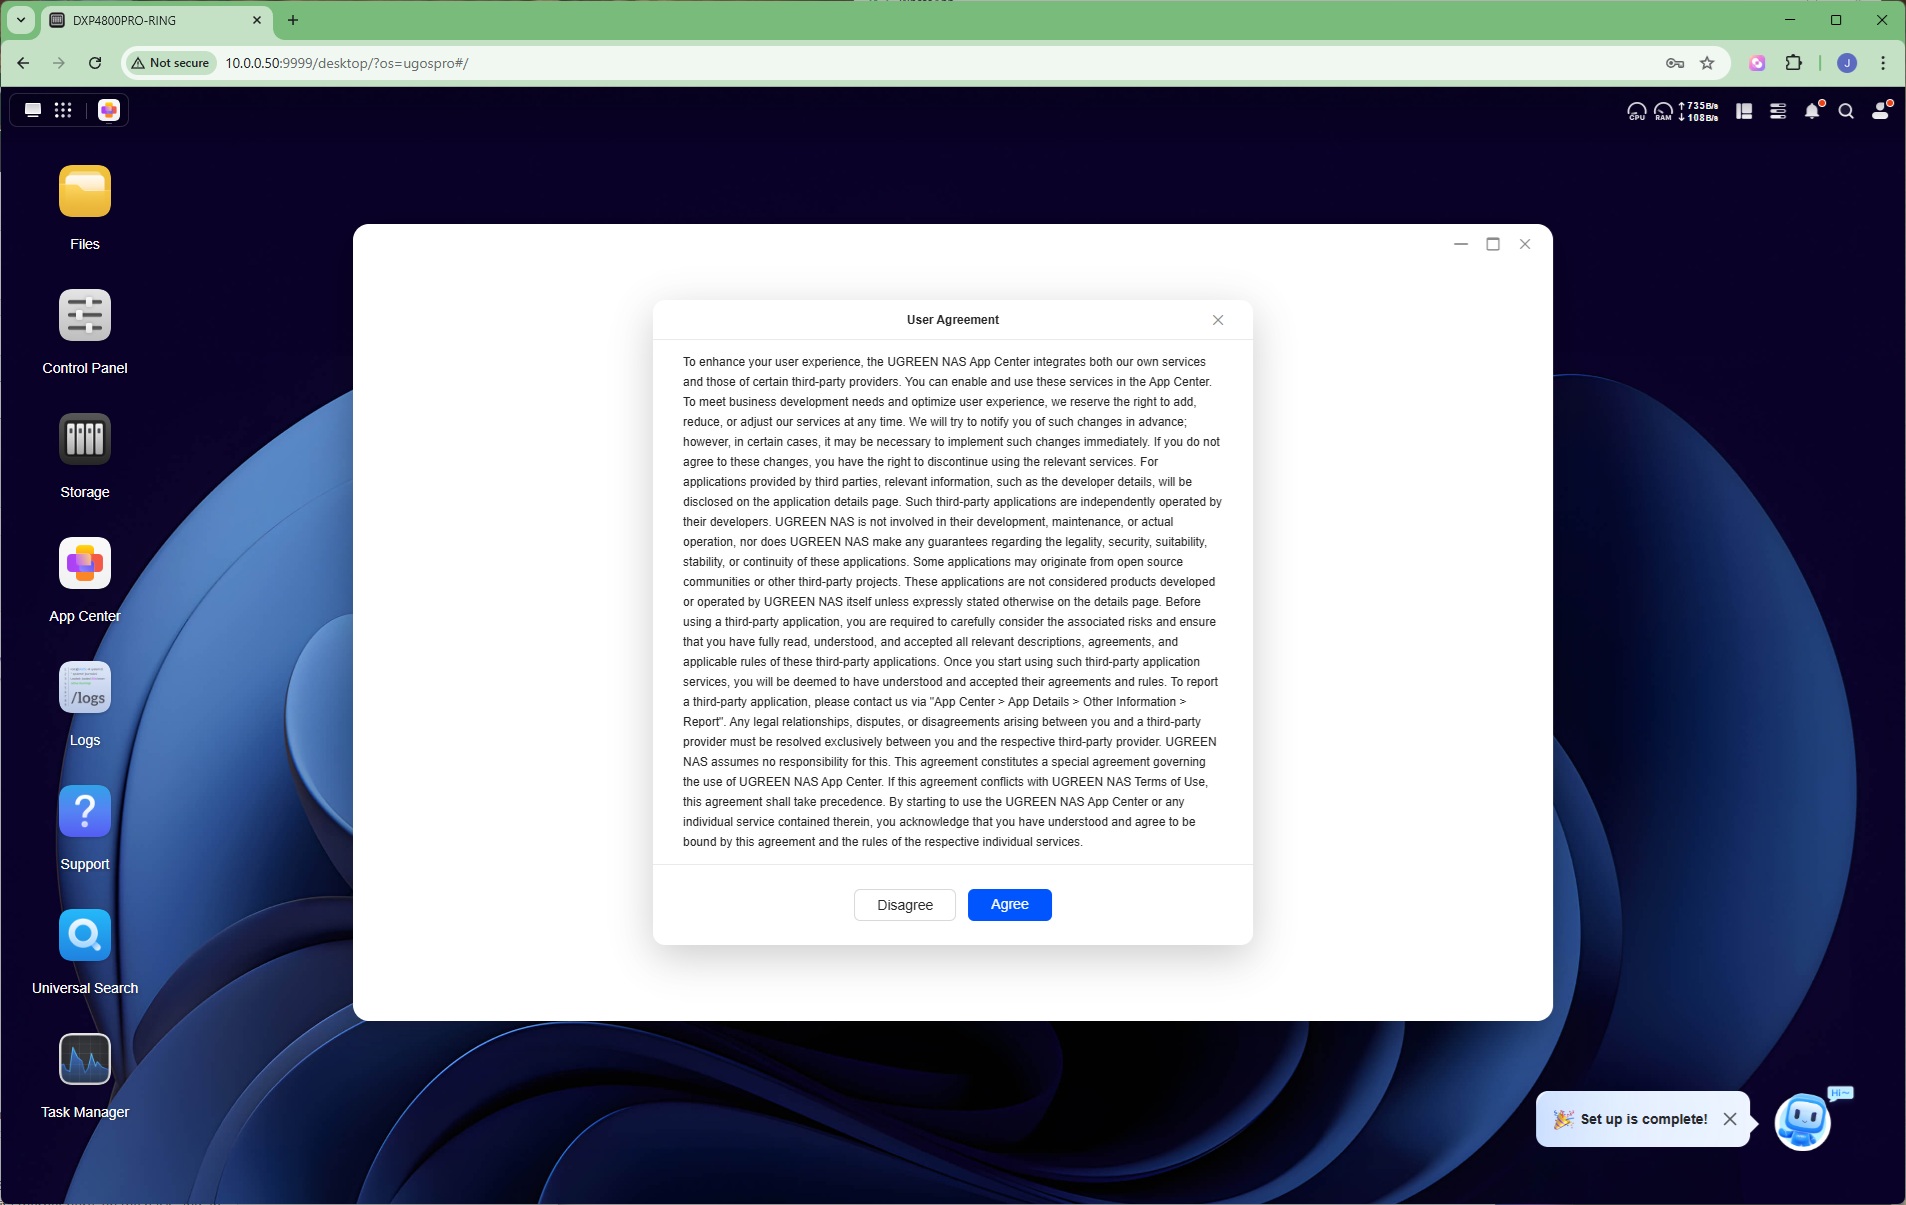
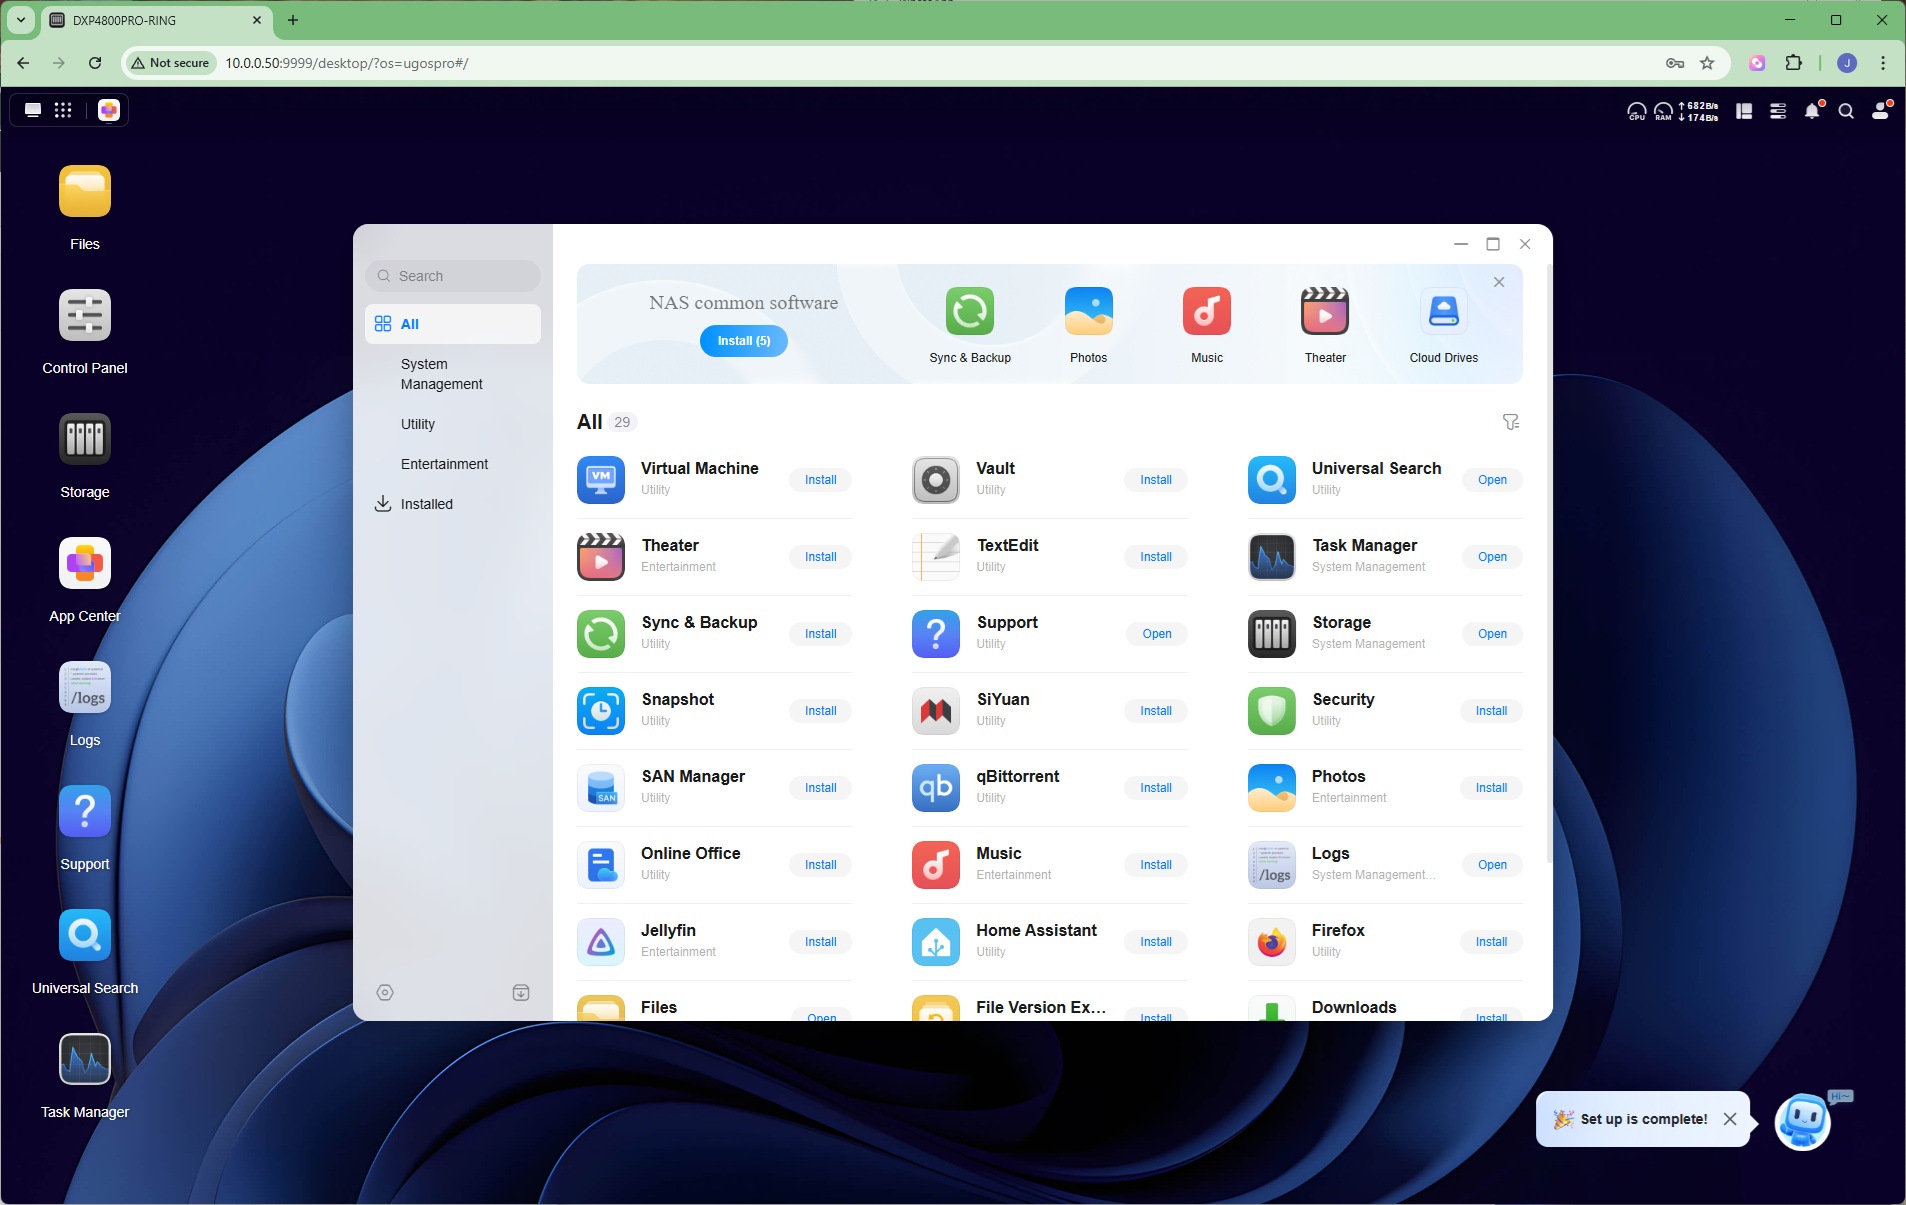
Finally we come to the area where that faster processor in the Pro version of the NASync DXP4800 compared to the Plus will come in handy – applications. The App Center is full of additional software you can add to the device, including entertainment, utility and system management. This has a much greater selection of applications than when we reviewed the Plus version of this NAS box.
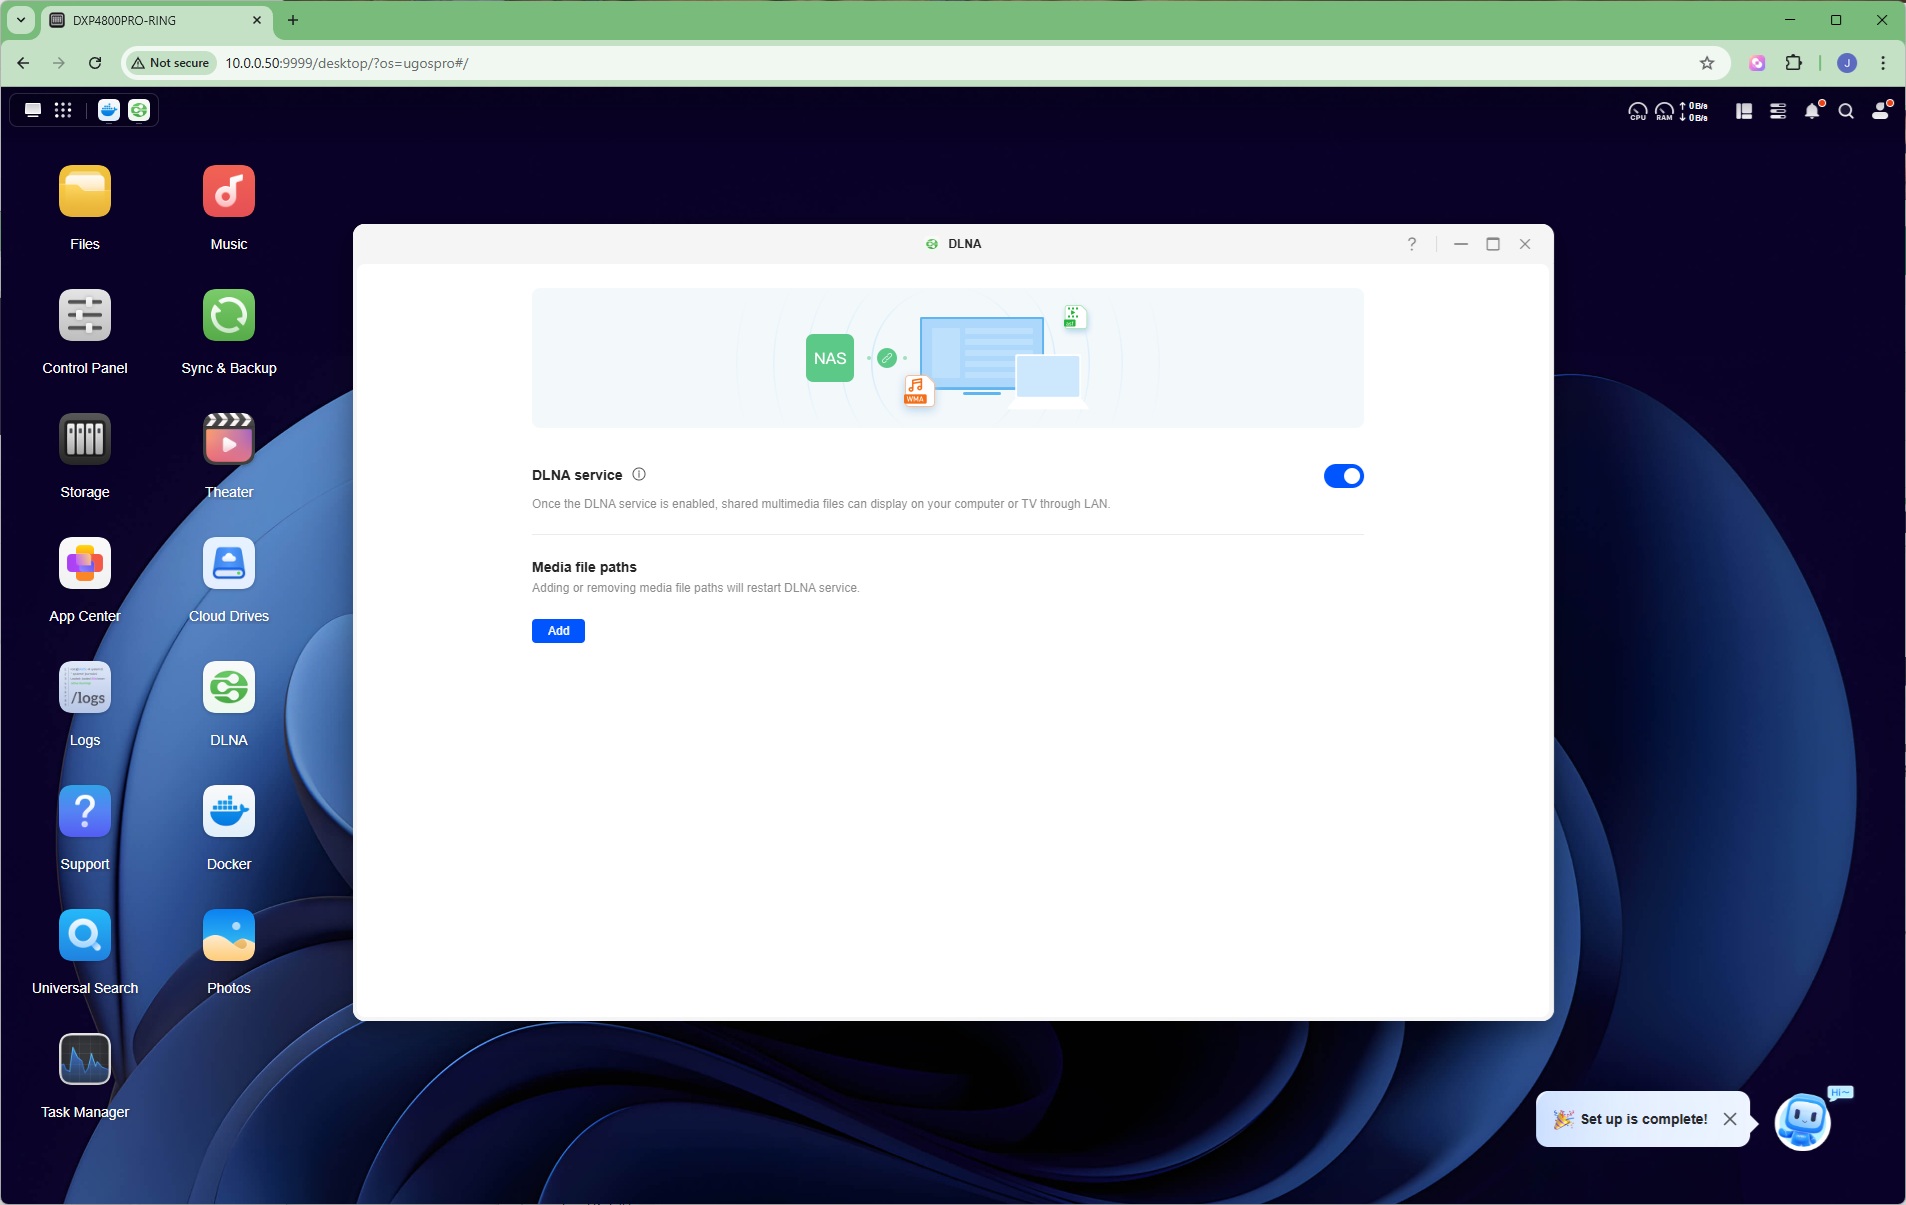
One app you're likely to want to install on the NASync DXP4800 Pro is a DLNA server, so you can stream media from the device to smart TV over the local network.
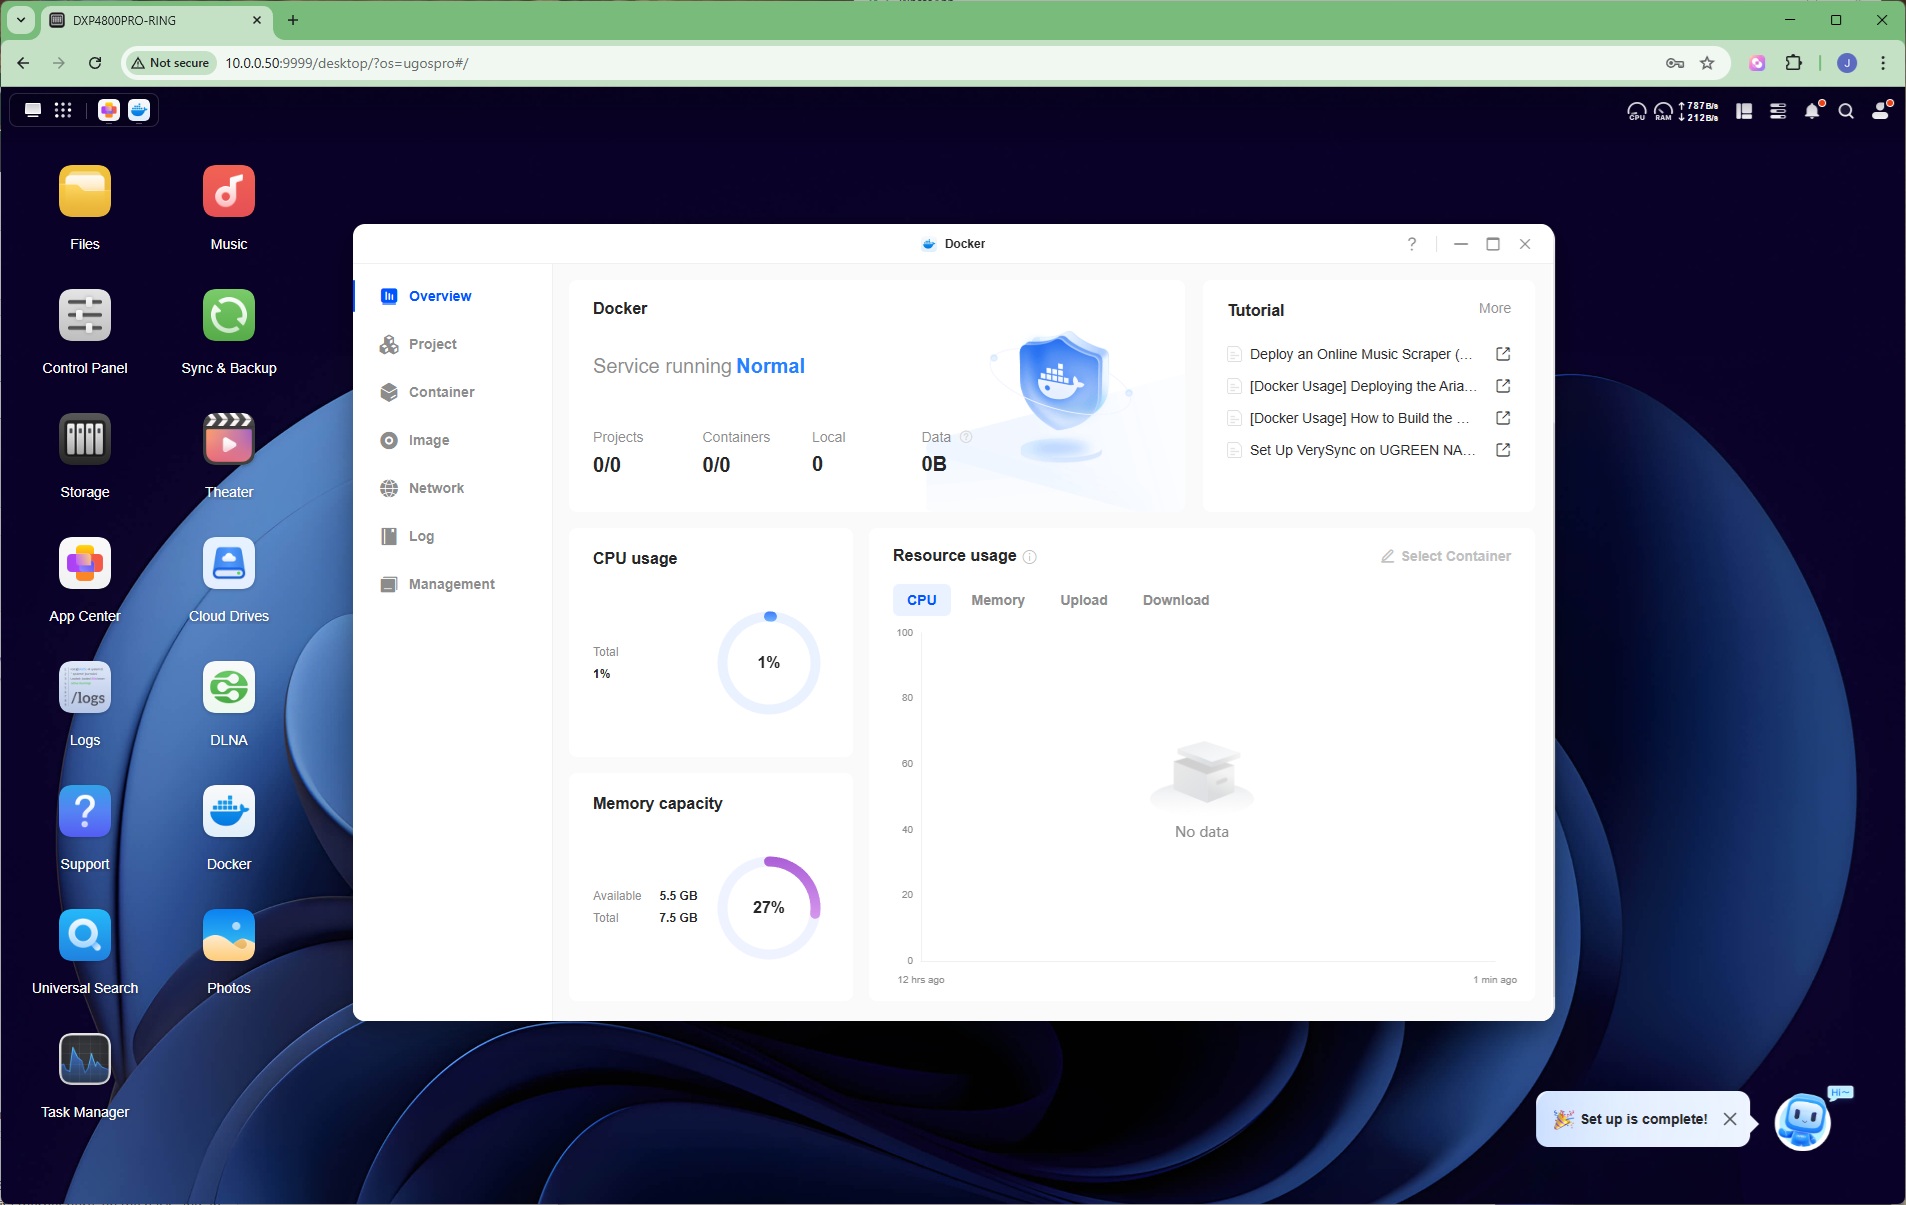
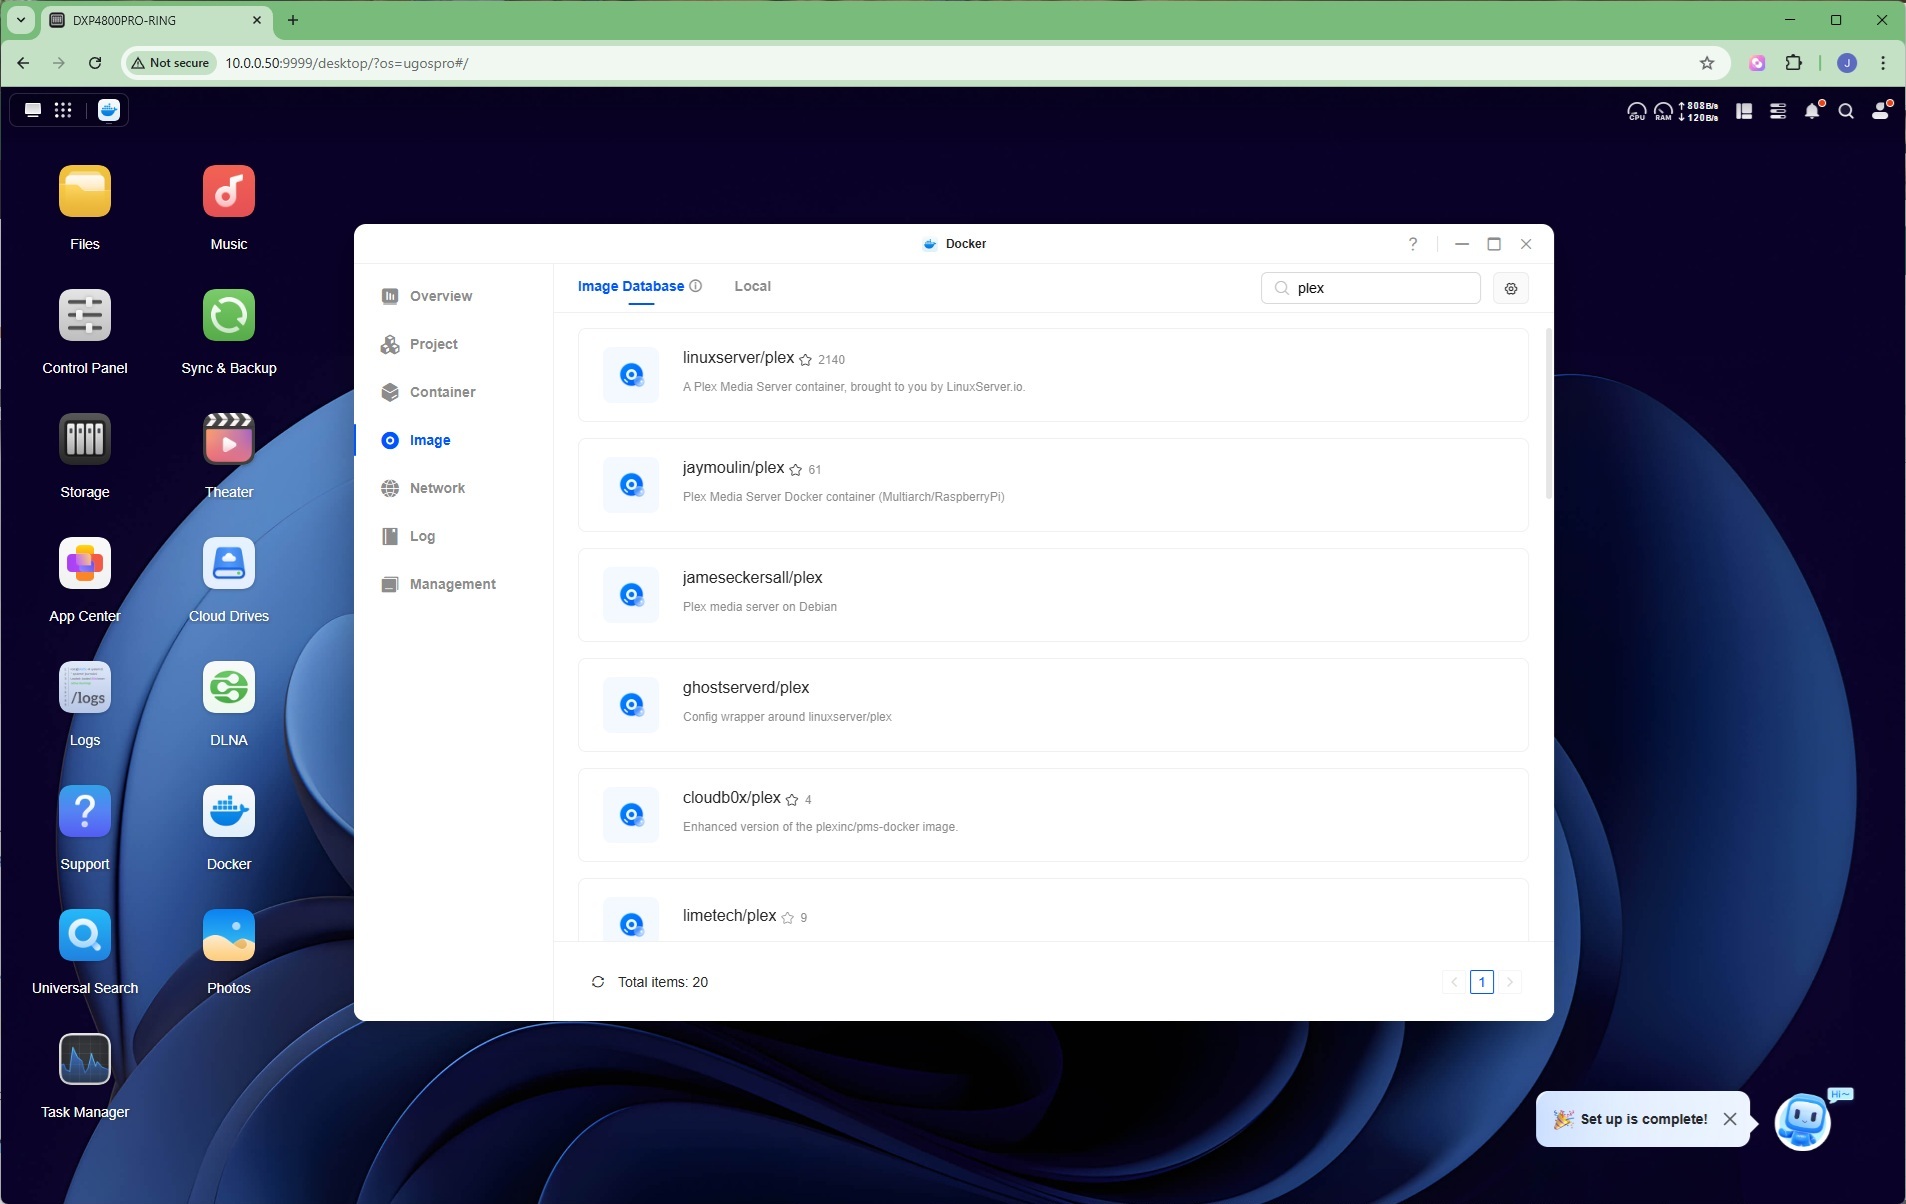
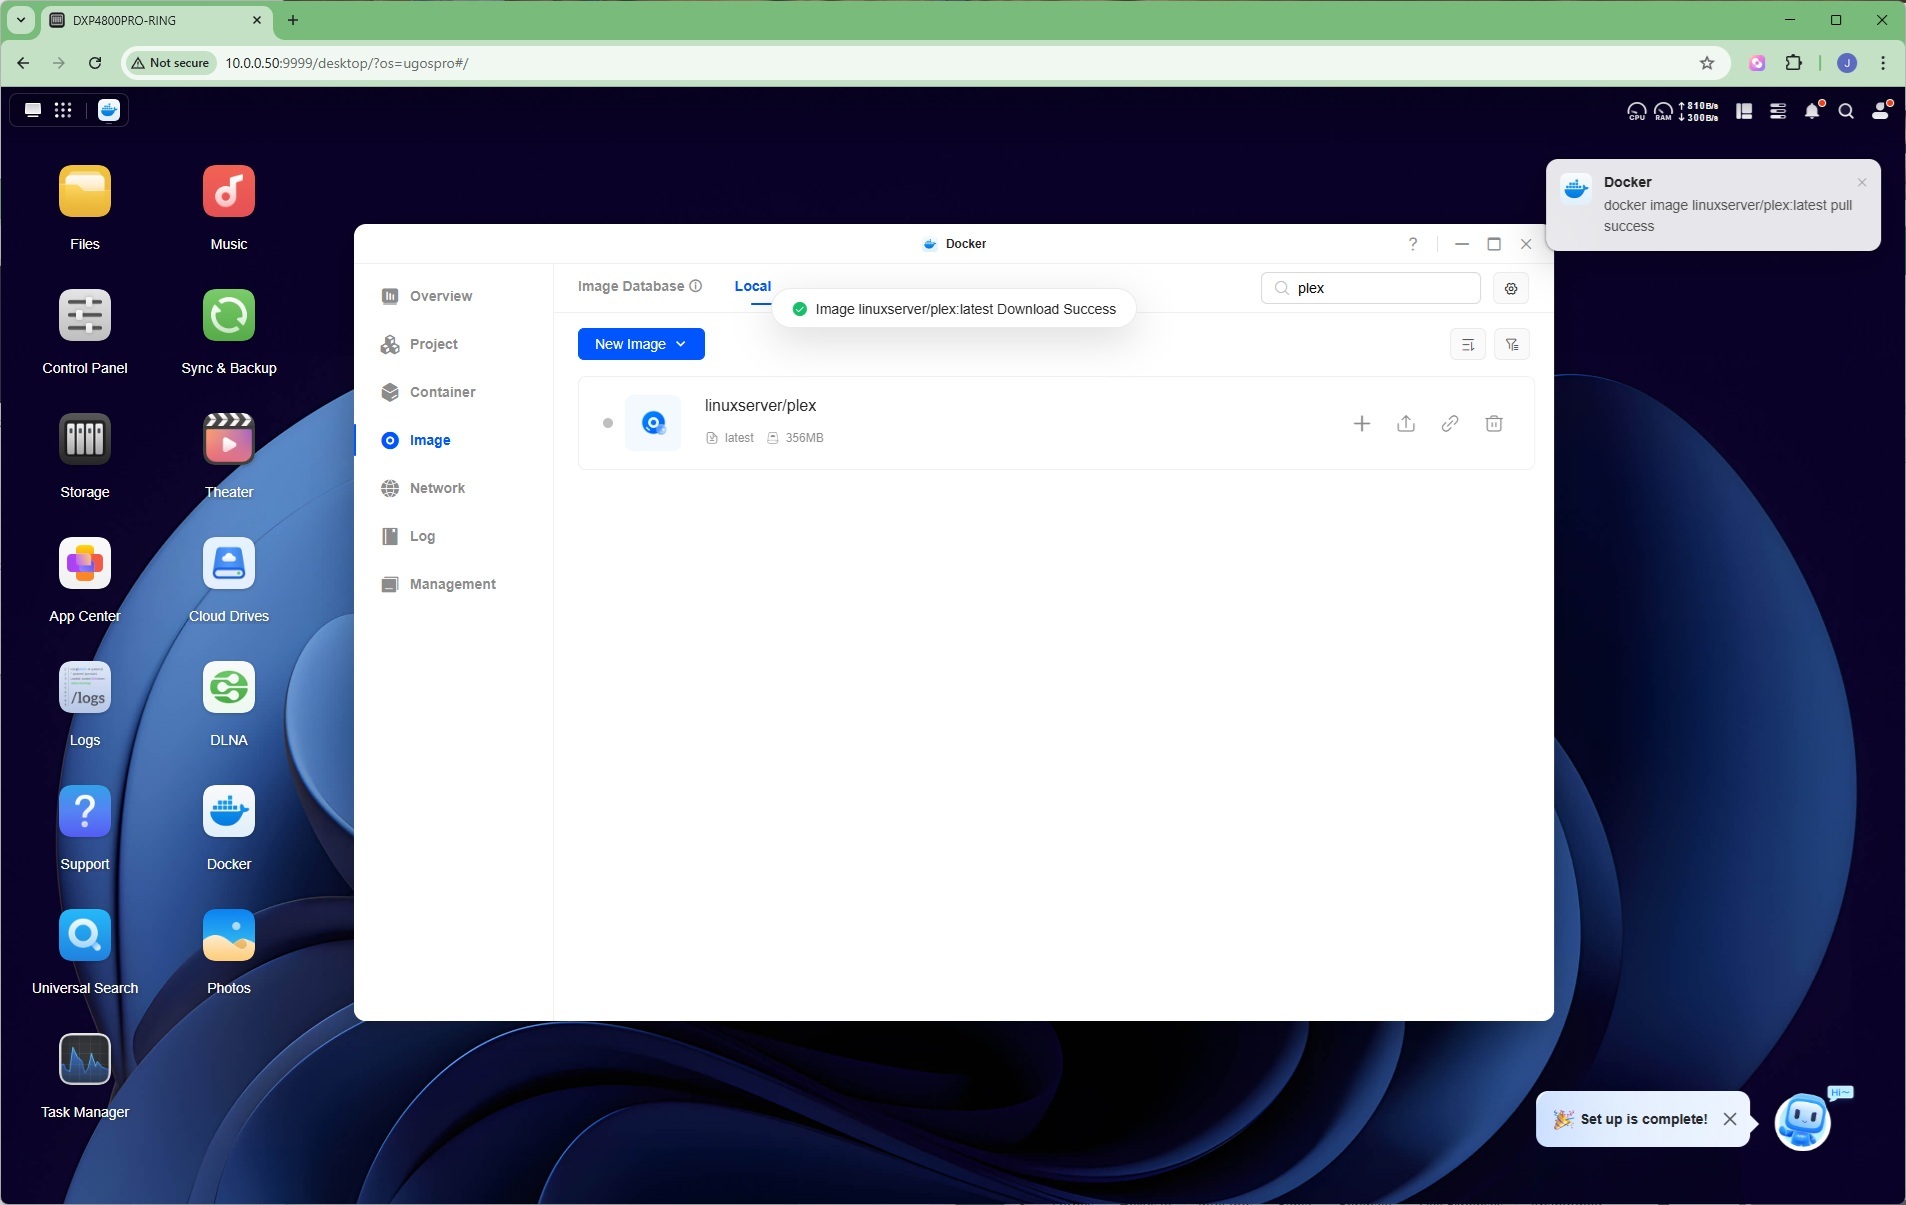
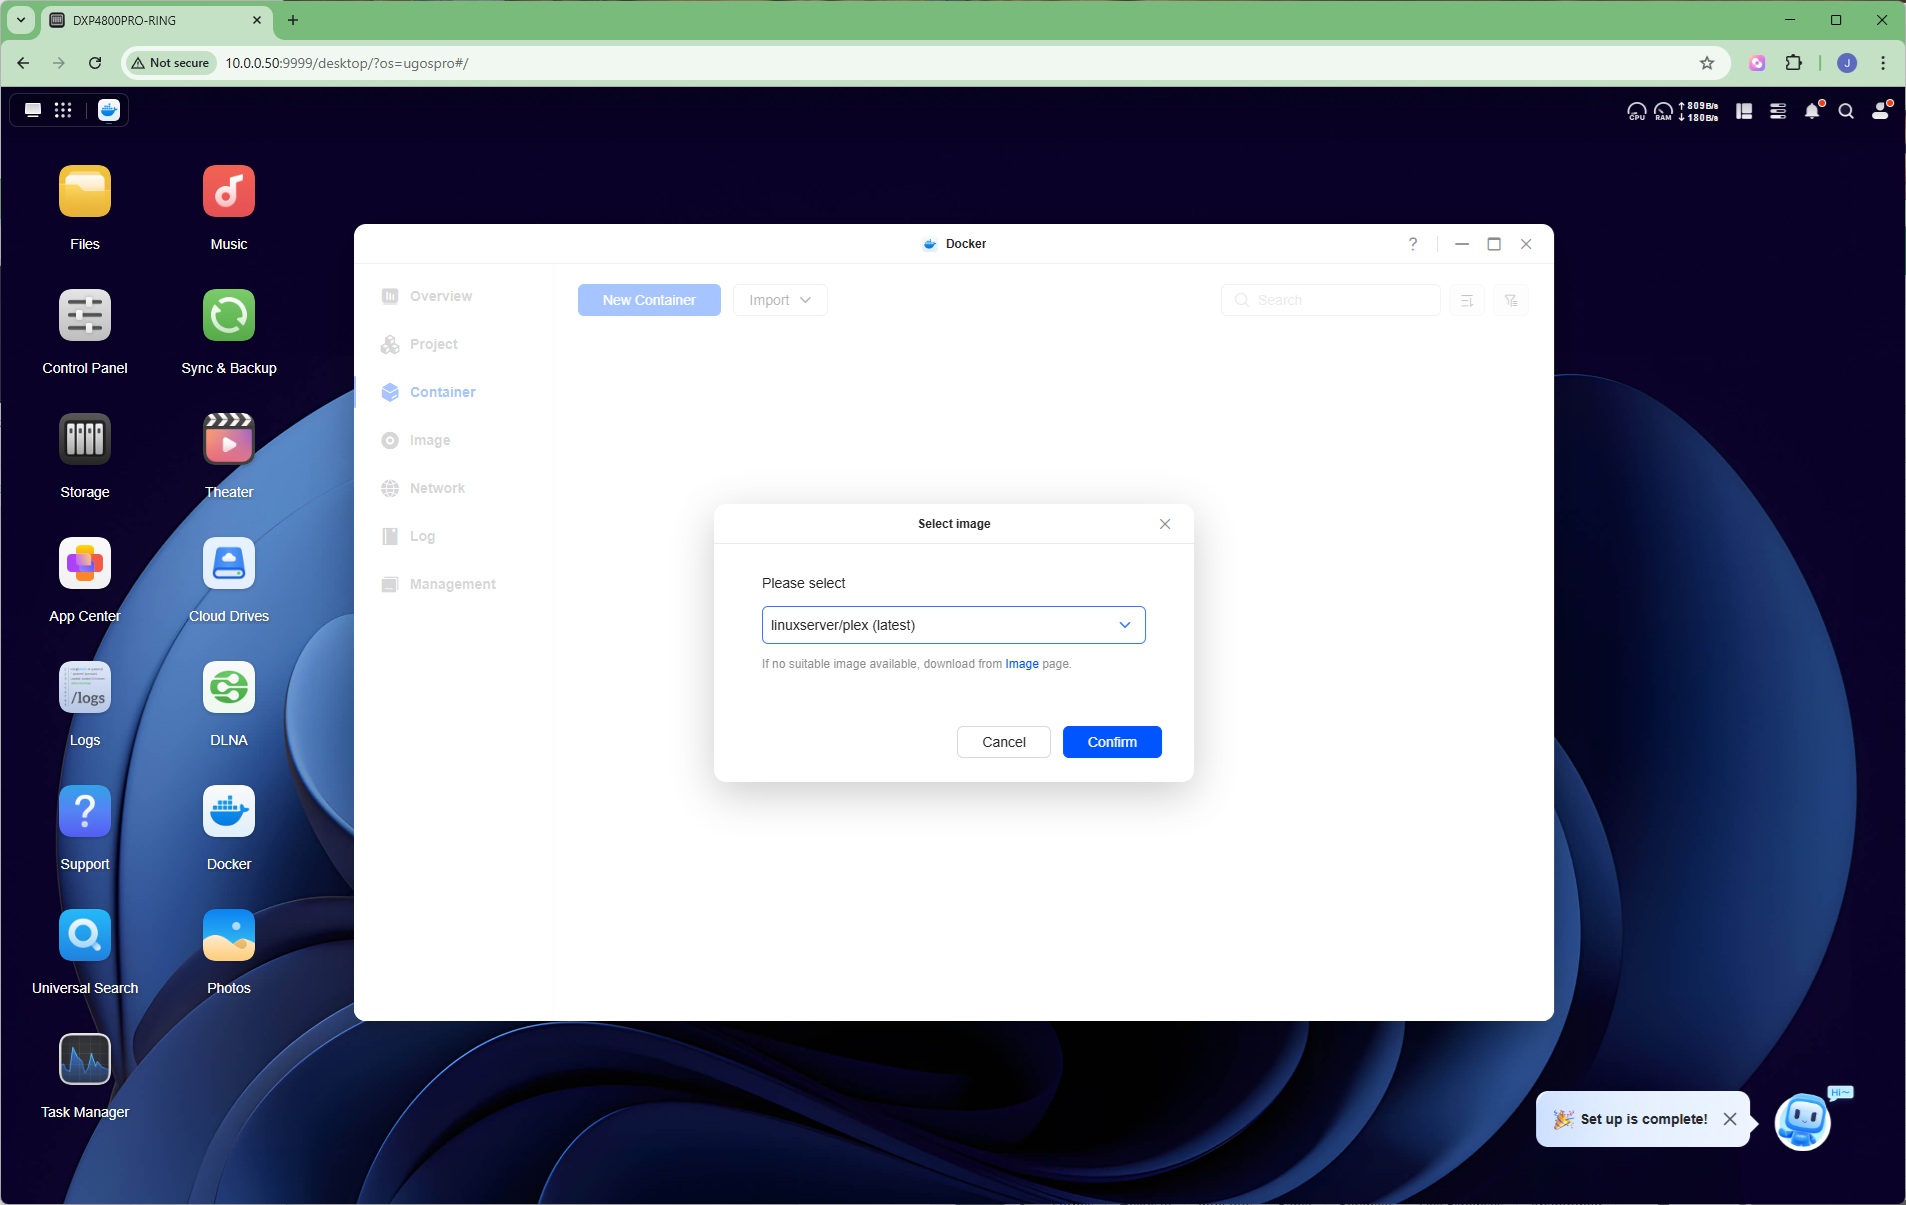
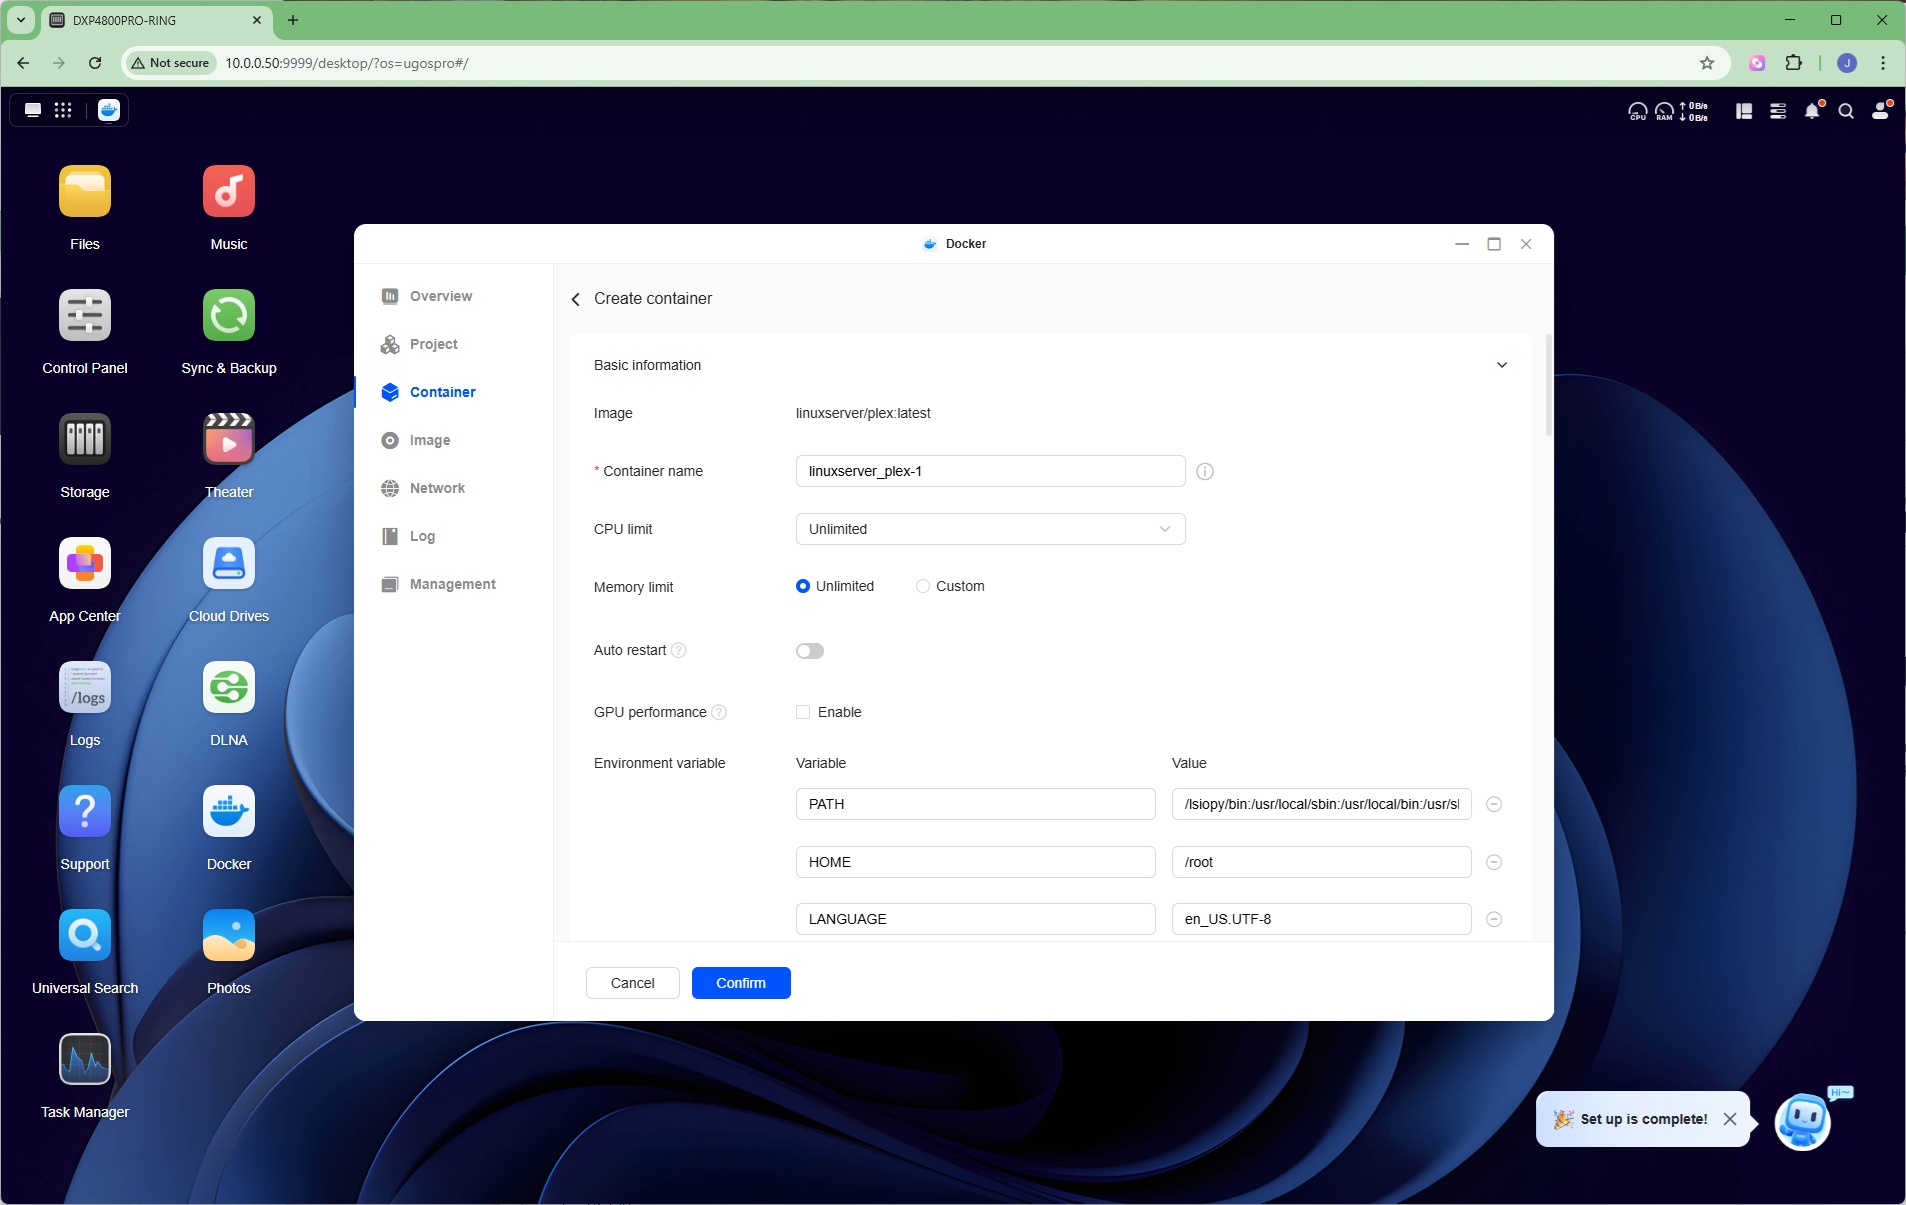
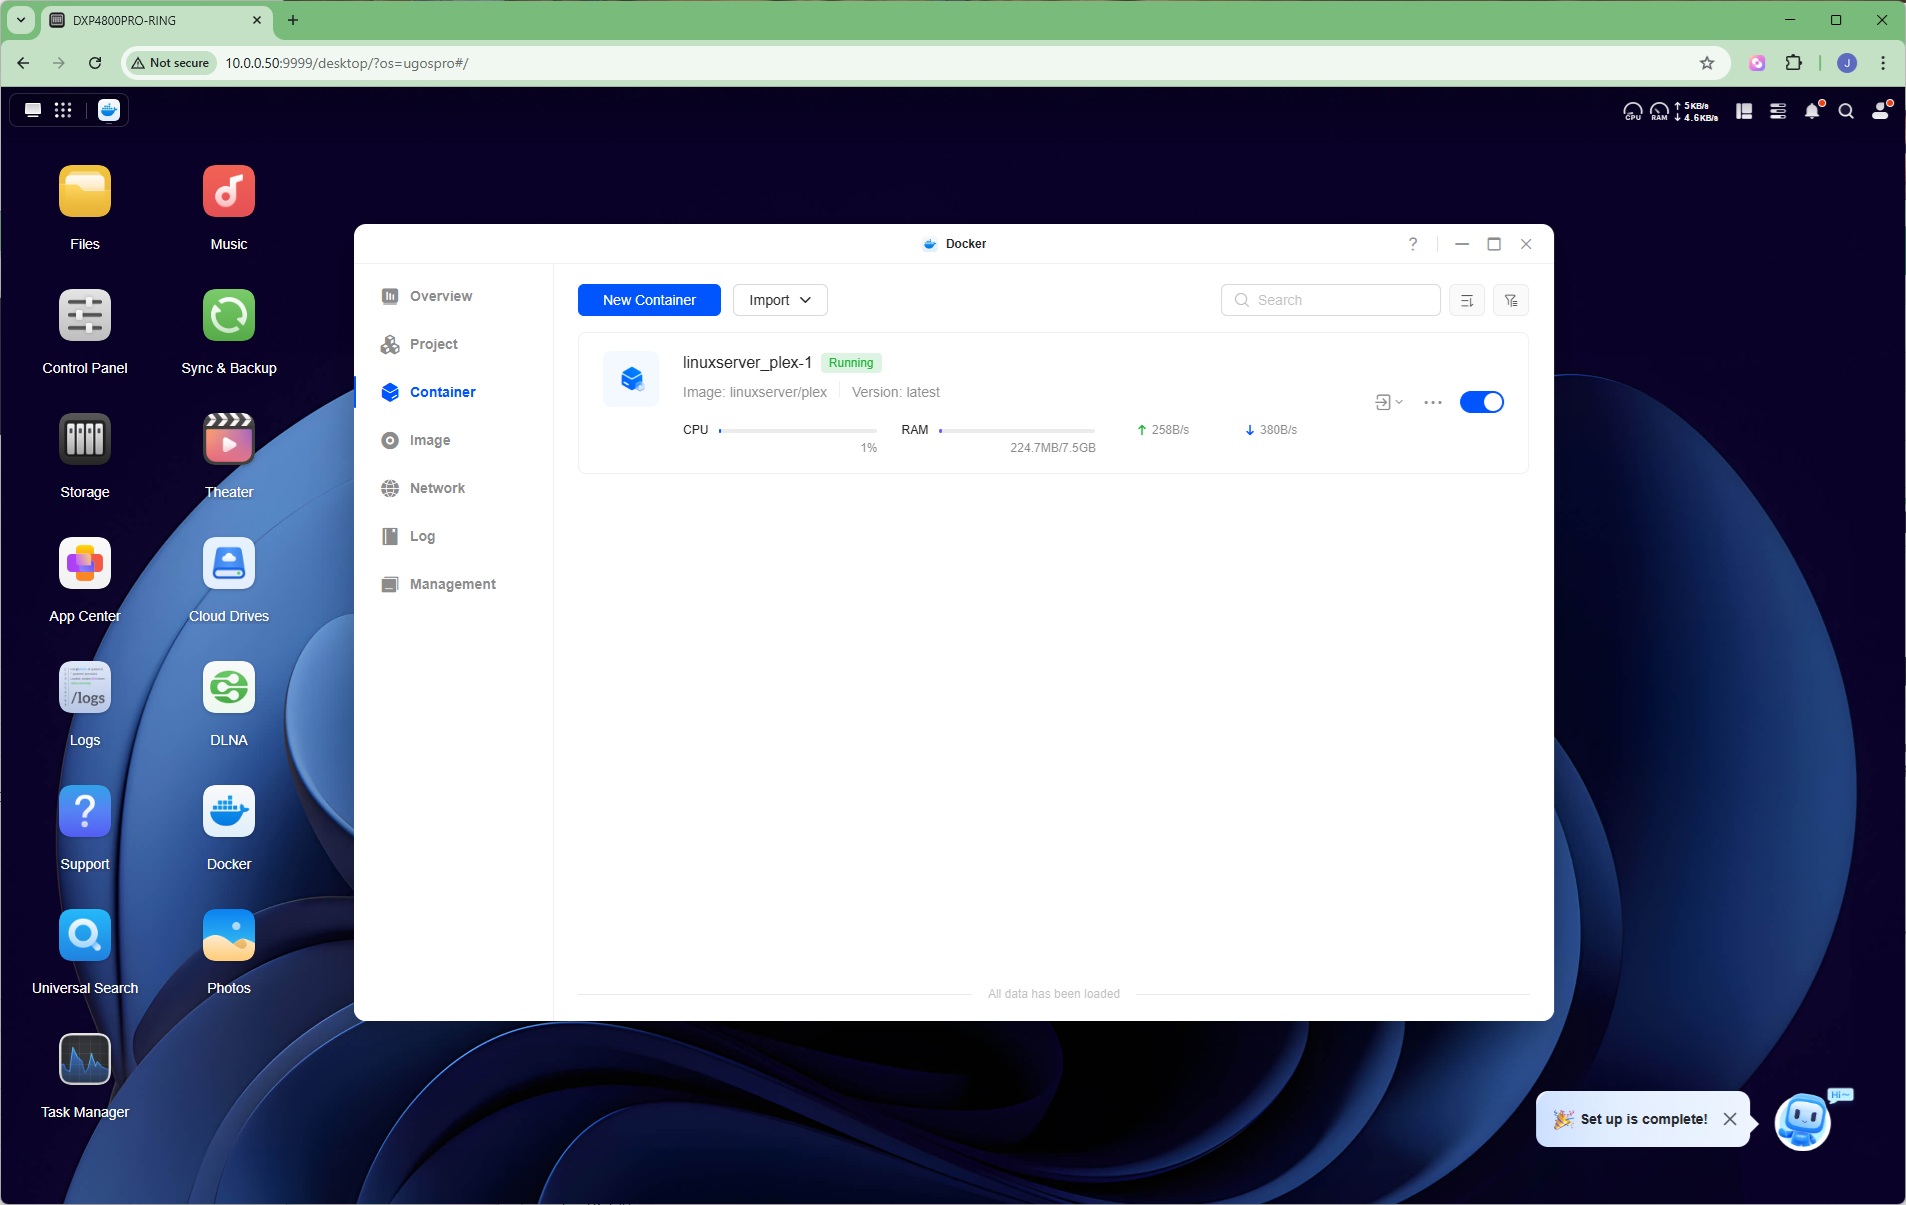
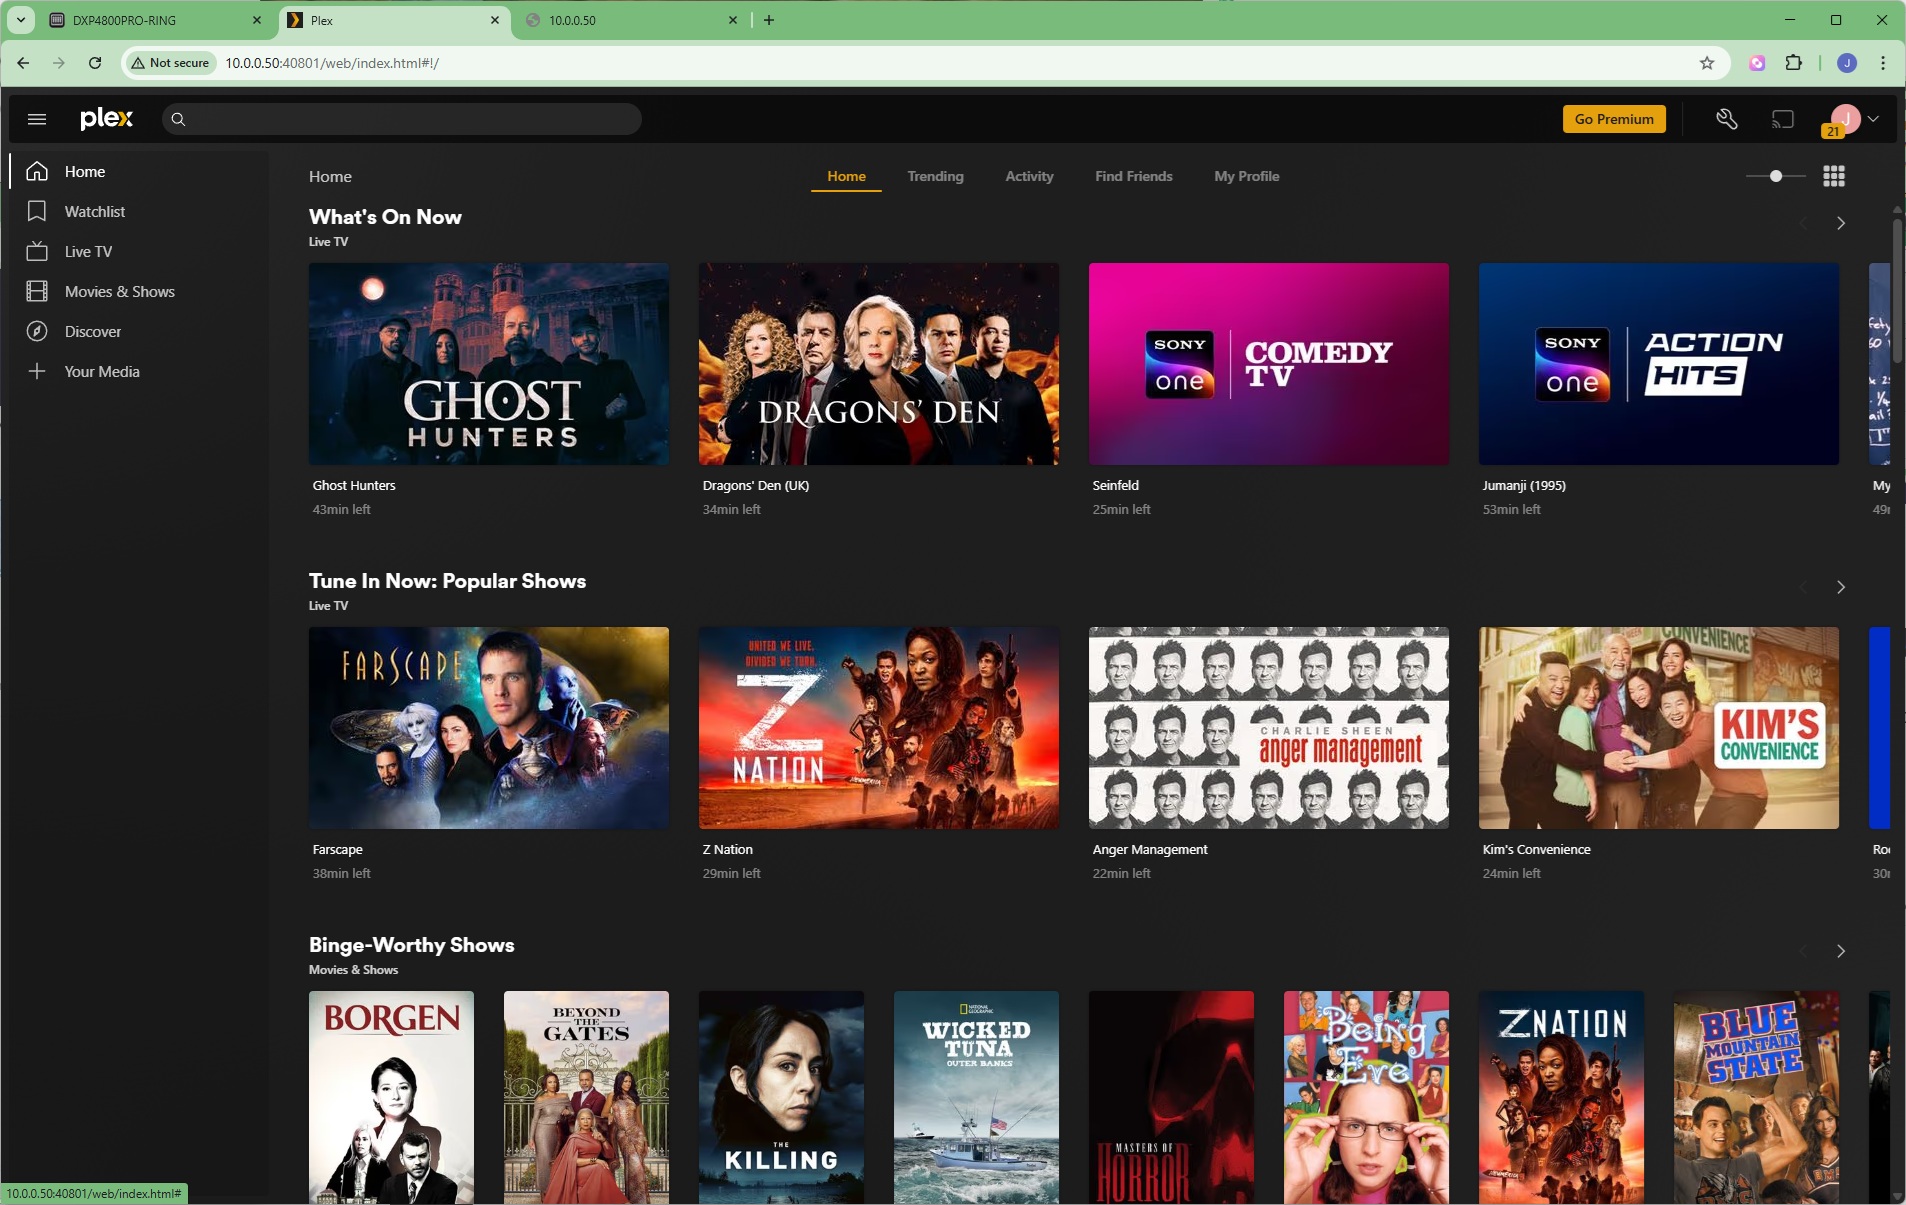
However, one of the key apps that hardcore techies may want to install is Docker, and this is definitely going to benefit from the faster processor. Docker is a container-based system, which runs application images in their own virtual spaces. There is another library of options here. You could run a MongoDB database, redis caching or PostgreSQL. You could even run Ubuntu Linux. In the example above, we've chosen one of the most popular choices – a Plex server, enabling more sophisticated media streaming than a simple DLNA server that only provides access to local files.
Task Manager
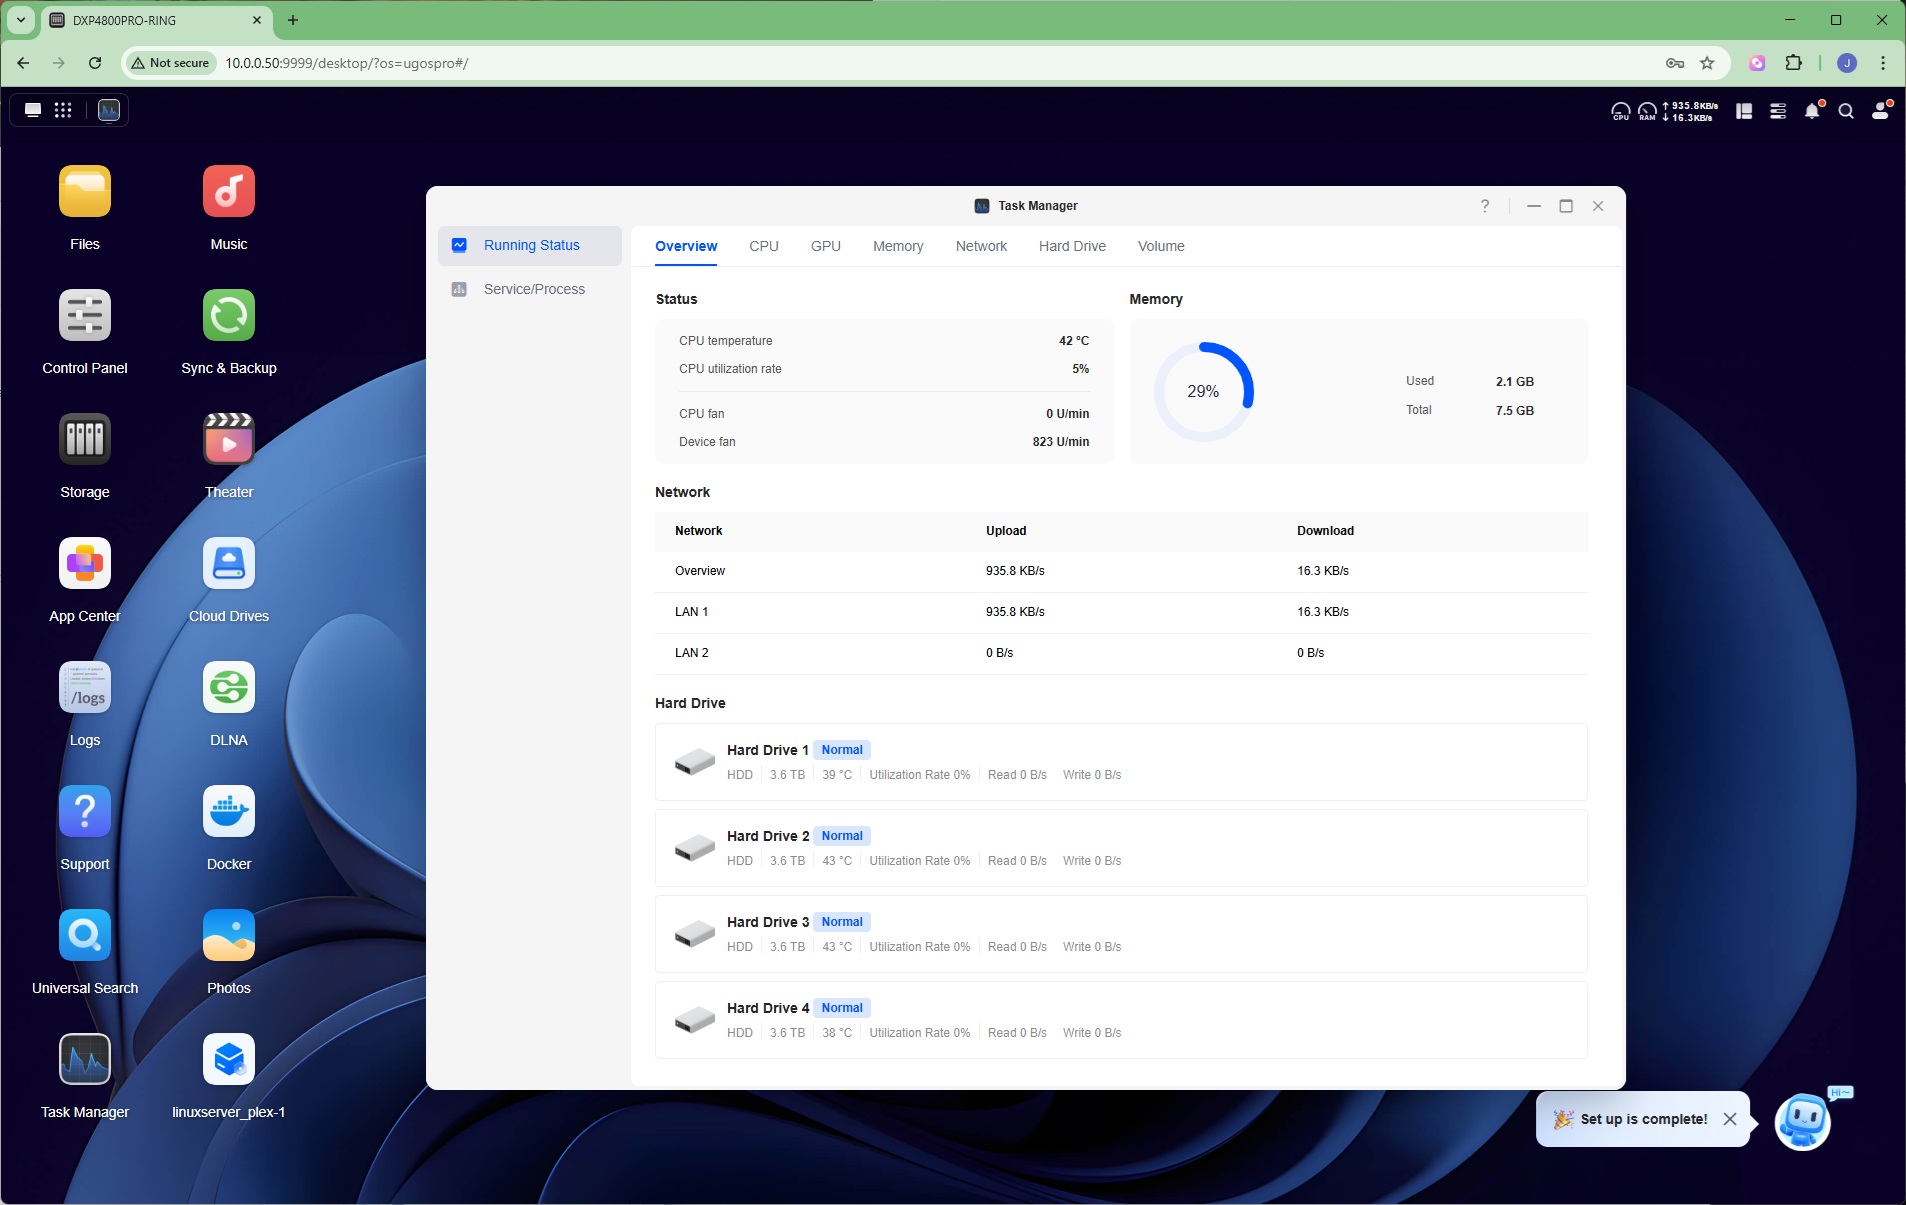

The Task Manager behaves much like the Windows version, giving you an overview of the Running Status that you can break down to separate components like CPU and memory. You can also look at the running Services and Processes, with the ability to end, restart or disable them.
Logs
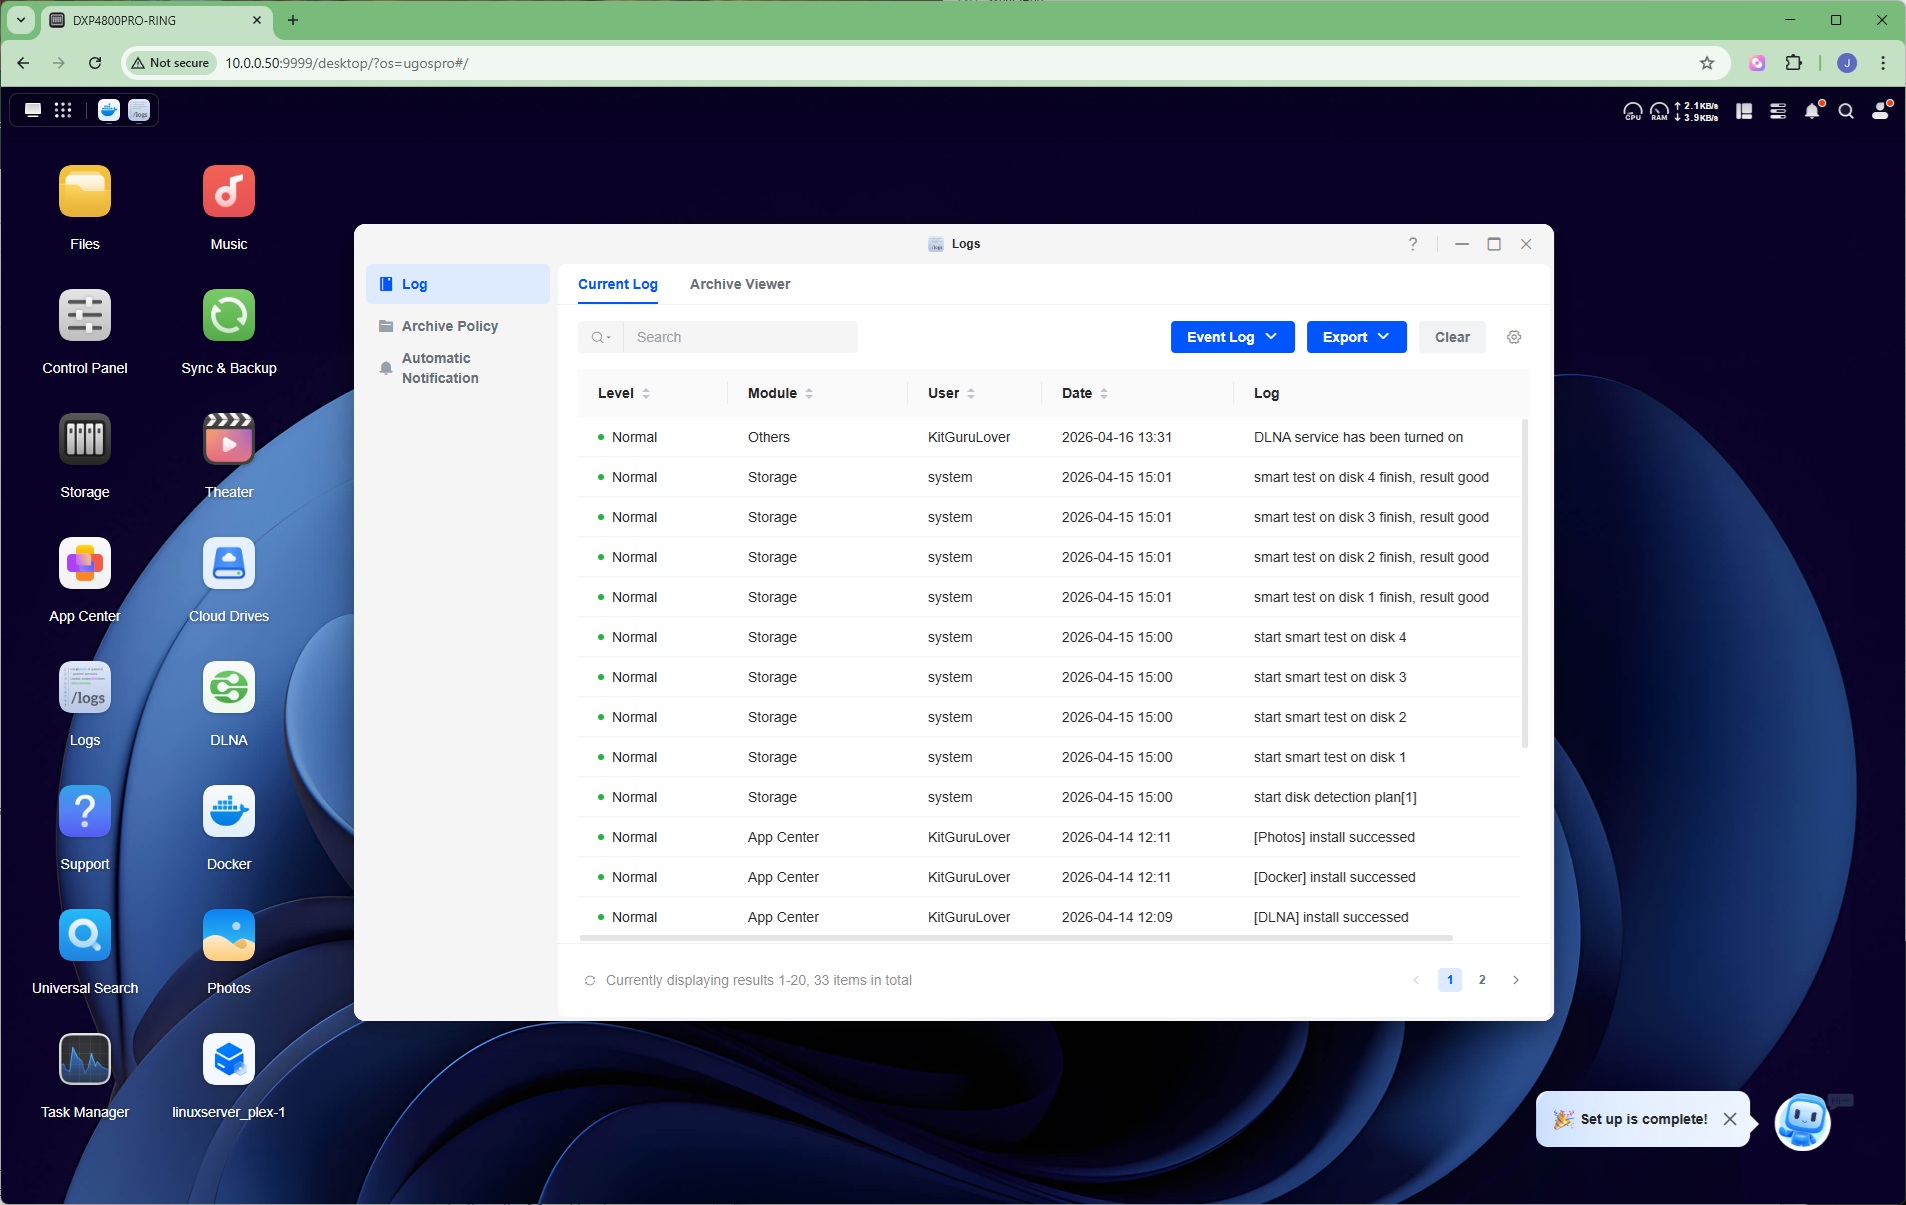
The NASync DXP4800 Pro has an event logging system built in, to help you debug any issues you encounter.
Support

There's a Support page, much of which redirects you to online resources. However, you can also use the Auxiliary Tools to Generate System Diagnosis Information, which will facilitate tech support from Ugreen greatly if you're having a problem.