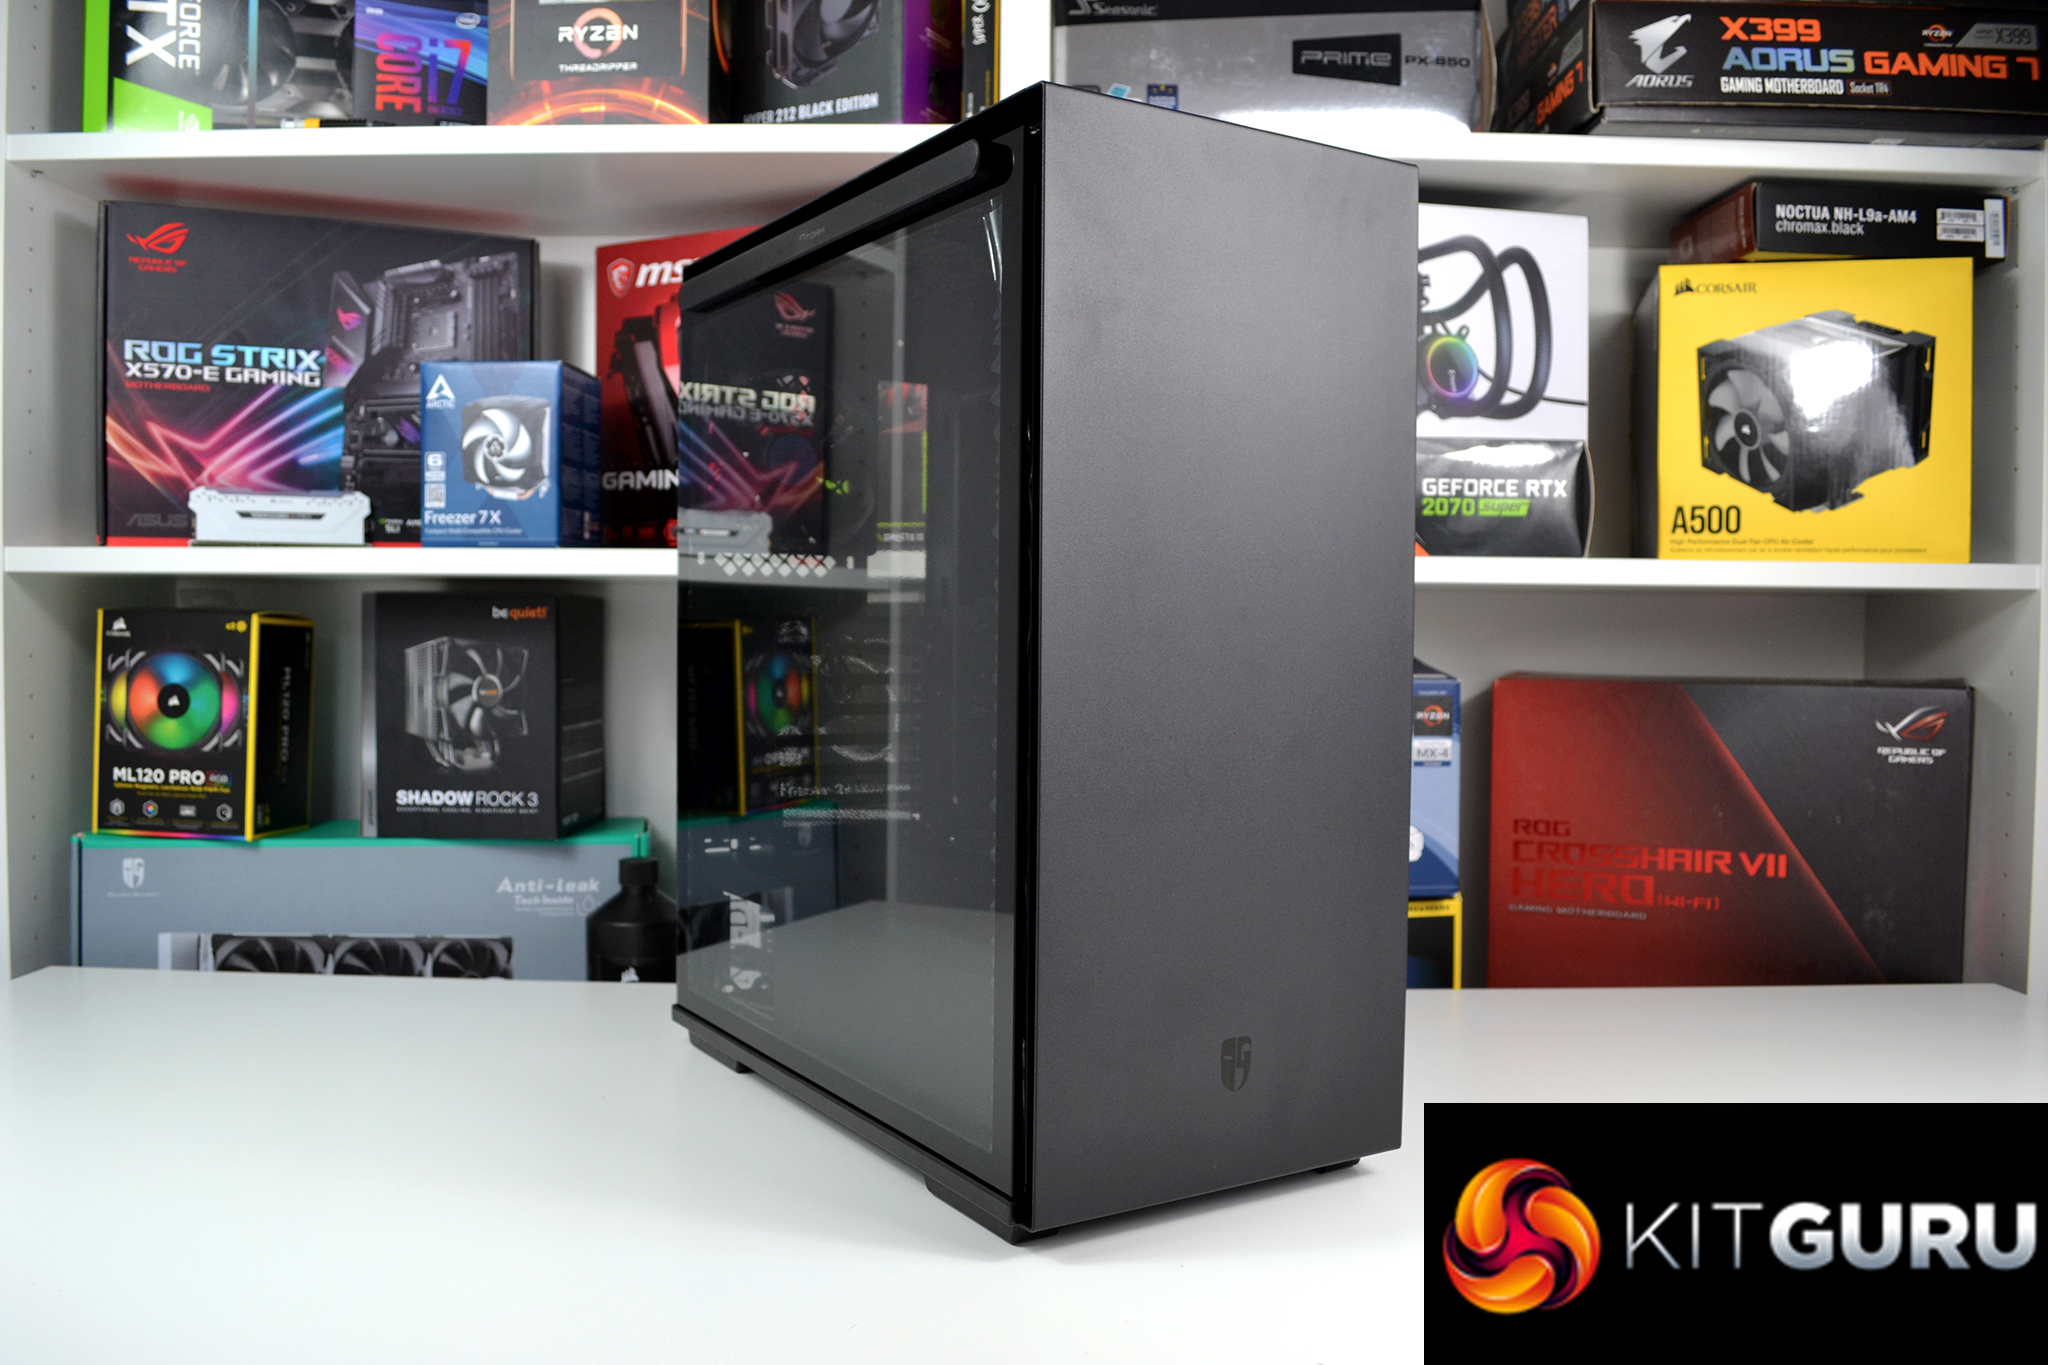
Deepcool’s new Macube 310P mid-tower case strikes a resemblance to the Macube 550 we reviewed back in December last year but with a more compact approach. Just like the Macube 550, the 310P features a largely blocked off front panel with just two narrow side vents for front airflow, so it will be interesting to see if the Macube 310P suffers from poor cooling due to this restricted front panel.
Unlike the Macube 550, the 310P has top ventilation, which may help in our thermal performance tests. The top vent is capable of housing up to three 120mm or two 140mm fans, however, the limited space between the top of the case and the motherboard means that radiator or AIO installation in this location is impossible which is a little disappointing as it would be ideal for radiator placement with this large vent to exhaust hot air.
Nevertheless, we can still install a radiator or AIO in the Macube 310P, it just means that this must be at the front of the case where airflow may be restricted due to this enclosed front panel design. The side vents of the front panel are less than 15mm wide, so we expect this to somewhat restrict airflow. However, we will test whether or not this is the case later in our thermal performance tests.
The Macube 310P is a much more compact case compared with the 550 but it still supports installation of motherboards up to standard ATX form factor, it is also equipped with a full cover PSU shroud where up to 160mm power supplies can be installed. The case can house graphics cards up to 330mm long, CPU coolers up to 165mm tall and in the front, there is space to mount up to a 360mm radiator or AIO.
In terms of storage space, there is a removable and adjustable HDD cage where either two 3.5-inch or two 2.5-inch HDDs can be installed and on the back of the motherboard tray there are two removable 2.5-inch HDD brackets. Front-panel I/O consists of two USB 3.0 Type-A ports, 3.5mm HD audio jacks as well as power and reset buttons.
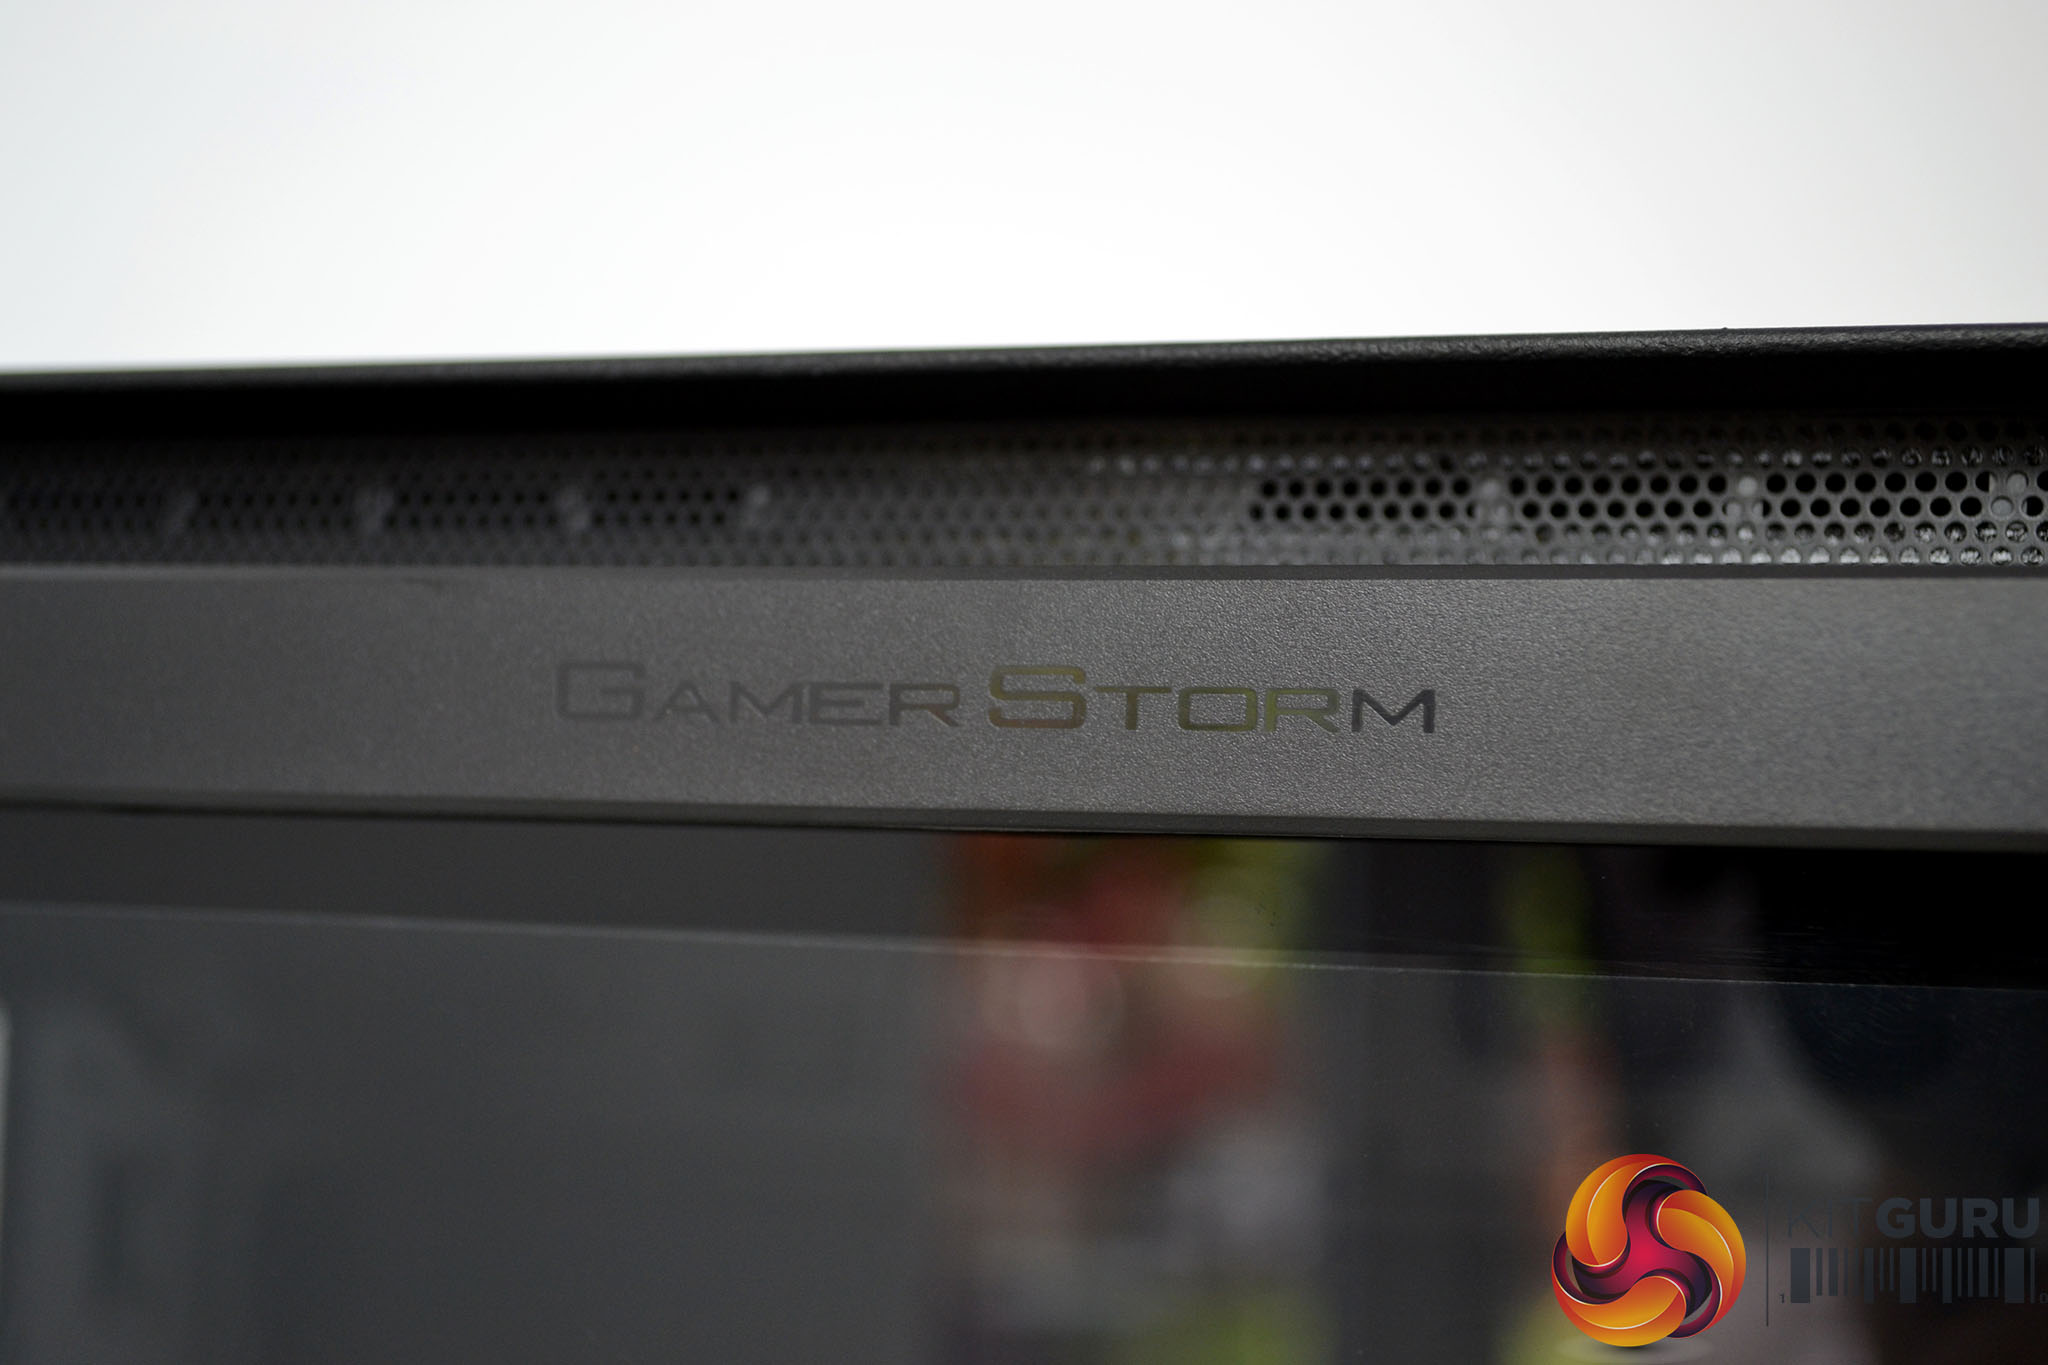
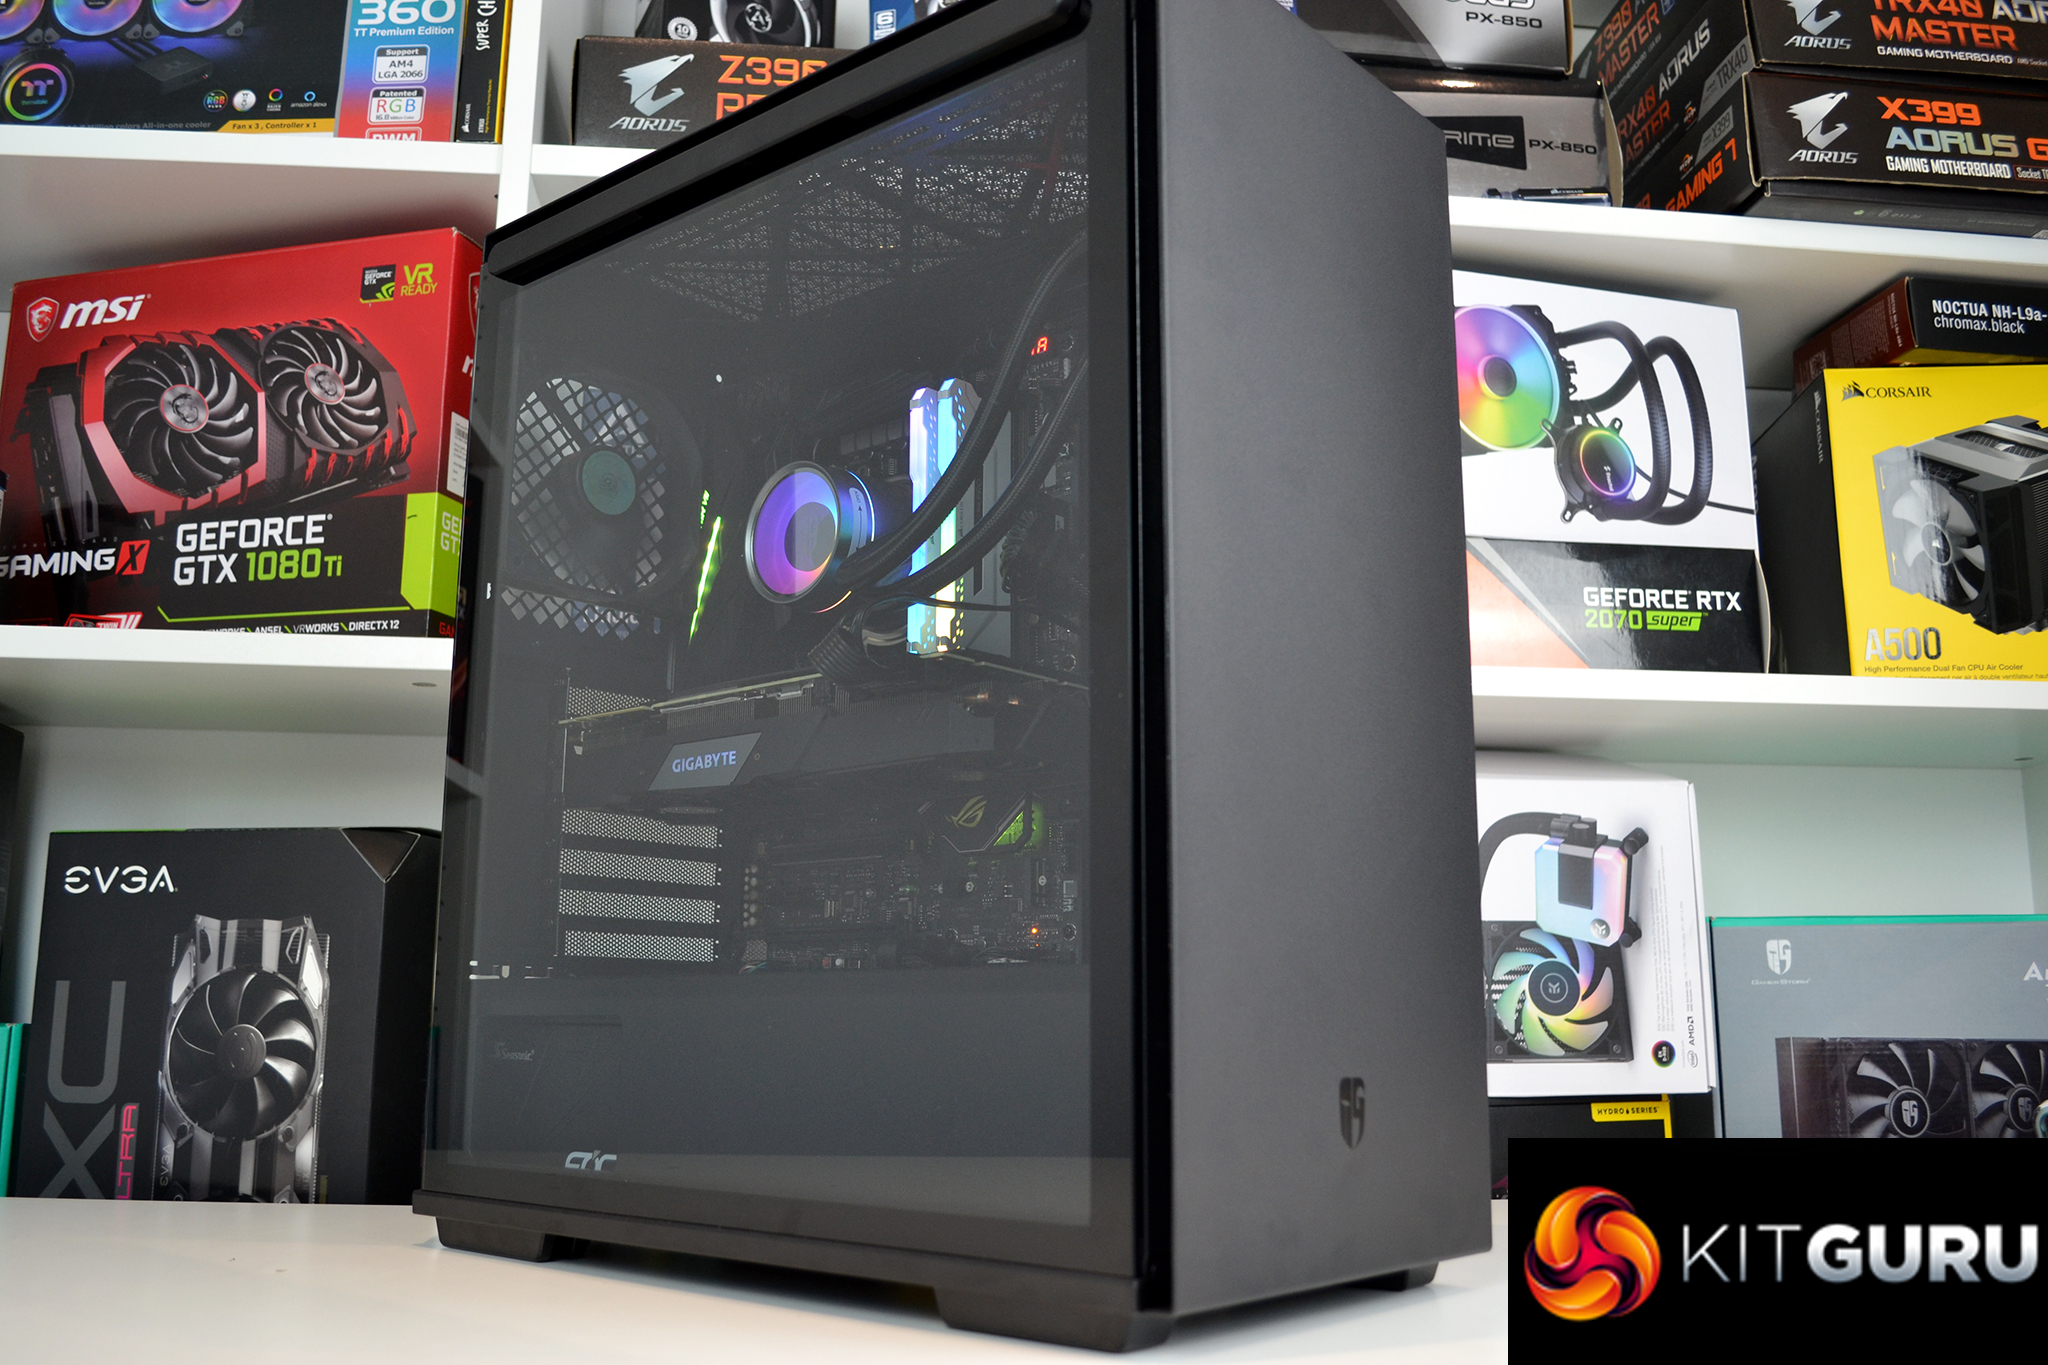
Understated looks are what the Macube 310P is all about, the front panel has a very clean appearance with a matte black coating and a small Gamer Storm logo etched into the panel at the bottom. However, there are some very interesting features, both the tempered glass left-hand panel and the steel right-hand panel are attached to the chassis via magnets which complements the clean aesthetics and offers tool-free removal.
Inside the case, there are more premium features too. At the back, there is a vertical graphics card mounting slot, however, there is no riser cable or bracket supplied with the case. To the right-hand side of the motherboard tray is a VGA support bracket to help eliminate unsightly GPU sag. Some cable cut-outs have rubber grommets and behind the motherboard, there is approximately 23mm of space for cable management with plenty of eyelets to tie cables down, as well as a fan hub to connect up to four PWM fans.
The Macube 310 version we have is the 310P which means it has some minor upgrades compared to the original 310. The only difference we can see is the vented top panel, the original 310P featured a solid top panel much like the front.
Key features
- Tool-free side panels
- Tempered glass window
- Integrated GPU support bracket
- Understated aesthetics
- Power supply shroud
- Vertical GPU mounting
Specifications
| Motherboards | Mini-ITX / Micro-ATX / ATX |
| Materials | ABS+SPCC+Tempered Glass |
| Product Dimensions | 424.6mm×215mm×494.6mm(L×W×H) |
| Net Weight | 8.33KG |
| Gross weight | 10.34KG |
| 5.25″ Drive Bays | 0 |
| 3.5″ Drive Bays | 2 |
| 2.5″ Drive Bays | 2 |
| I/O Panel | USB3.0 x 2, Audio x1、Mic x1 |
| Expansion Slots | 7+2 Slots |
| Cooling Fans Compatibility | Pre-installed: Rear: 1x120mm DC fan
Optional: Front: 120mm x3/140mm x2, Top: 120mmx 3/140mm x2 |
| Power Supply Type | ATX PS2 (Length less than 160mm) |
| CPU Cooler Height Limit | 165mm |
| Liquid Cooler Compatibility | Front: 120/140/240/280/360, Rear: 120 |
| VGA Length Limit | 330mm |
| Cable Management | 23mm clearance |
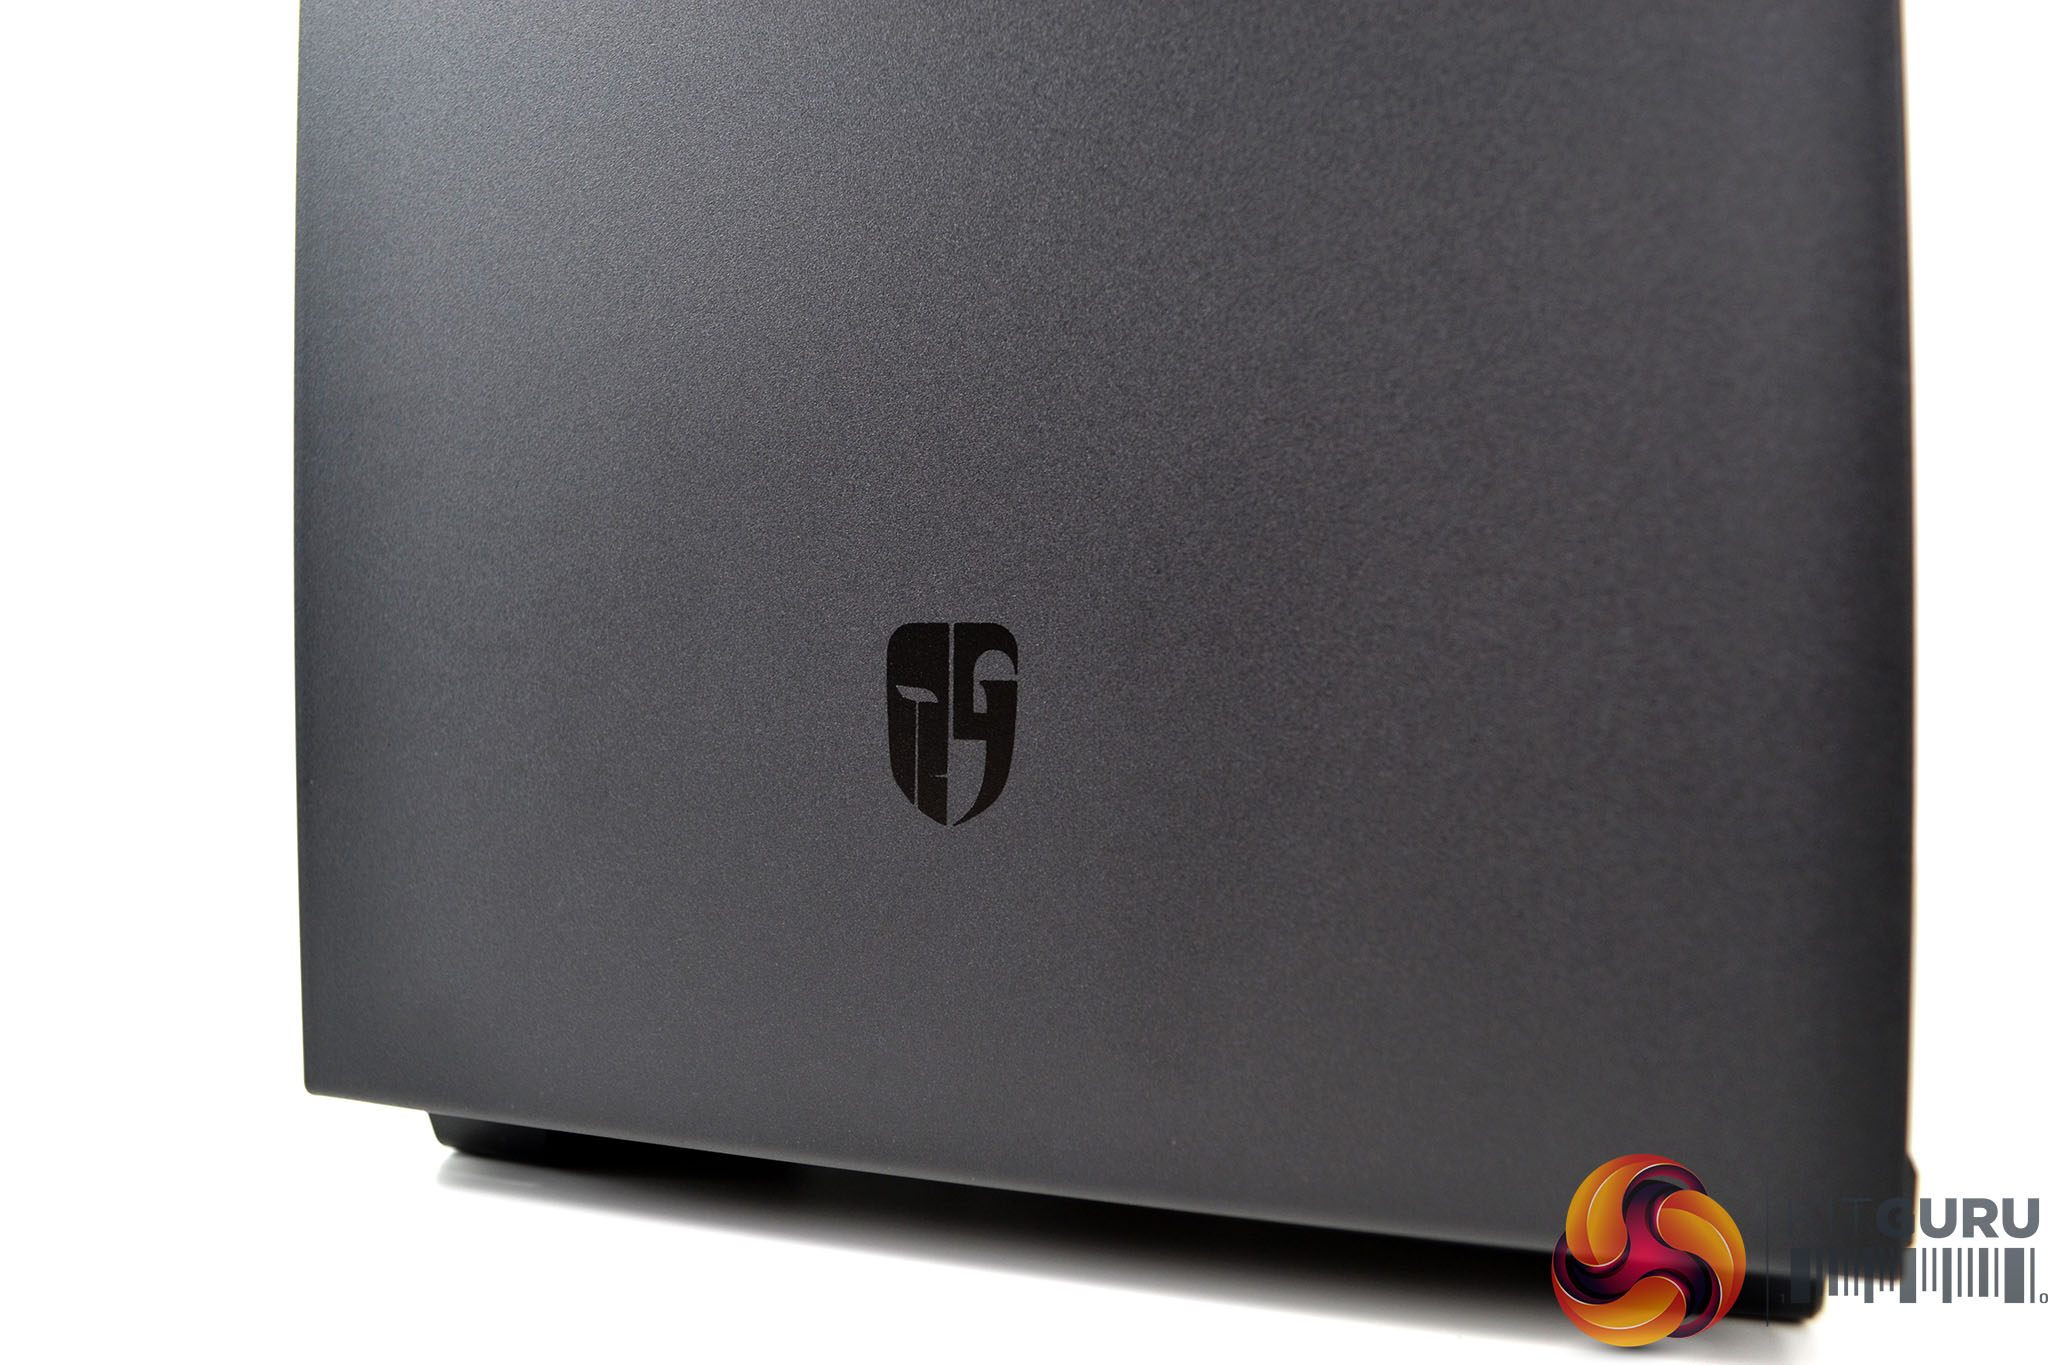
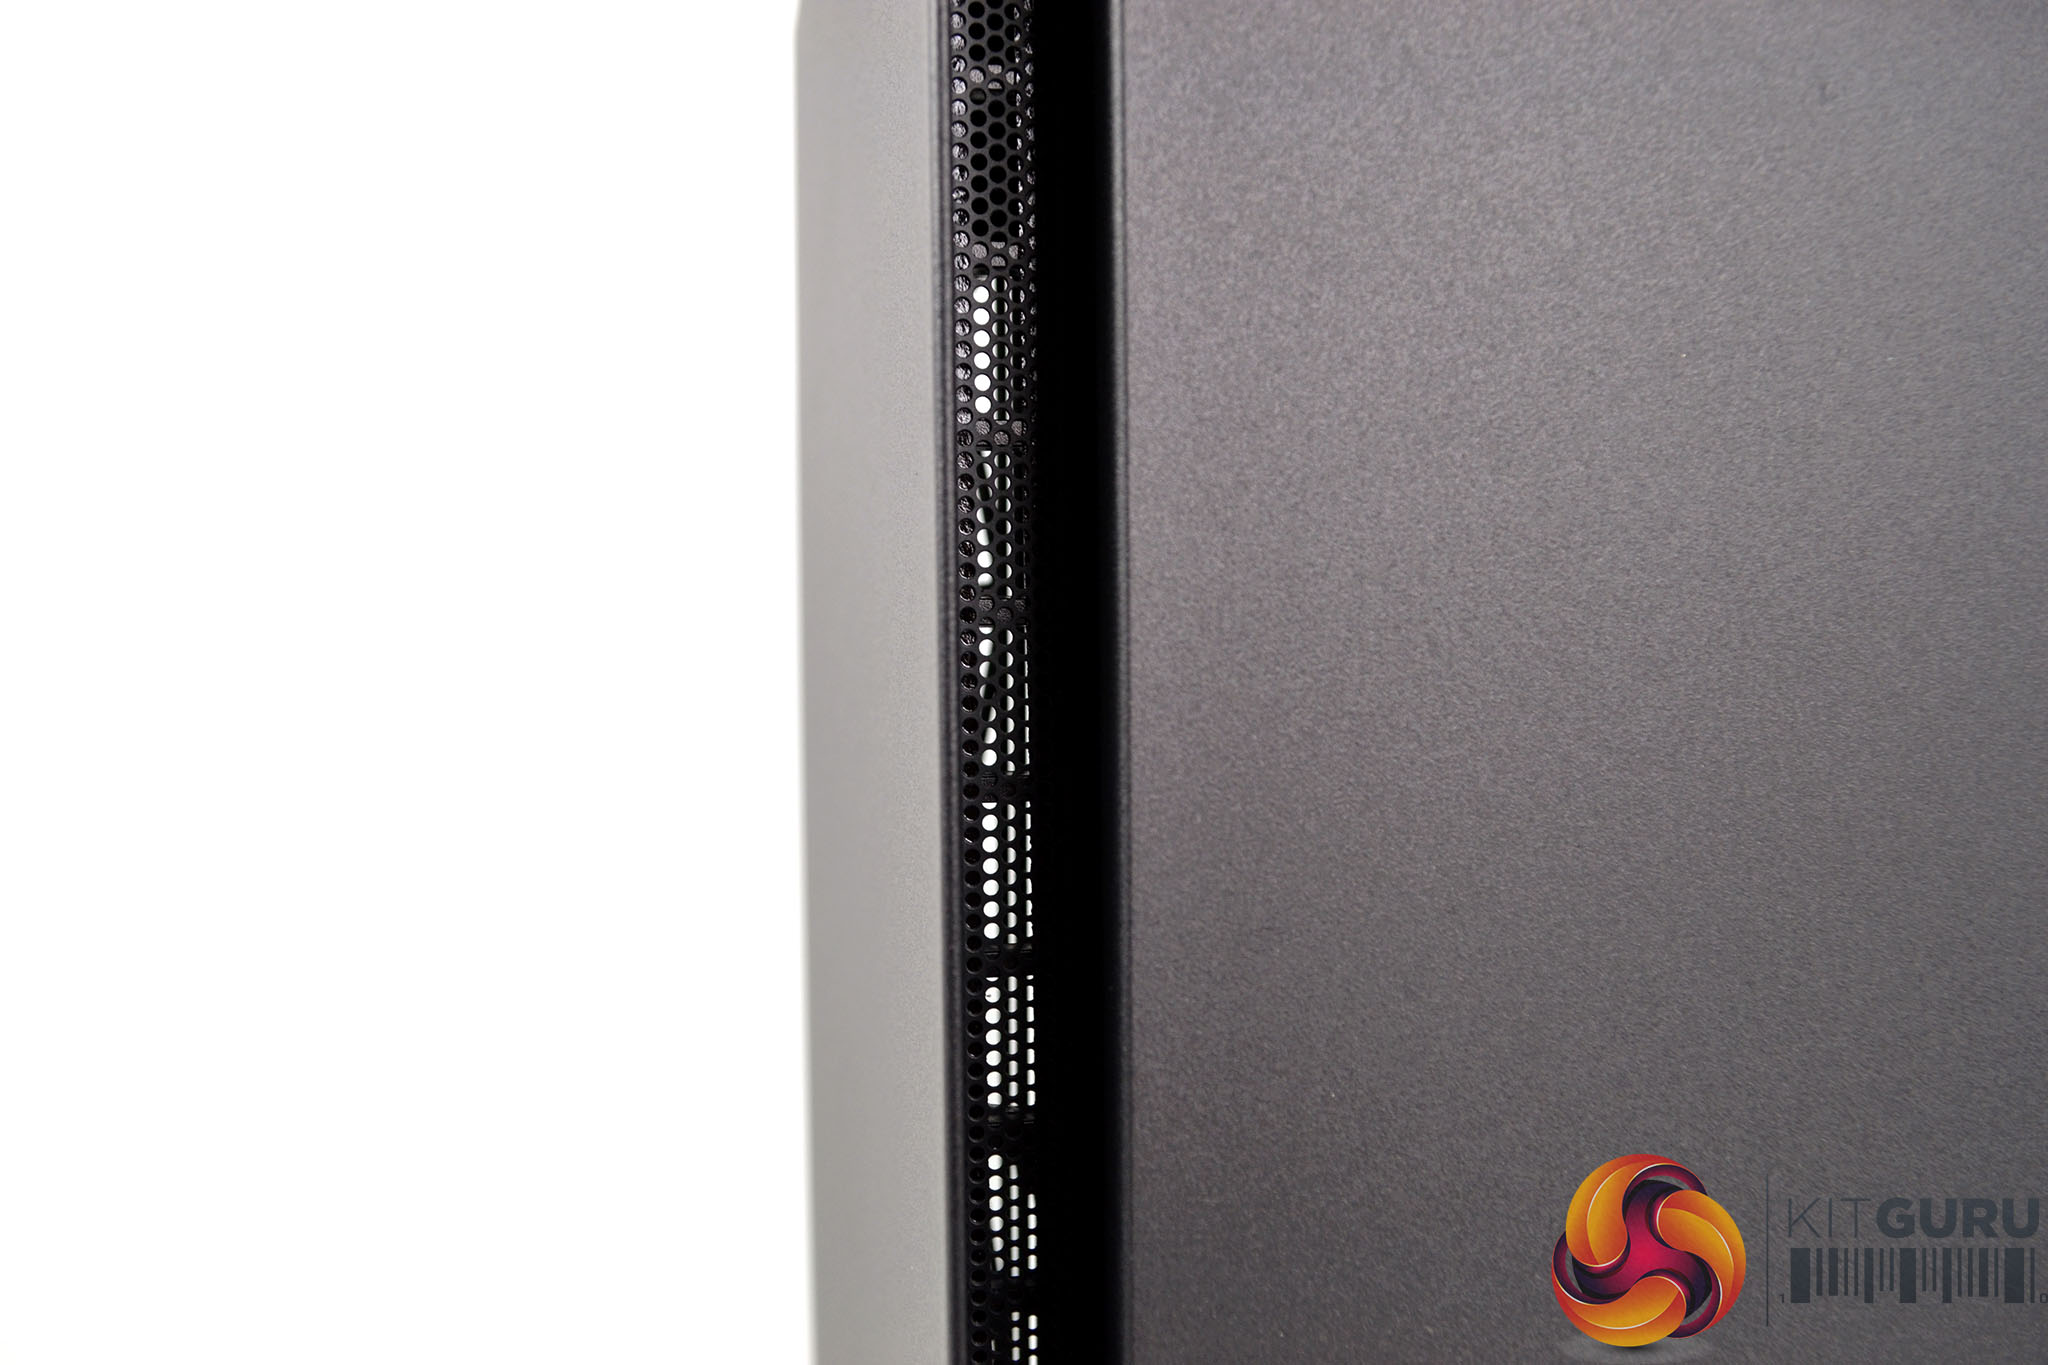
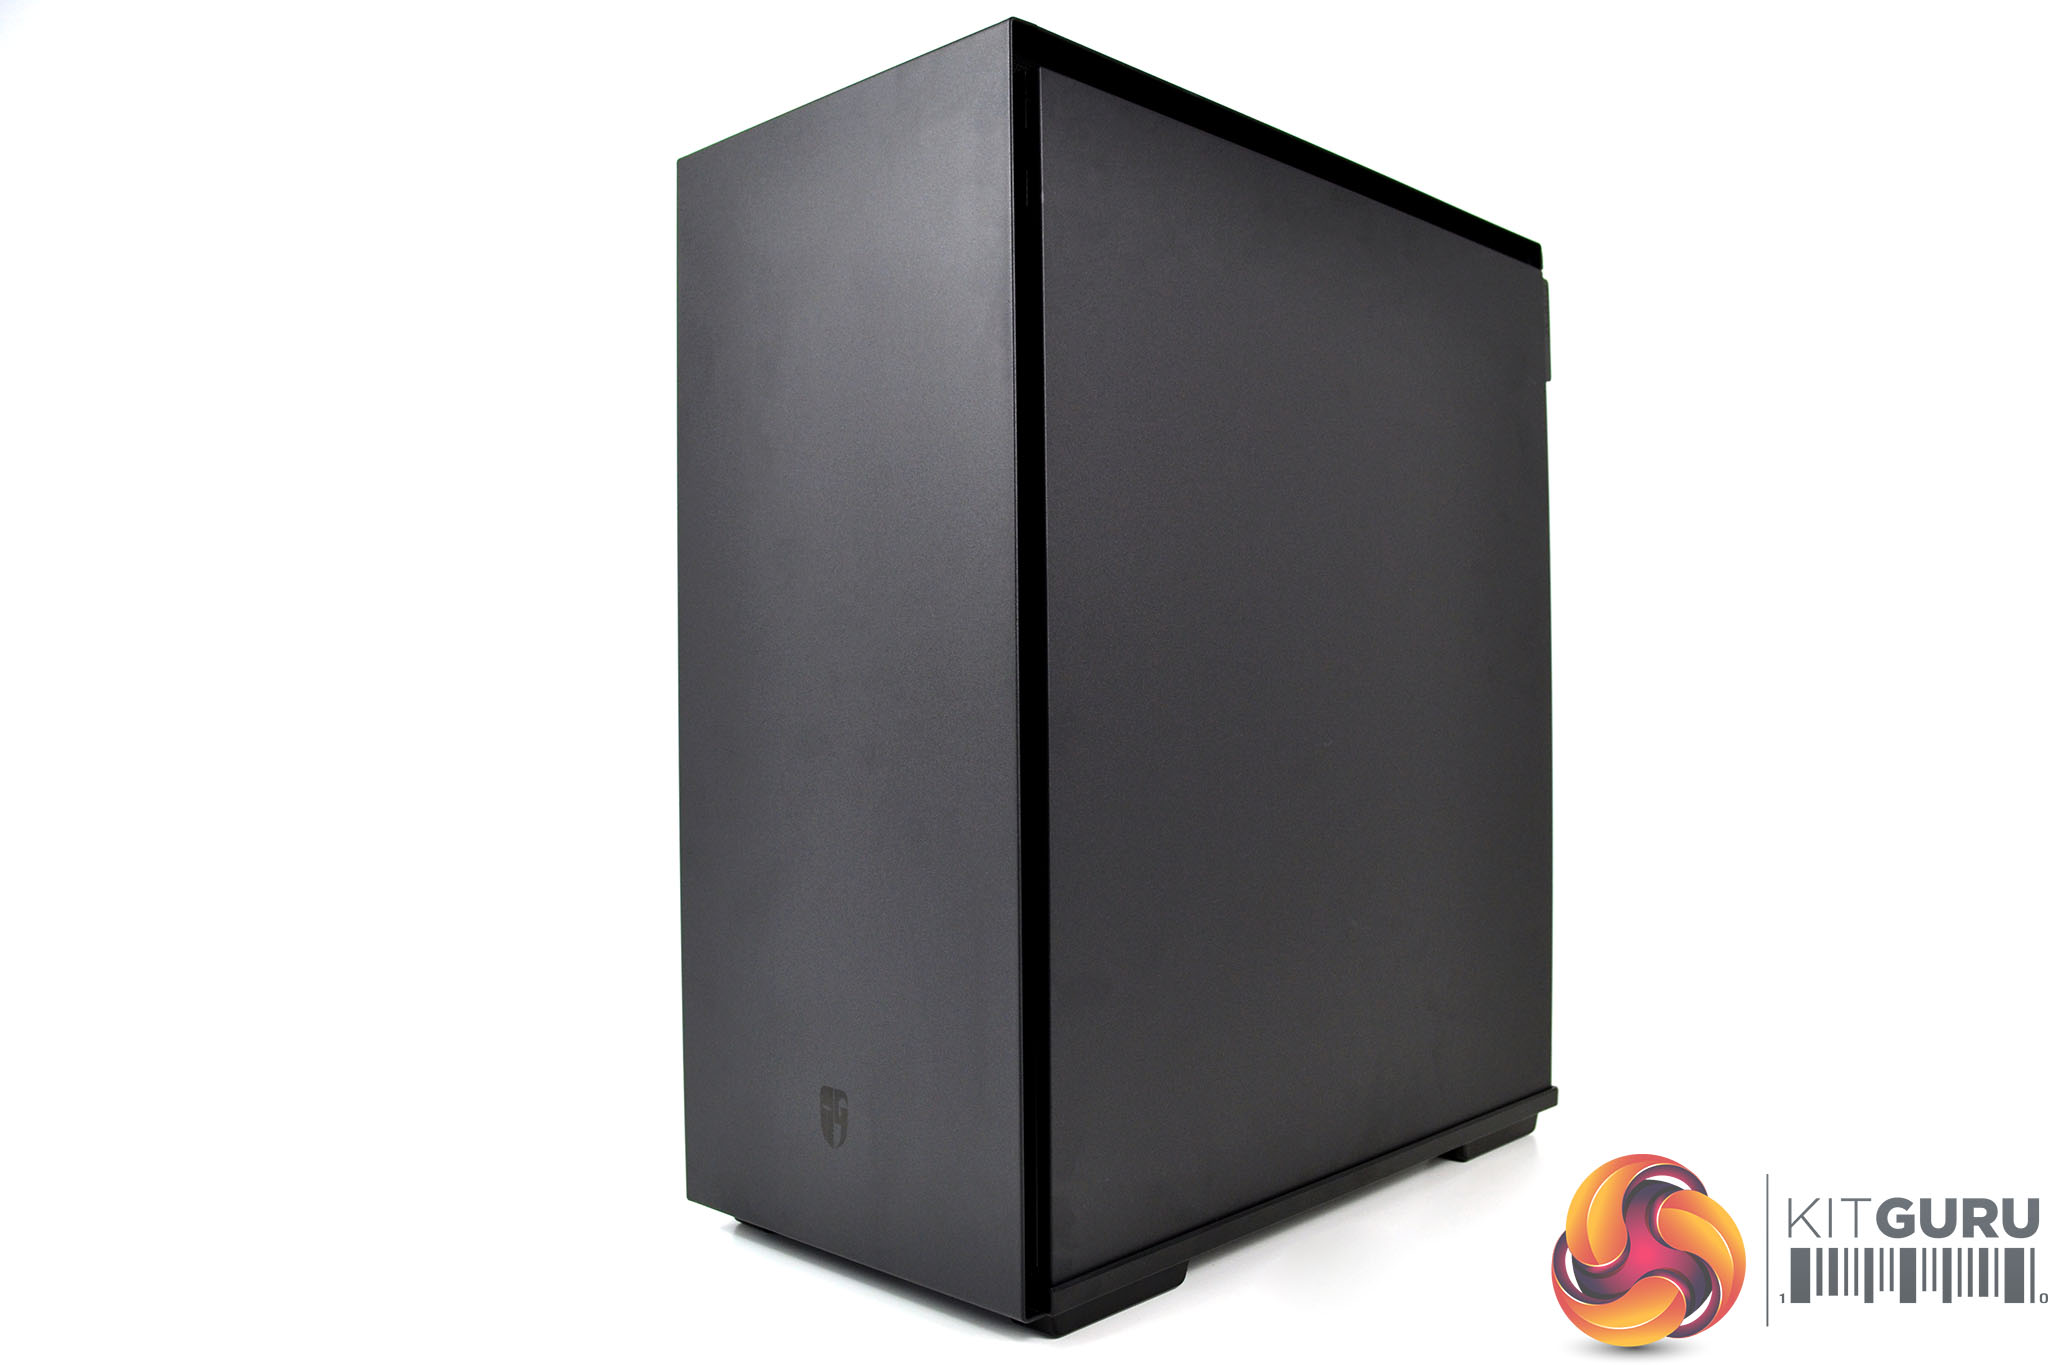
The front panel of the Macube 310P is an understated and completely solid affair with just a small Gamer Storm logo etched into the black coating at the bottom. Around the edge of the front panel are 15mm airflow vents that extend around to the side of the top panel.
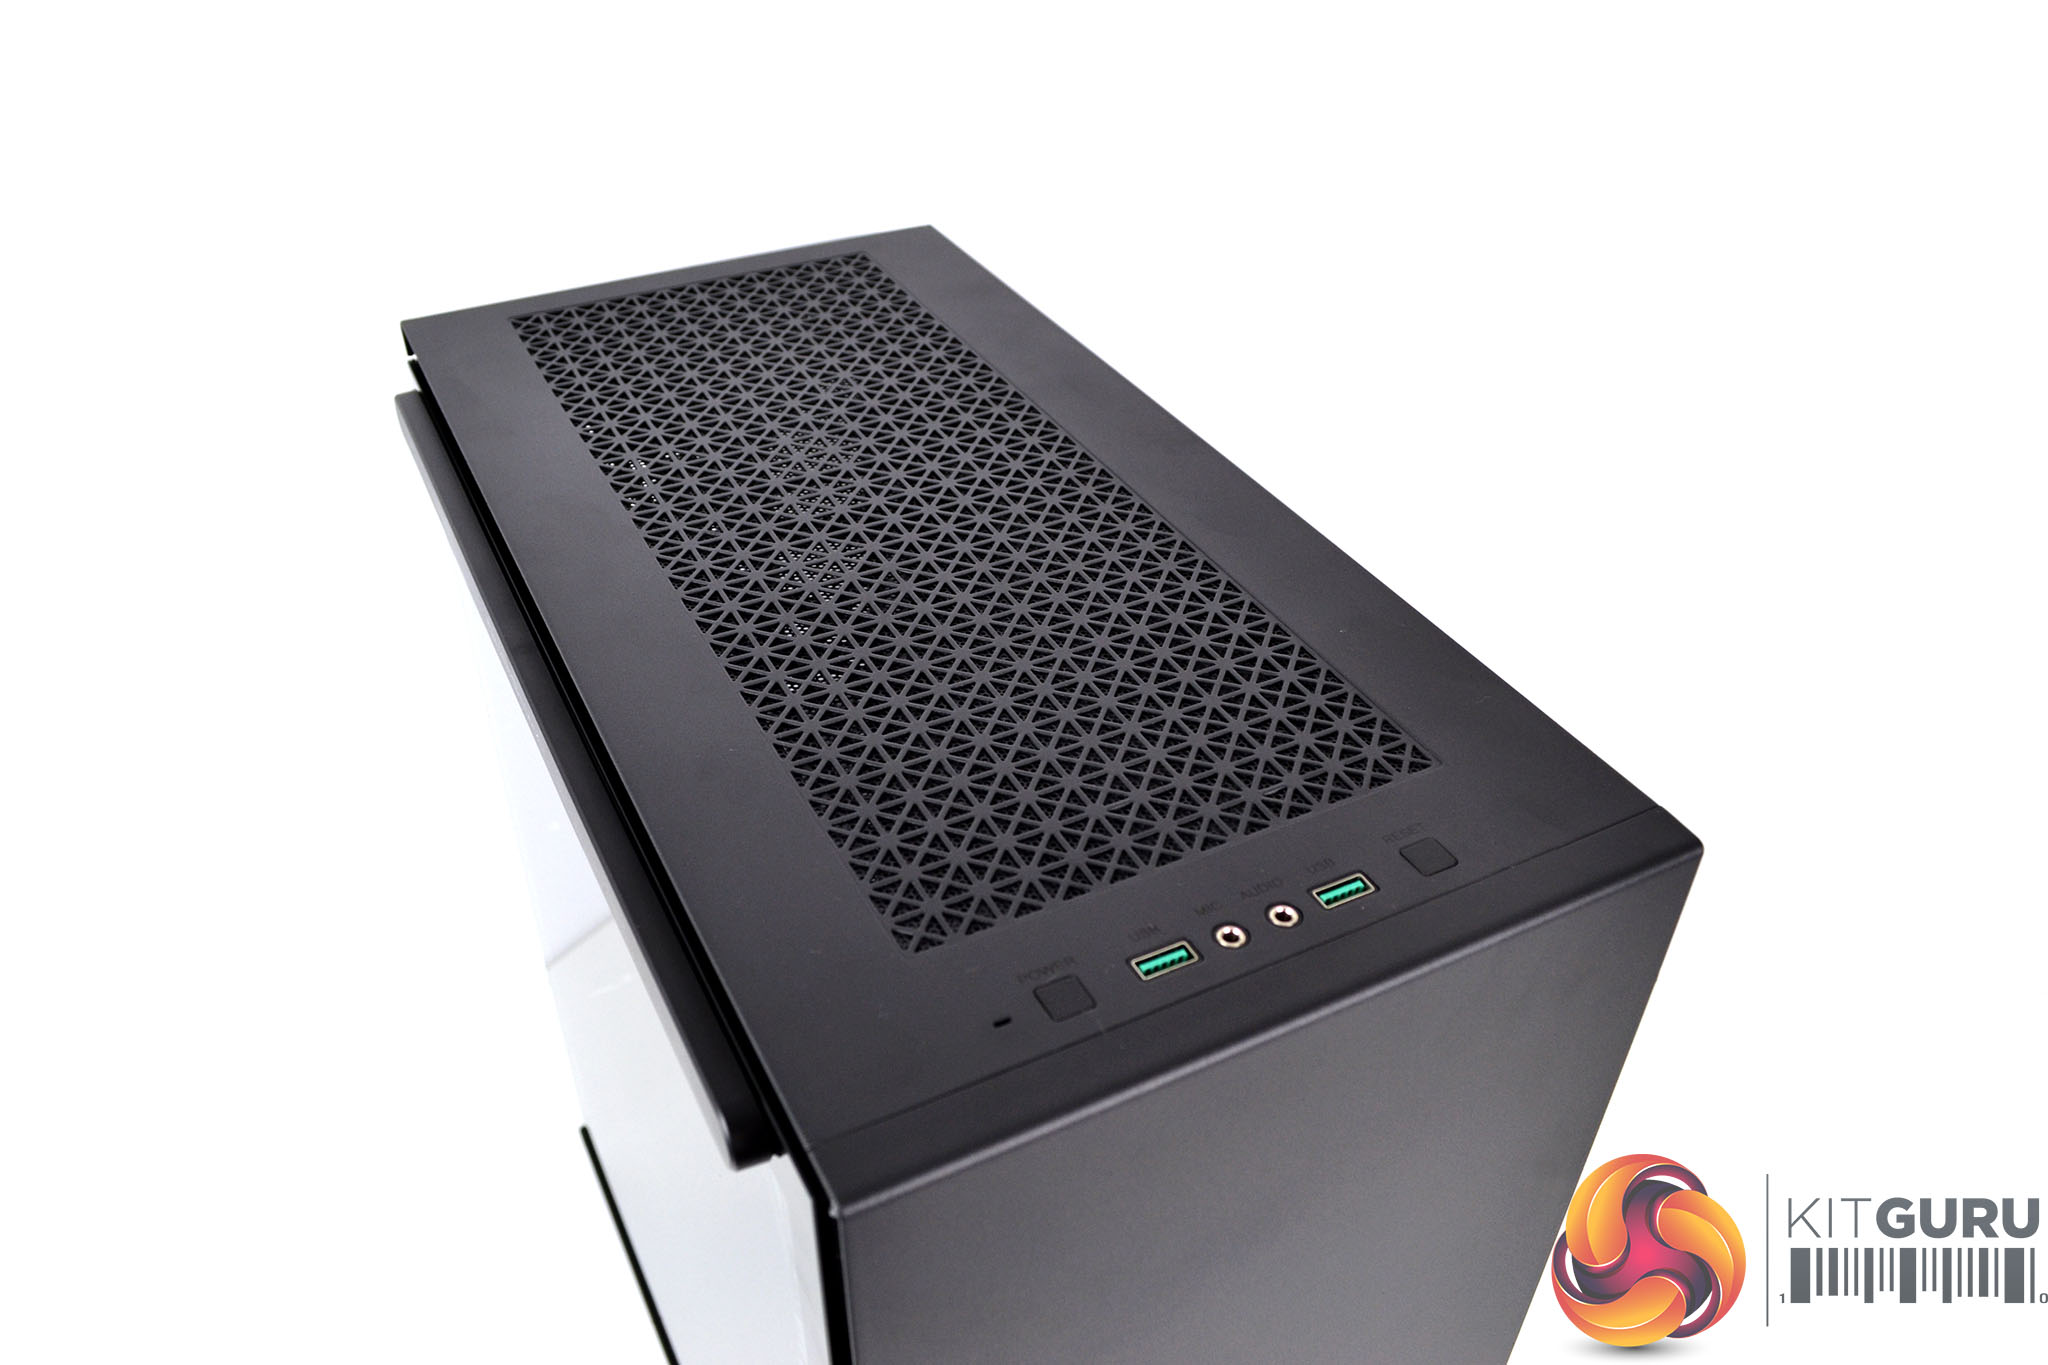
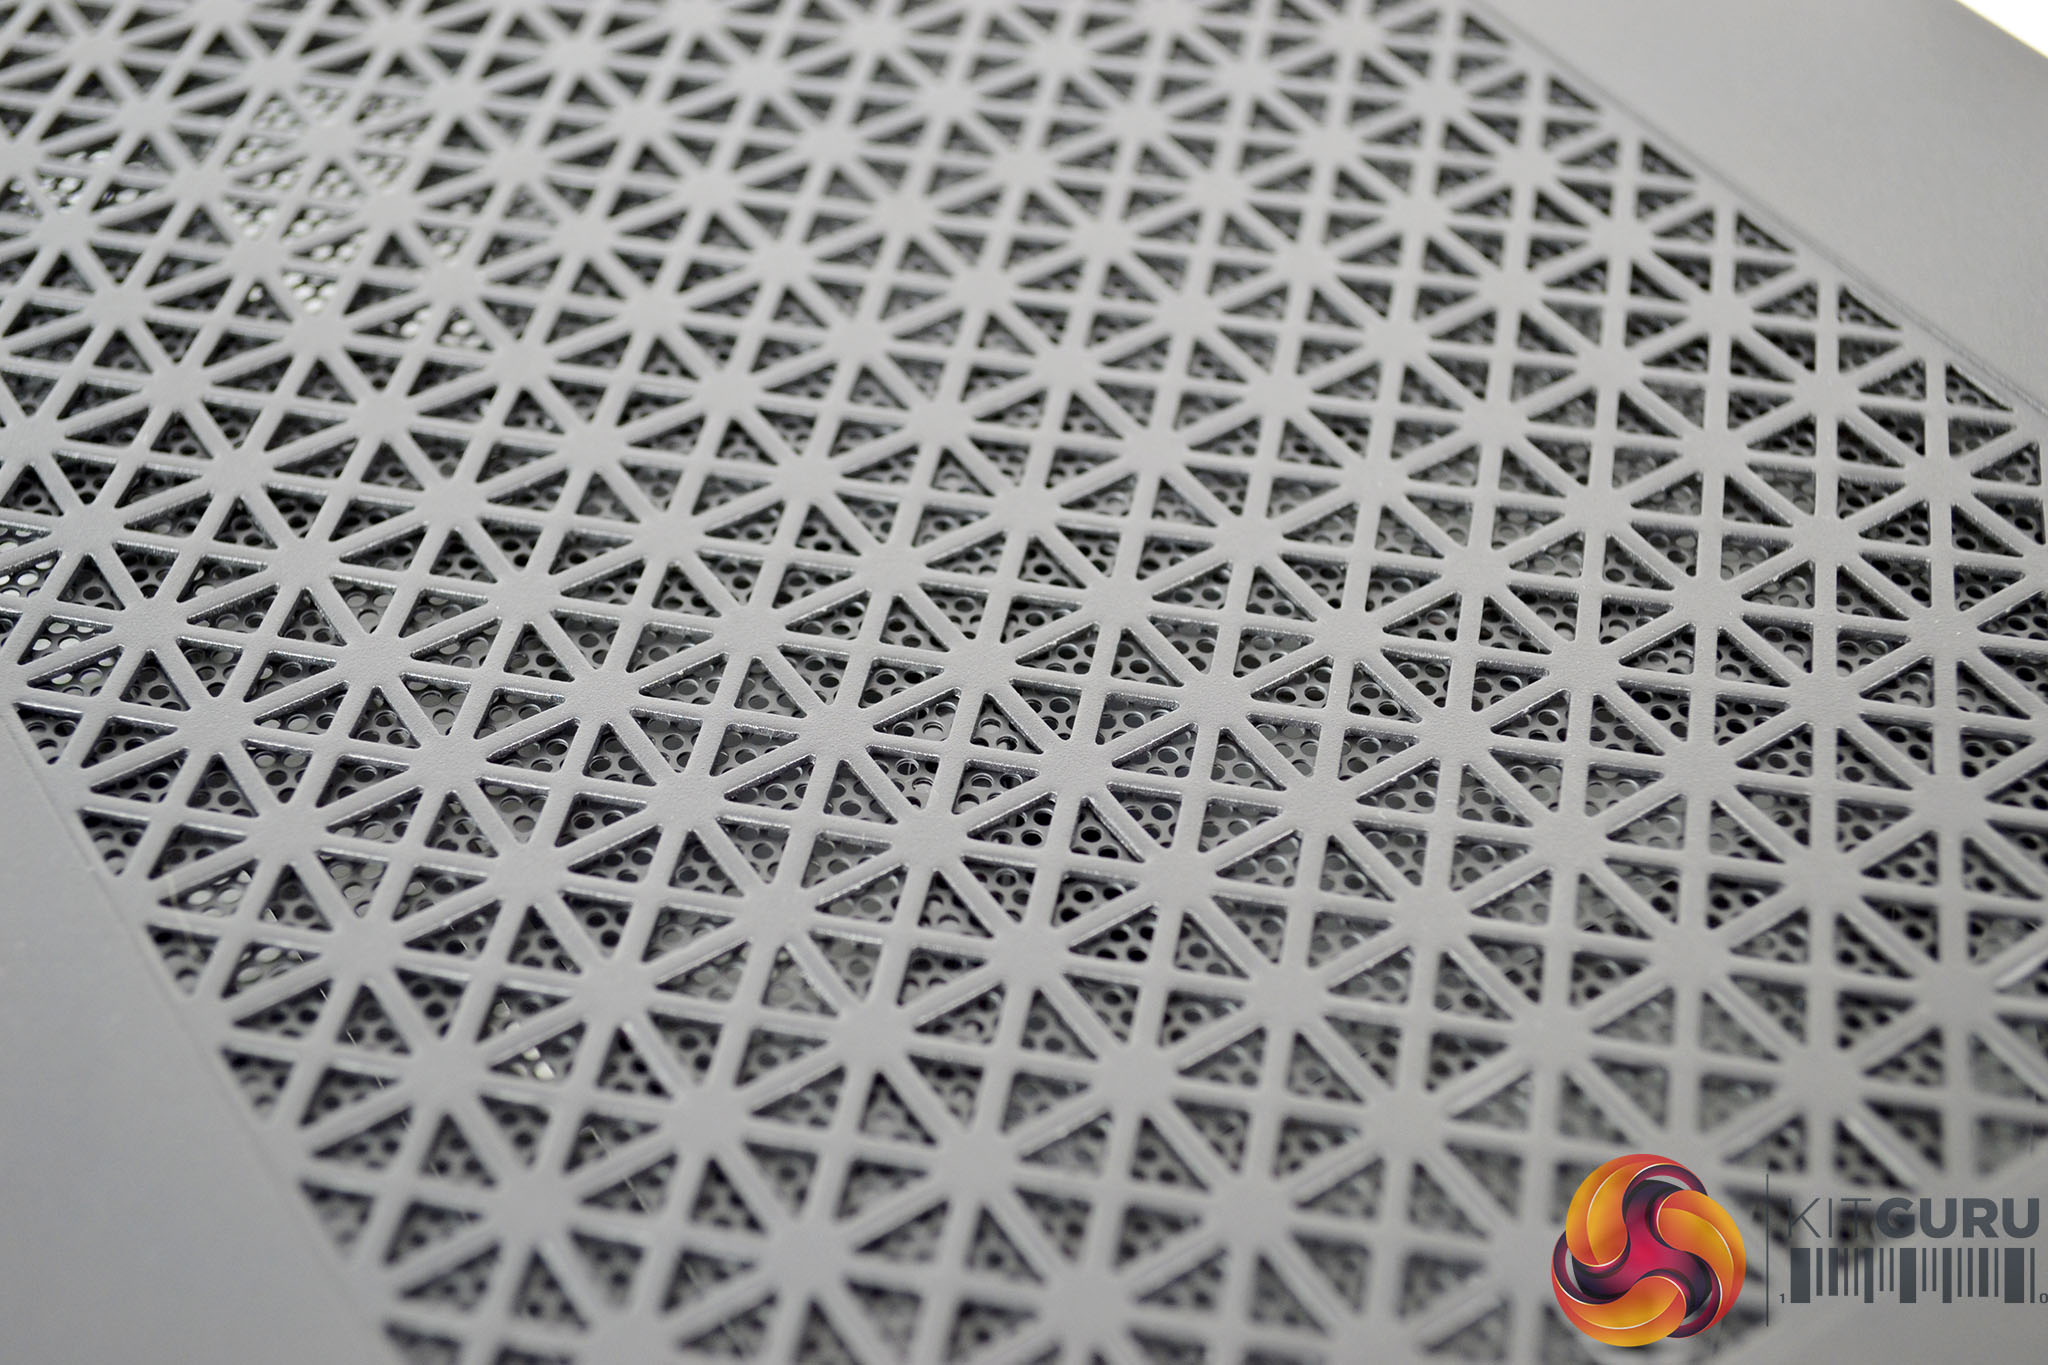
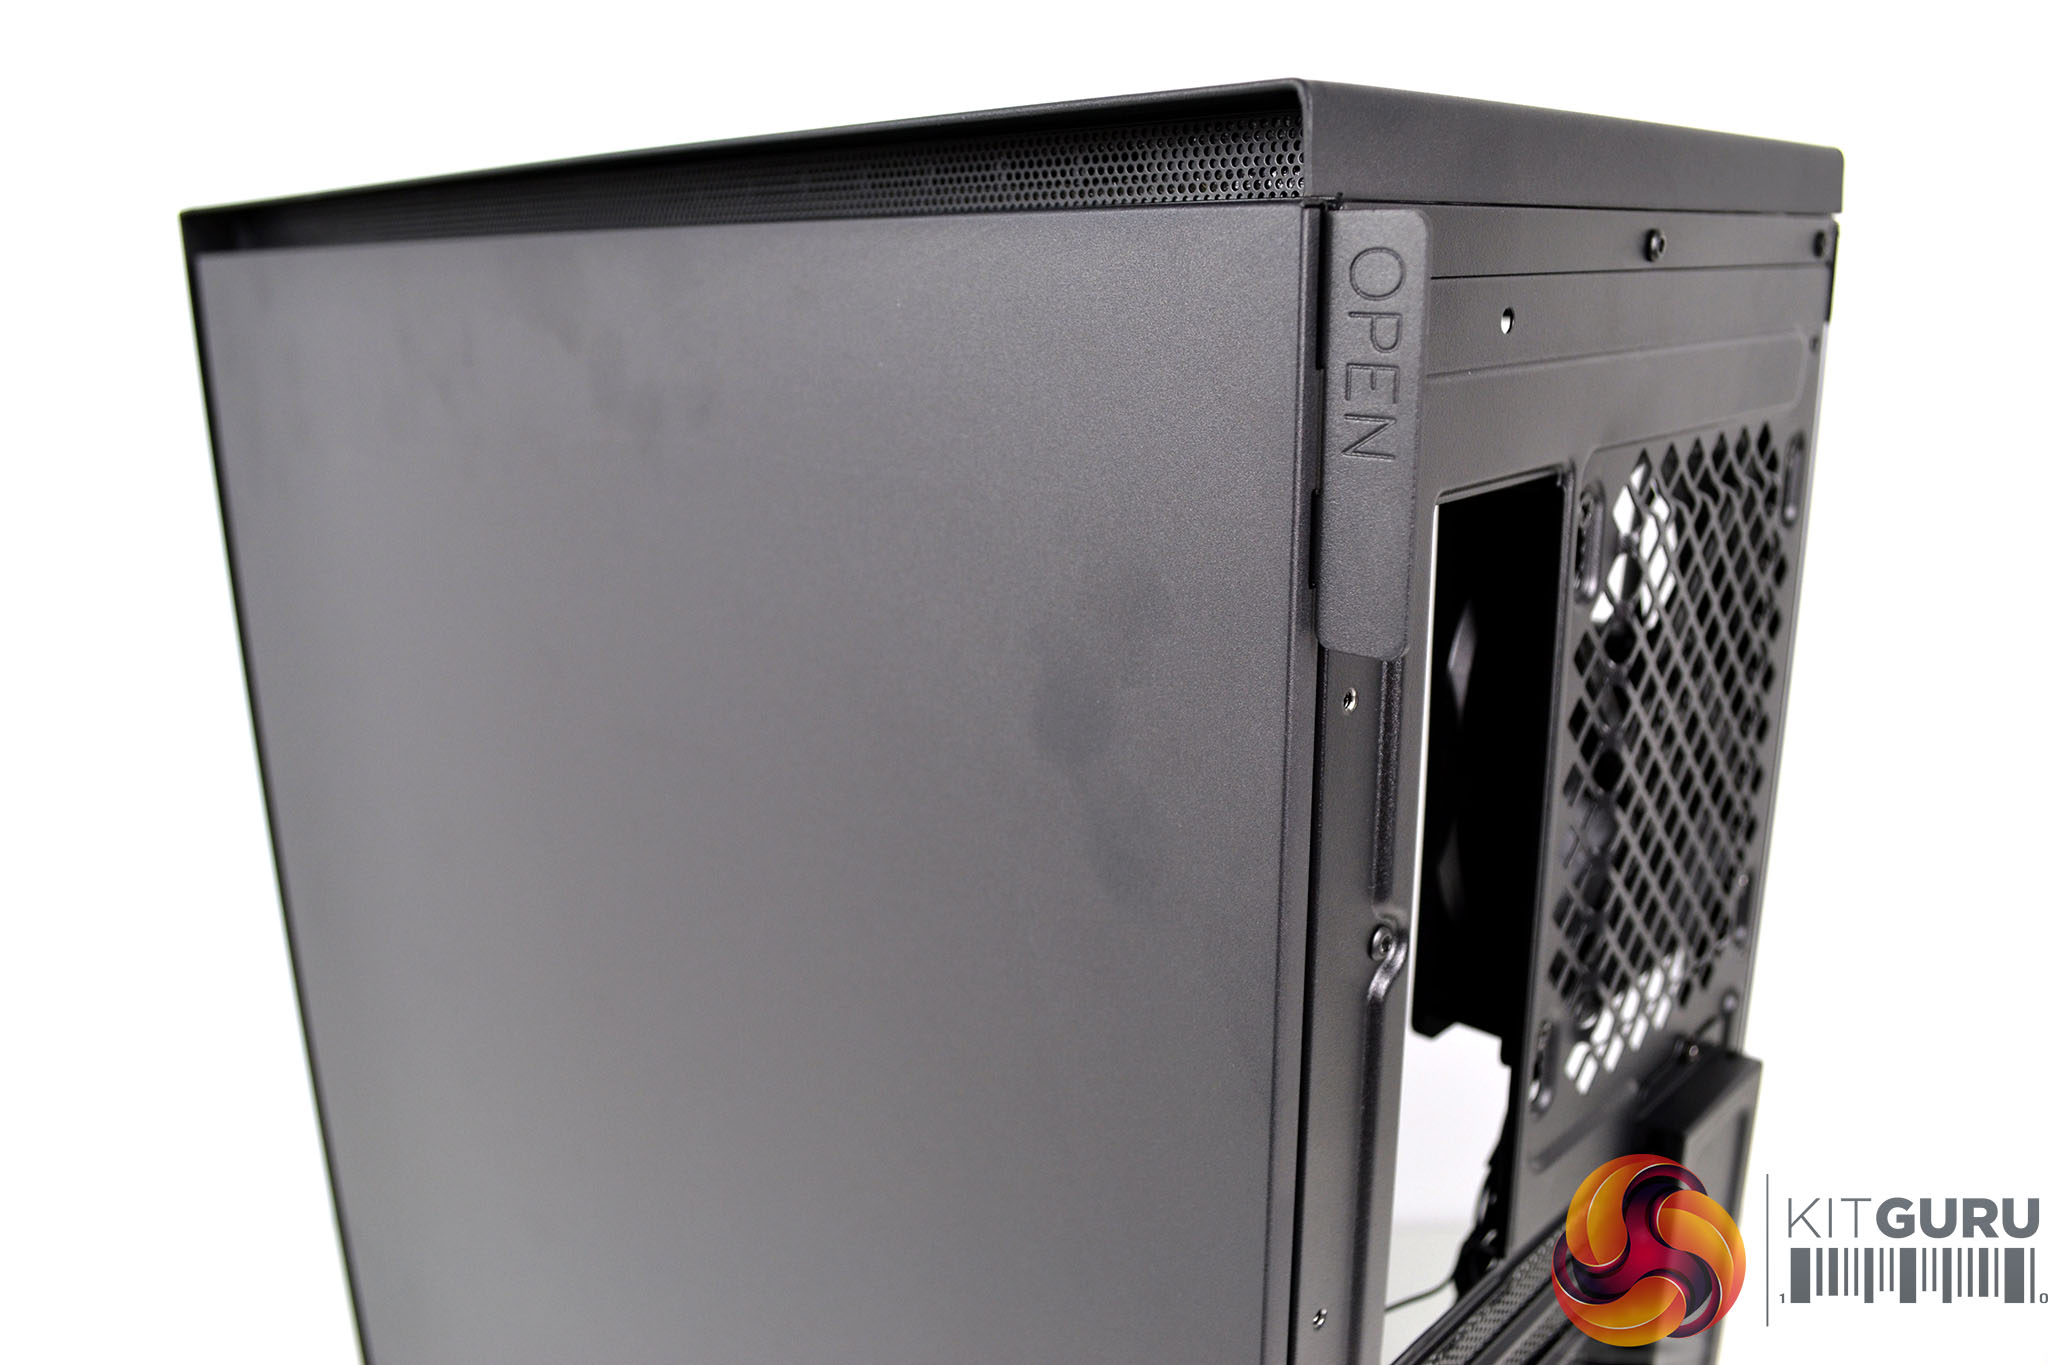
At the top of the Macube 310P is this updated panel with ventilation and a perforated metal mesh dust filter, the original Macube 310 had a solid top panel so the 310P my fair better with thermal performance. Underneath the vent you can just make out the dust filter below, so you could technically use this an air intake.
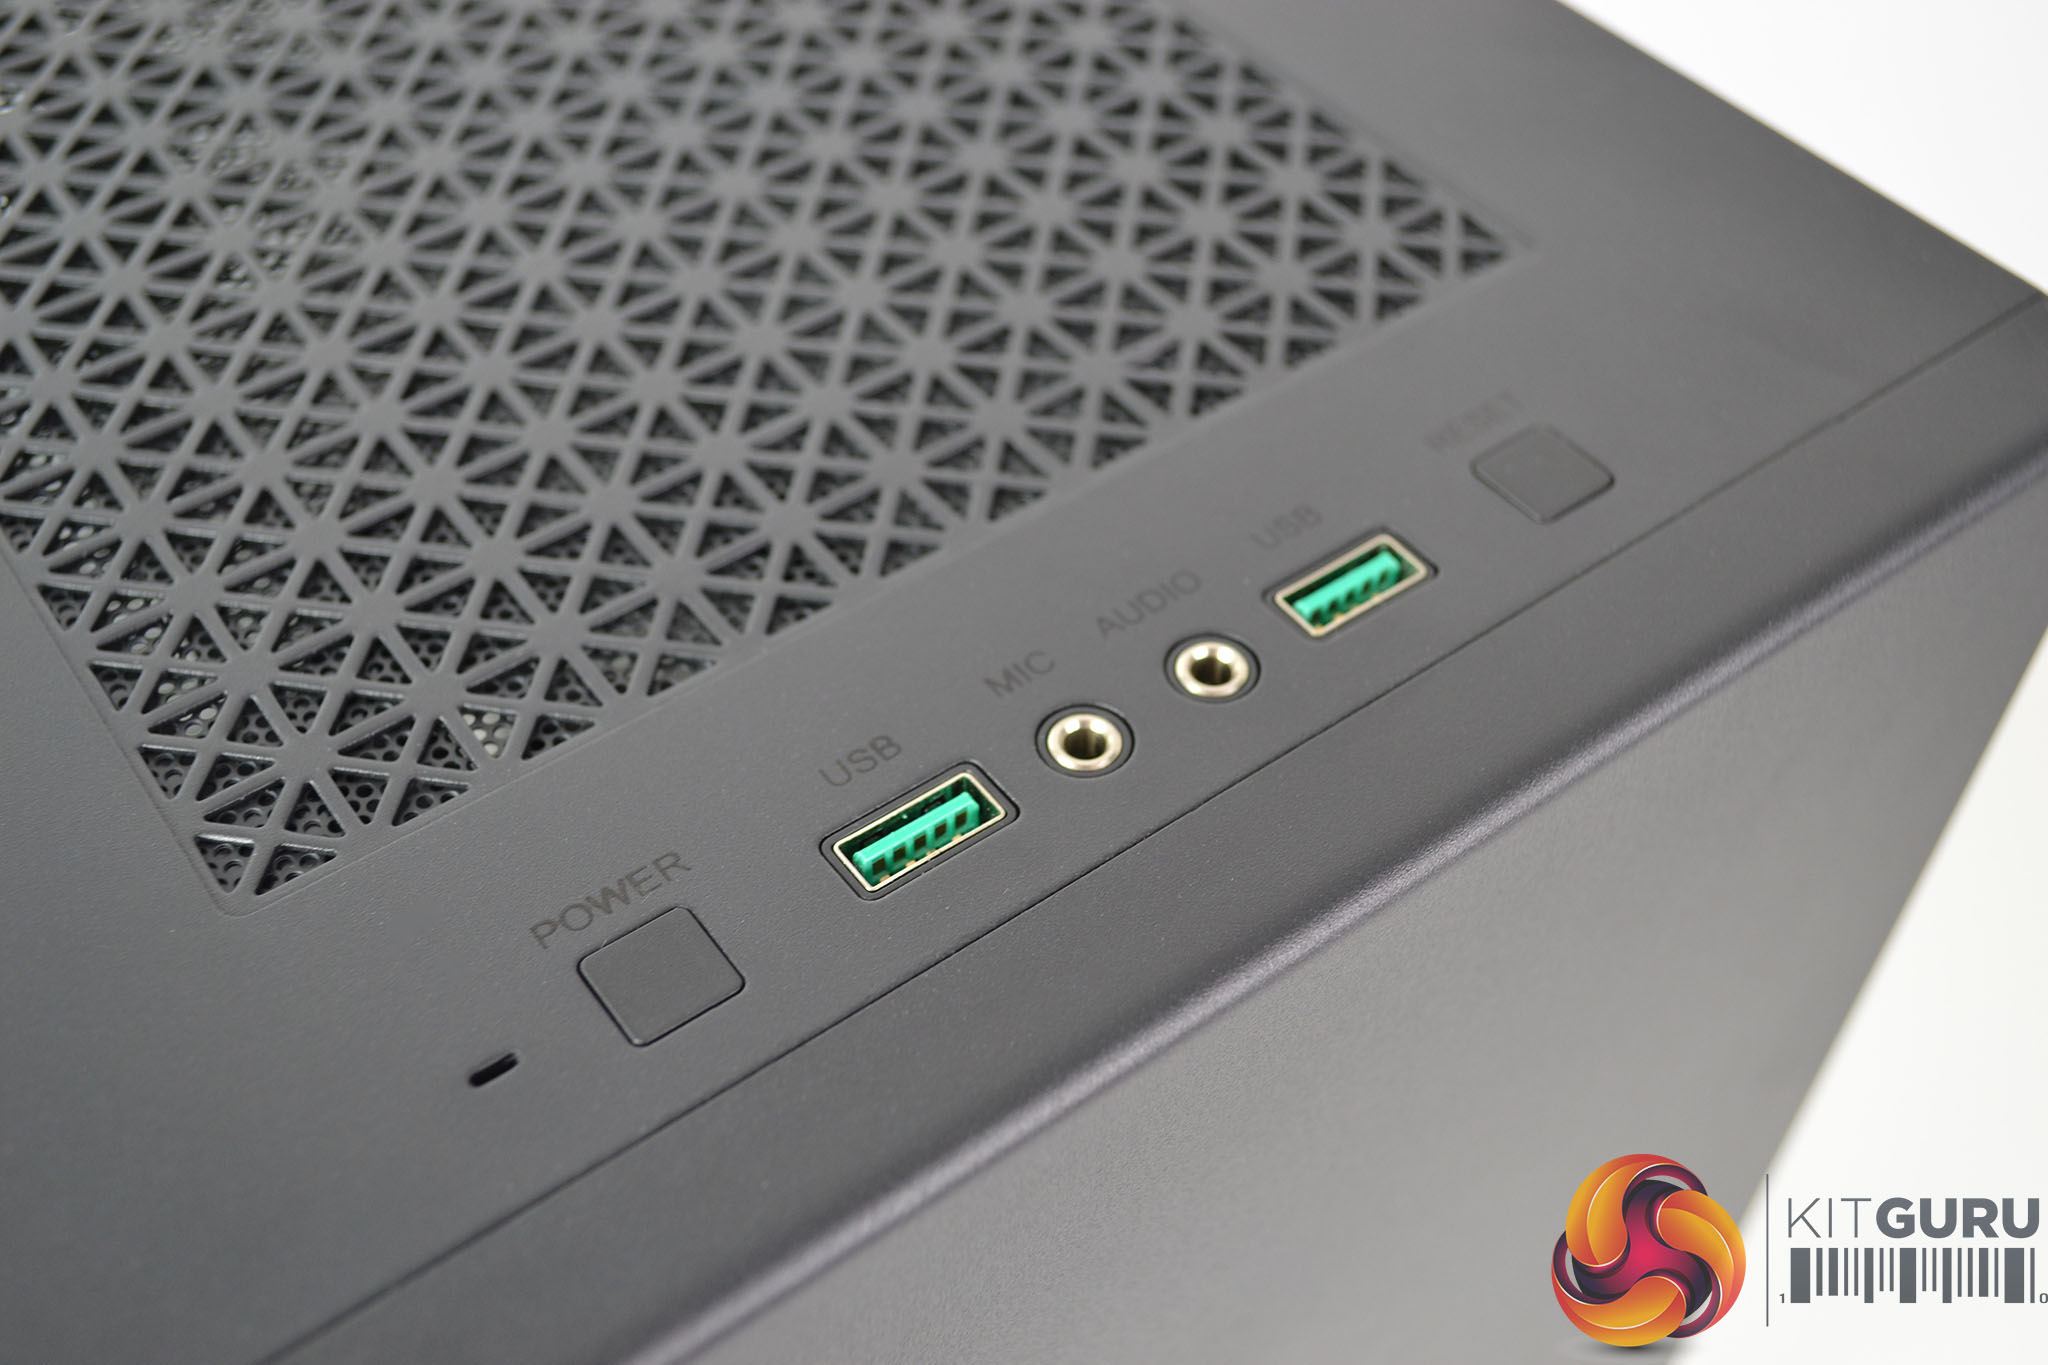
Along the front edge of the top panel is where the front I/O is located for convenience. There are two green USB 3.0 Type-A ports, 3.5mm HD Audio jacks for headphones and a microphone, as well as power and reset buttons and a power LED indicator.
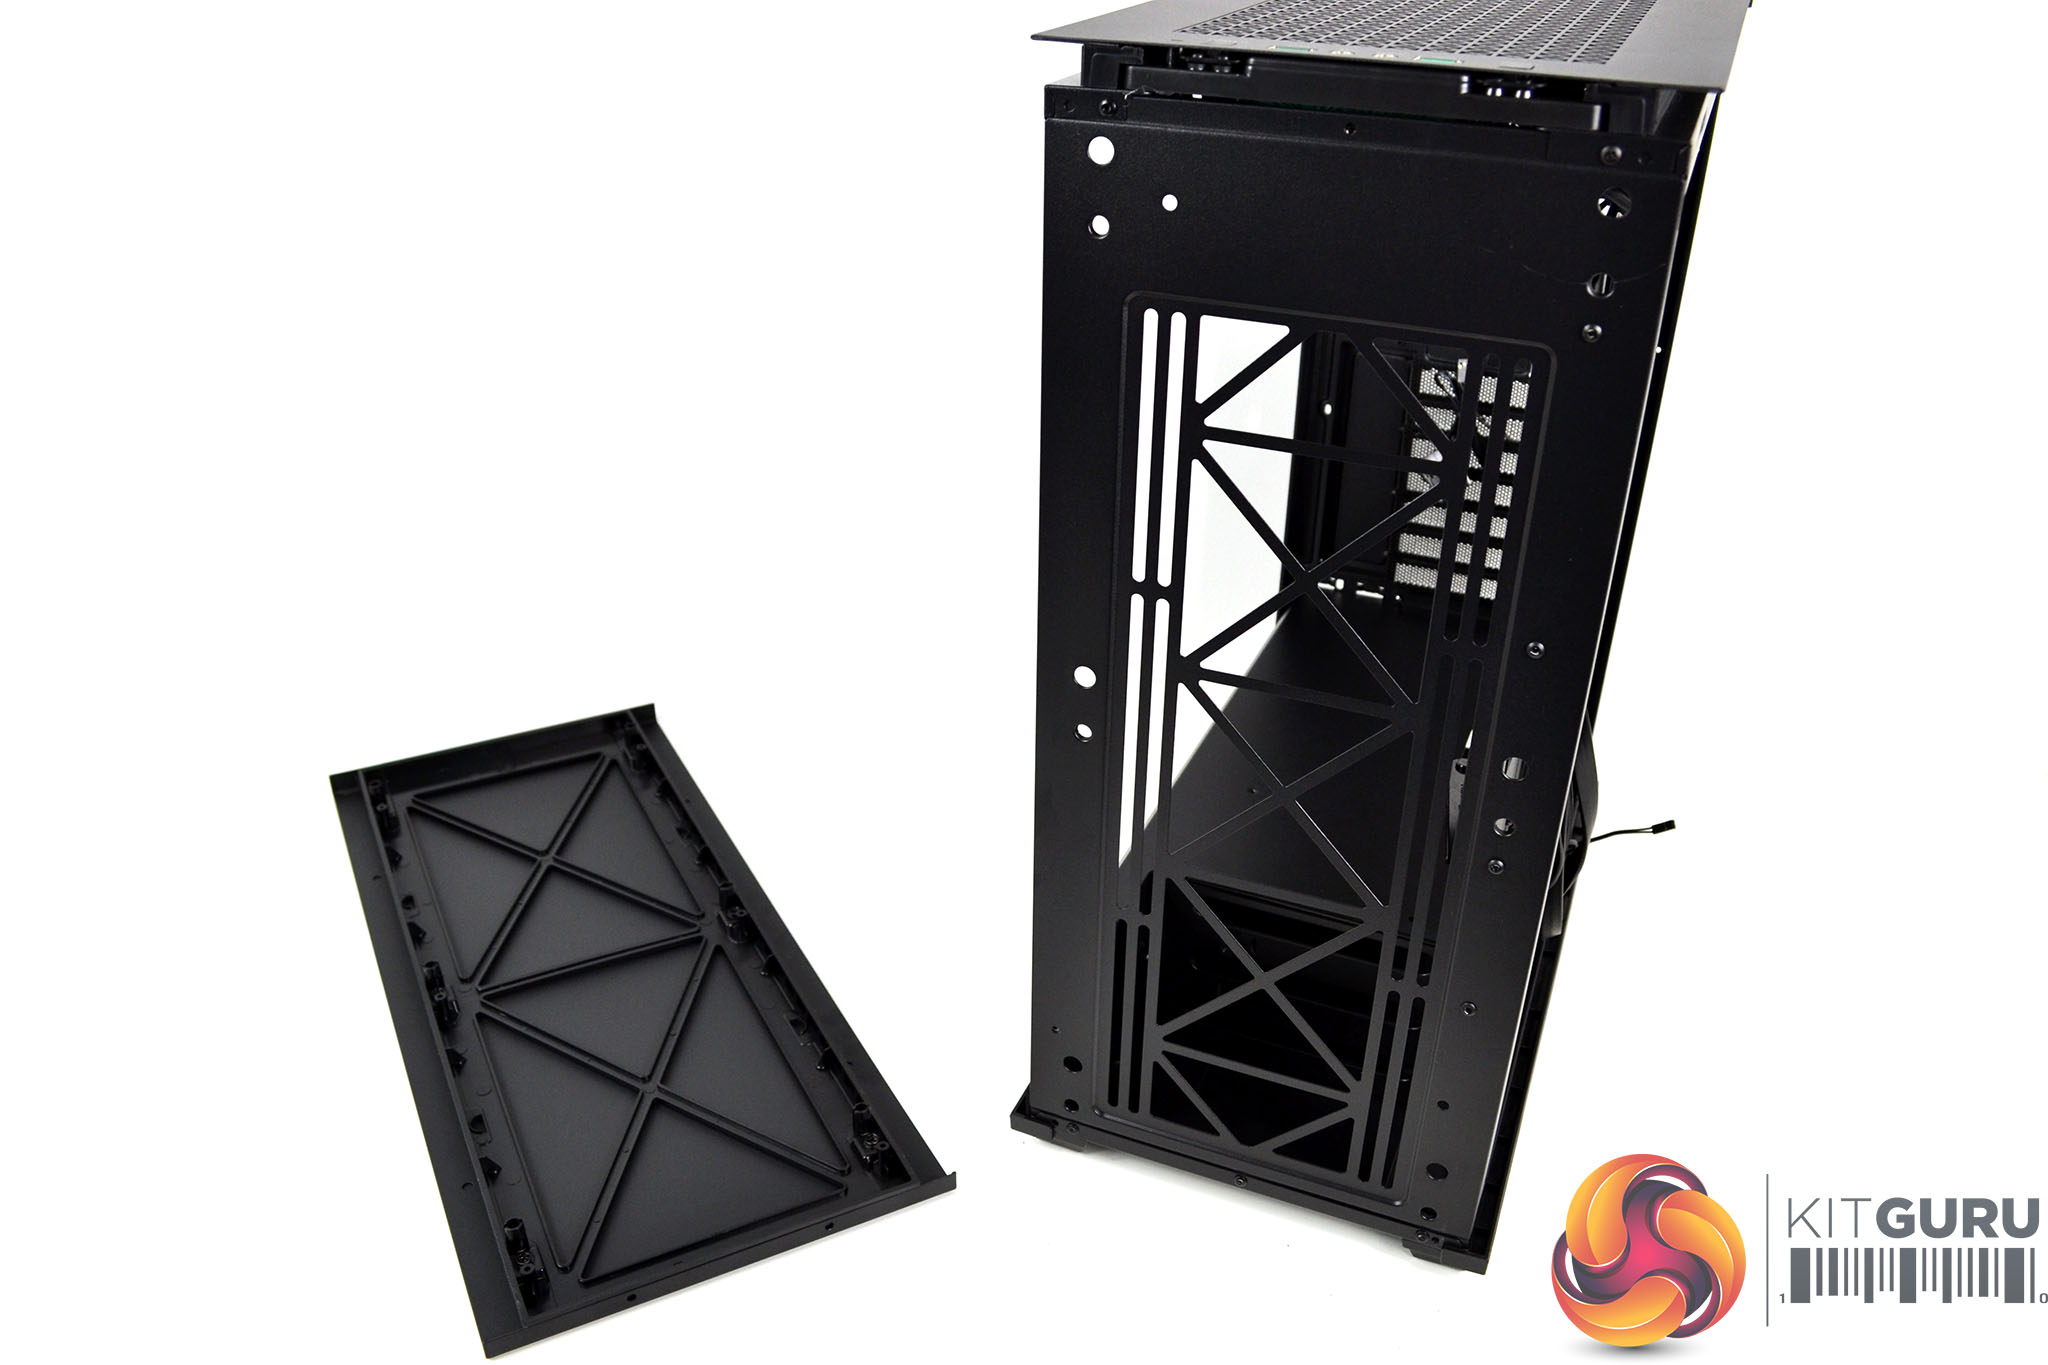
The left-hand side of the case is made up of a large tempered glass window panel. The panel features a magnetic tool-free removal solution with metal pegs that locate the panel to the chassis frame. A handle at the top of the glass panel features a Gamer Storm logo and an additional magnet holds the panel in place at the bottom.
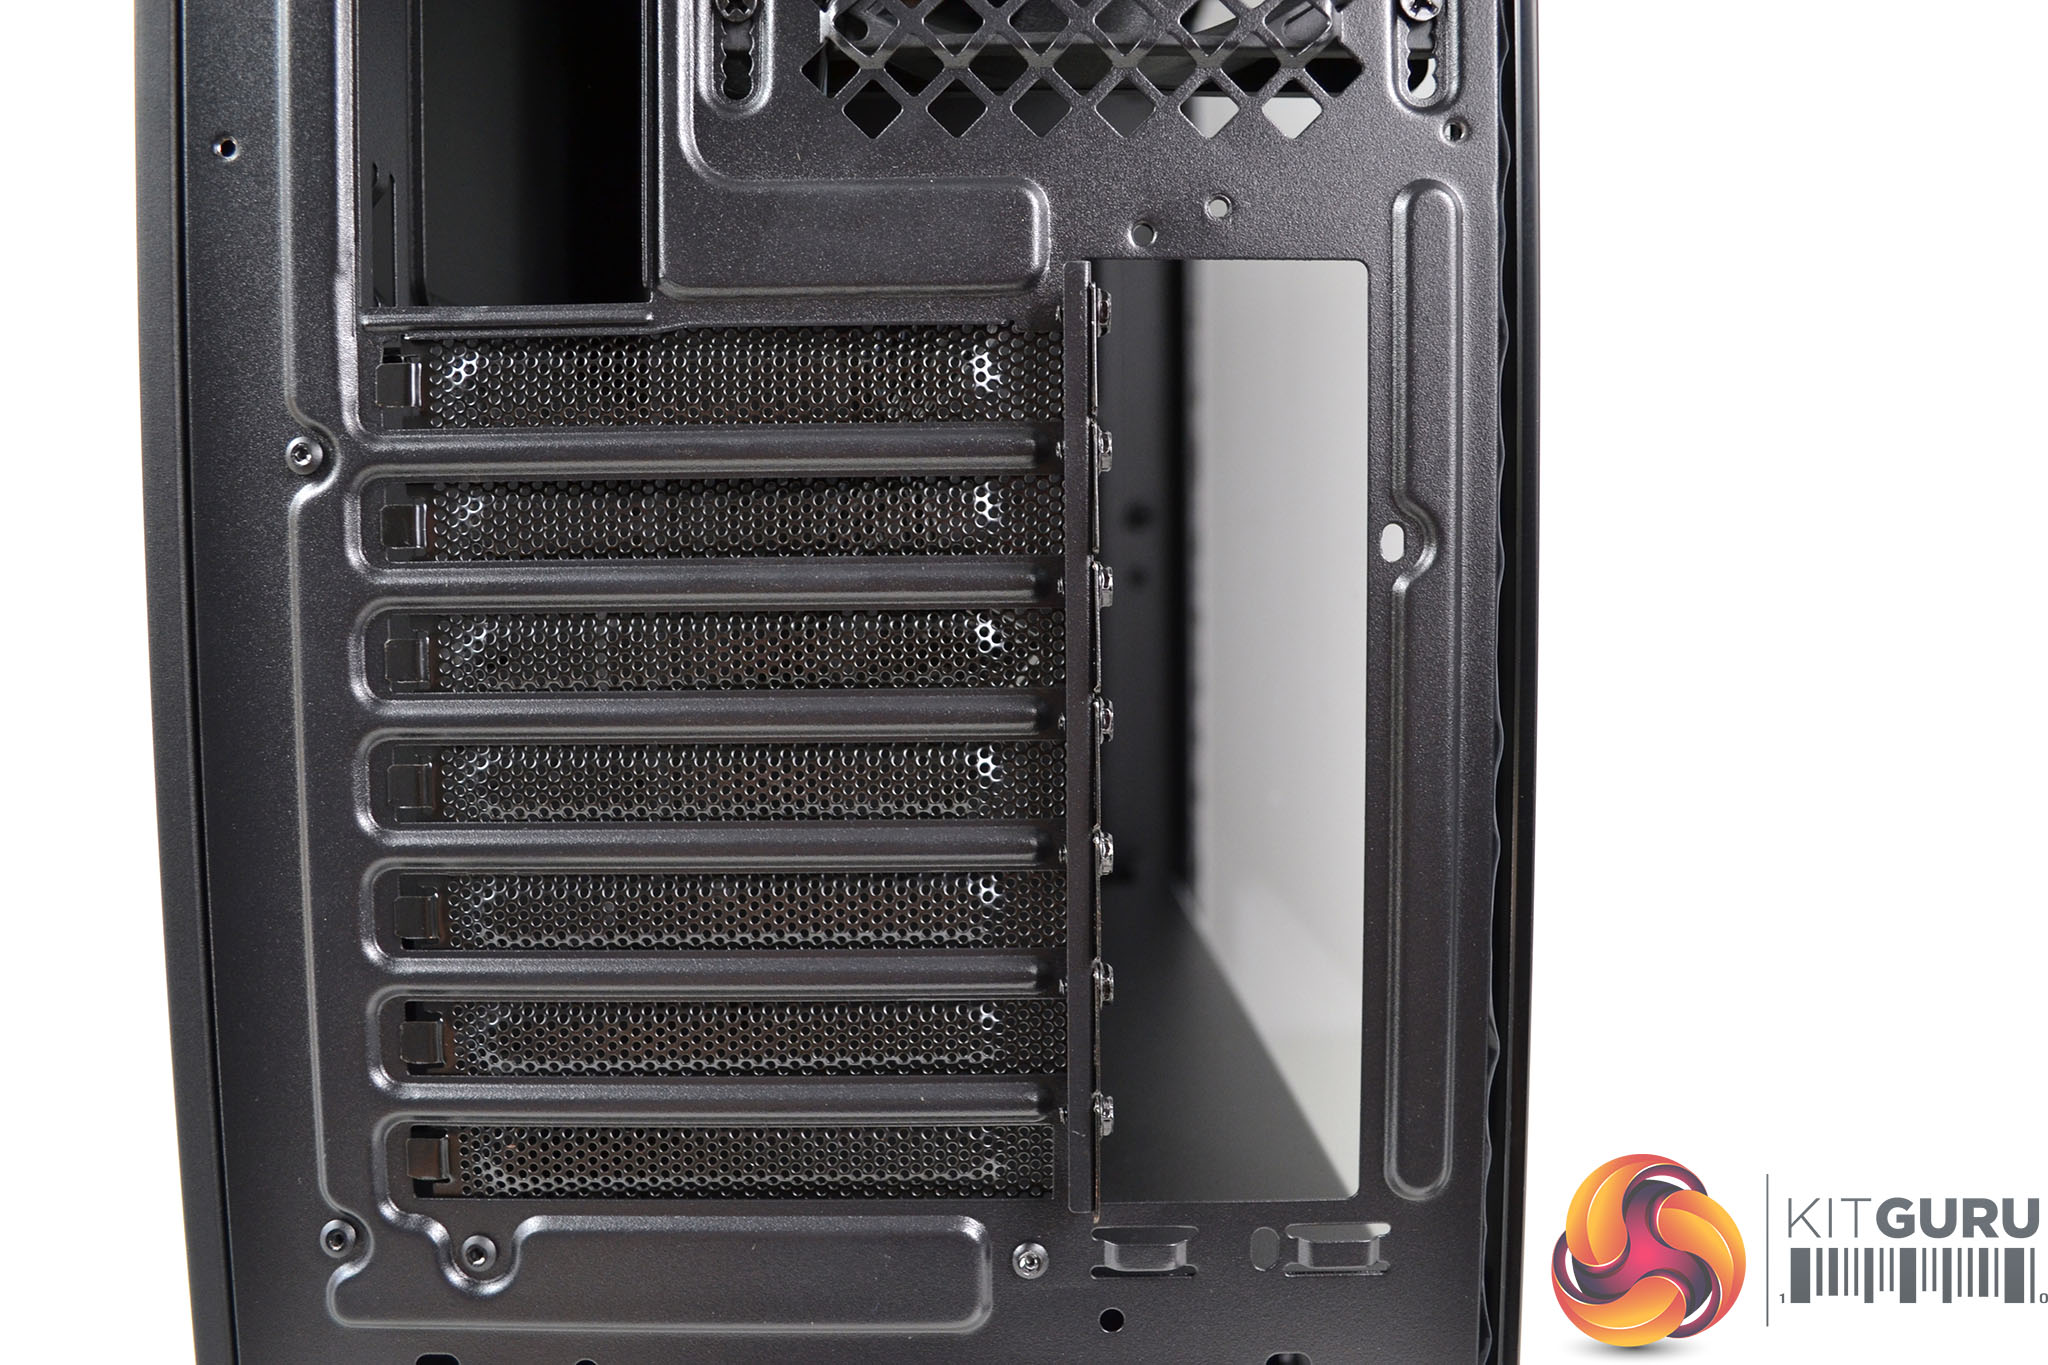
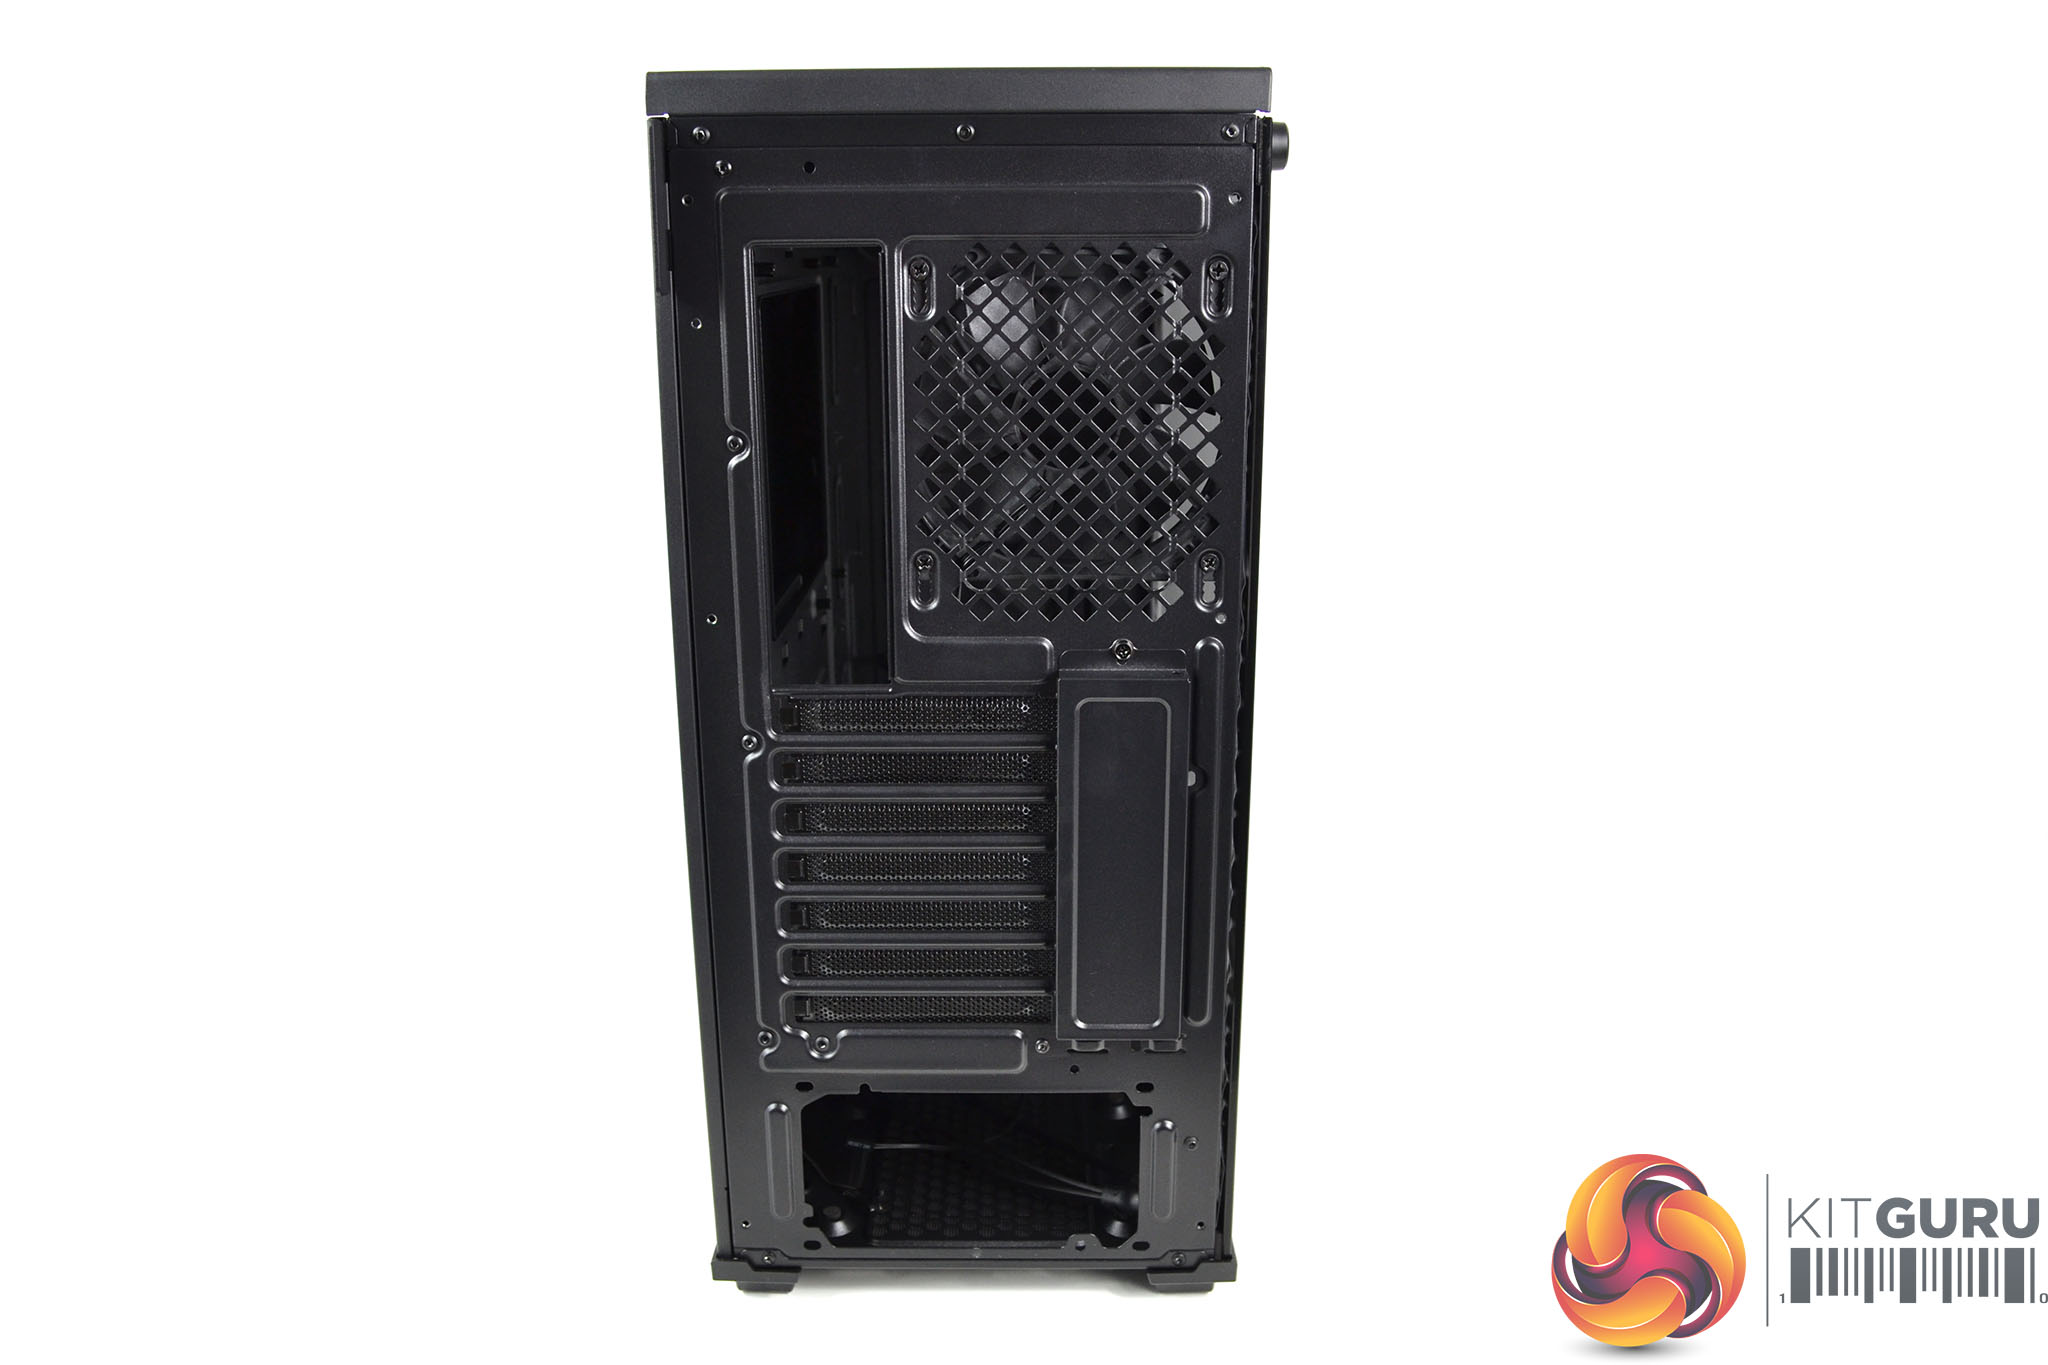
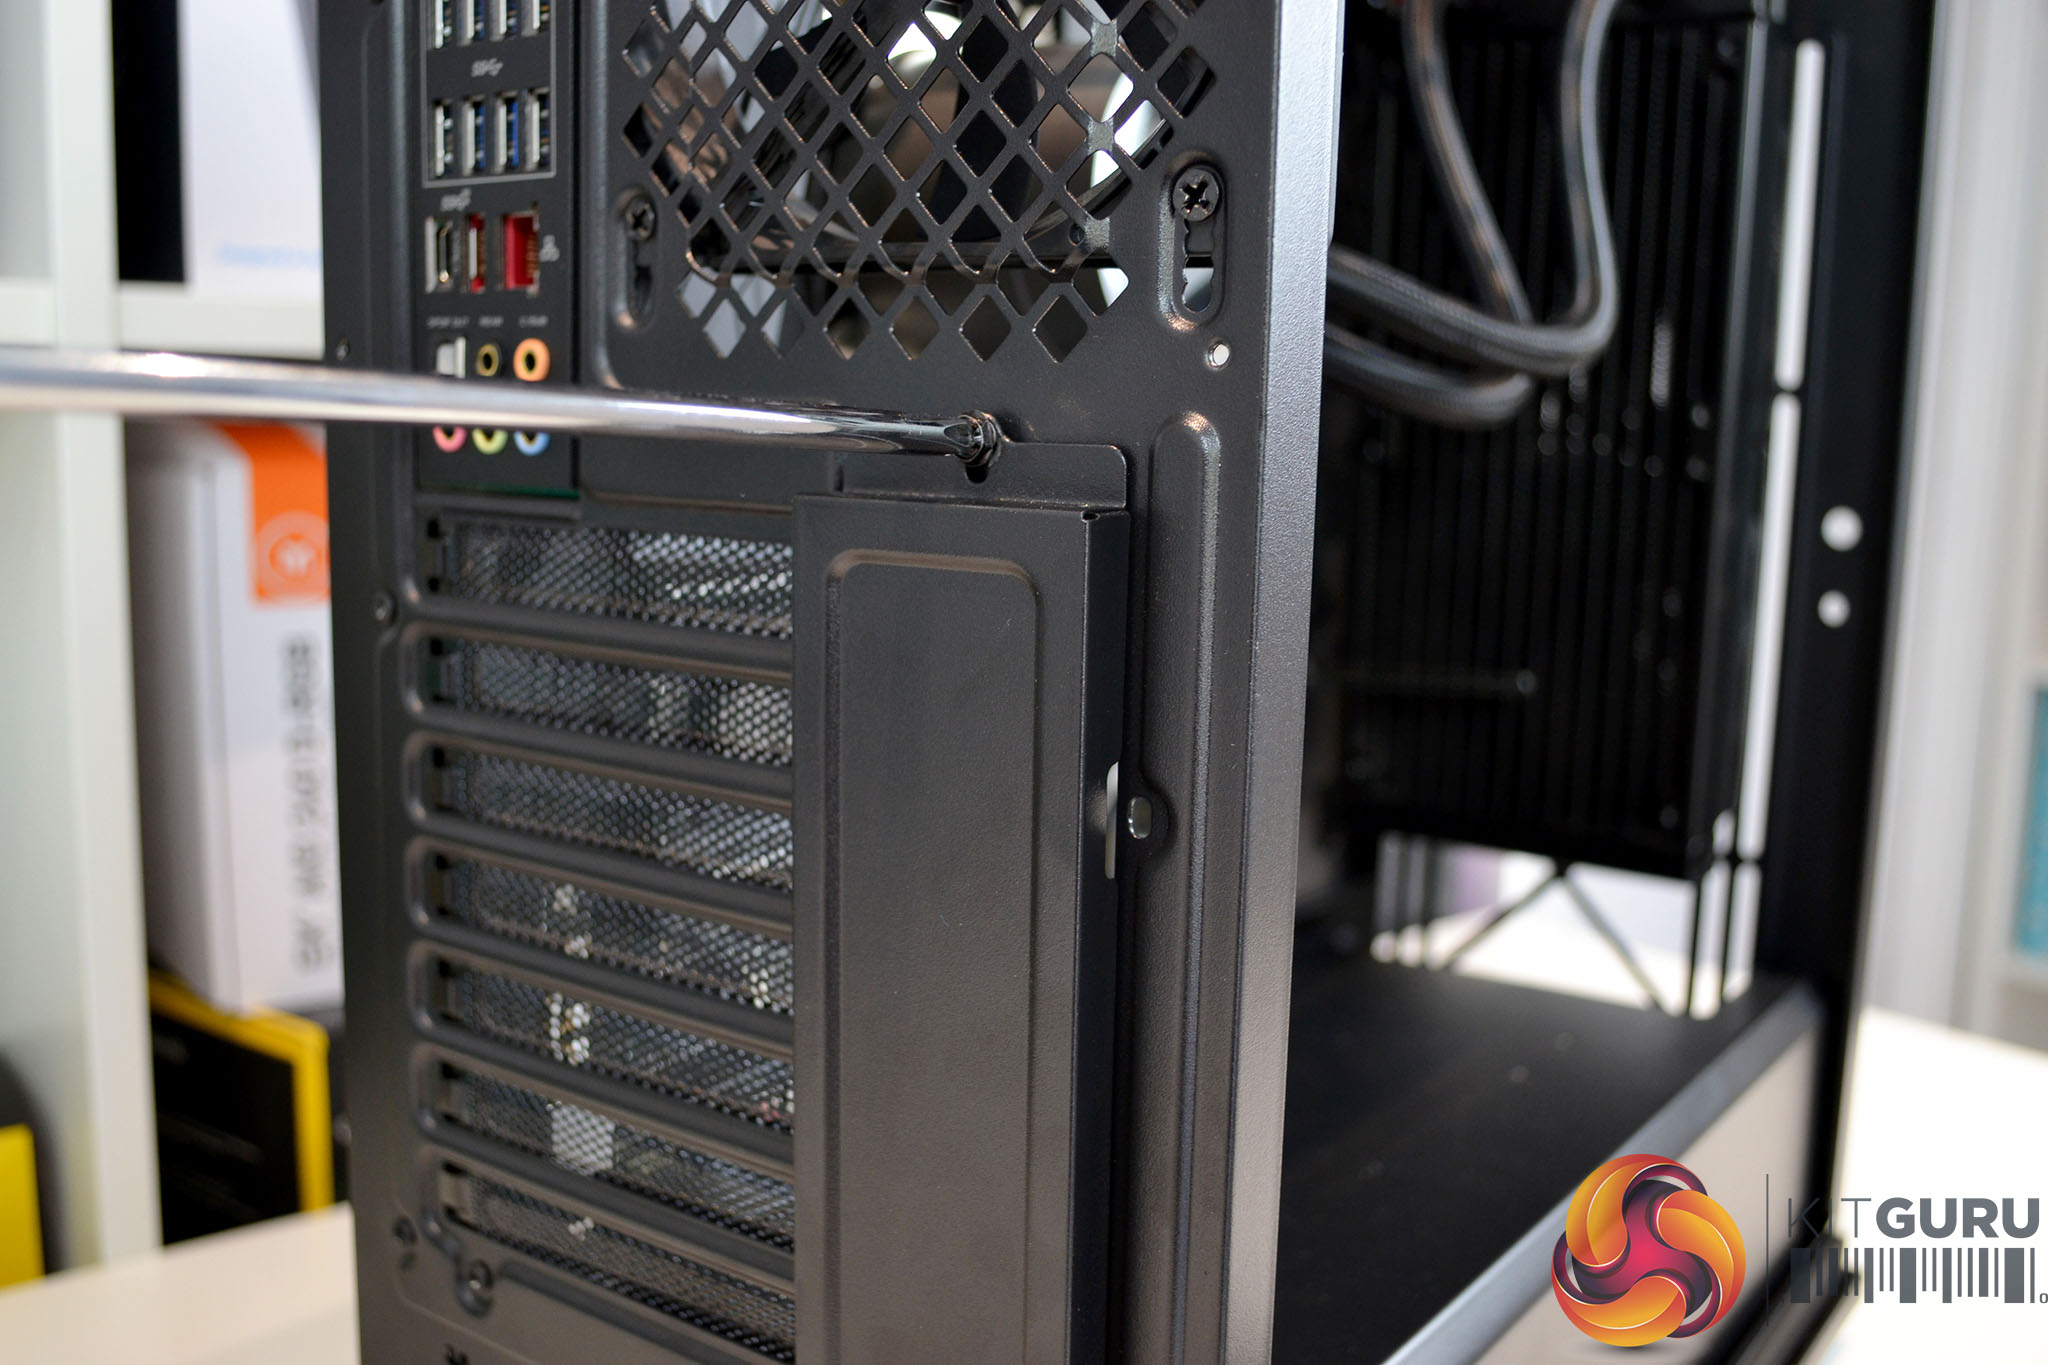
At the rear of the case is a 7+2 PCIe slot configuration which allows for the installation of graphics cards either horizontally or vertically. Below is the usual power supply cut out and above is the typical motherboard rear I/O cut out as well as a 120mm fan mounting with height adjustment.
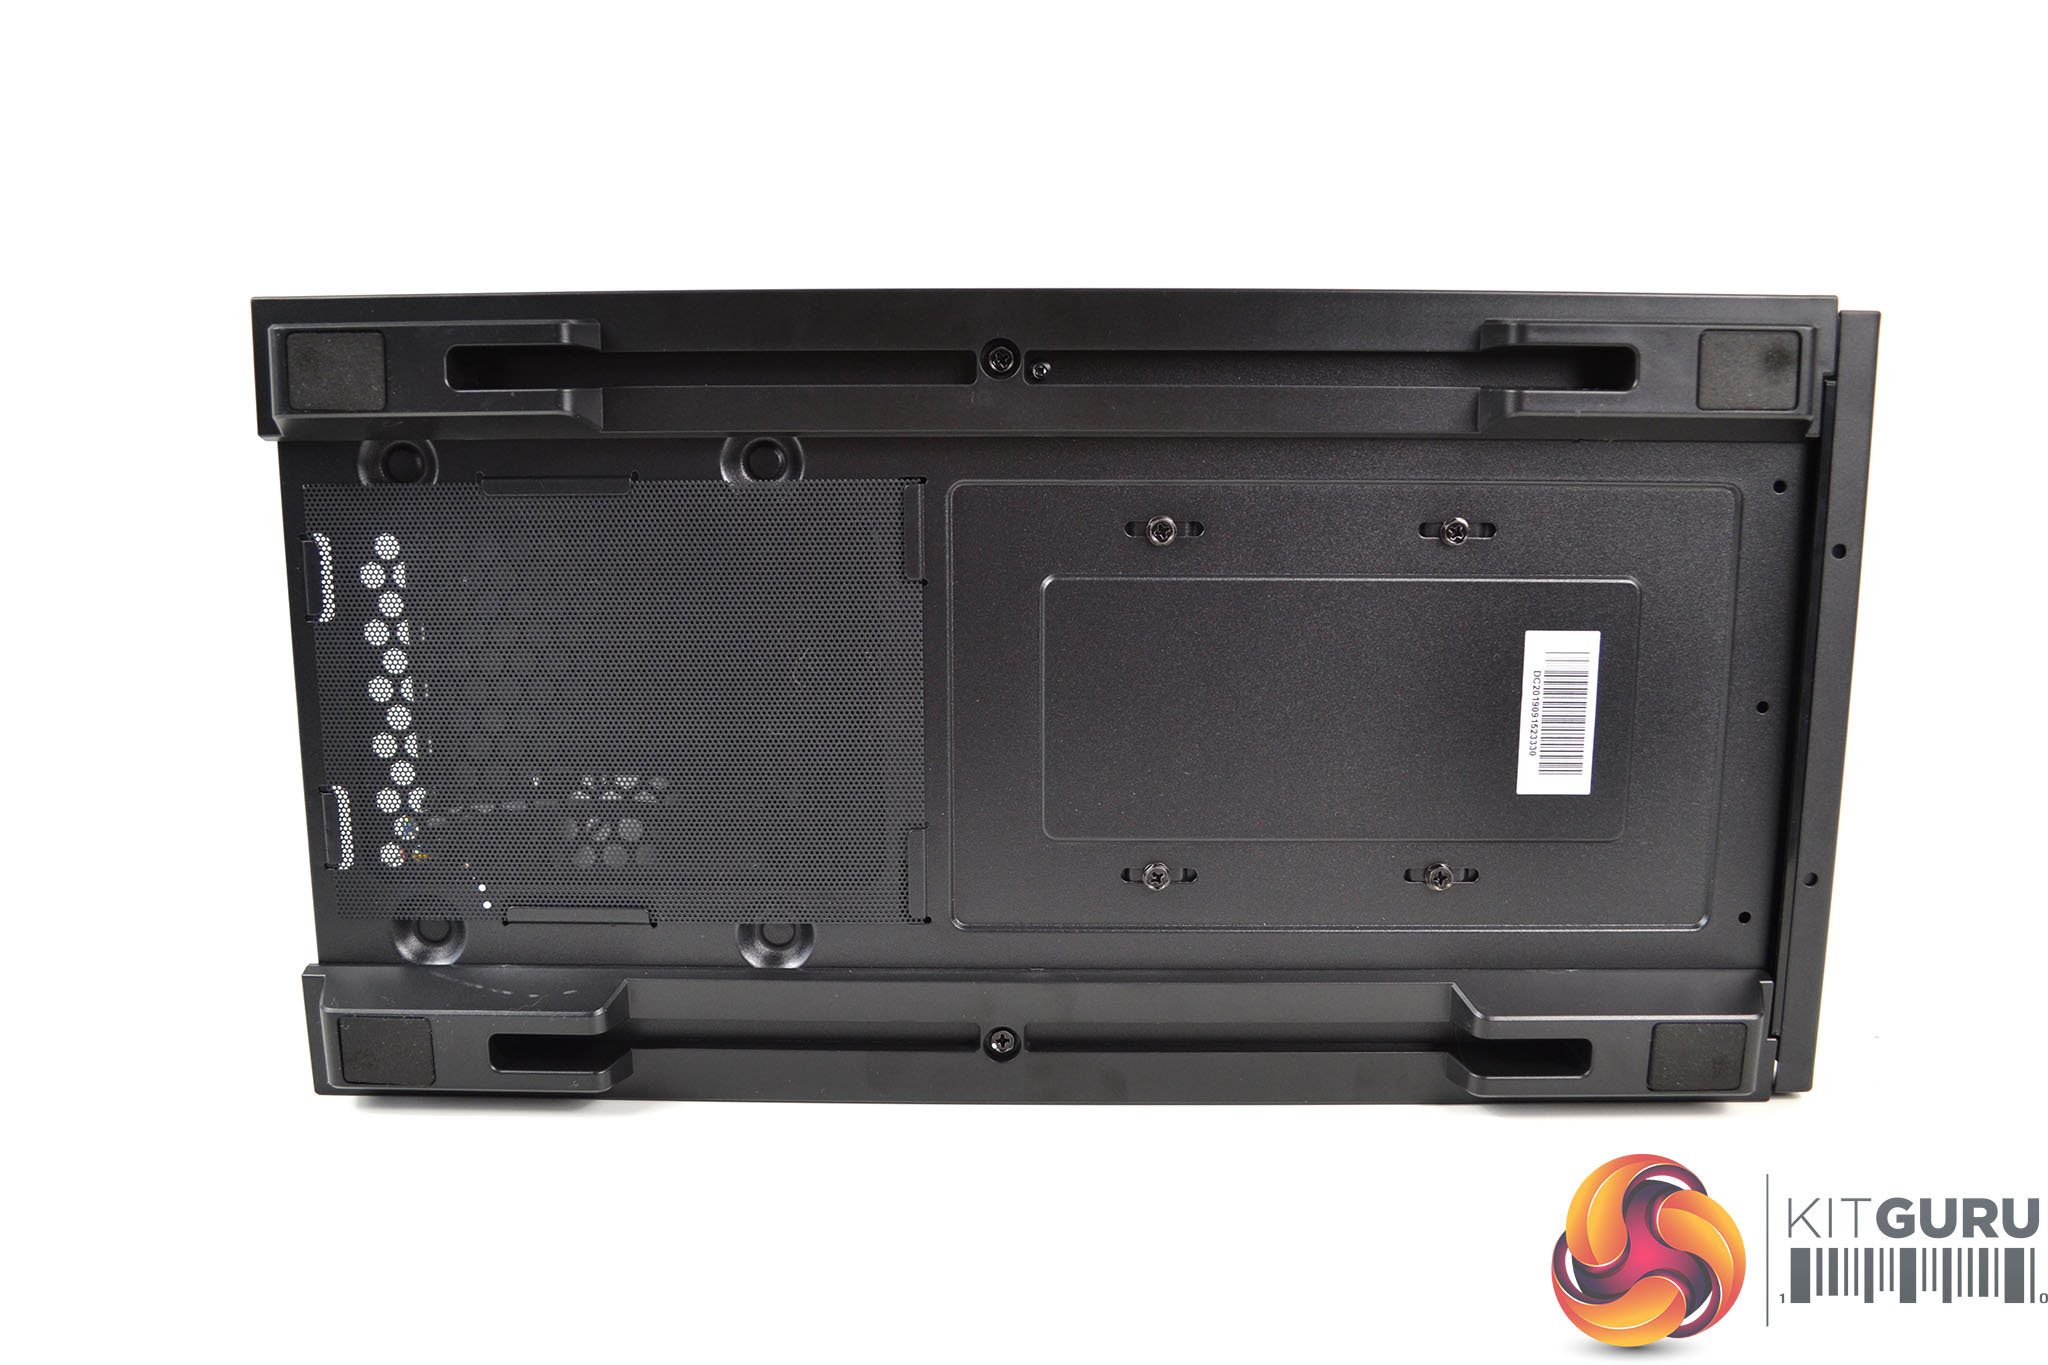
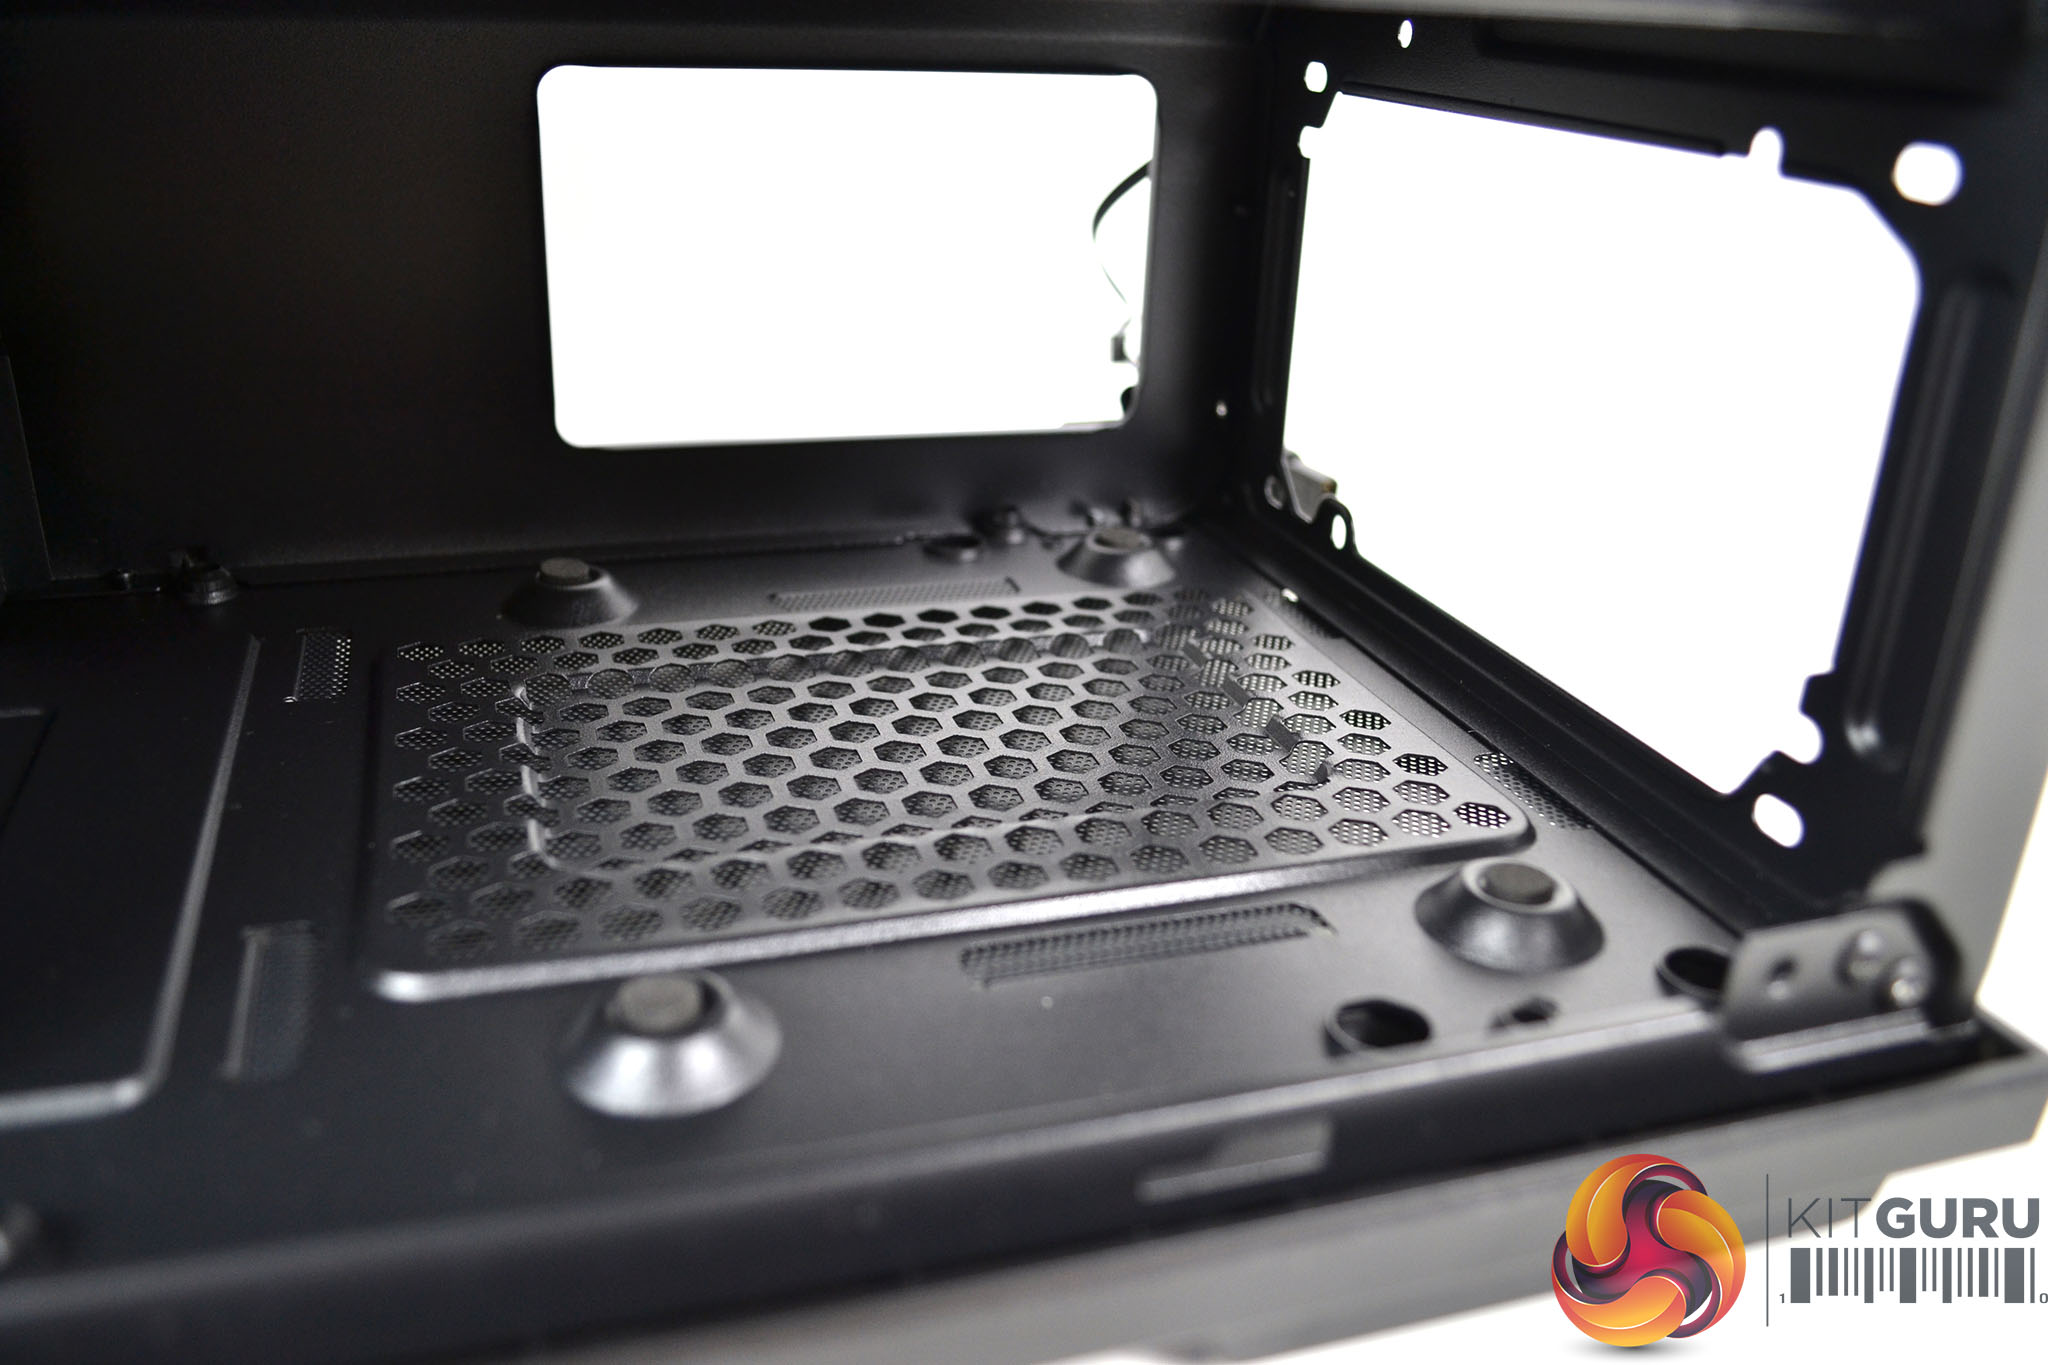
On the right-hand side of the case is a plain black steel panel with magnetic mounting just like the tempered glass window, and on the underside are four feet with anti-vibration rubbers that raise the case up to allow airflow to the power supply vent. The power supply intake vent is also covered by a removable perforated metal dust filter.
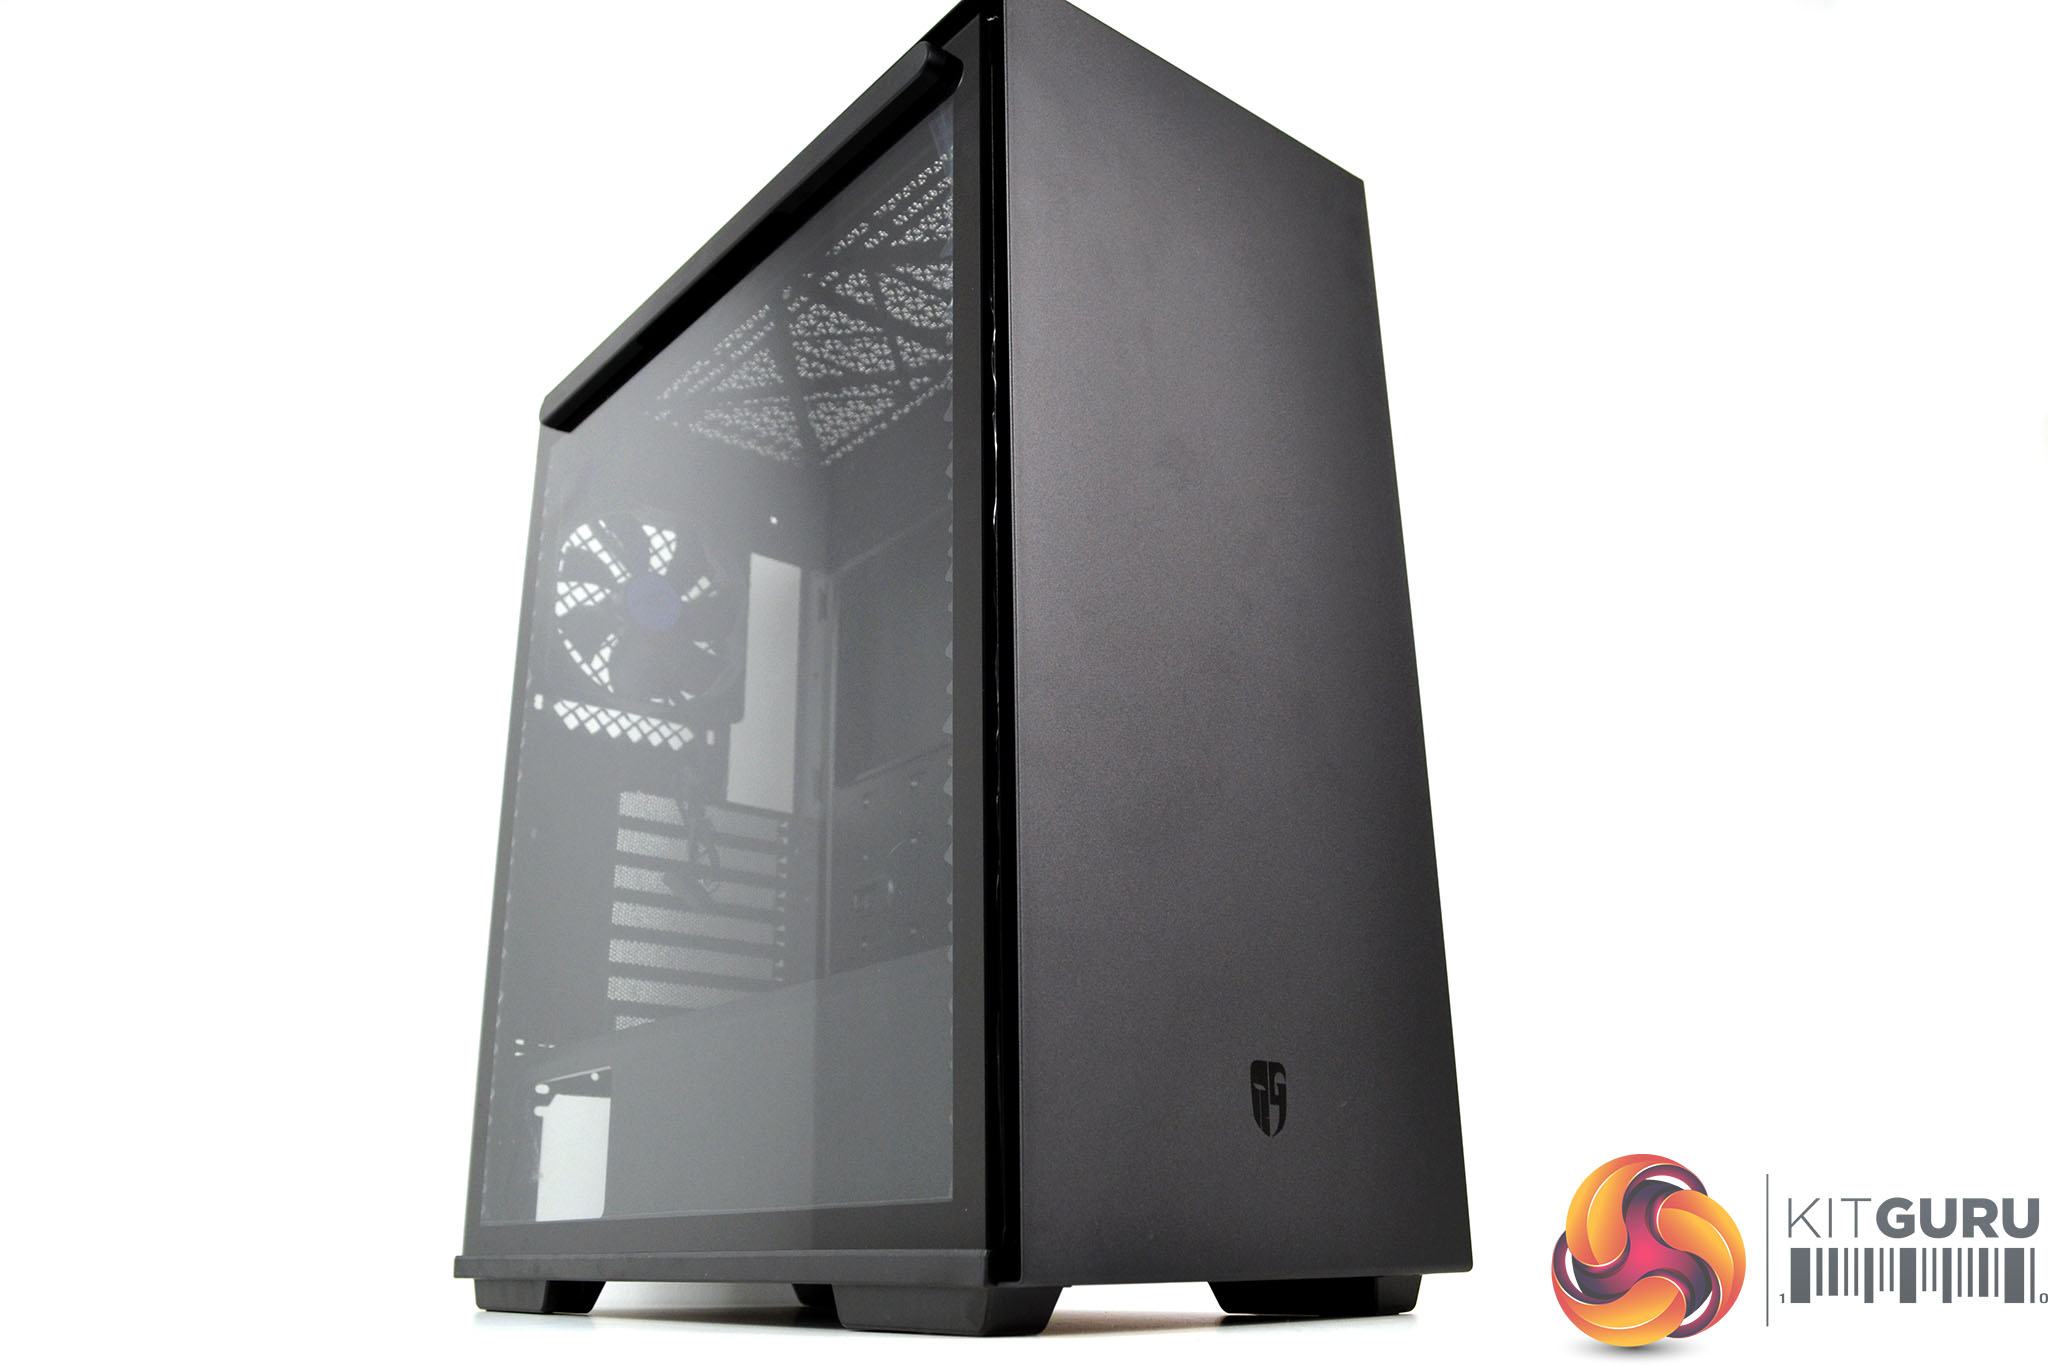
Overall, the exterior of the Deepcool Macube 310P is very smart. I quite like the understated appearance and the tool-free side panels are a handy addition. One thing that is noticeable about the Macube 310P is the lack of RGB lighting, some users may see this as a disadvantage, however, you can always add RGB lighting components inside the case that will illuminate through the glass side window if you please.
The front panel of the Macube 310P is held very tightly in position on the chassis frame and takes quite a tug to remove it. Once it has been peeled away front the chassis, behind the front panel we can see ample space for installing up to three 120mm fans or up to a 360mm radiator. Alternatively, there is room at the front for three 140mm fans or a 280mm radiator.
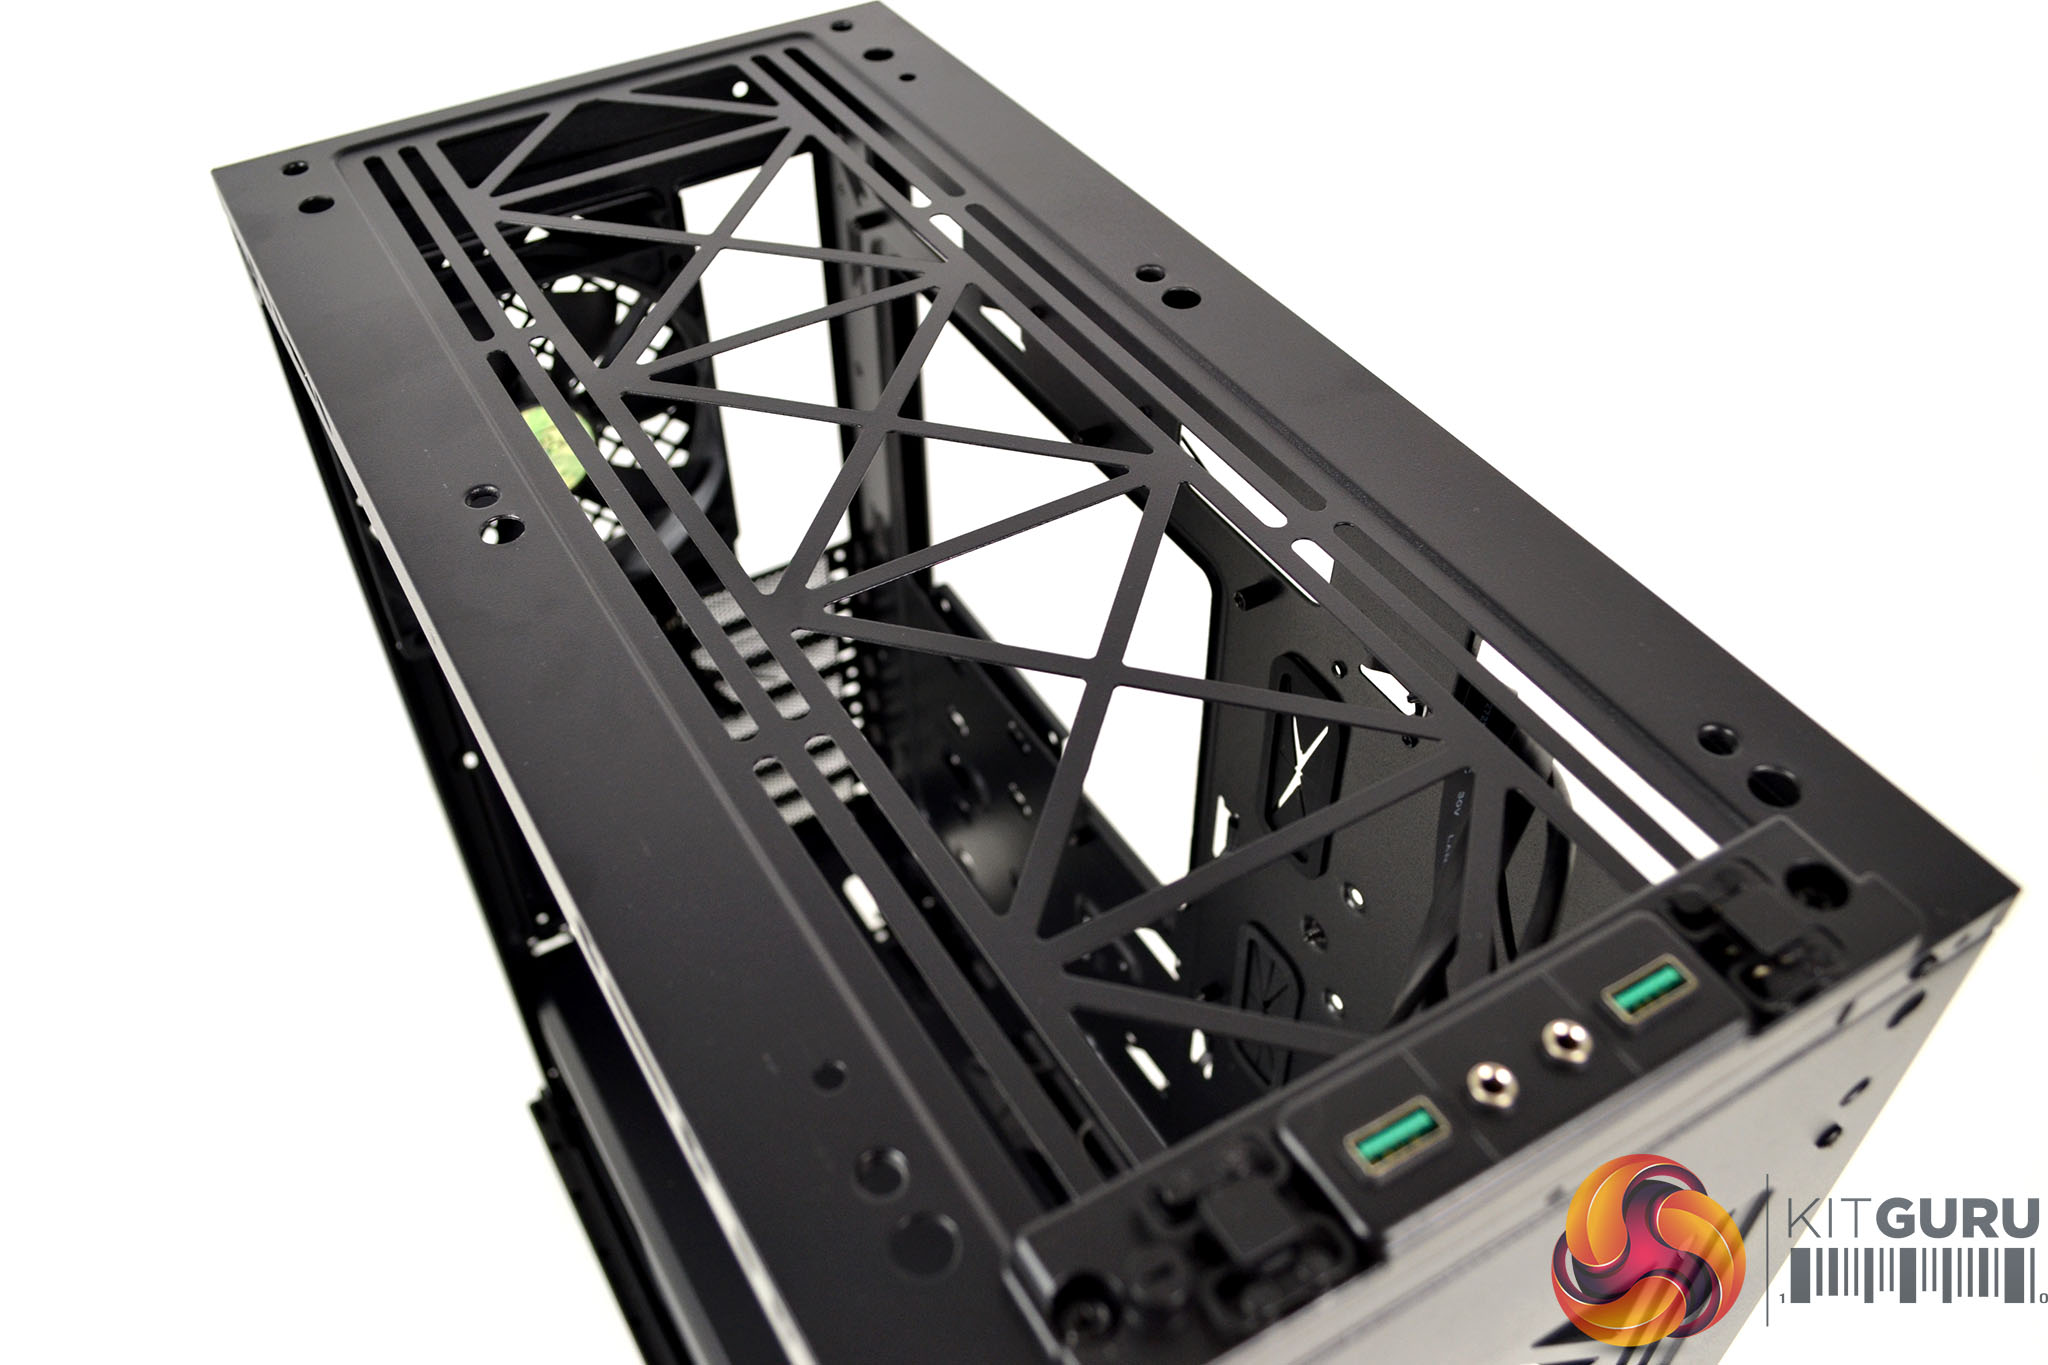

Removing the top panel takes almost as much force as the front, Beneath the top panel is another area for installing fans, there is space in the roof of the case for up to three 120mm or two 140mm fans. With the top panel removed you can see the perforated metal mesh dust filter that looks like it can be detached for cleaning by removing a few screws.
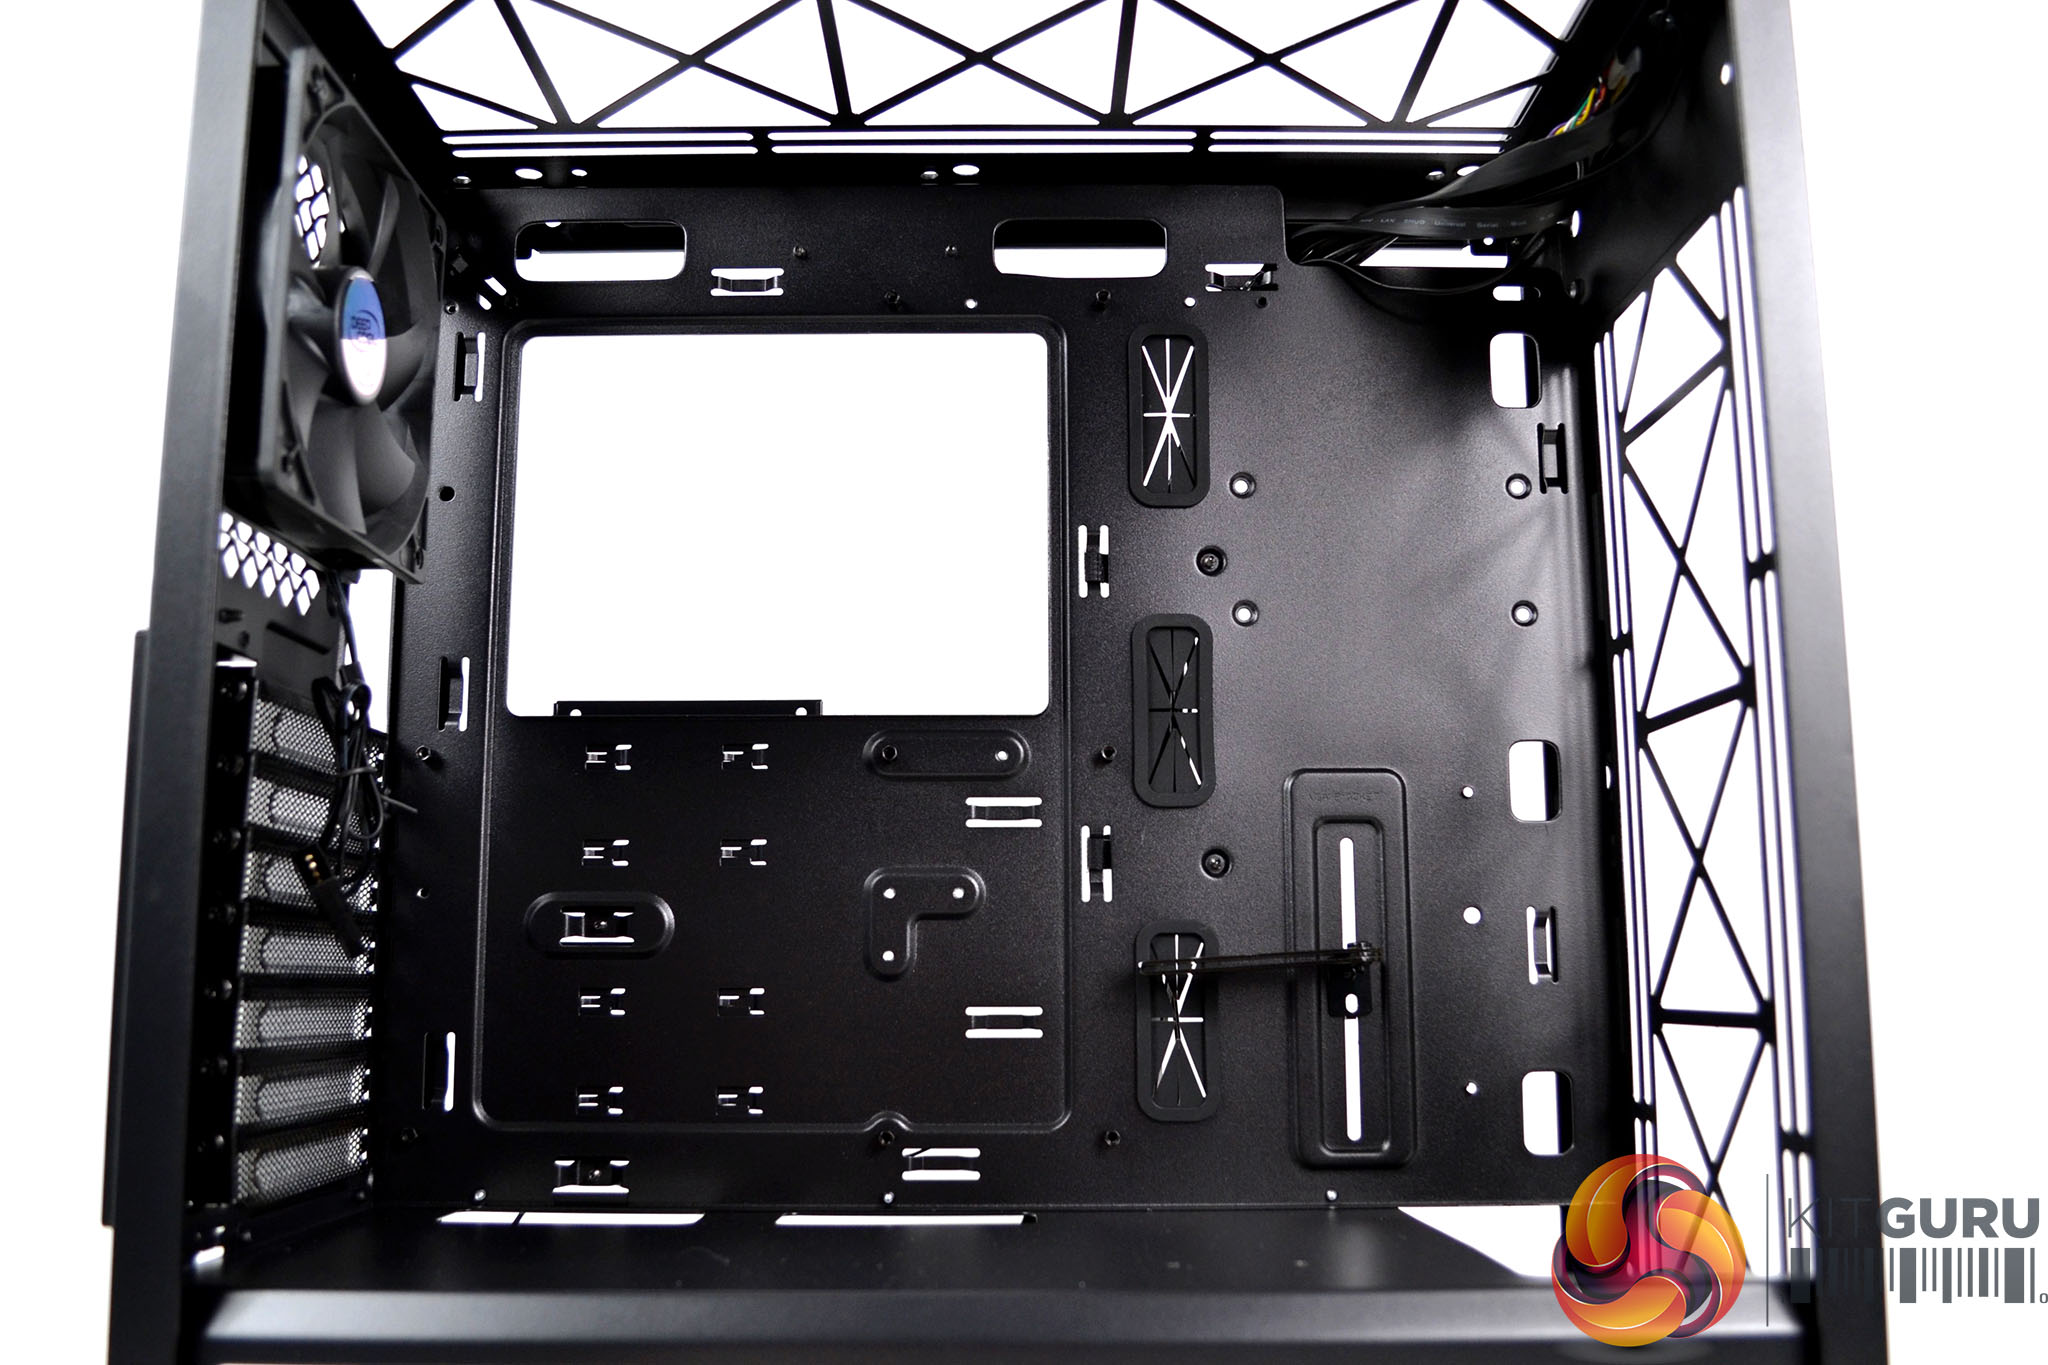
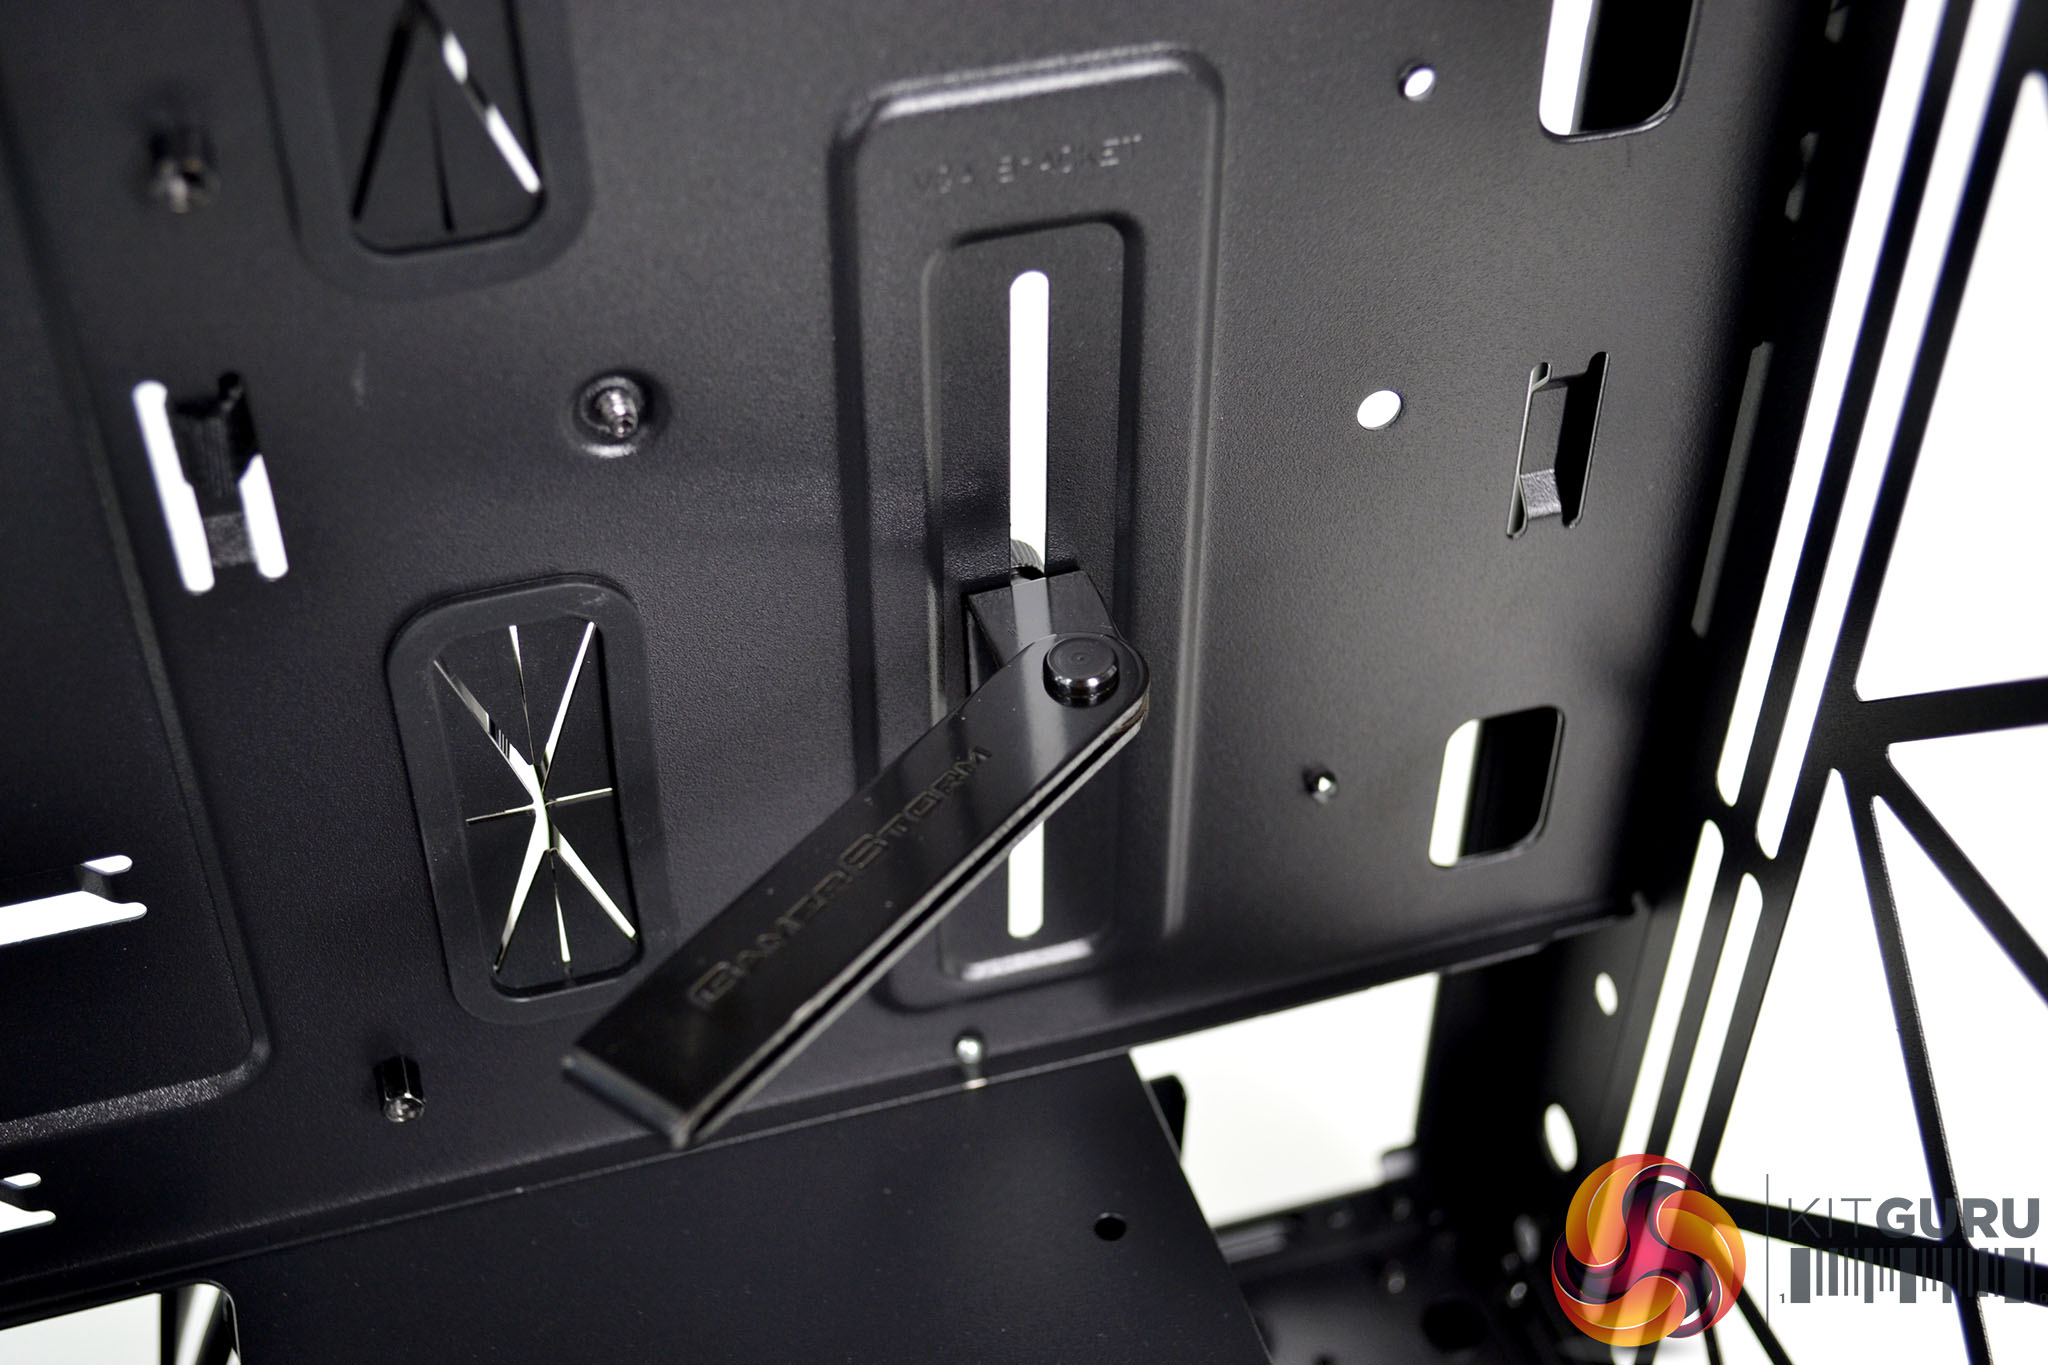
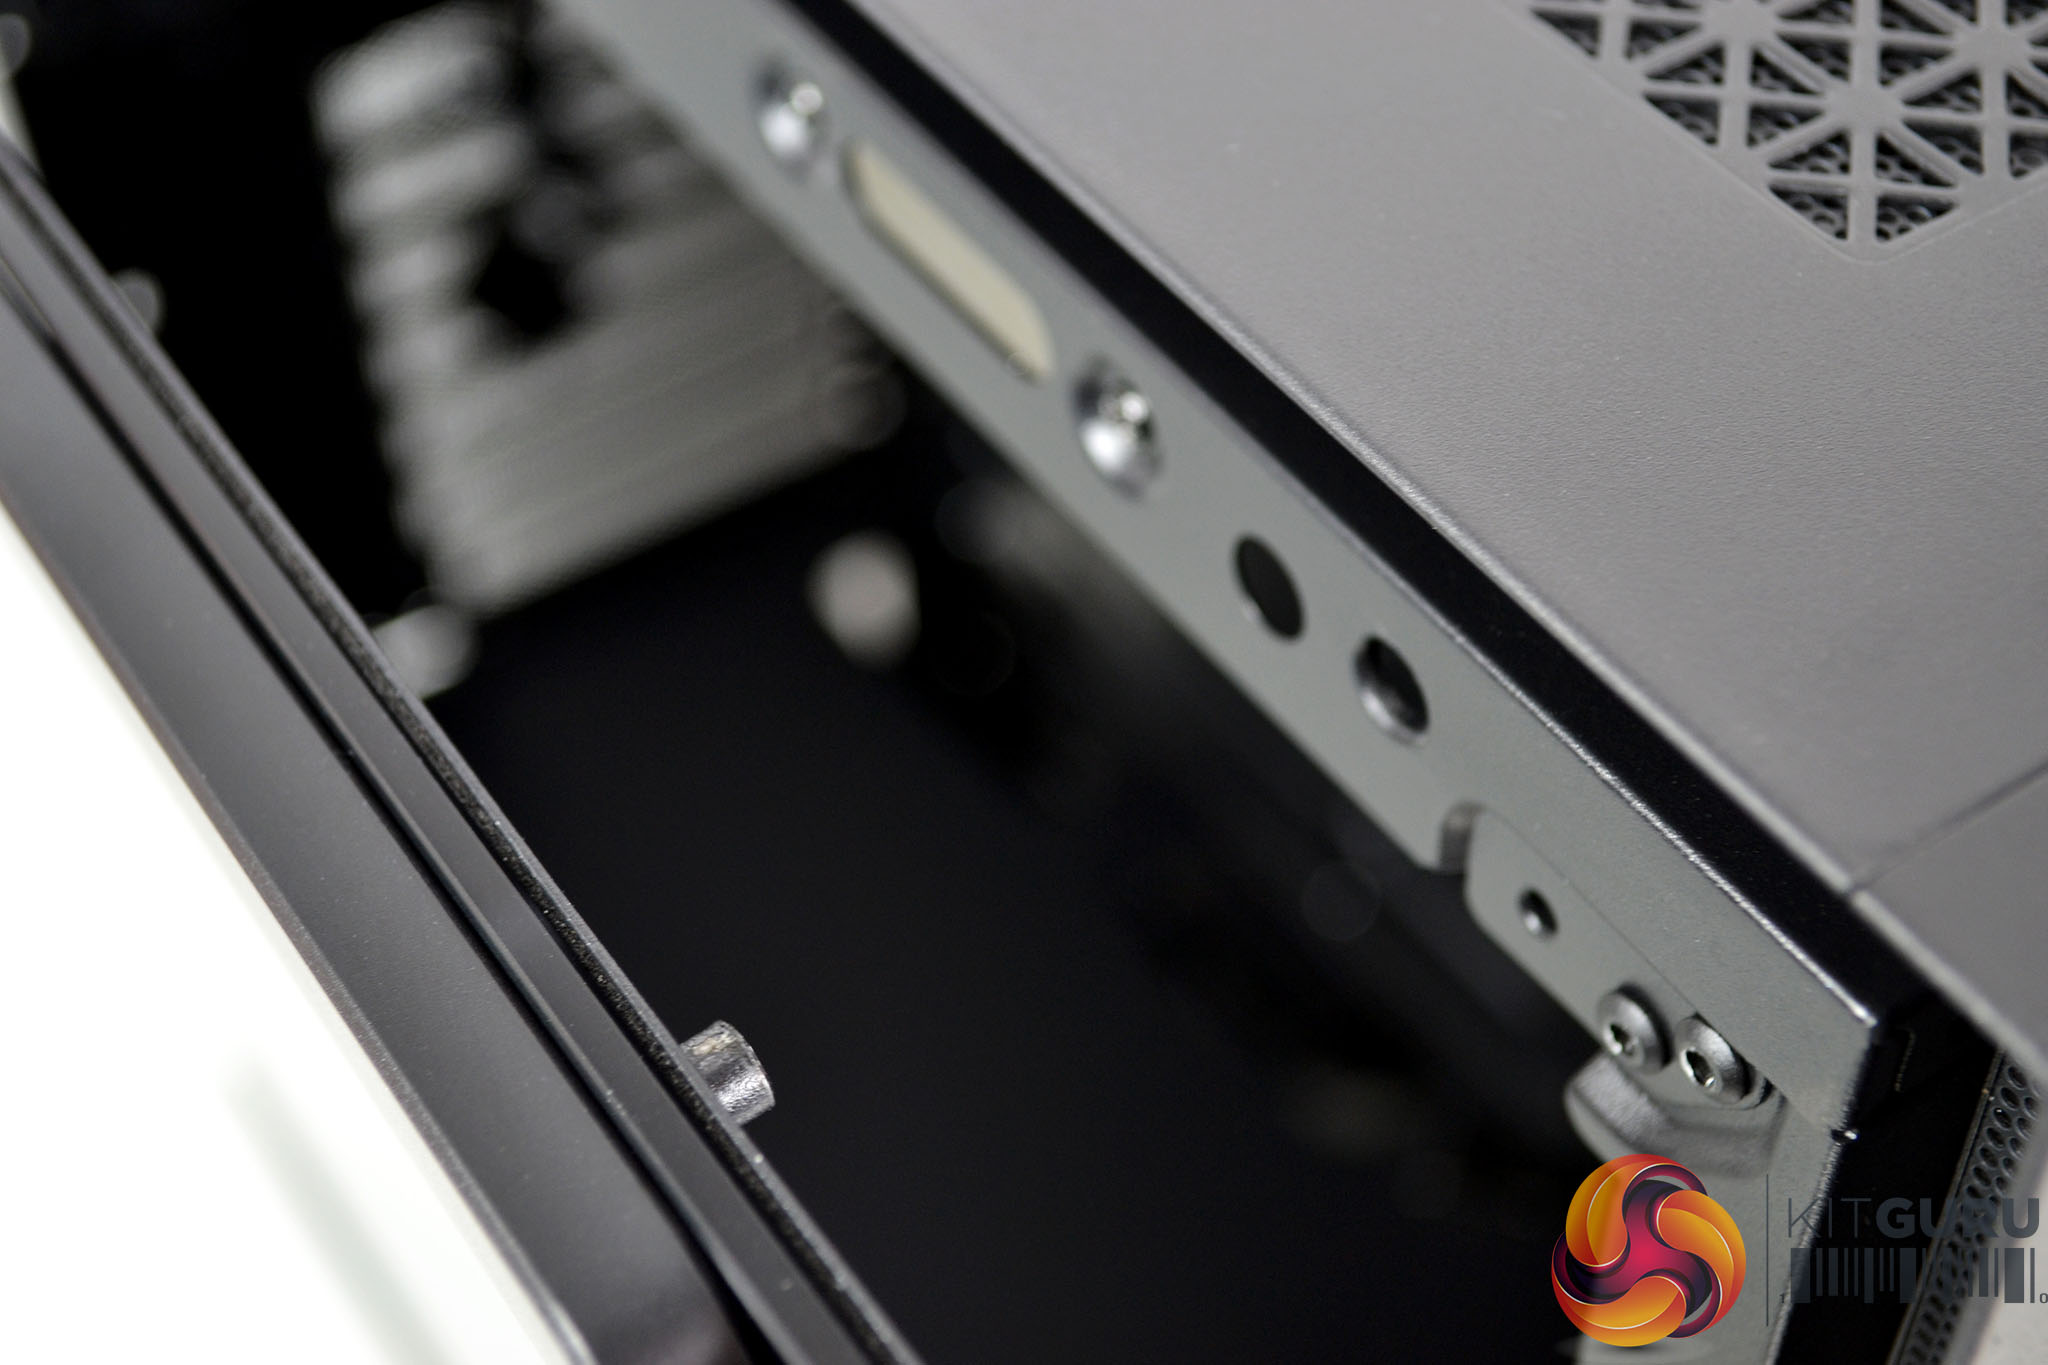
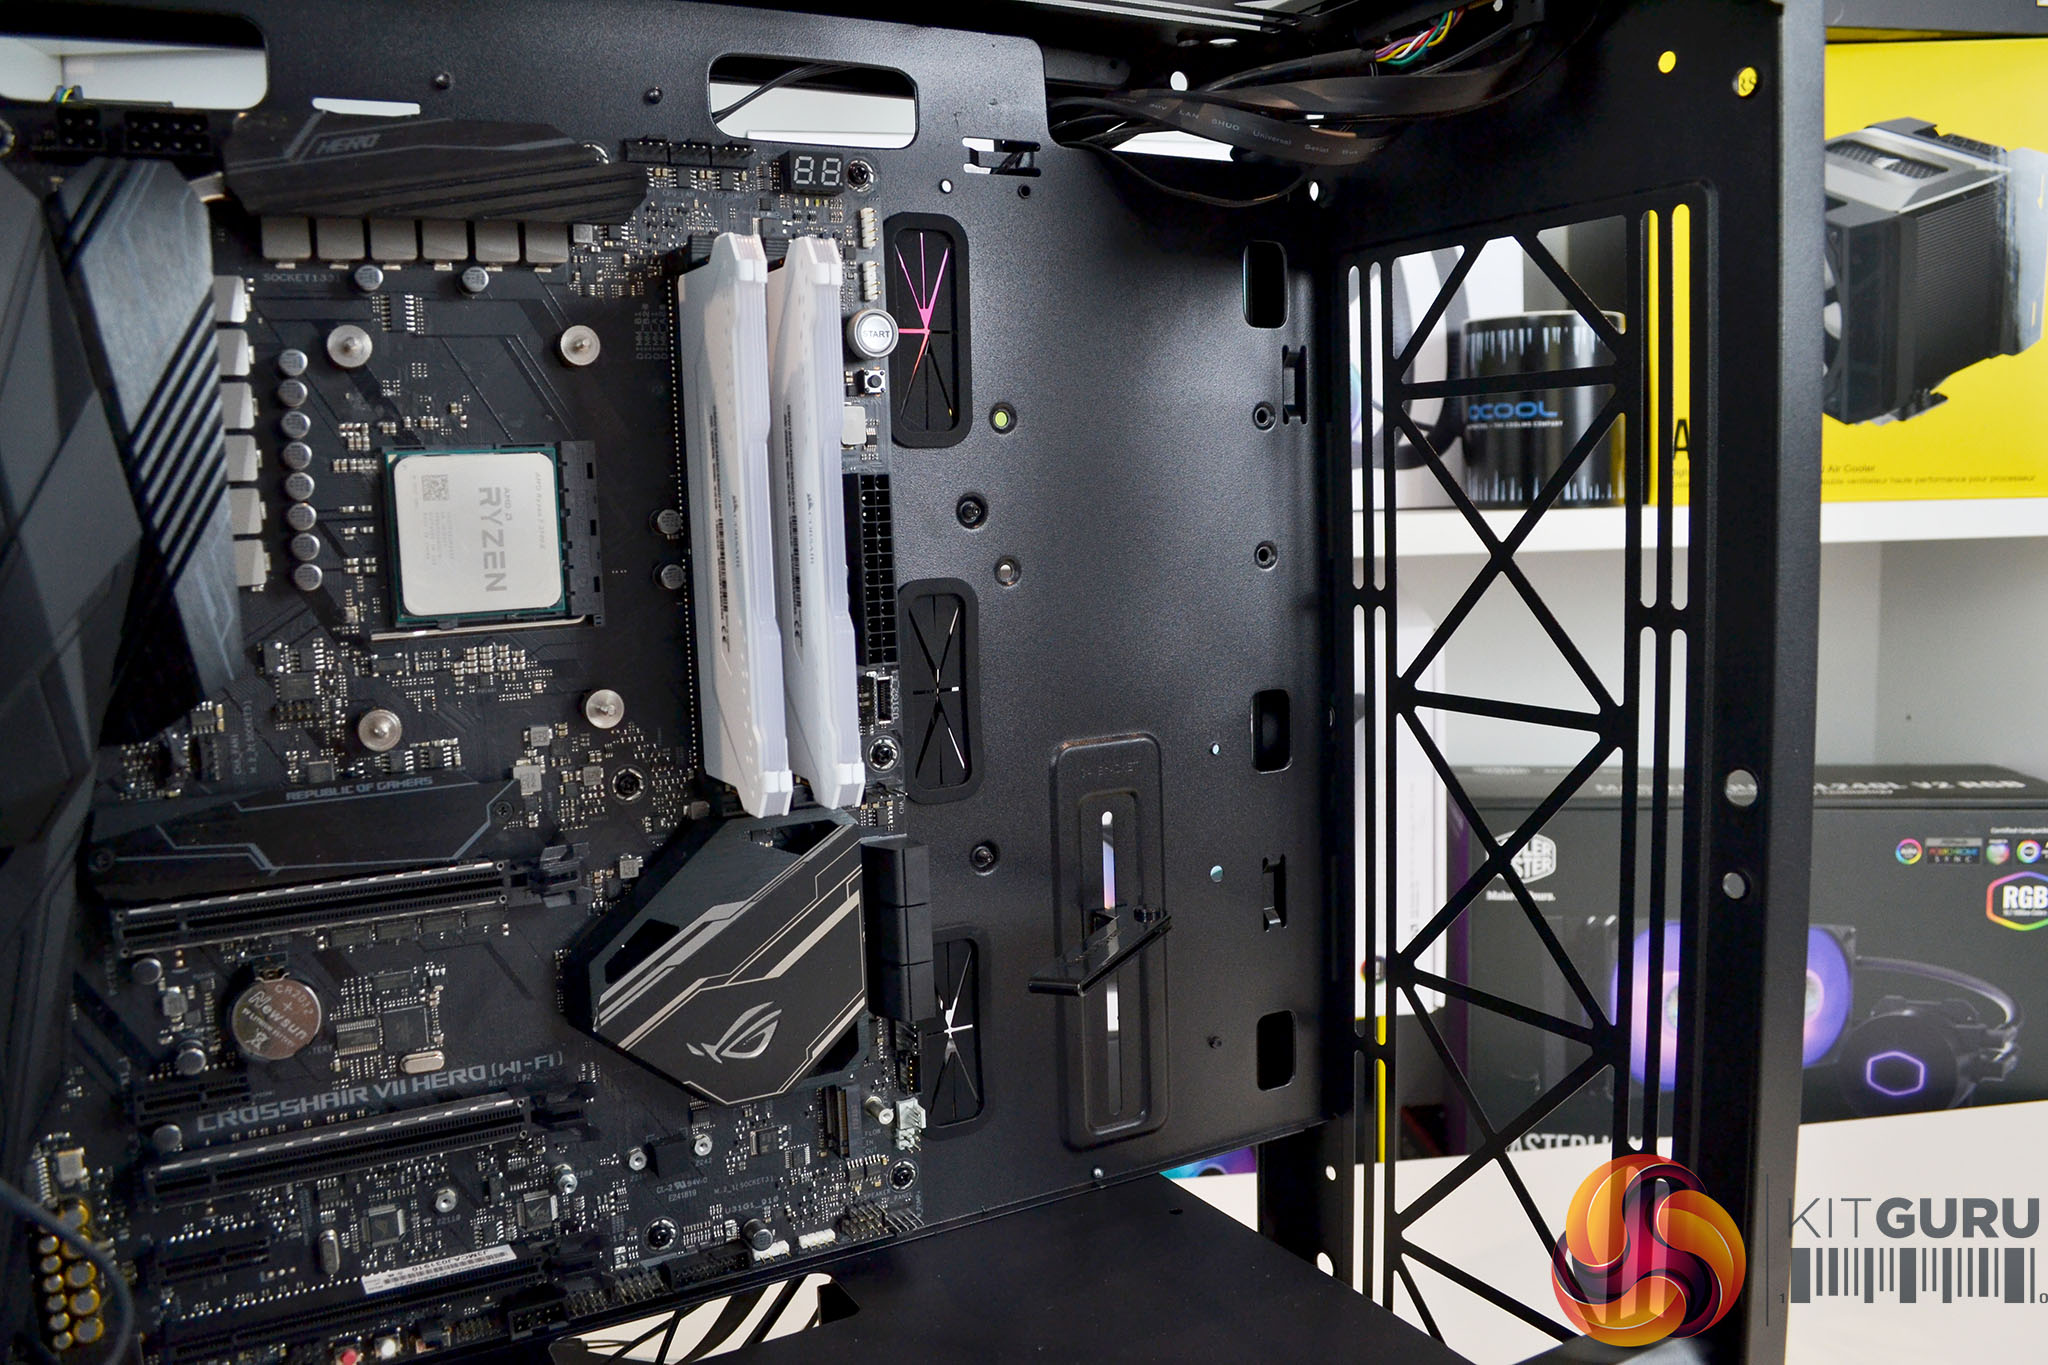
Since there are no 5.25-inch optical drive bays in the Macube 310P, the interior feels very spacious, especially when you realise that this is quite a compact mid-tower. At the front of the case is the VGA support bracket which is mounted in a slot for adjusting the height to accommodate the position of various graphics cards.
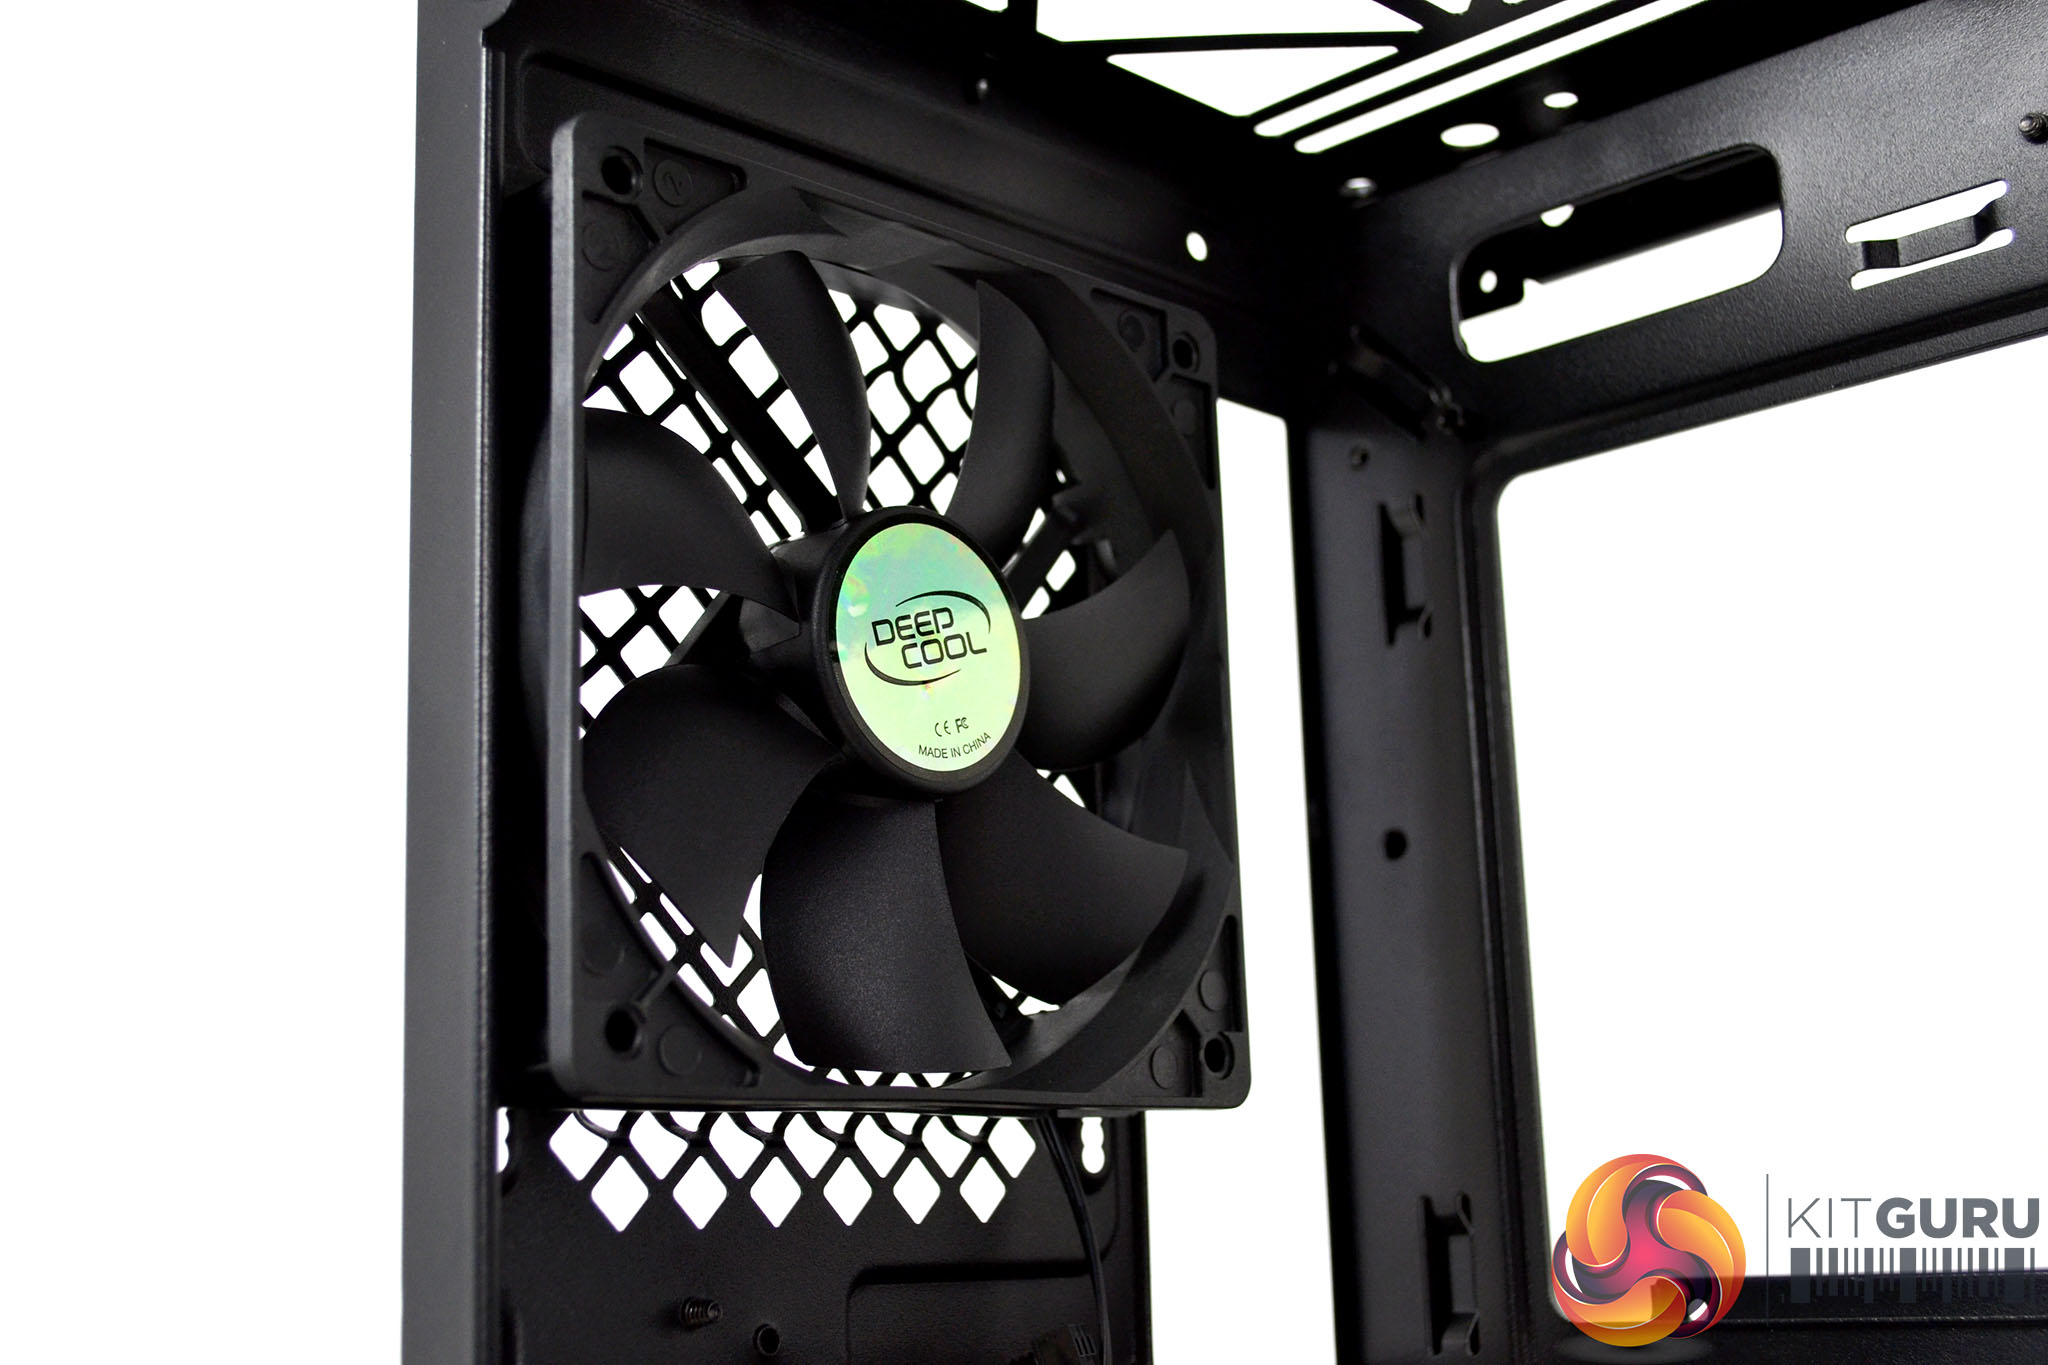
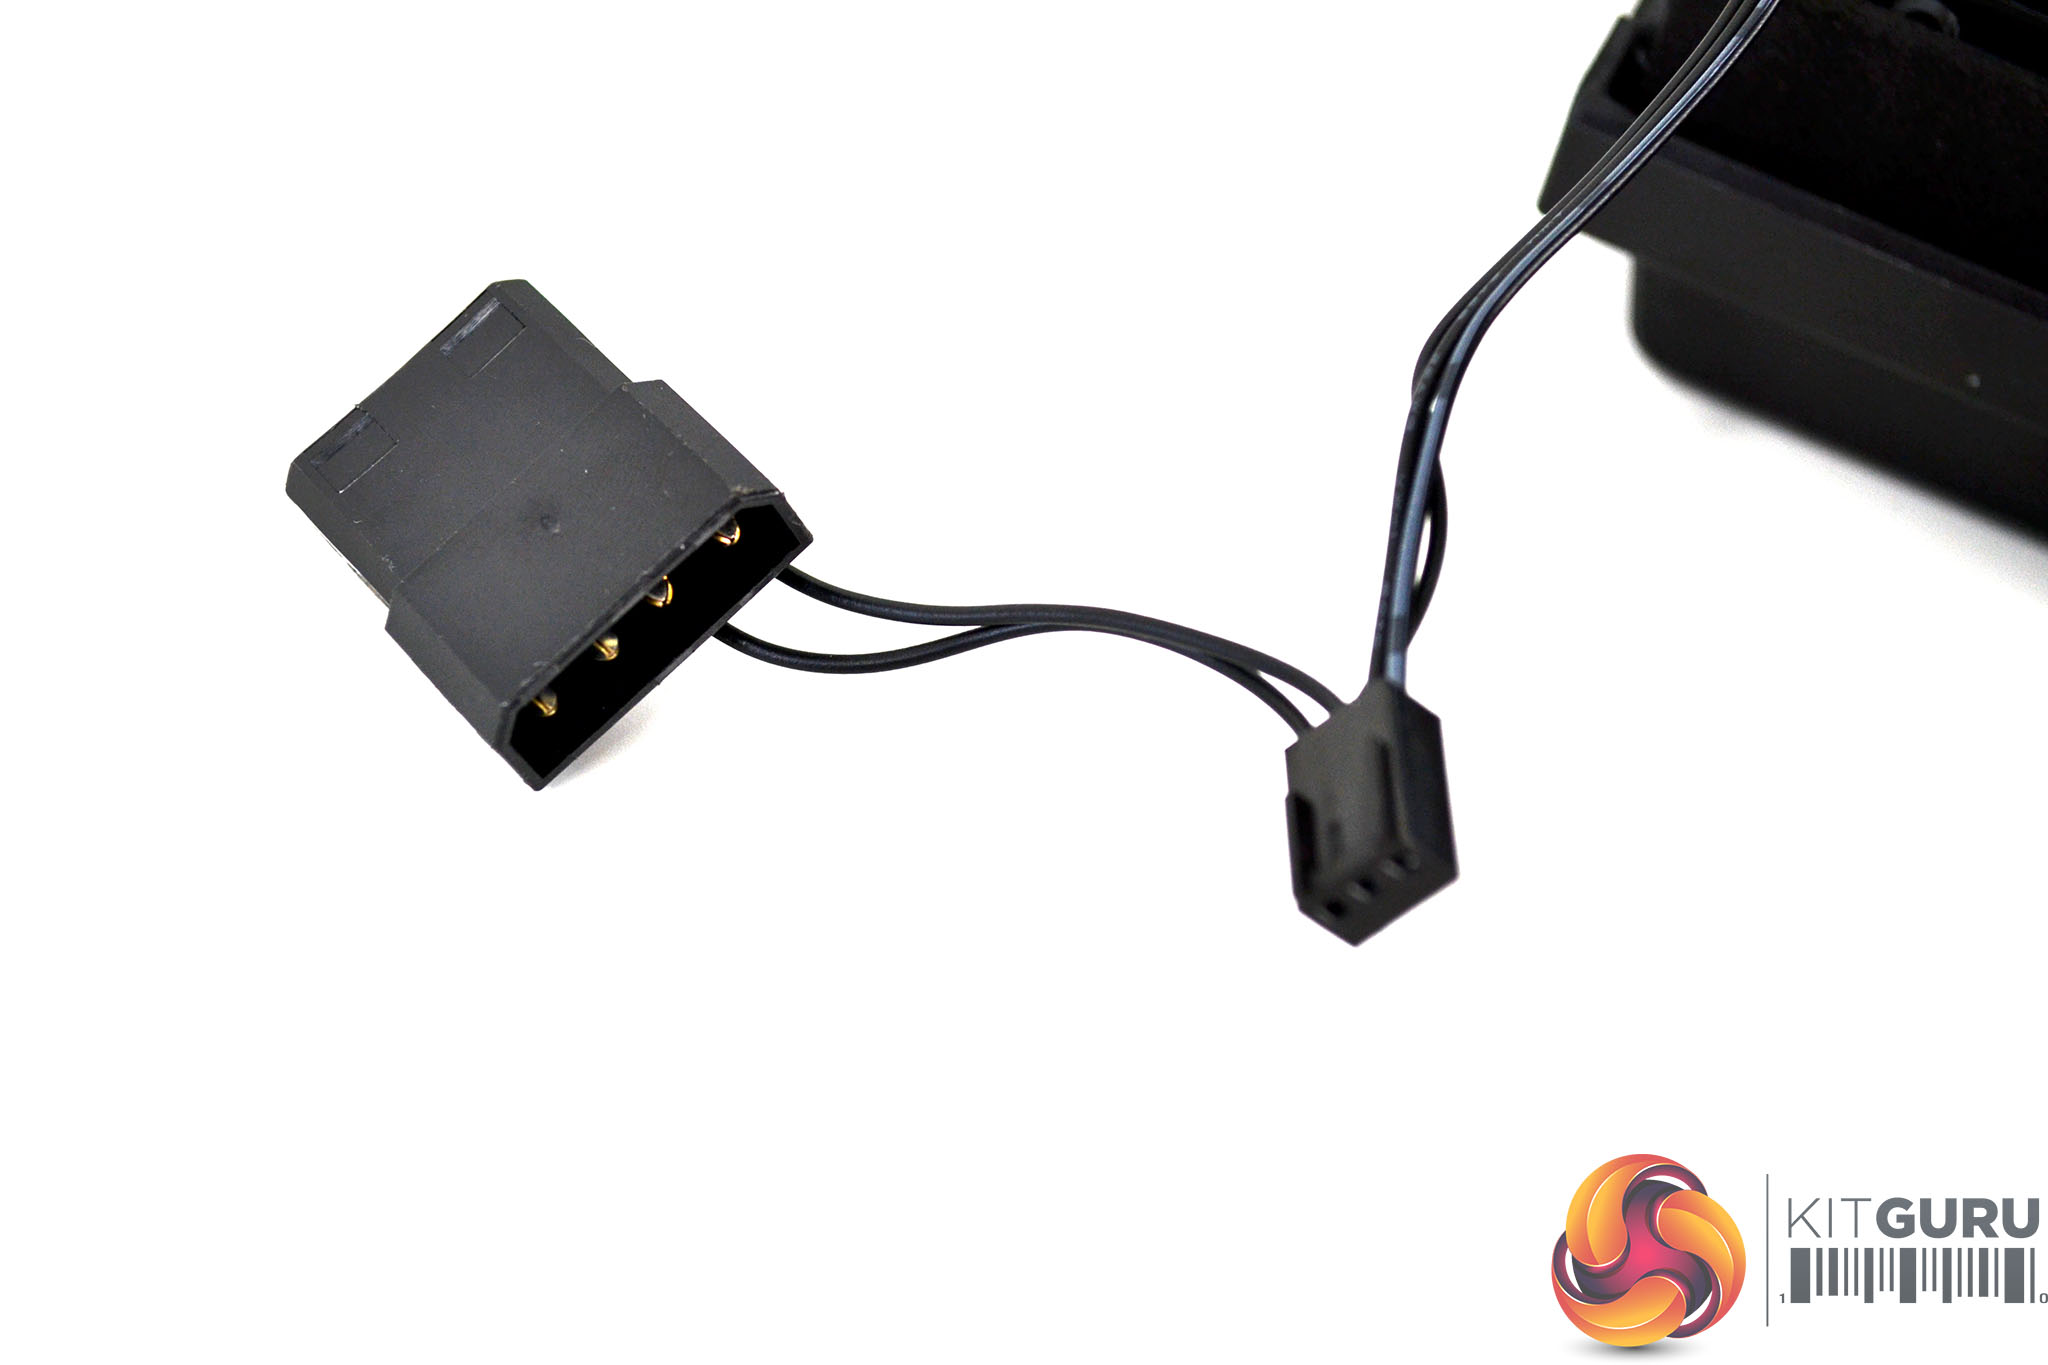
The only fan that comes pre-installed with the Macube 310P is located at the rear of the case in an exhaust configuration. The fan is equipped with a Molex power connector and a 3-pin fan header connection, however, there is no information on the fan regarding specifications.
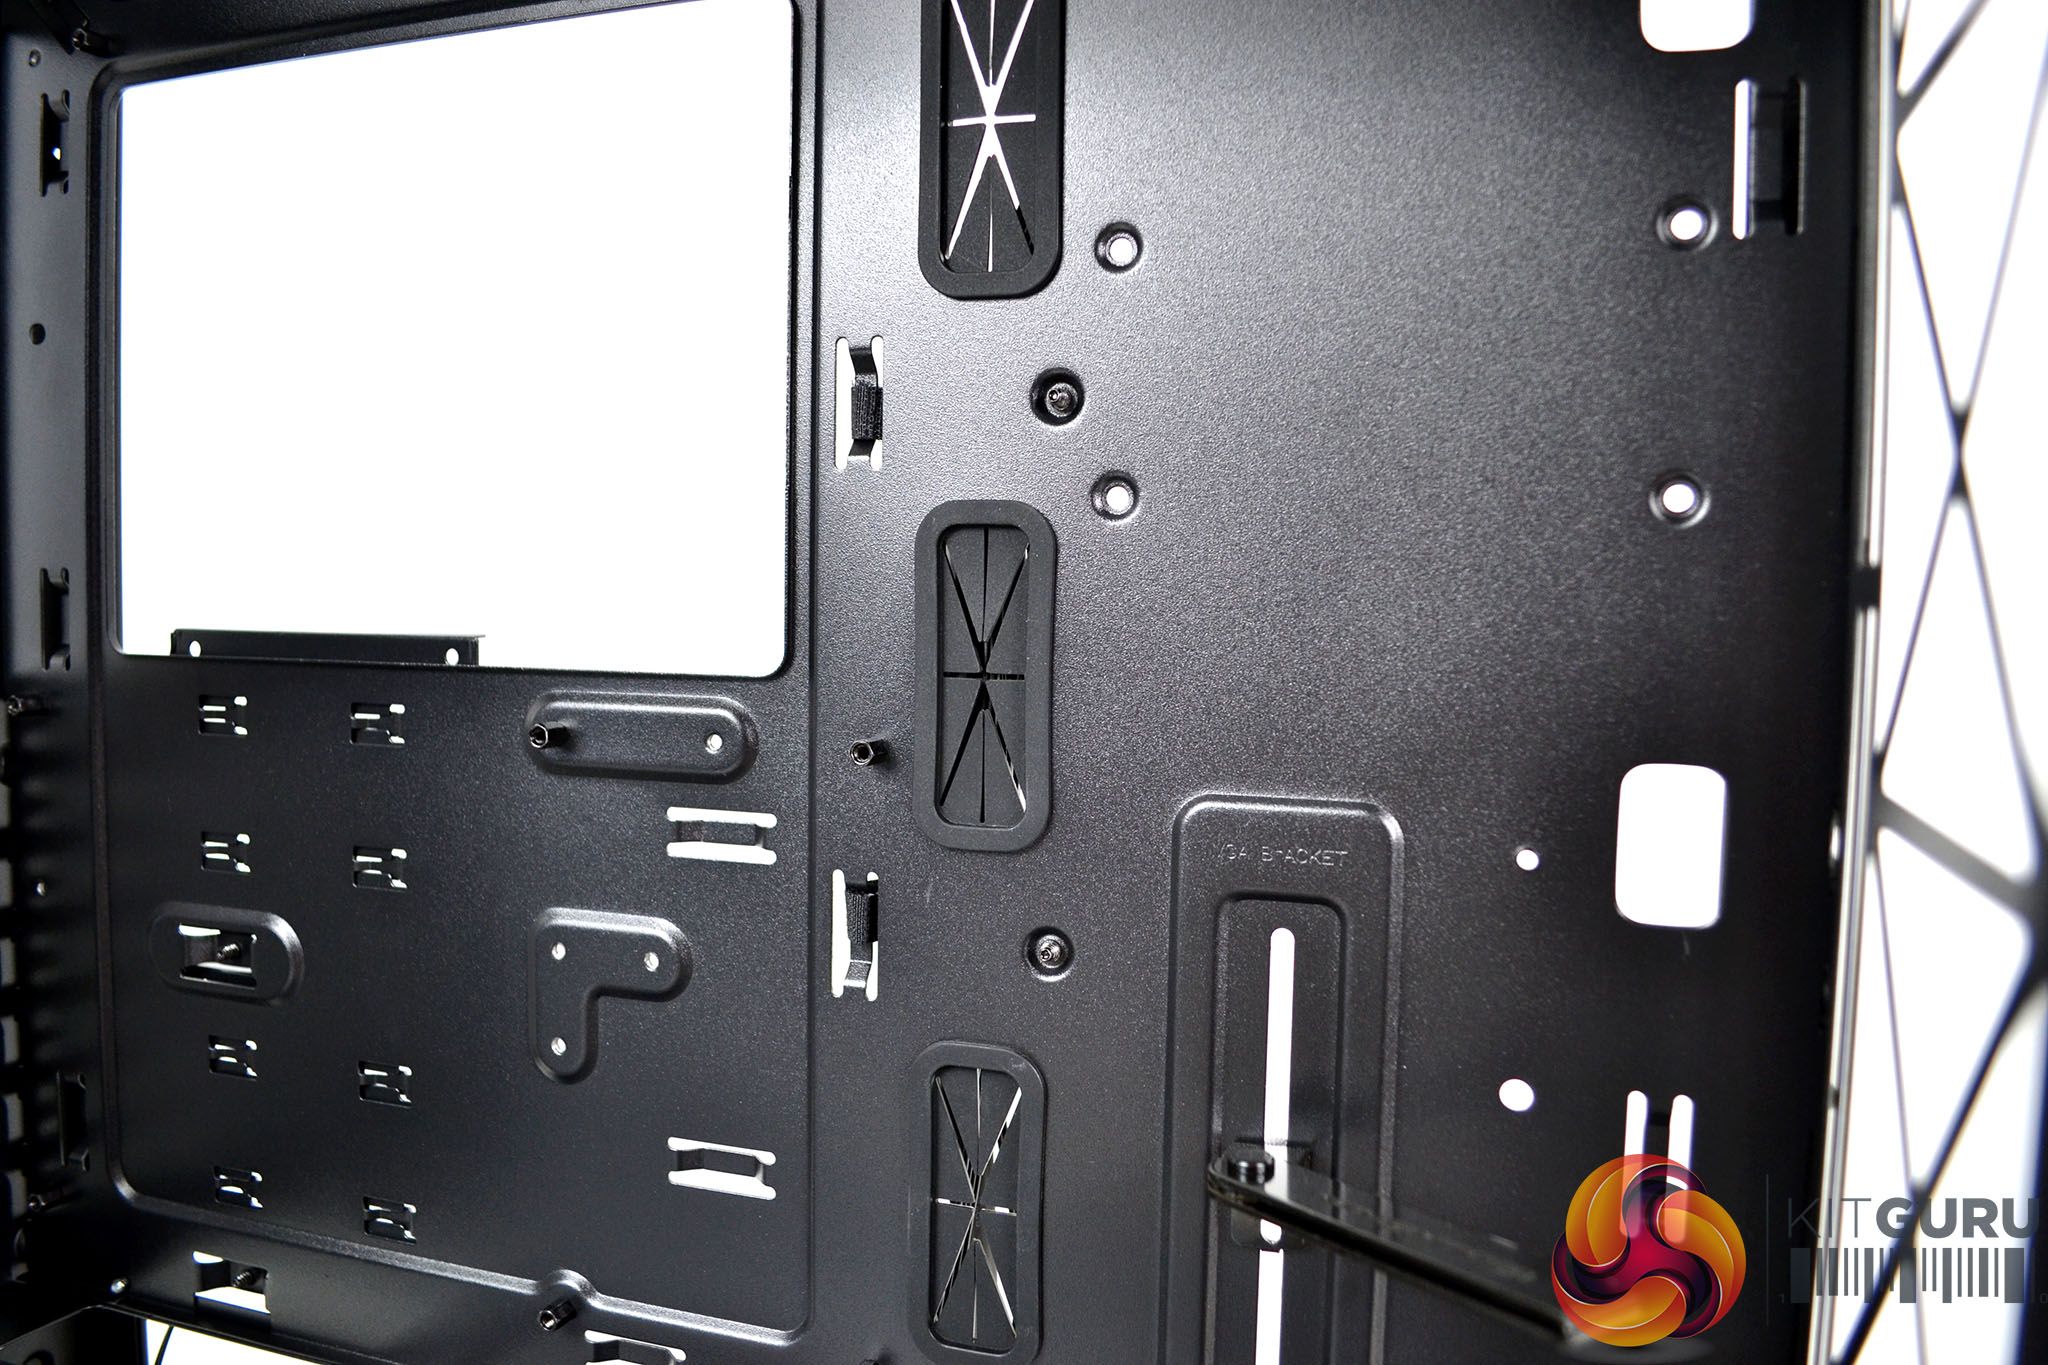
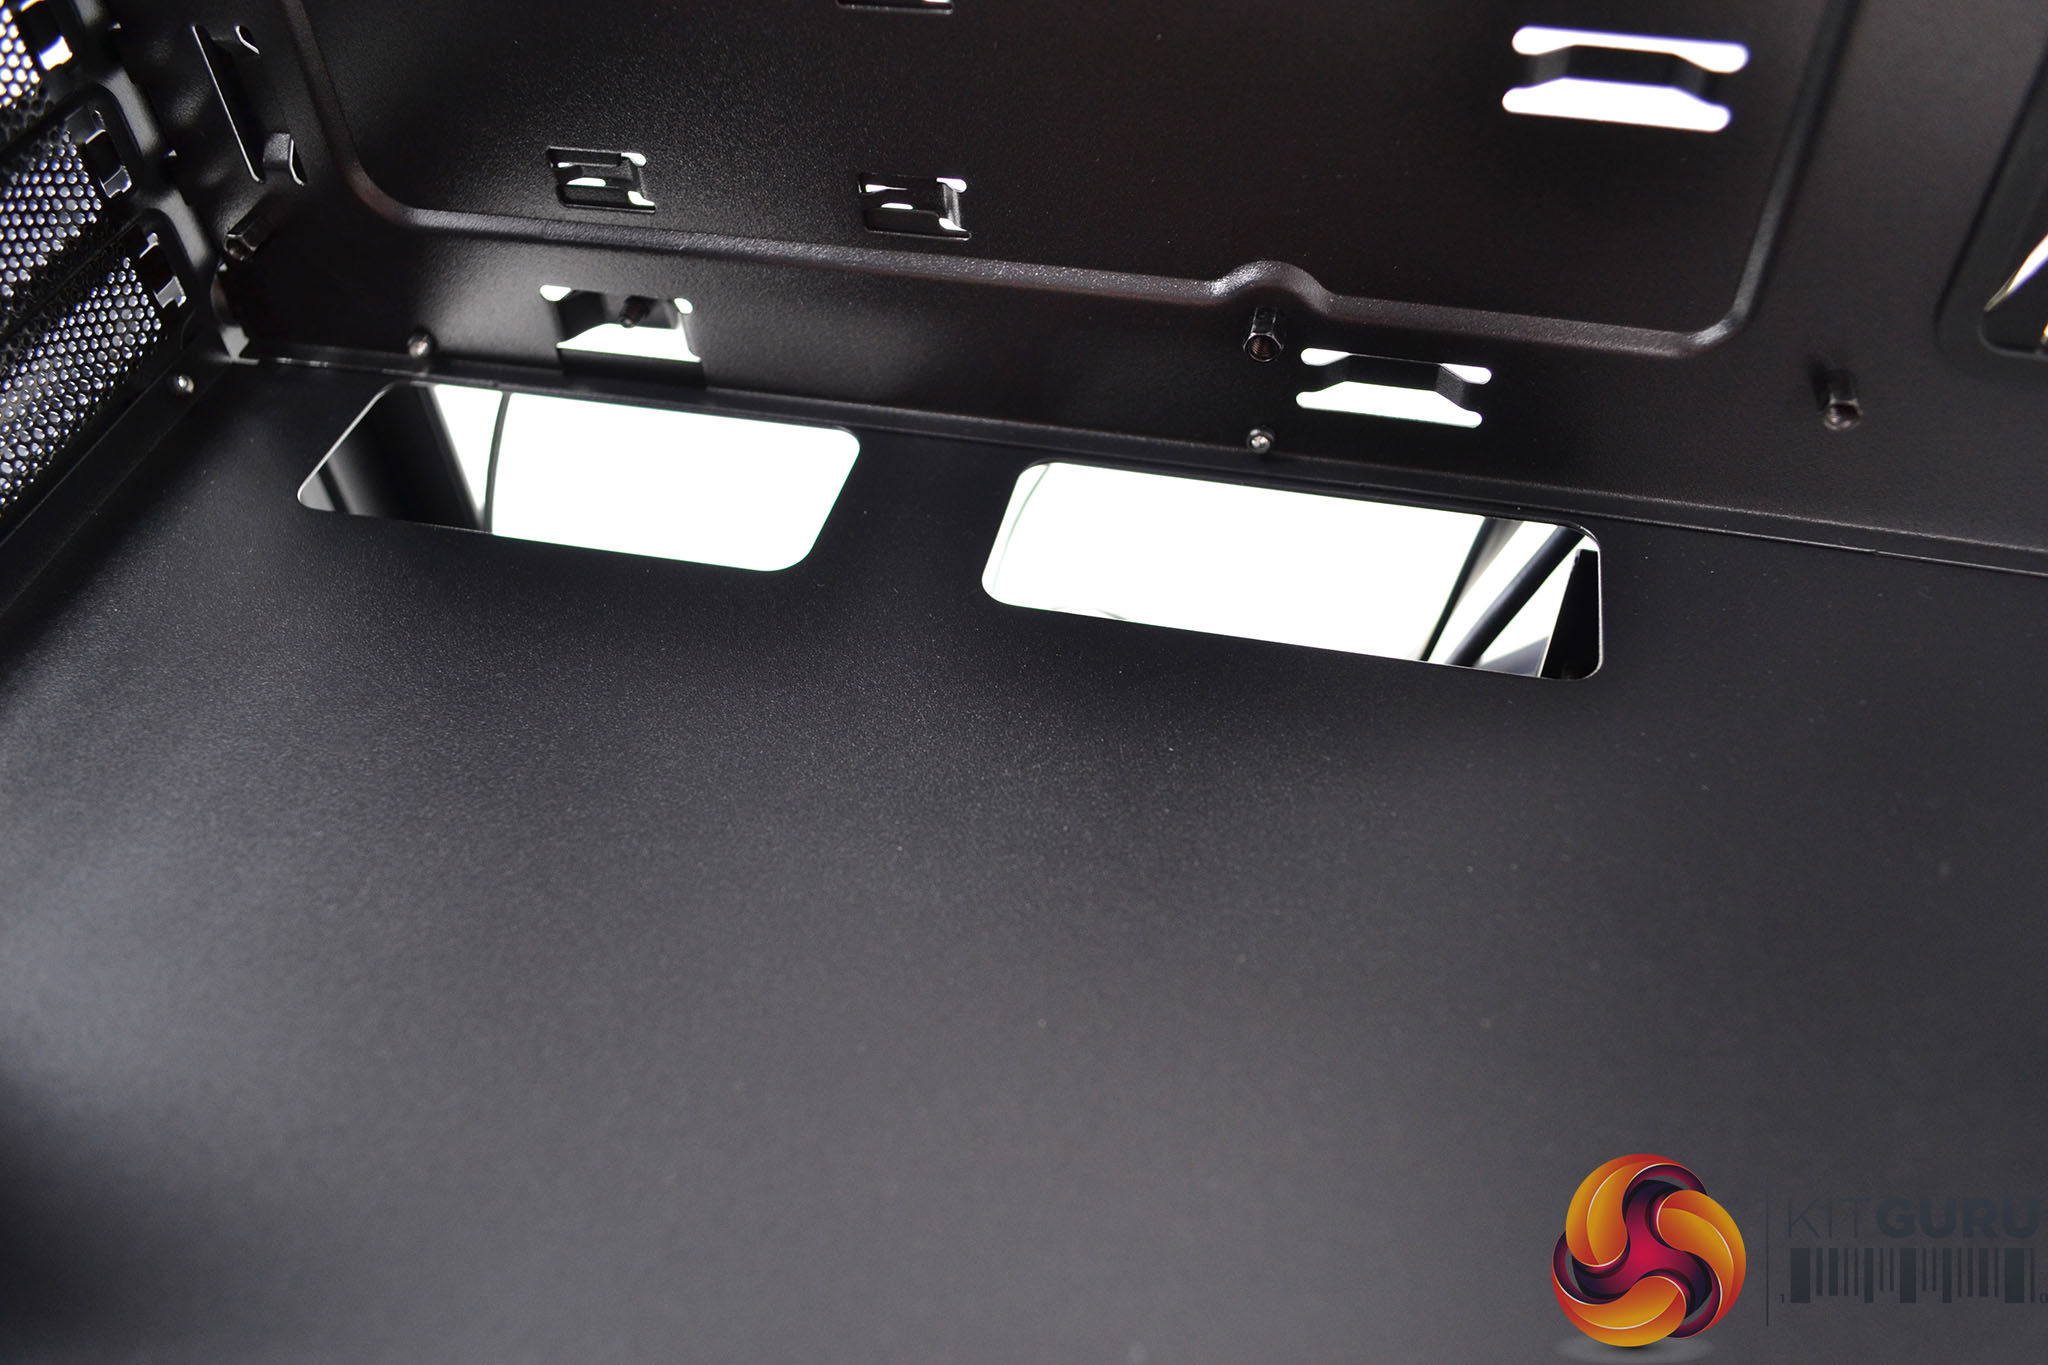
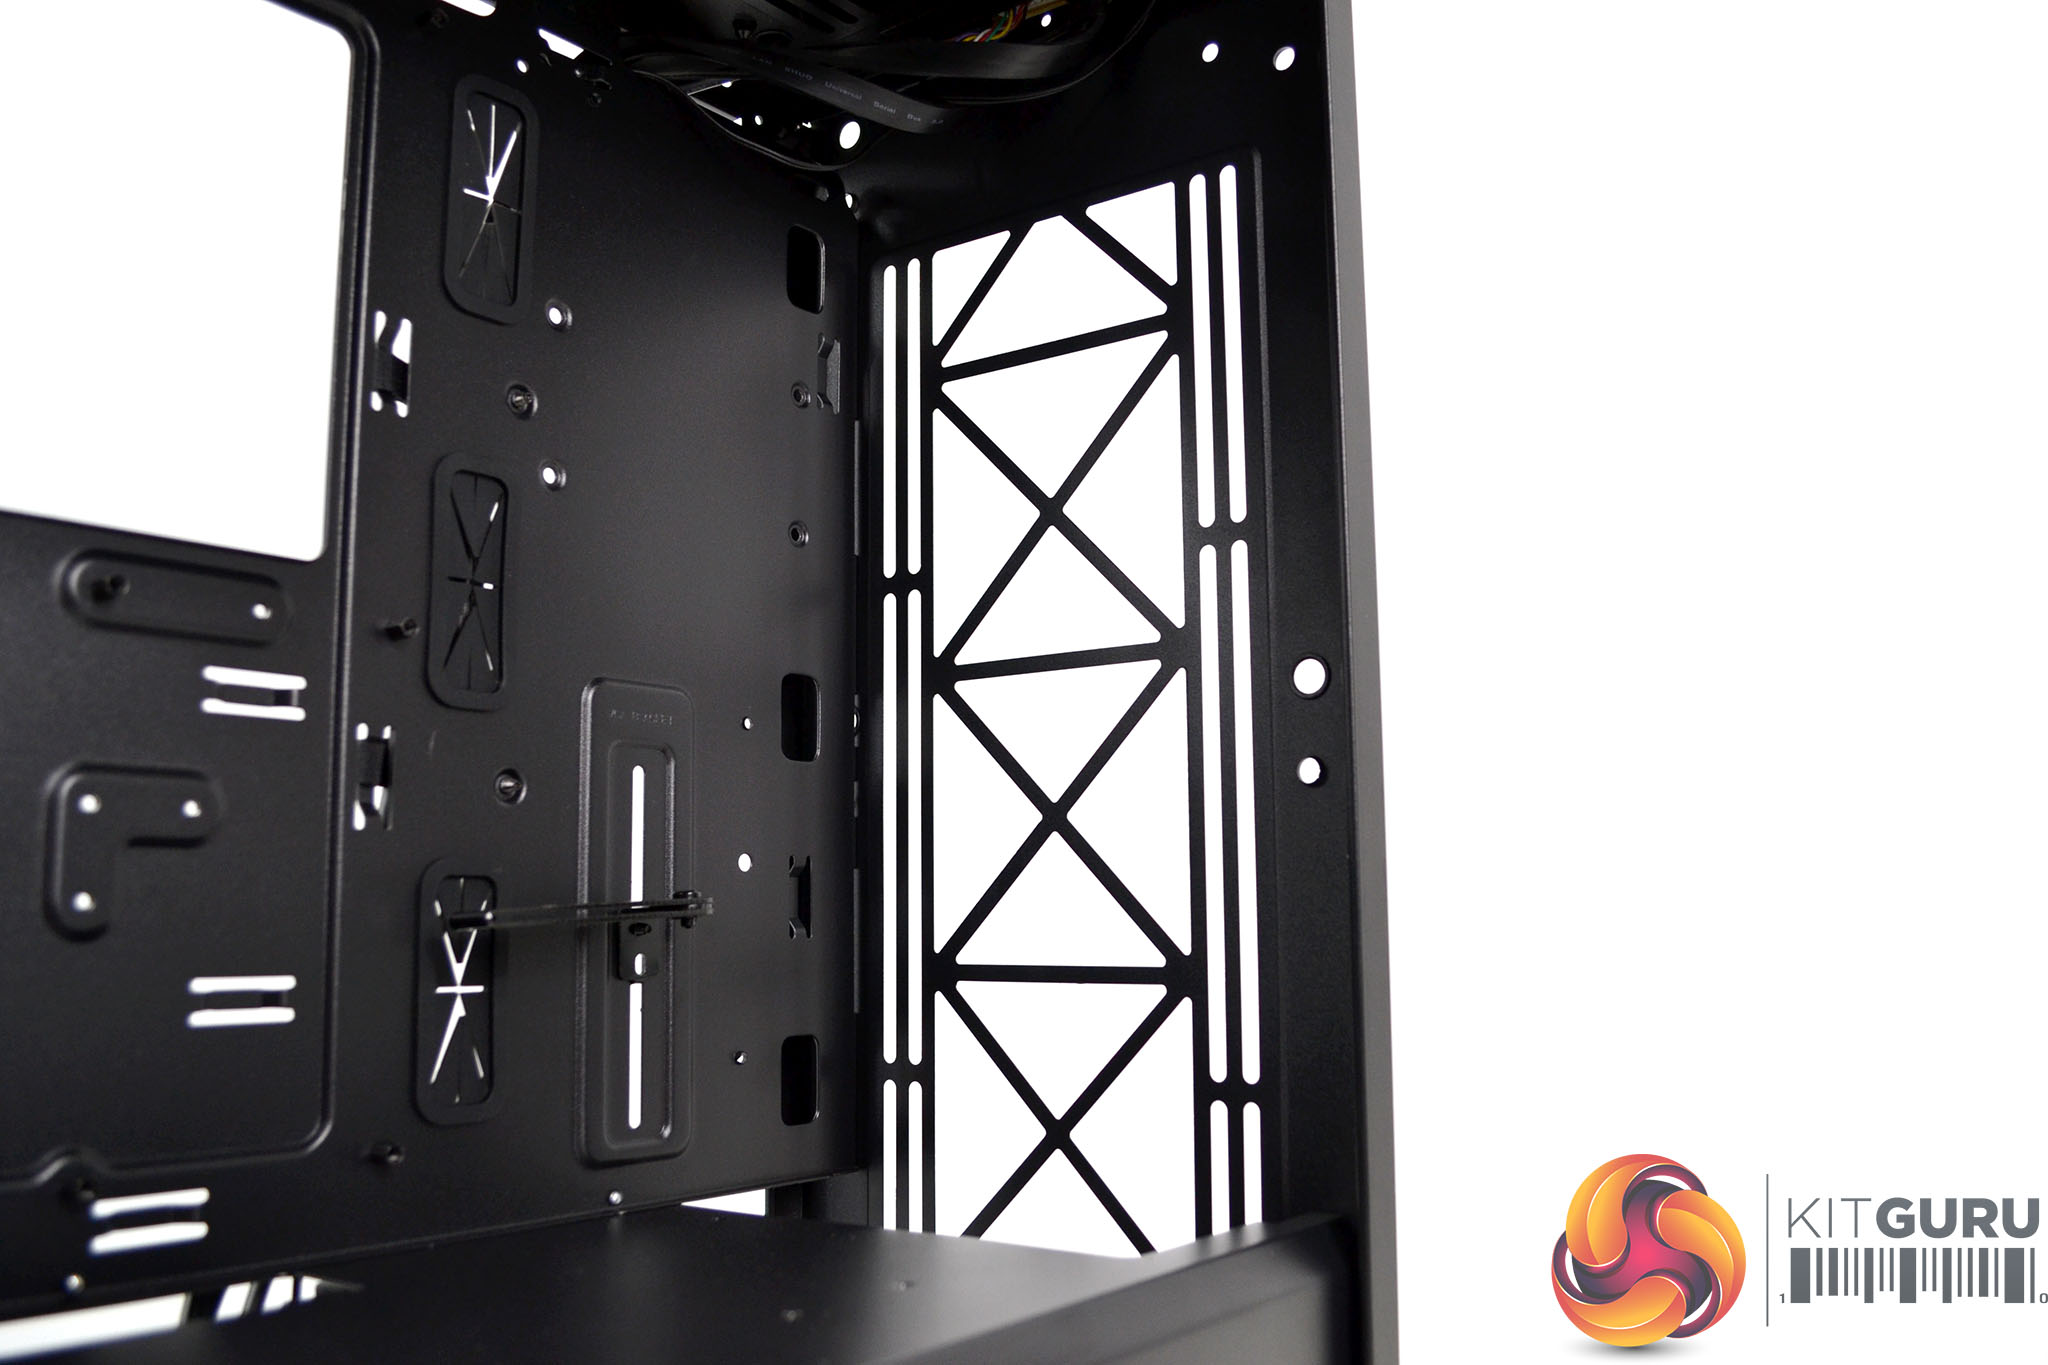
To the right of the motherboard tray and towards the front of the case are three cable management cut-outs with rubber grommets. Additional cut-outs above and below the motherboard tray are present, however, these are not protected with rubber grommets, which is a little disappointing.
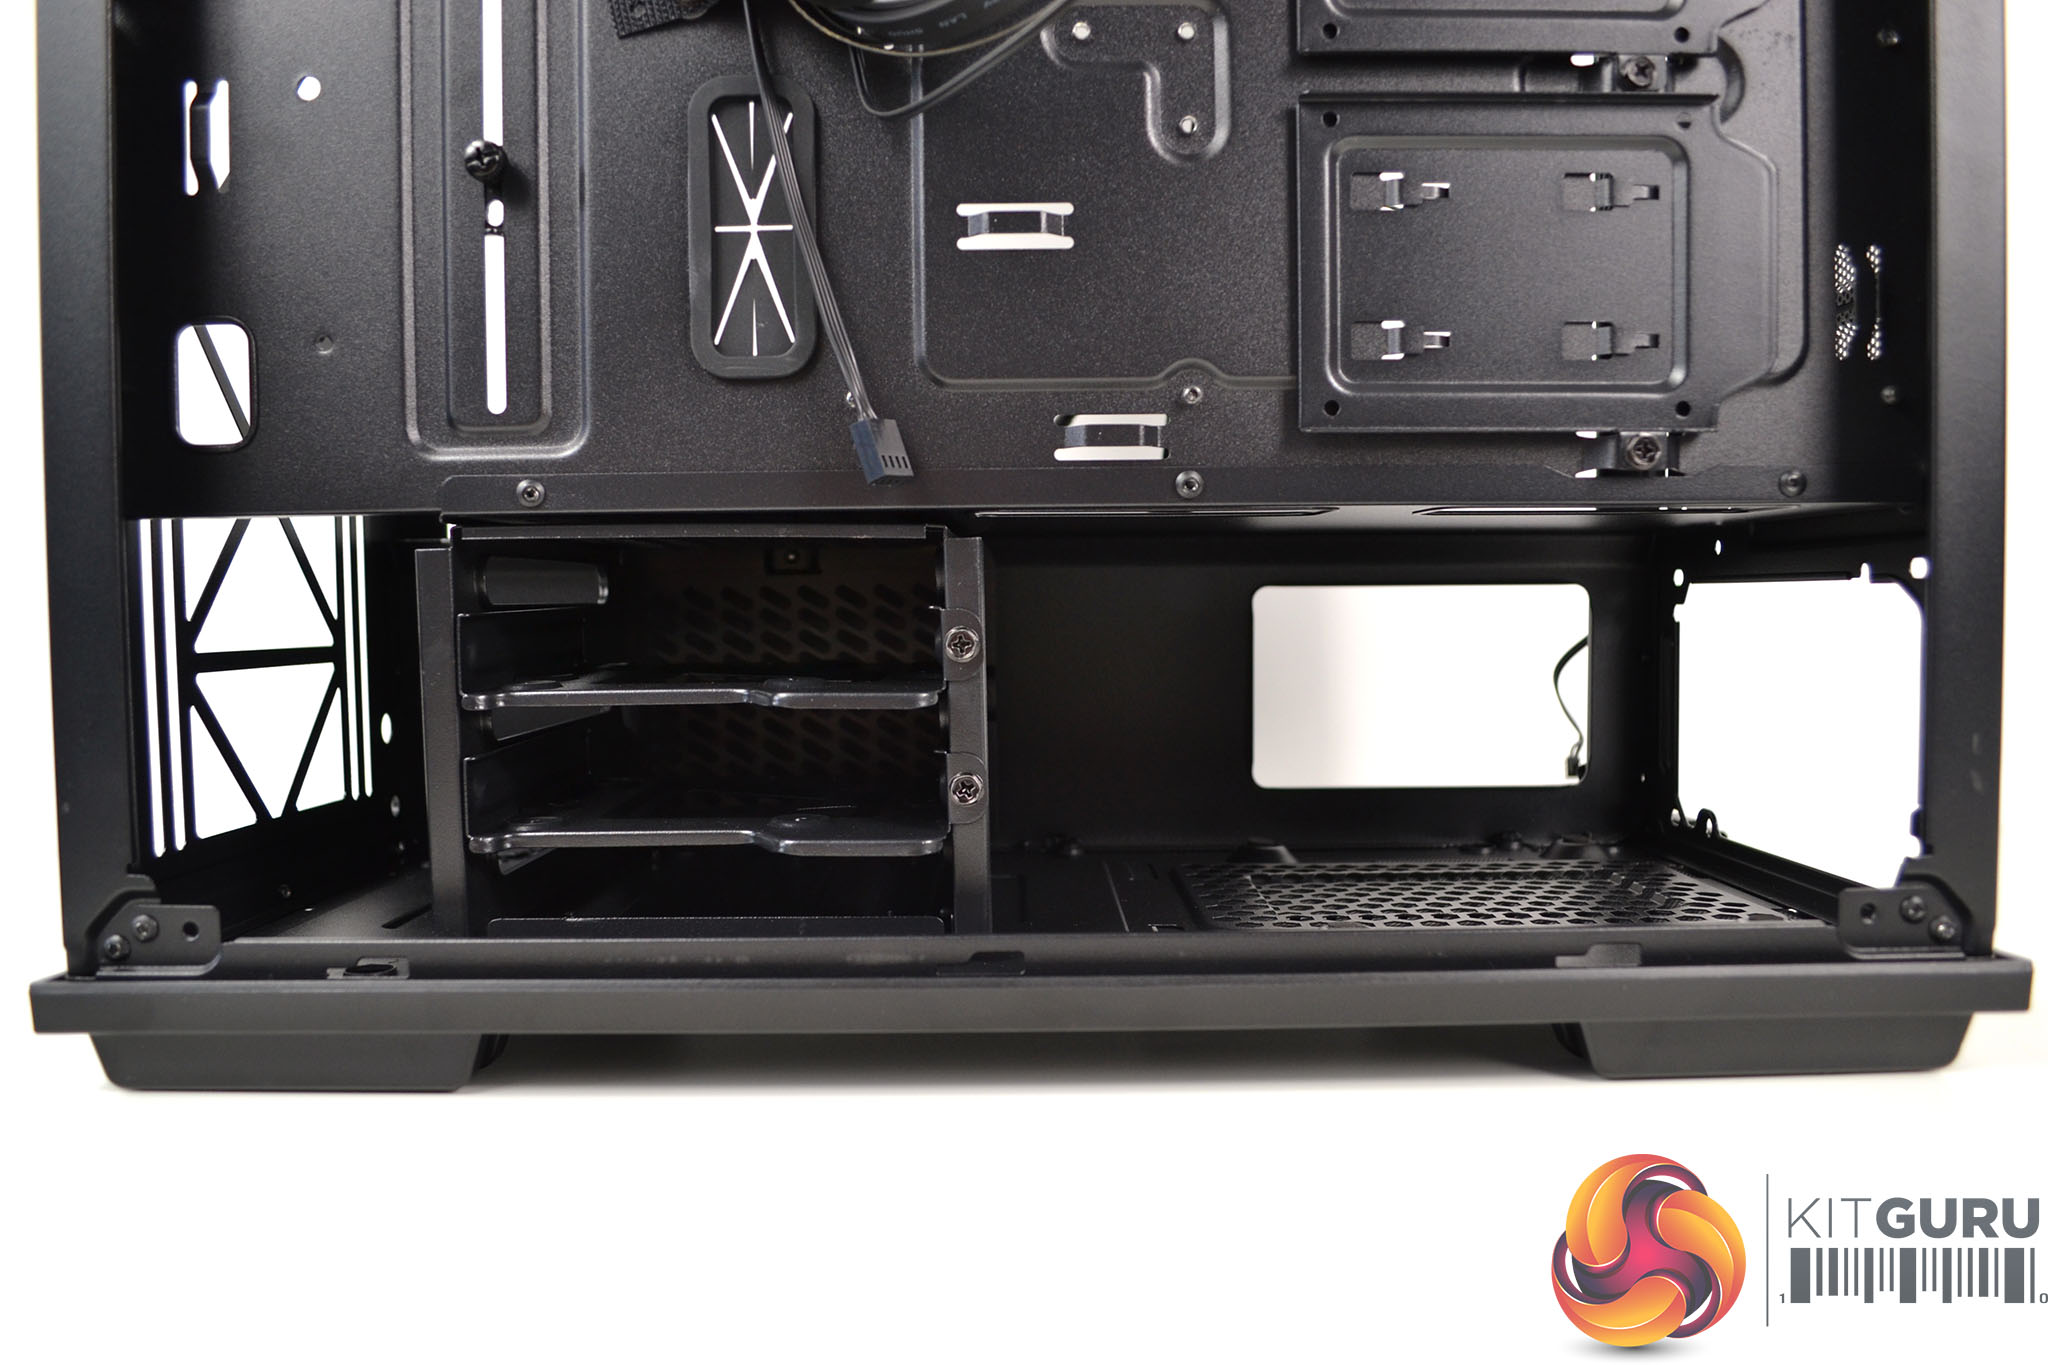
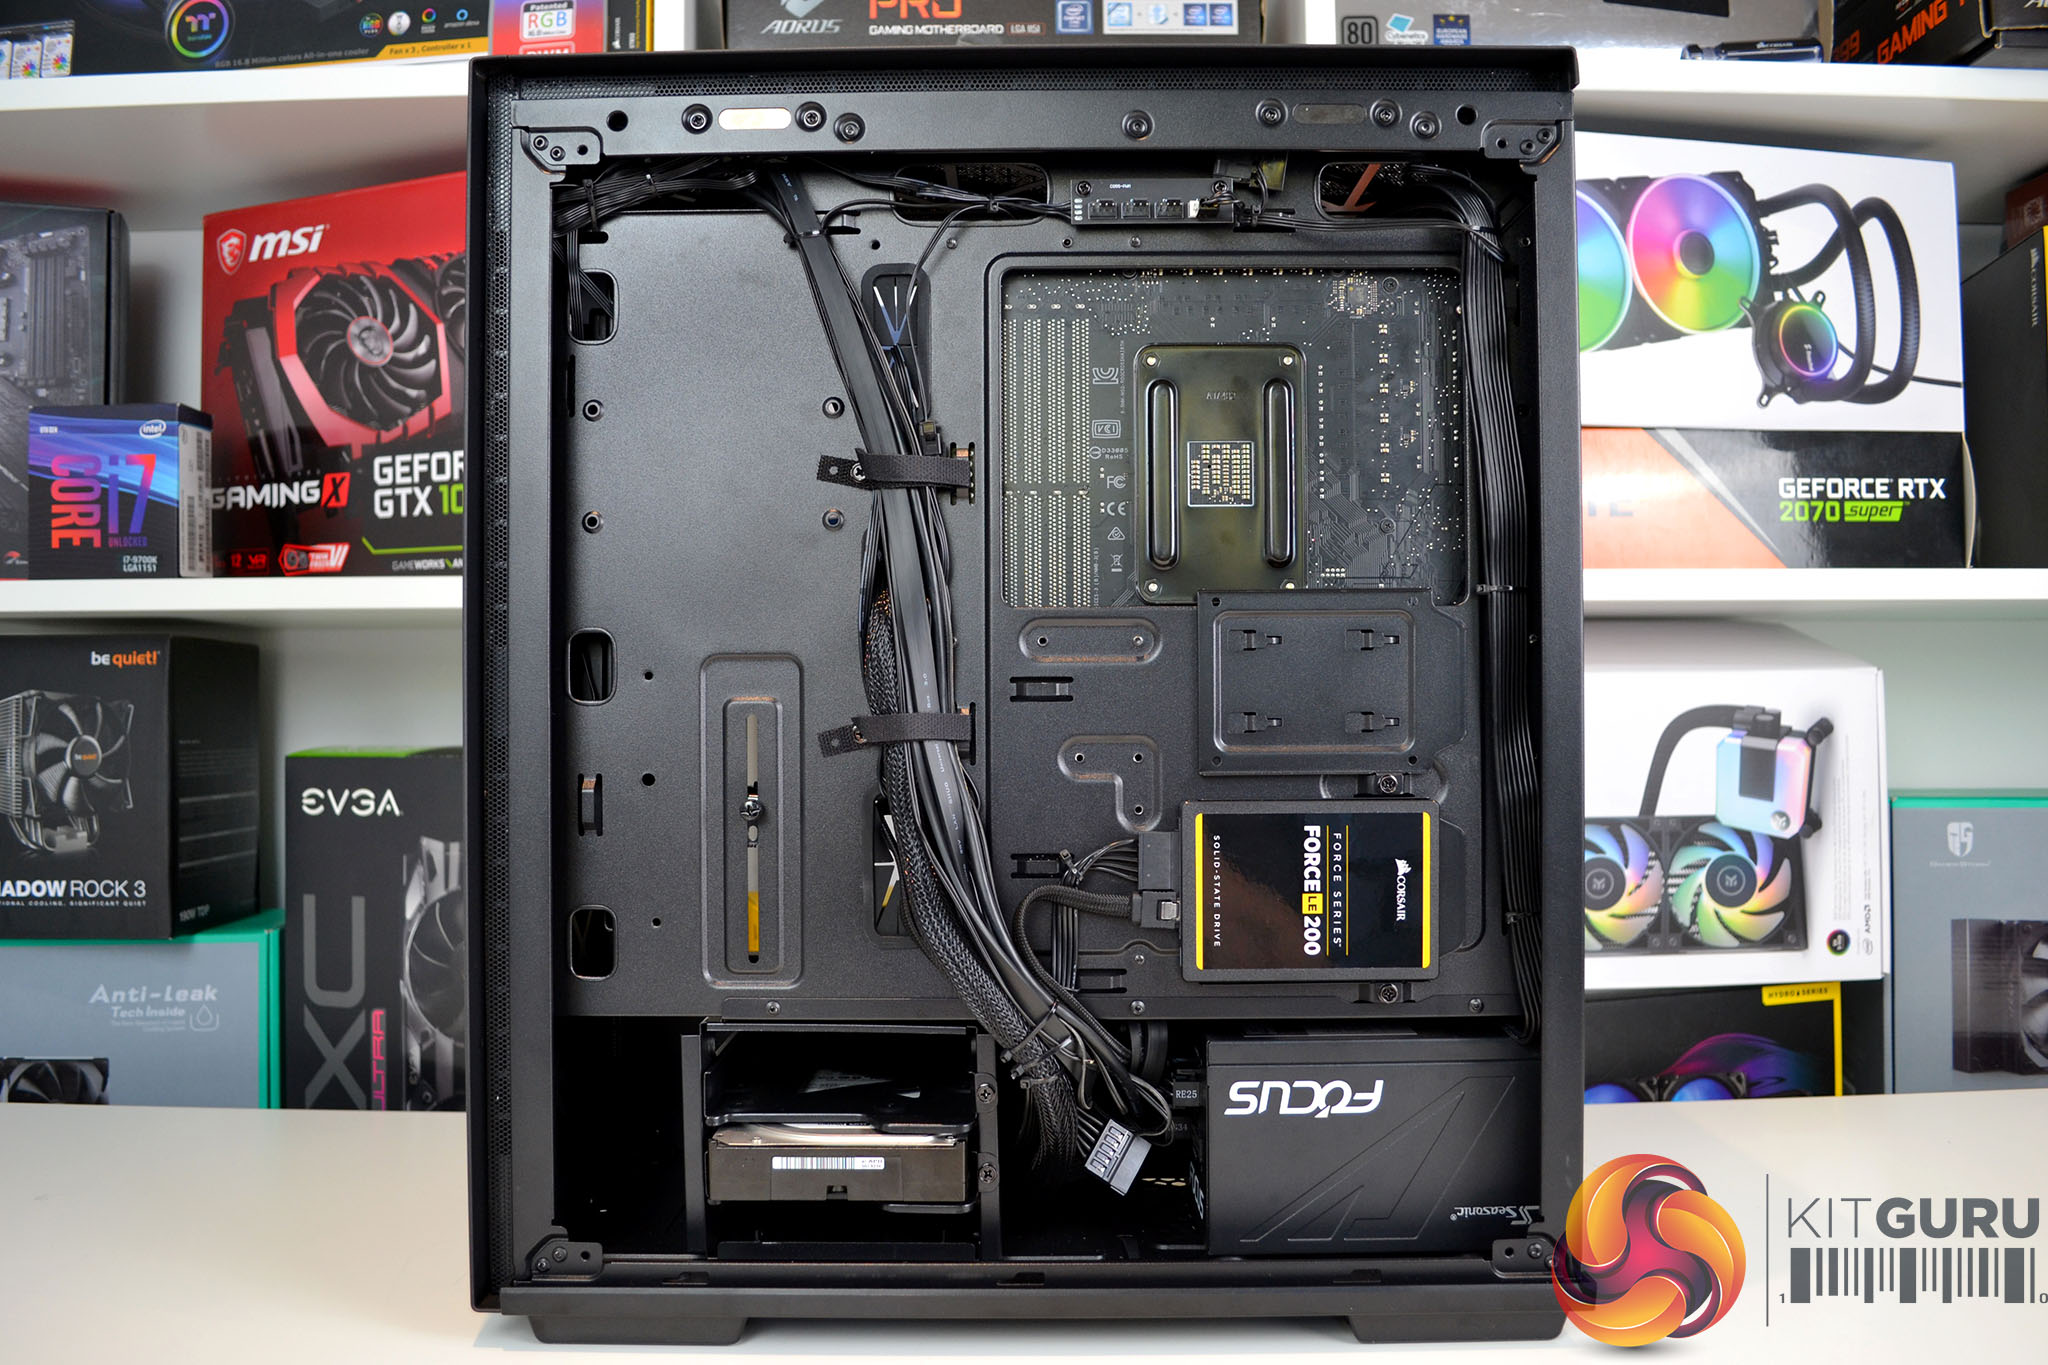
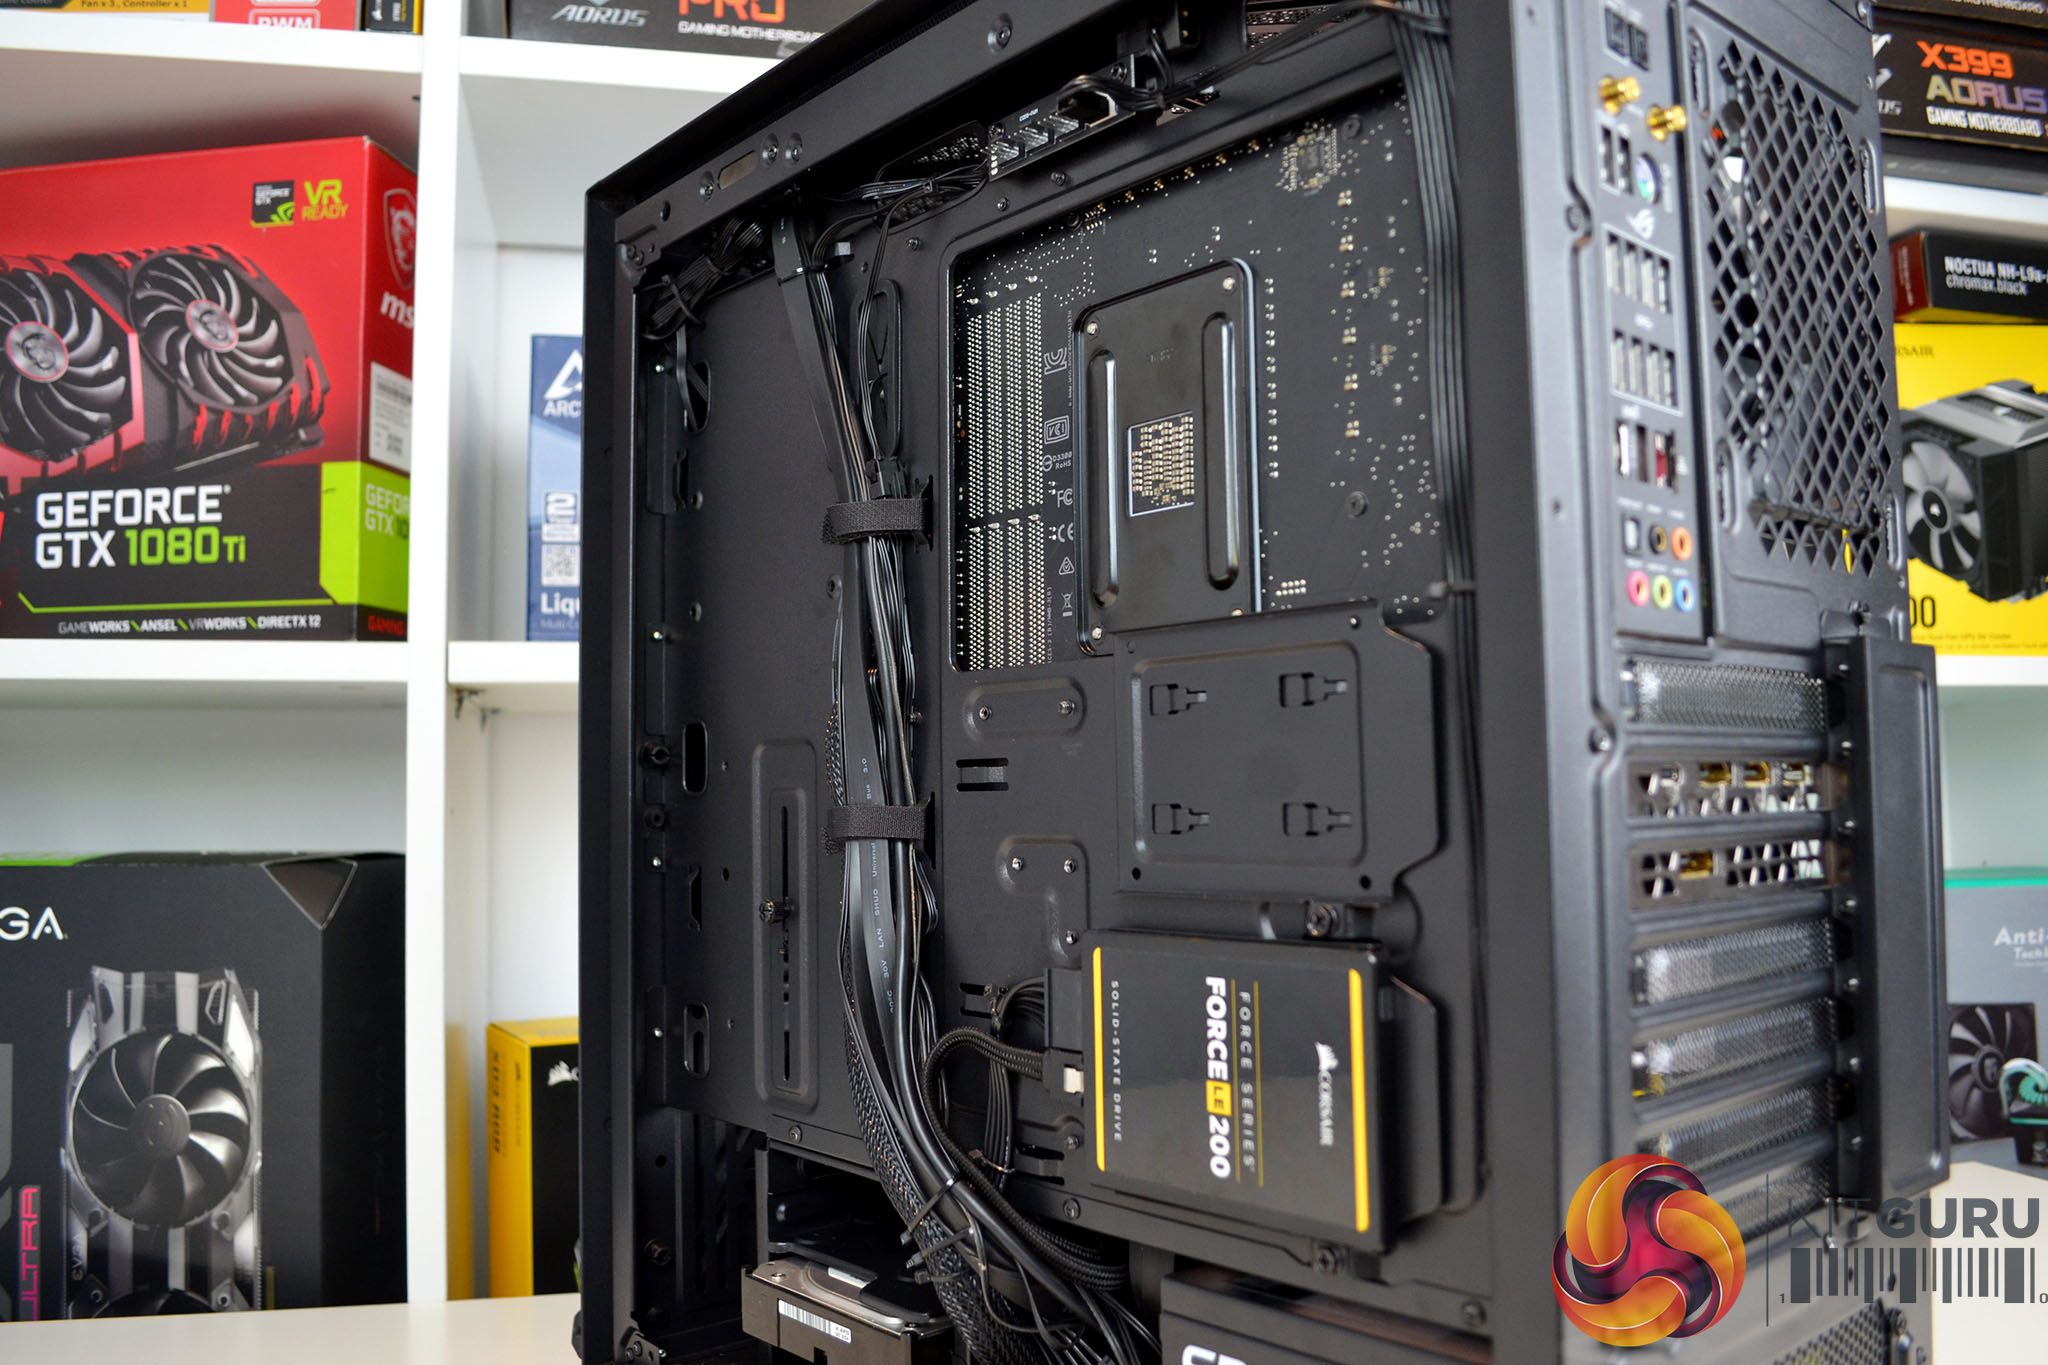
Usually, behind the right-hand side panel of a PC case is a little boring, but there is quite a lot going on in the Macube 310P here. At the bottom is a full cover power supply shroud with anti-vibration rubbers for the power supply to rest on, as well as a HDD cage that has adjustable positioning or can be completely removed to make way for a larger PSU.

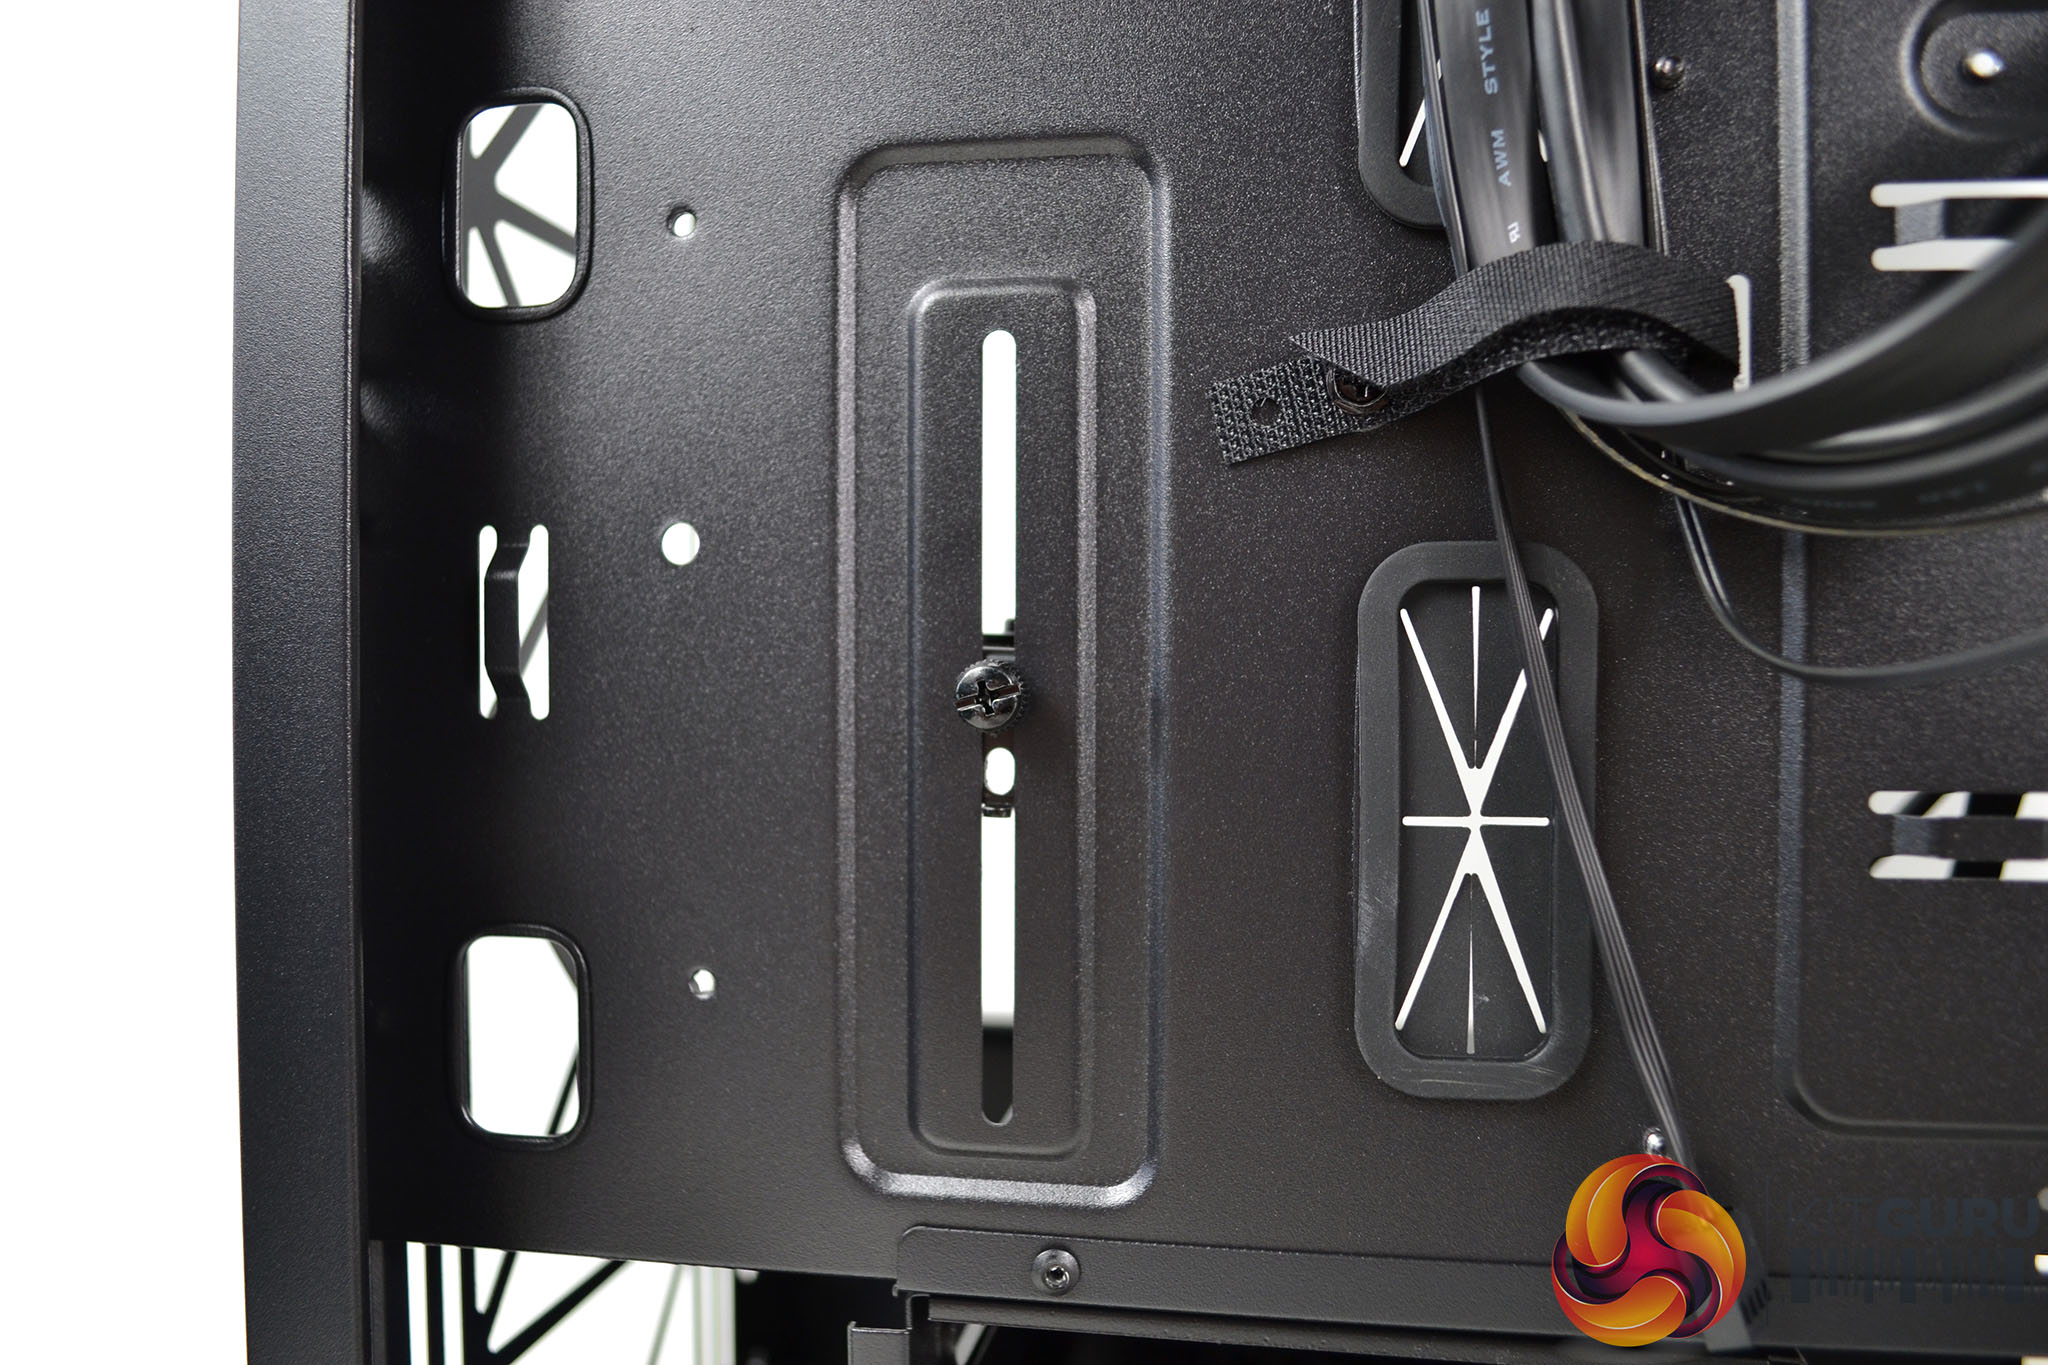
Just above the power supply shroud are two additional brackets for mounting 2.5-inch HDDs or SSDs and to the left is the VGA support bracket. From here we can loosen off the VGA bracket retaining screw and adjust its height by moving it in the slot.
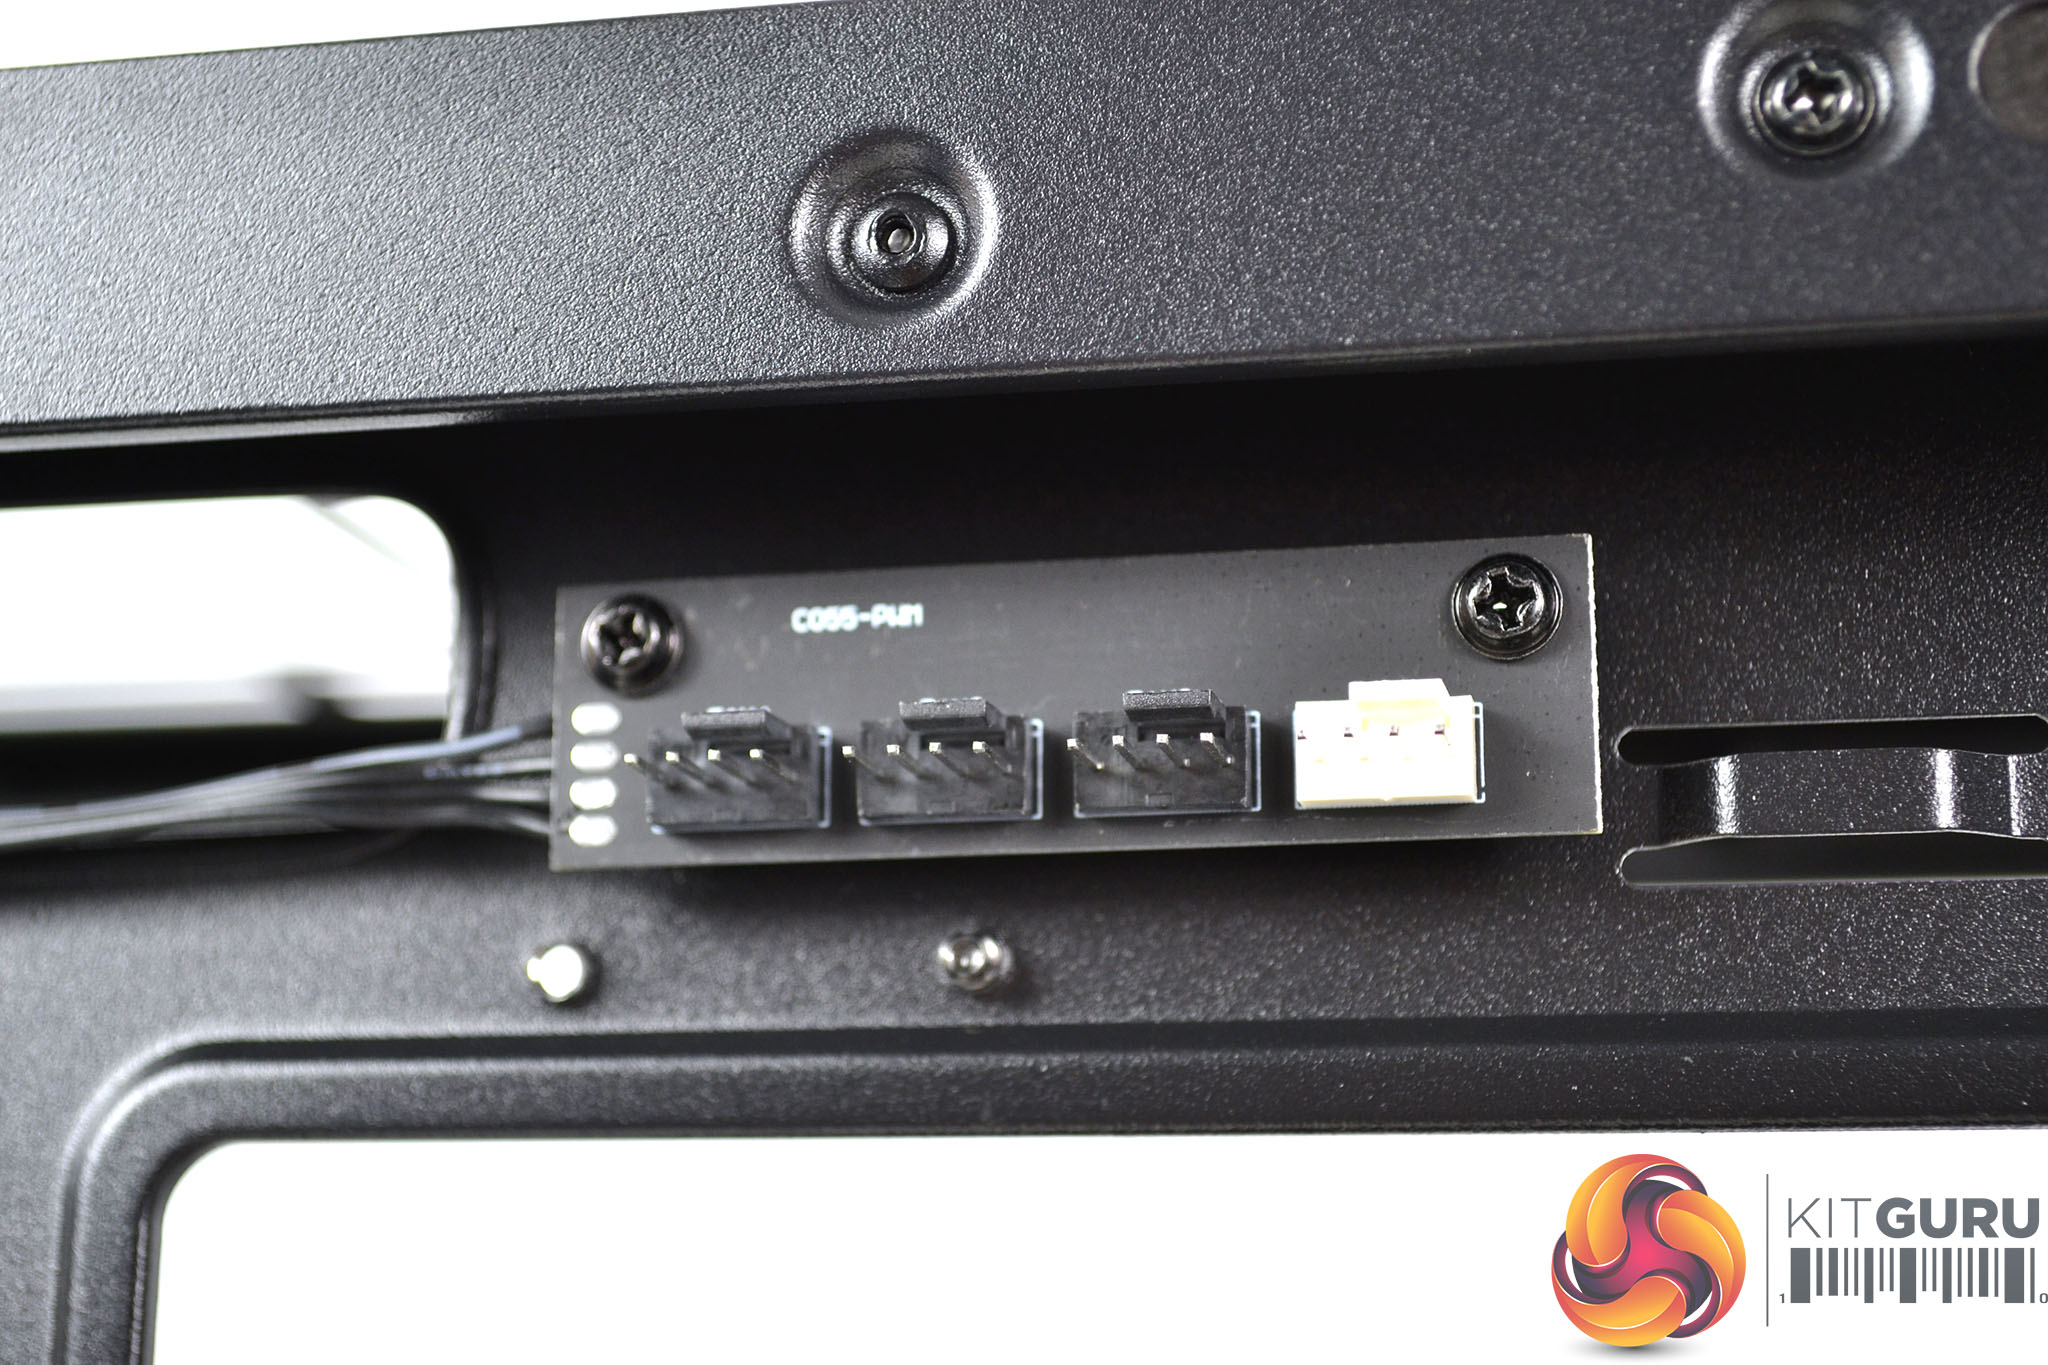

Right at the top of the motherboard tray in the right-hand compartment is the integrated fan hub with four 4-pin PWM fan headers and a single PWM cable to connect with a motherboard header. As well as a healthy 23mm cable management space behind the motherboard, there is also a generous number of eyelets to tie cables down to, so we should be able to make a neat job of cable management when installing the system.
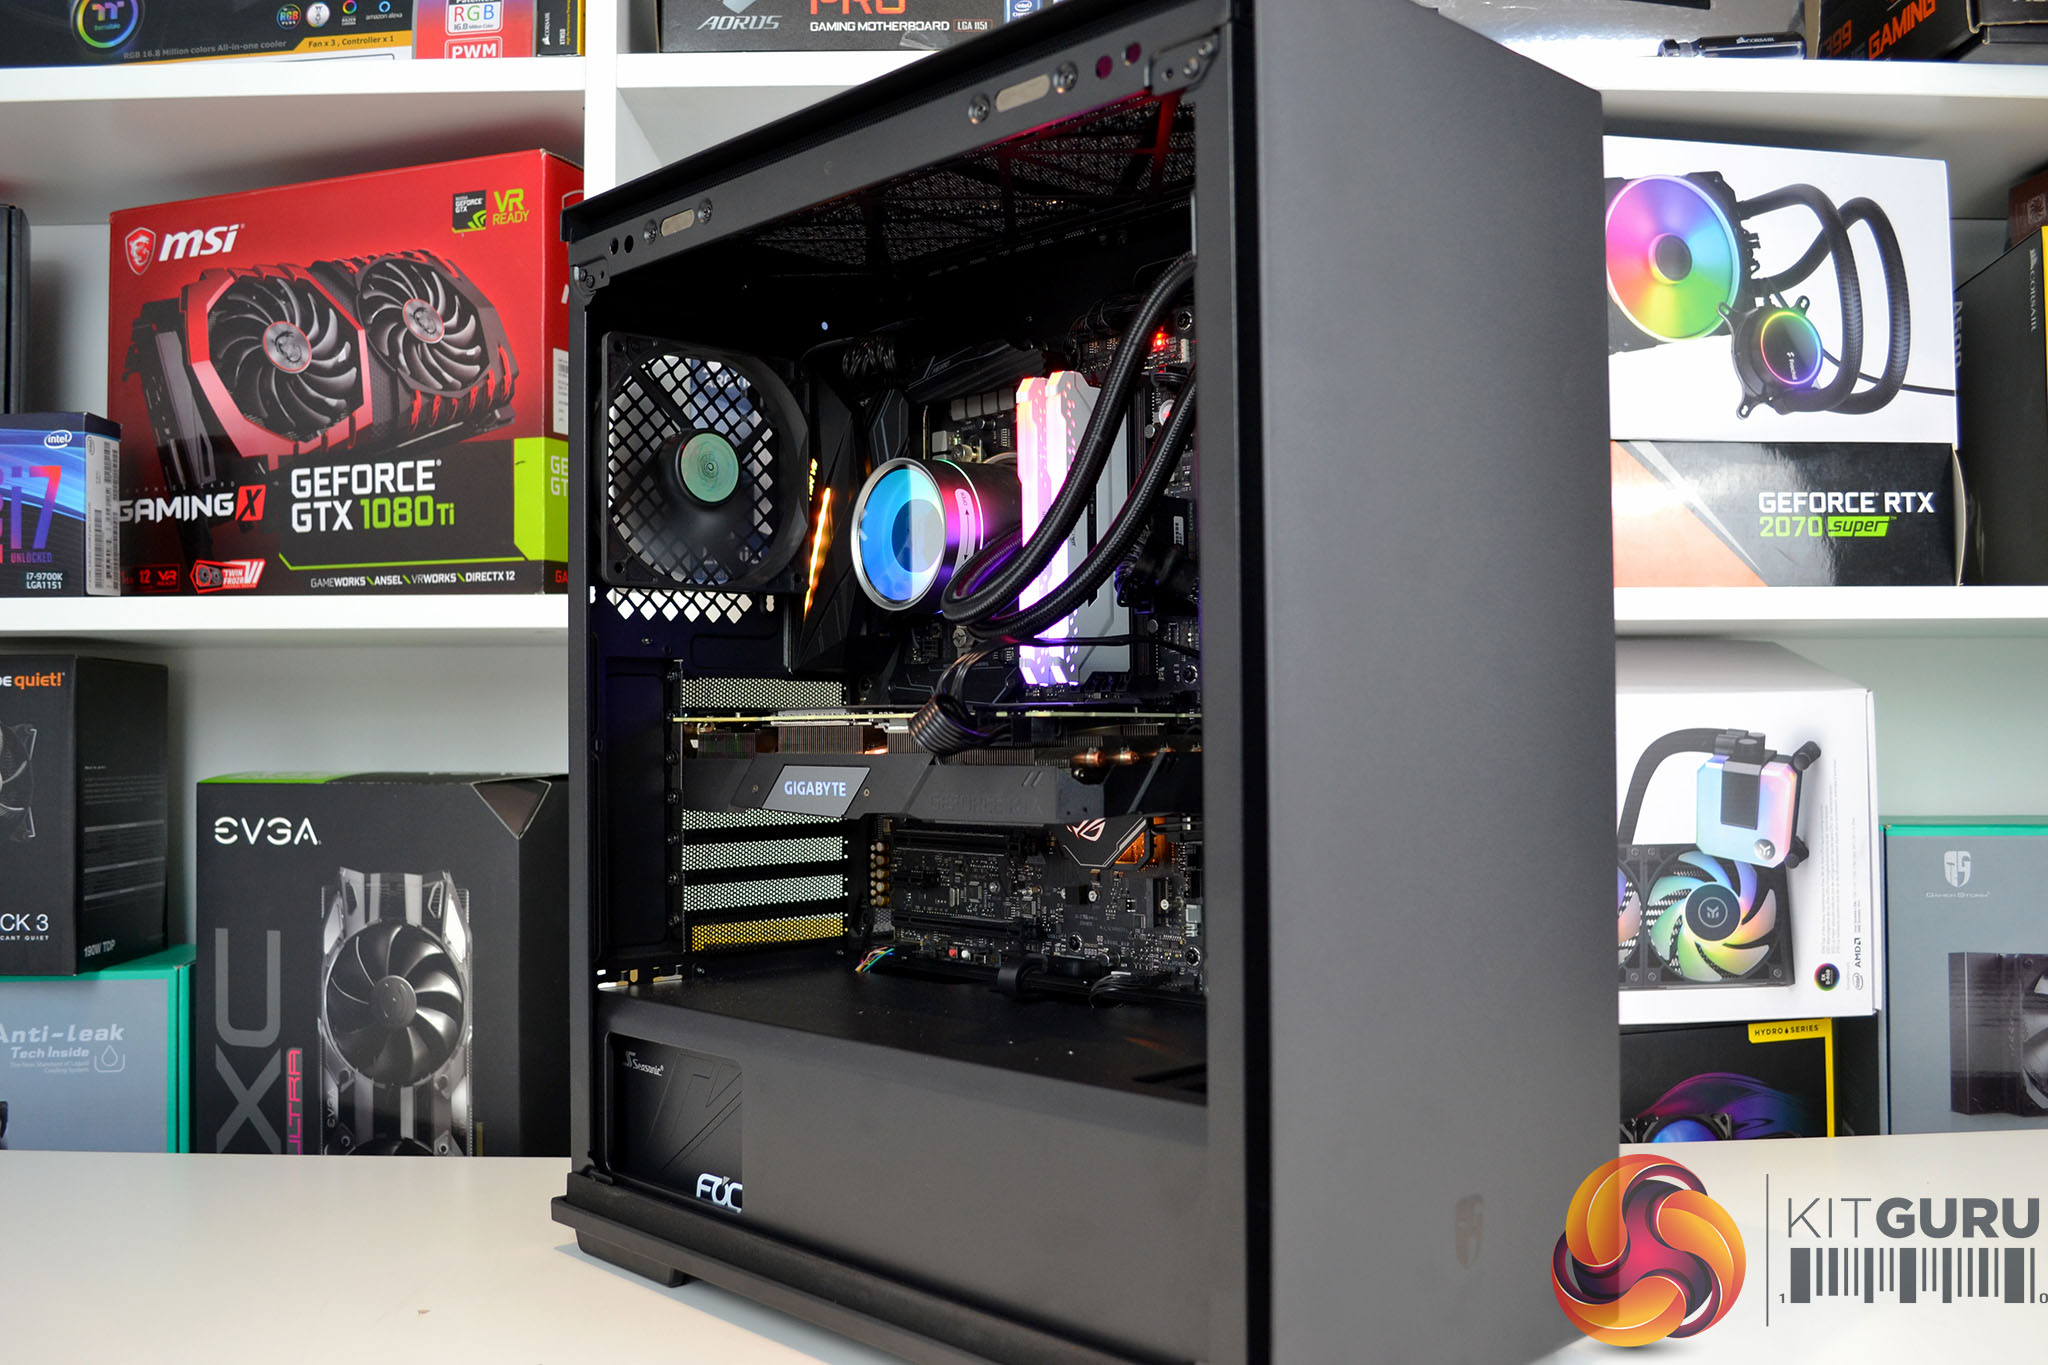
The system we have chosen for this case is based on an AMD X470 motherboard platform from Asus with the ROG Crosshair VII Hero, an AMD Ryzen 7 2700X processor, 16 GB (2 X 8GB modules) Corsair Vengeance RGB PRO DDR4-3200 MHz memory, Gigabyte RTX 2070 Super Gaming OC graphics, while for storage we will use the Corsair Force LE 200 240 GB SSD and a mechanical HDD. To power the system we have chosen a Seasonic Focus PX-850 850W power supply and cooling will be dealt with via a Deepcool Castle 240EX AIO cooler.
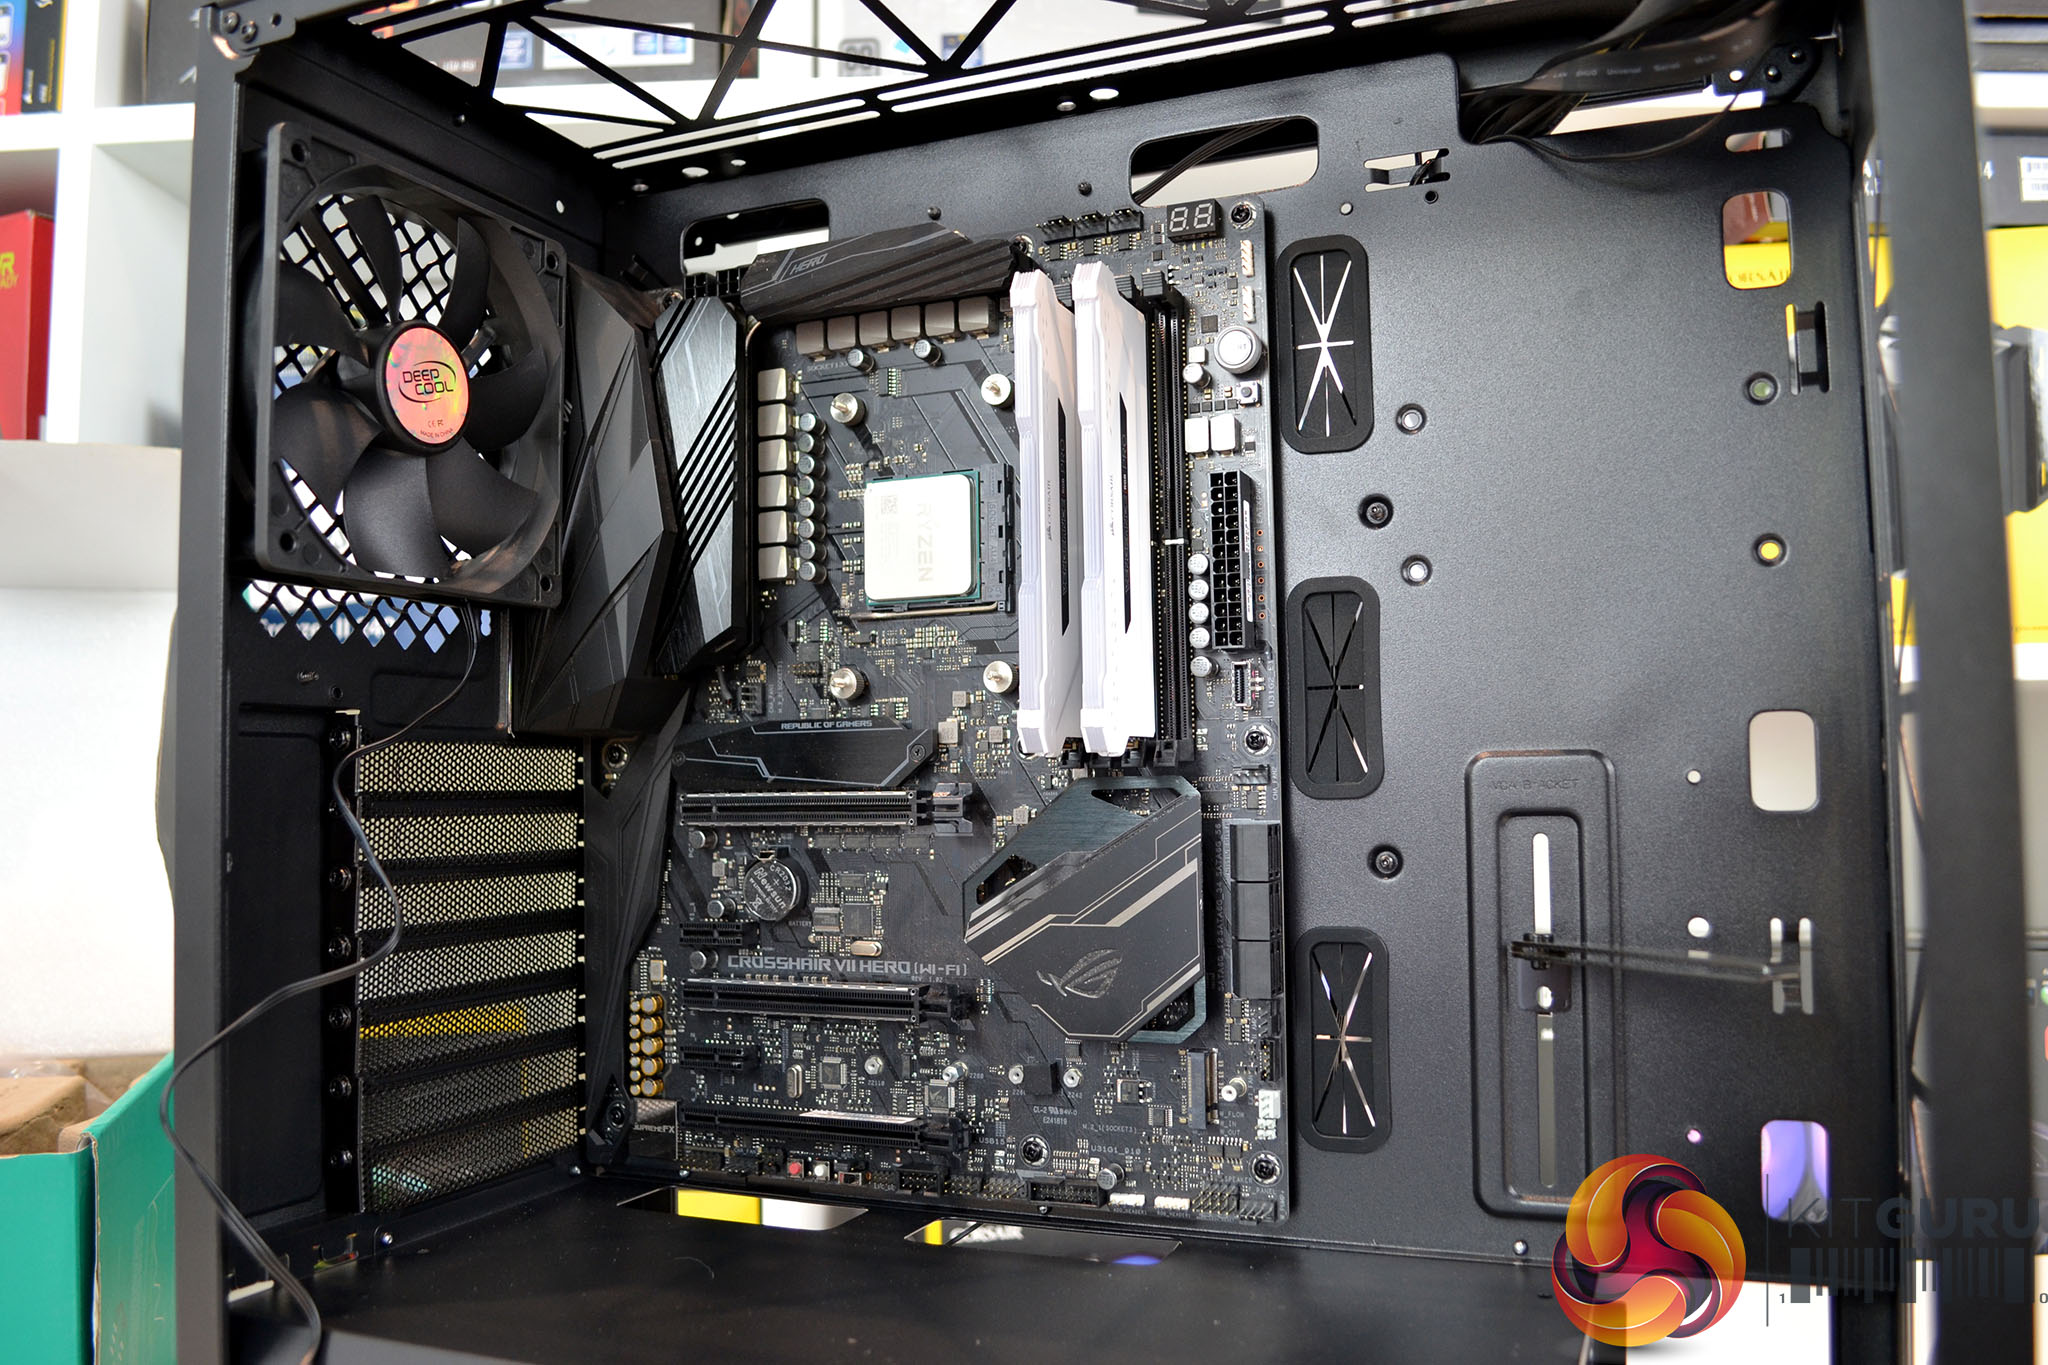
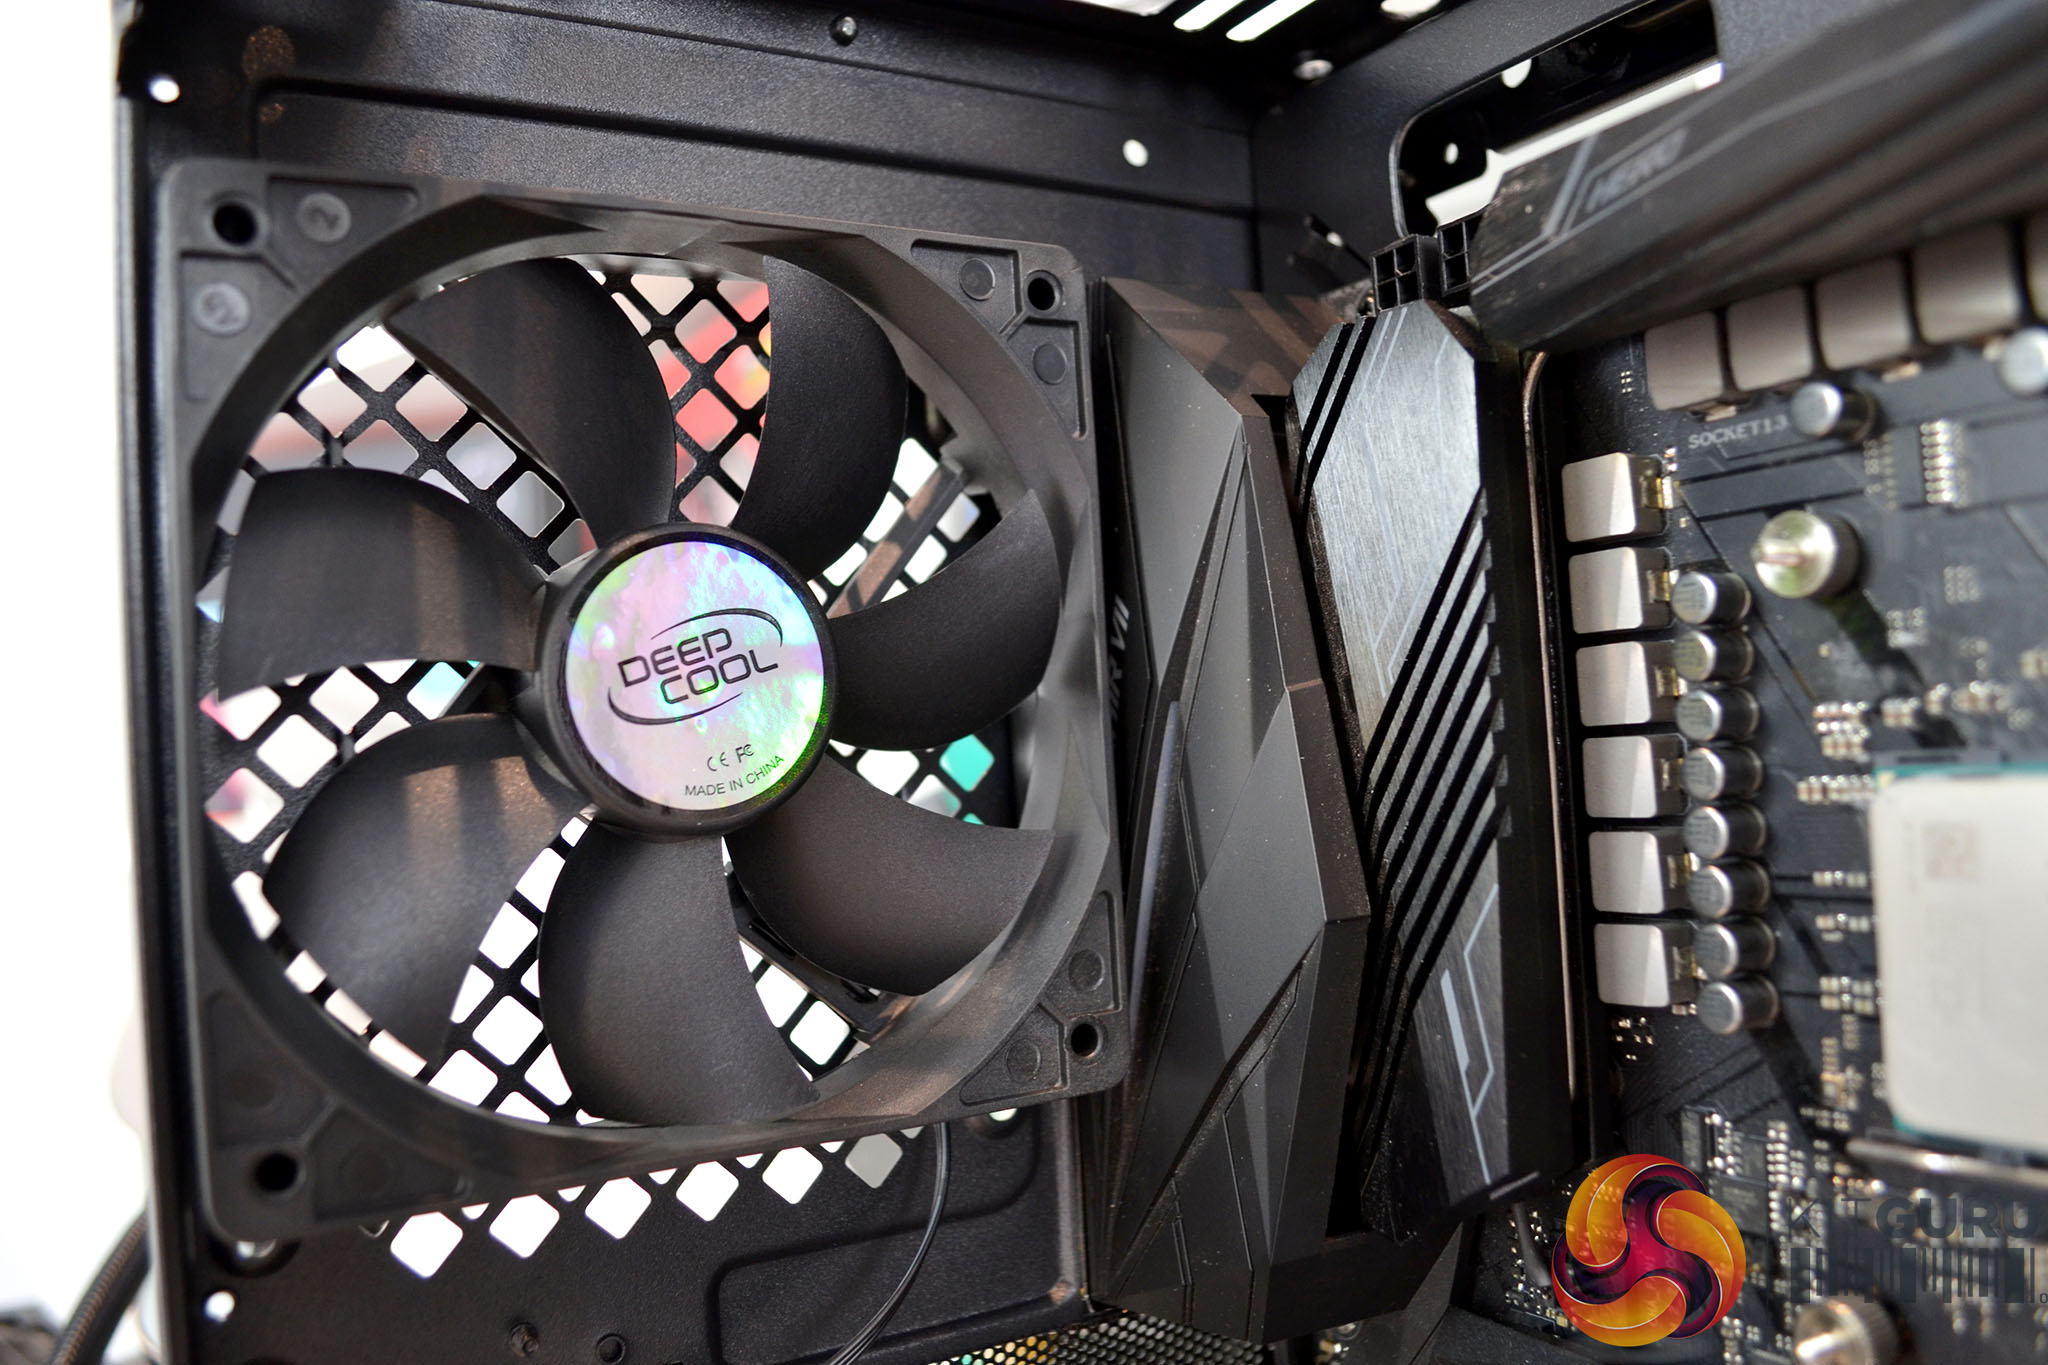
Since the Deepcool Macube 310P has no 5.25-inch optical drive bays at the front of the case, there is ample space to install the motherboard. The pre-installed 120mm exhaust fan is close to the I/O shroud of our Asus motherboard but we managed to manoeuvre it into position relatively easily and without interference from the 120mm fan.
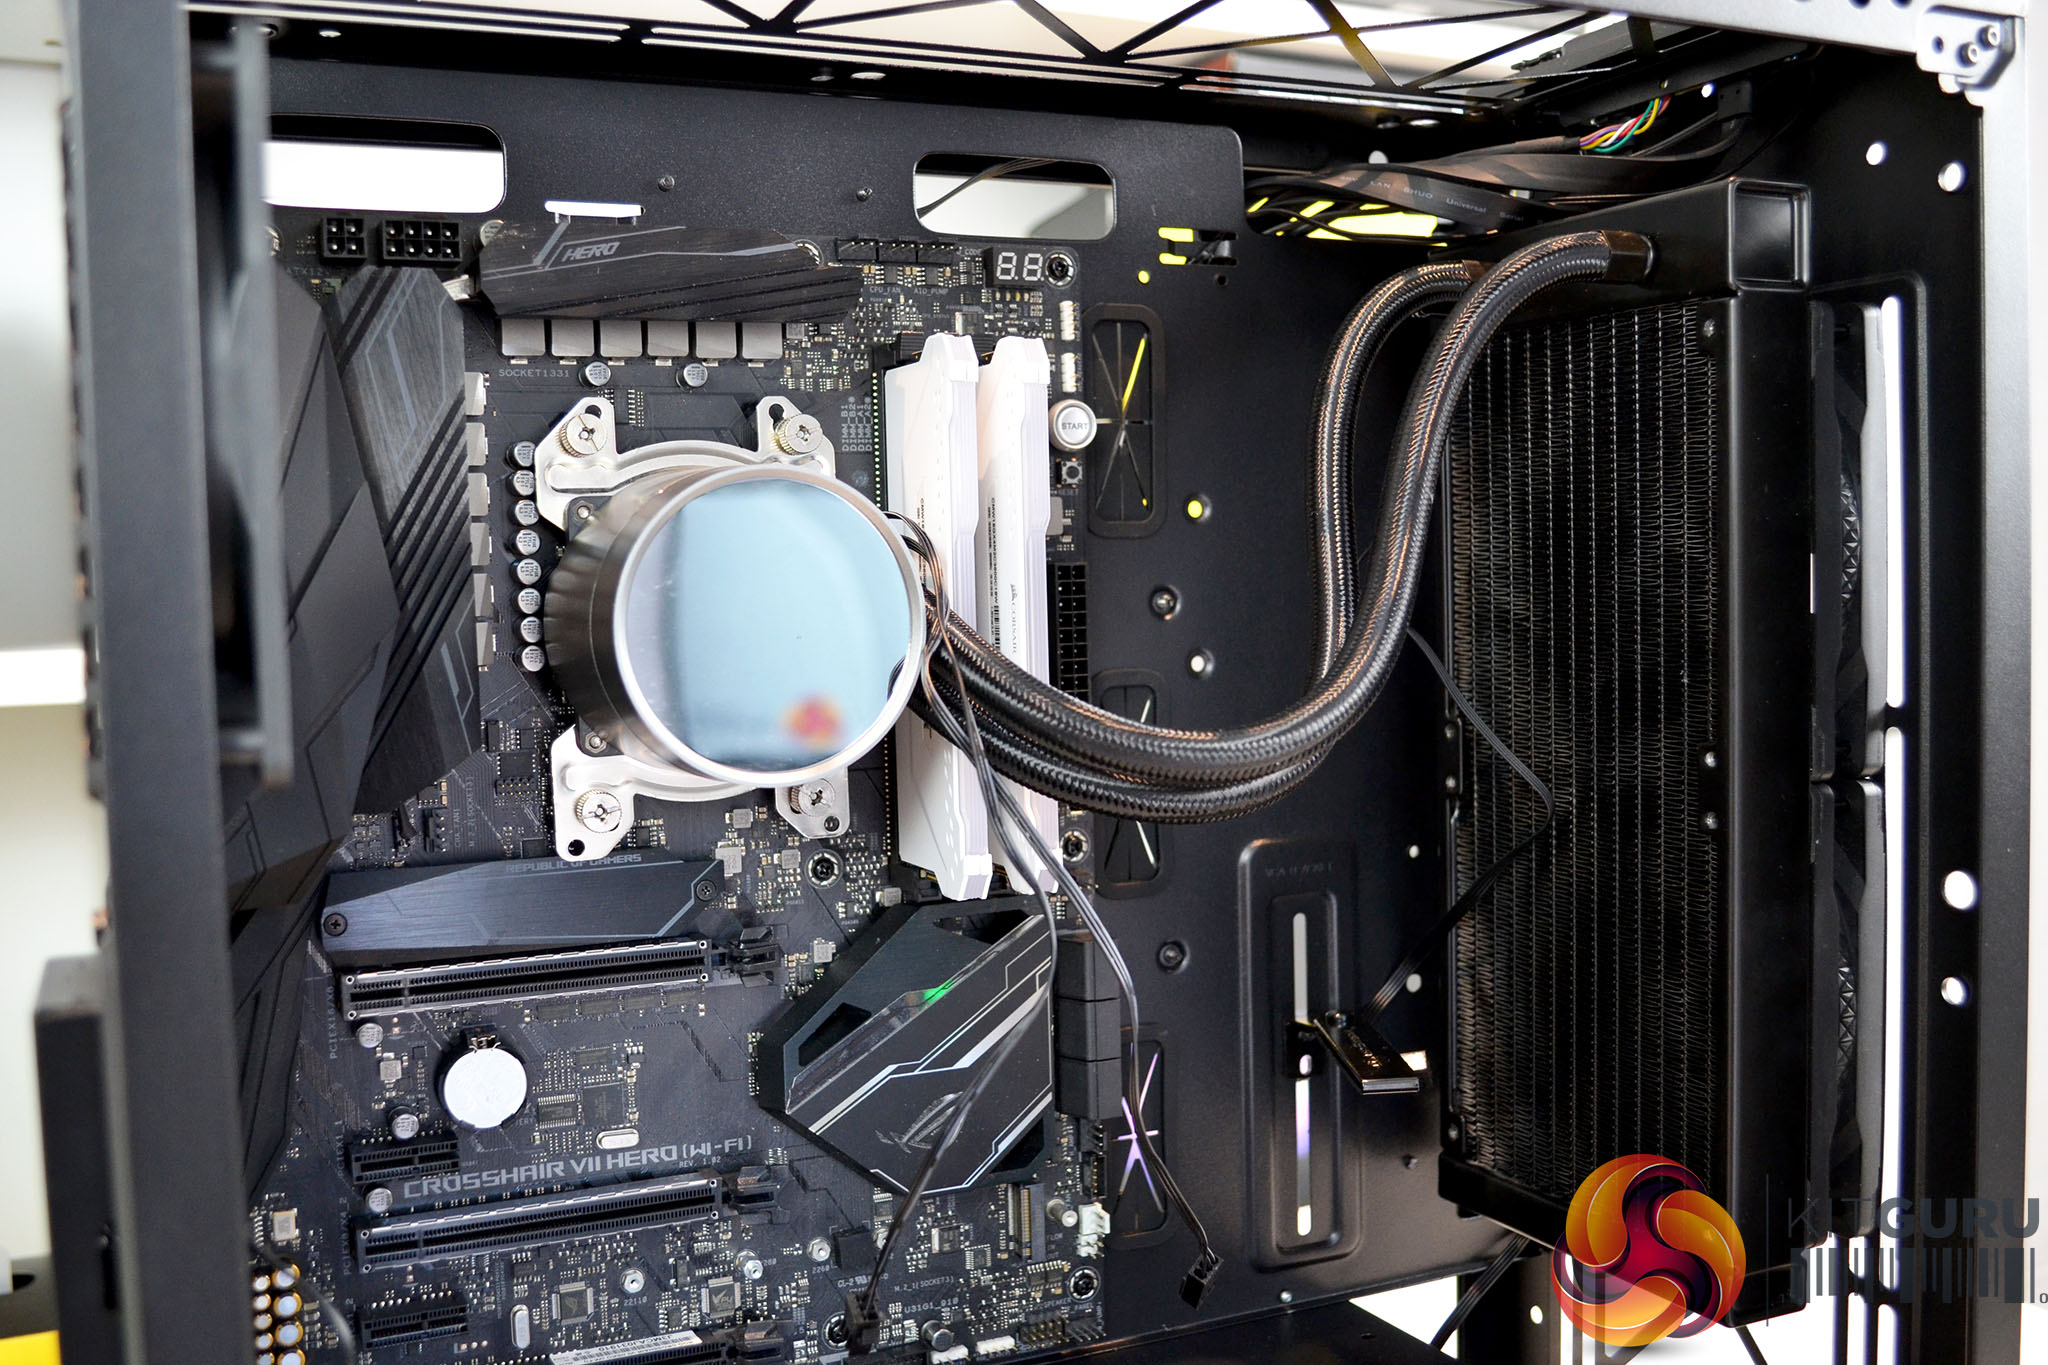
With all this space at the front of the case, we decided to fill it with an AIO CPU cooler since this is the only position in the case where one can be installed. The generous amount of space at the front of the case made installing the AIO easy work and still leaves plenty of room for a long graphics card.
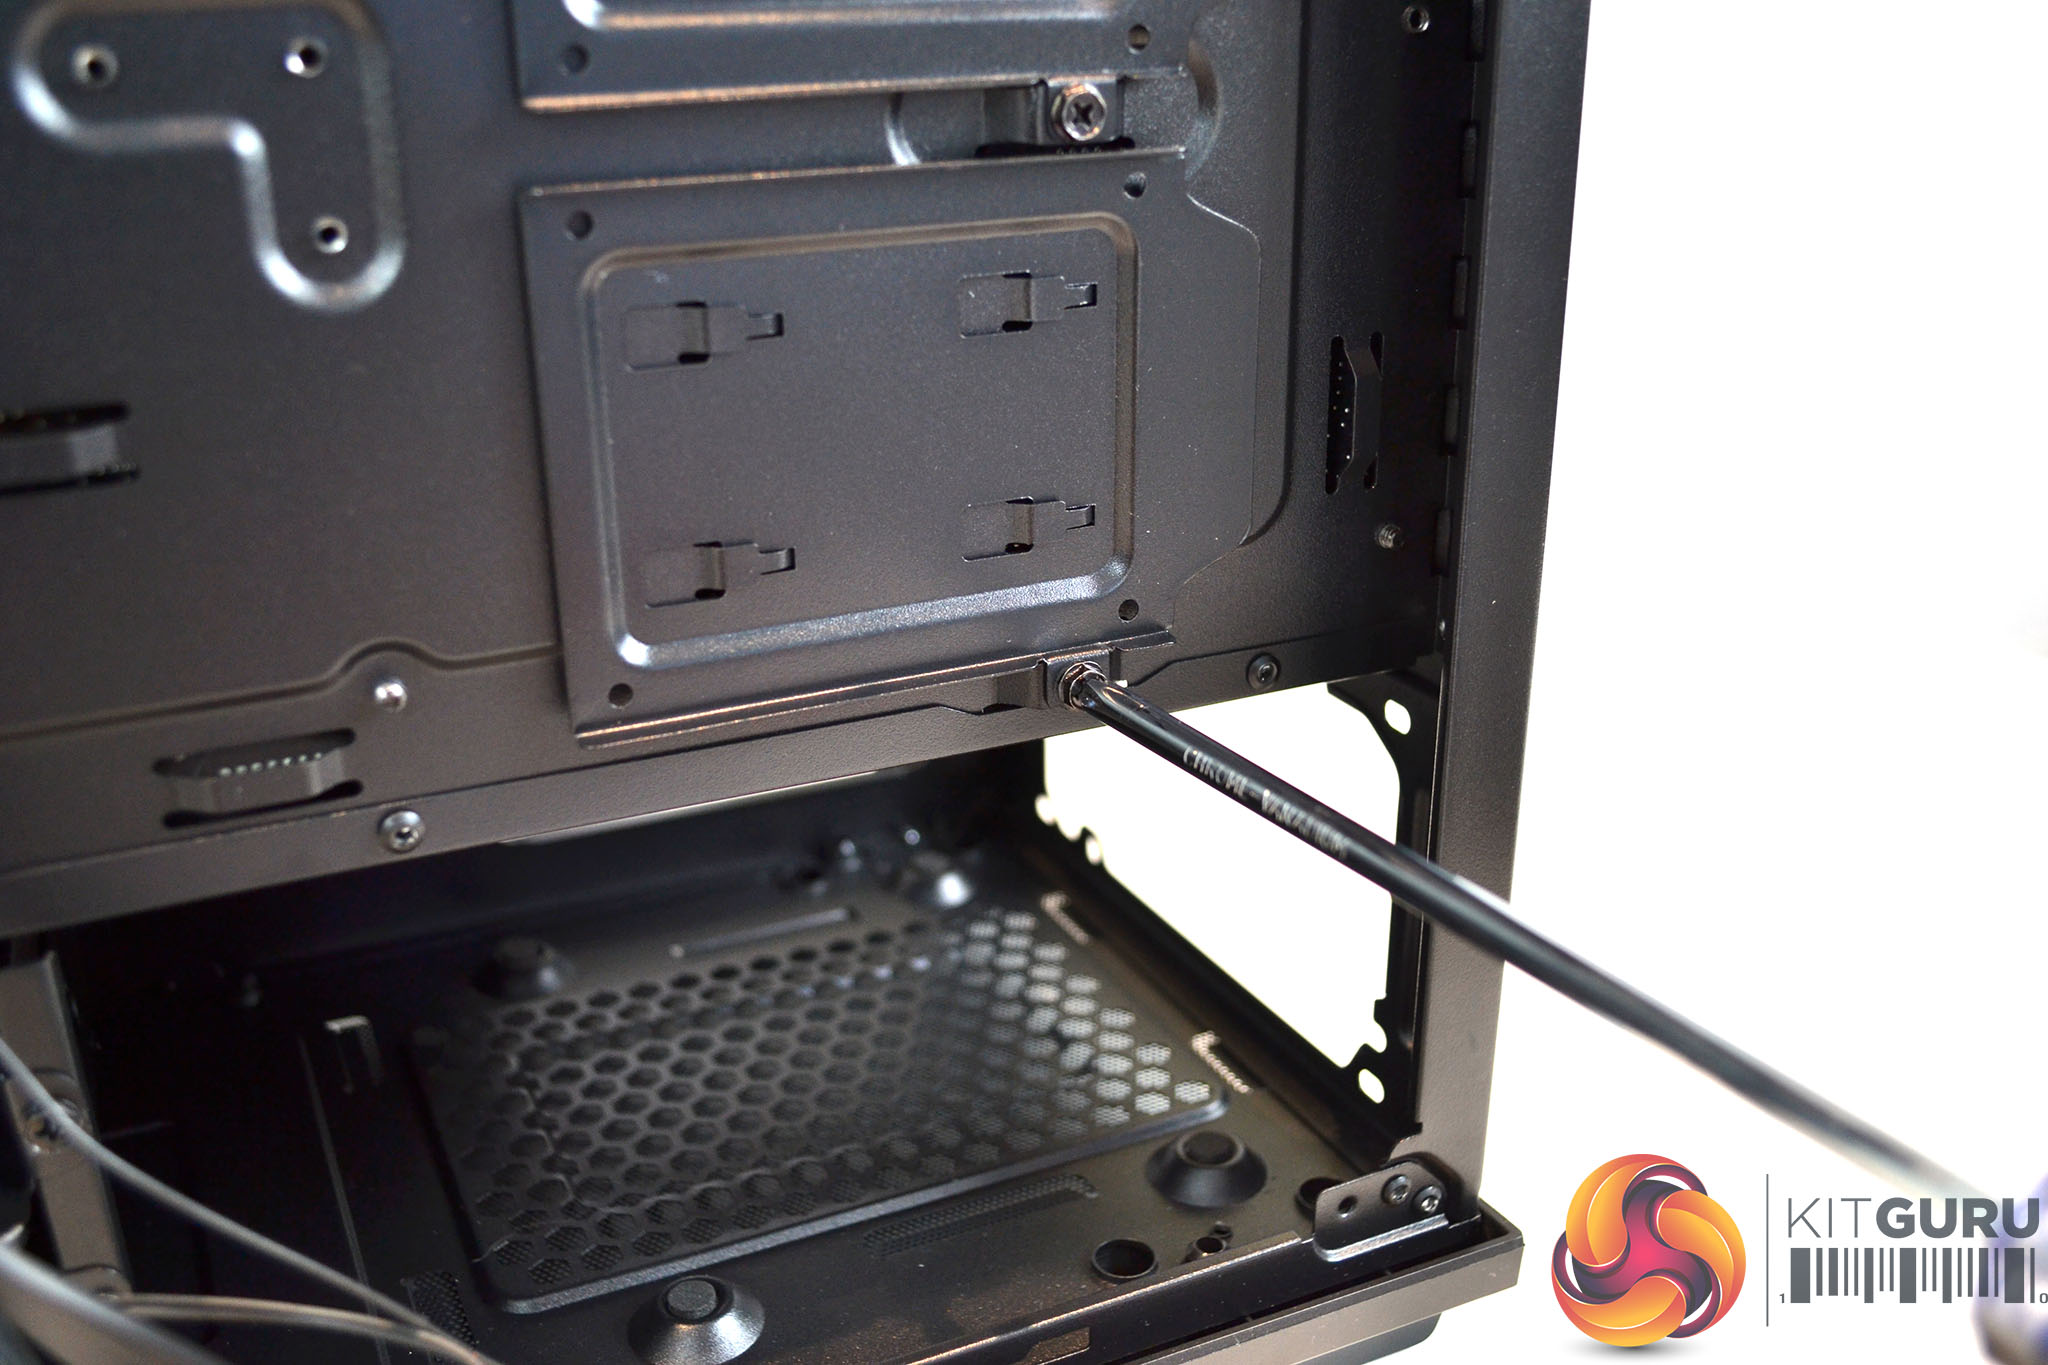
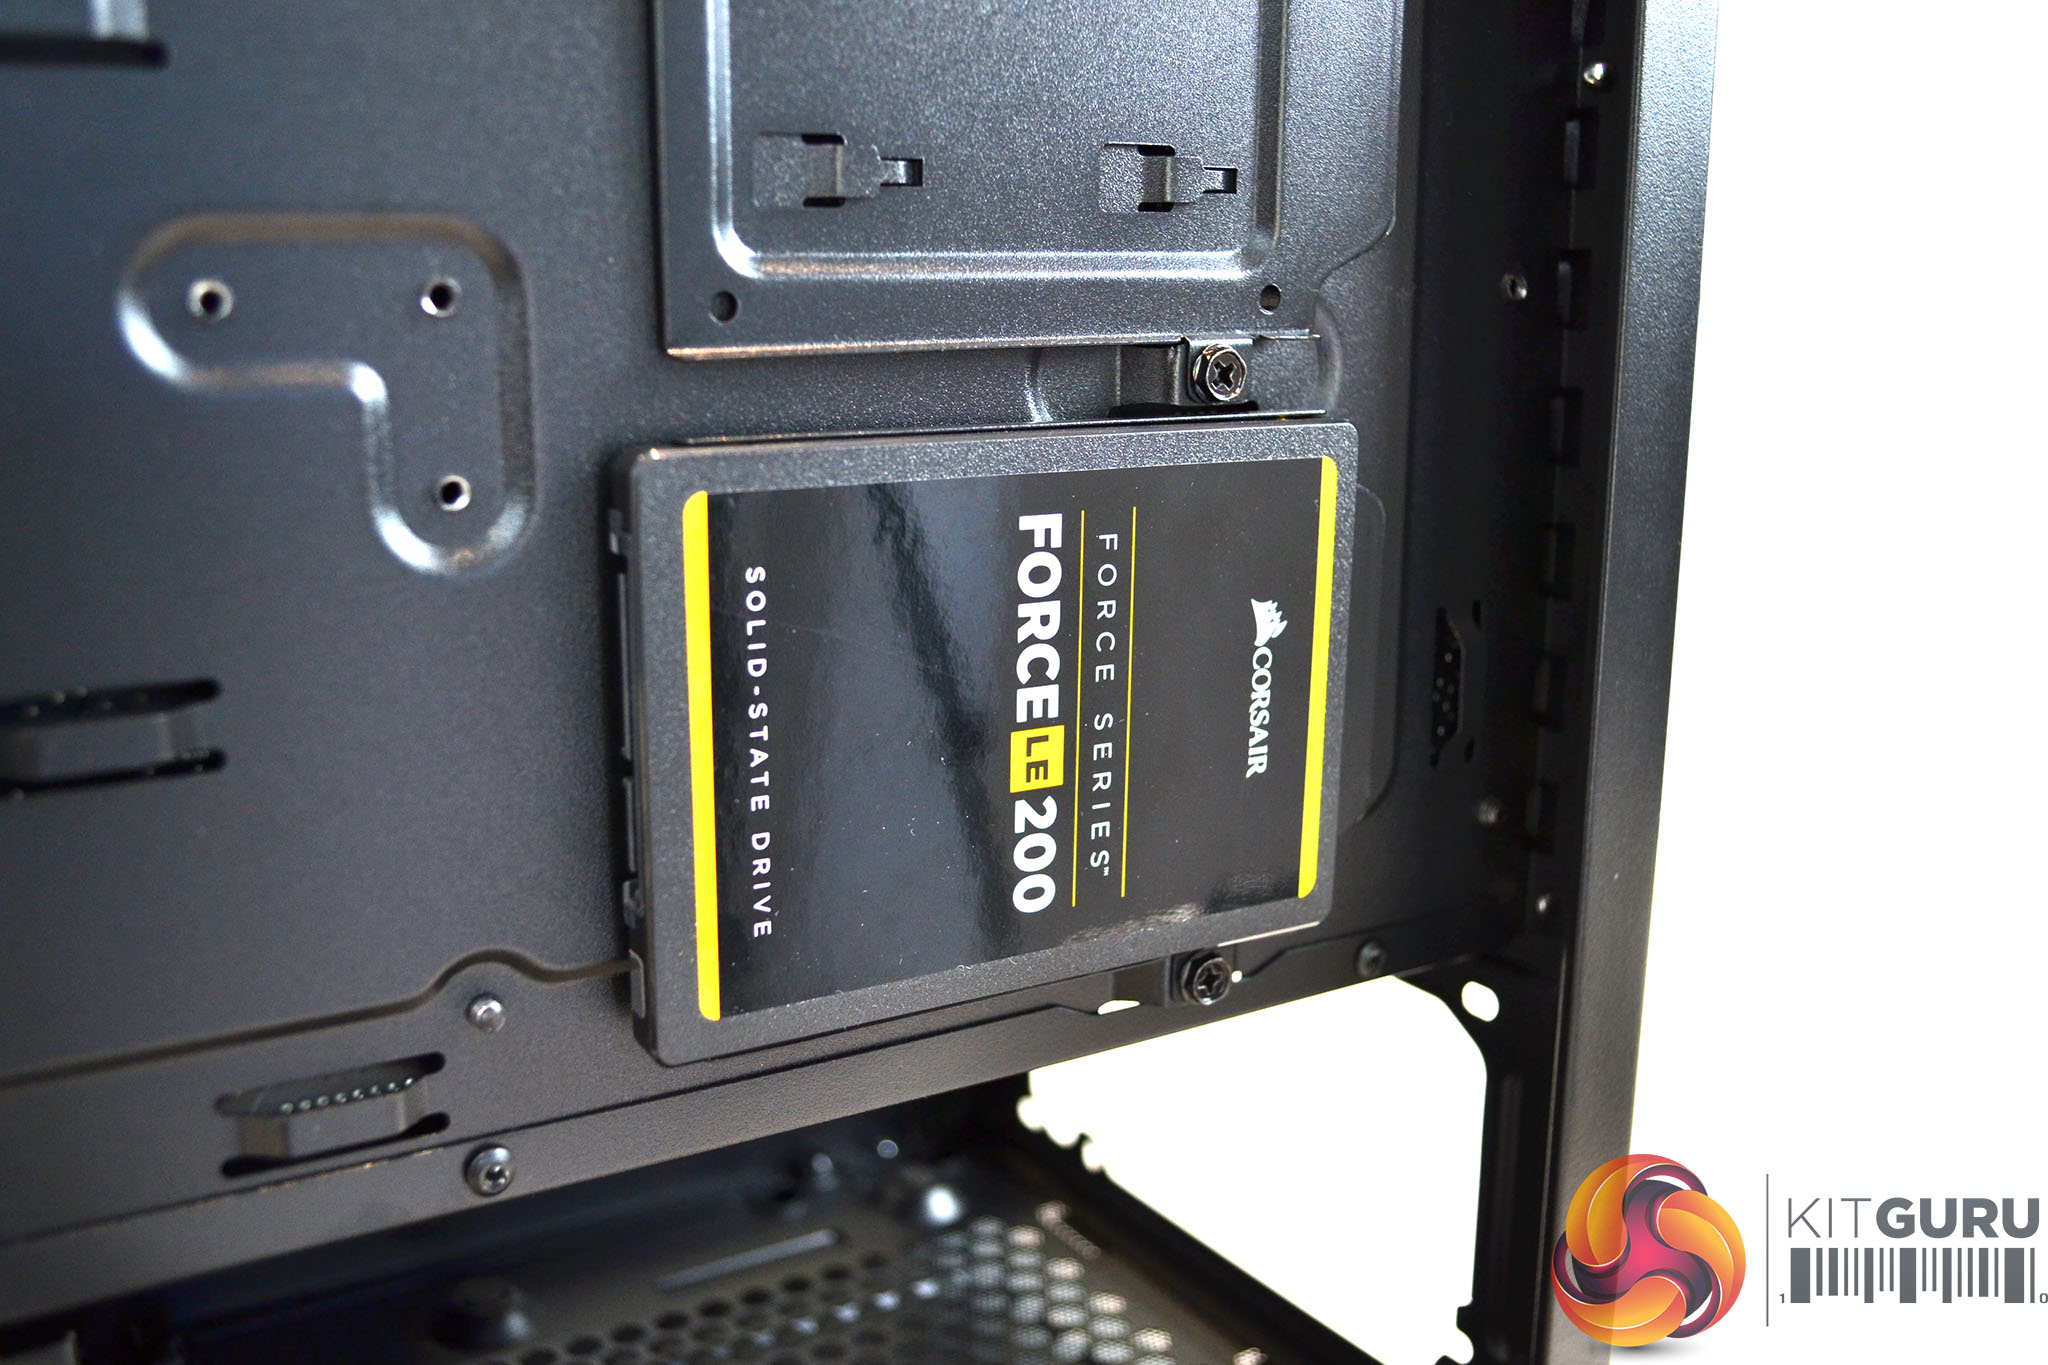
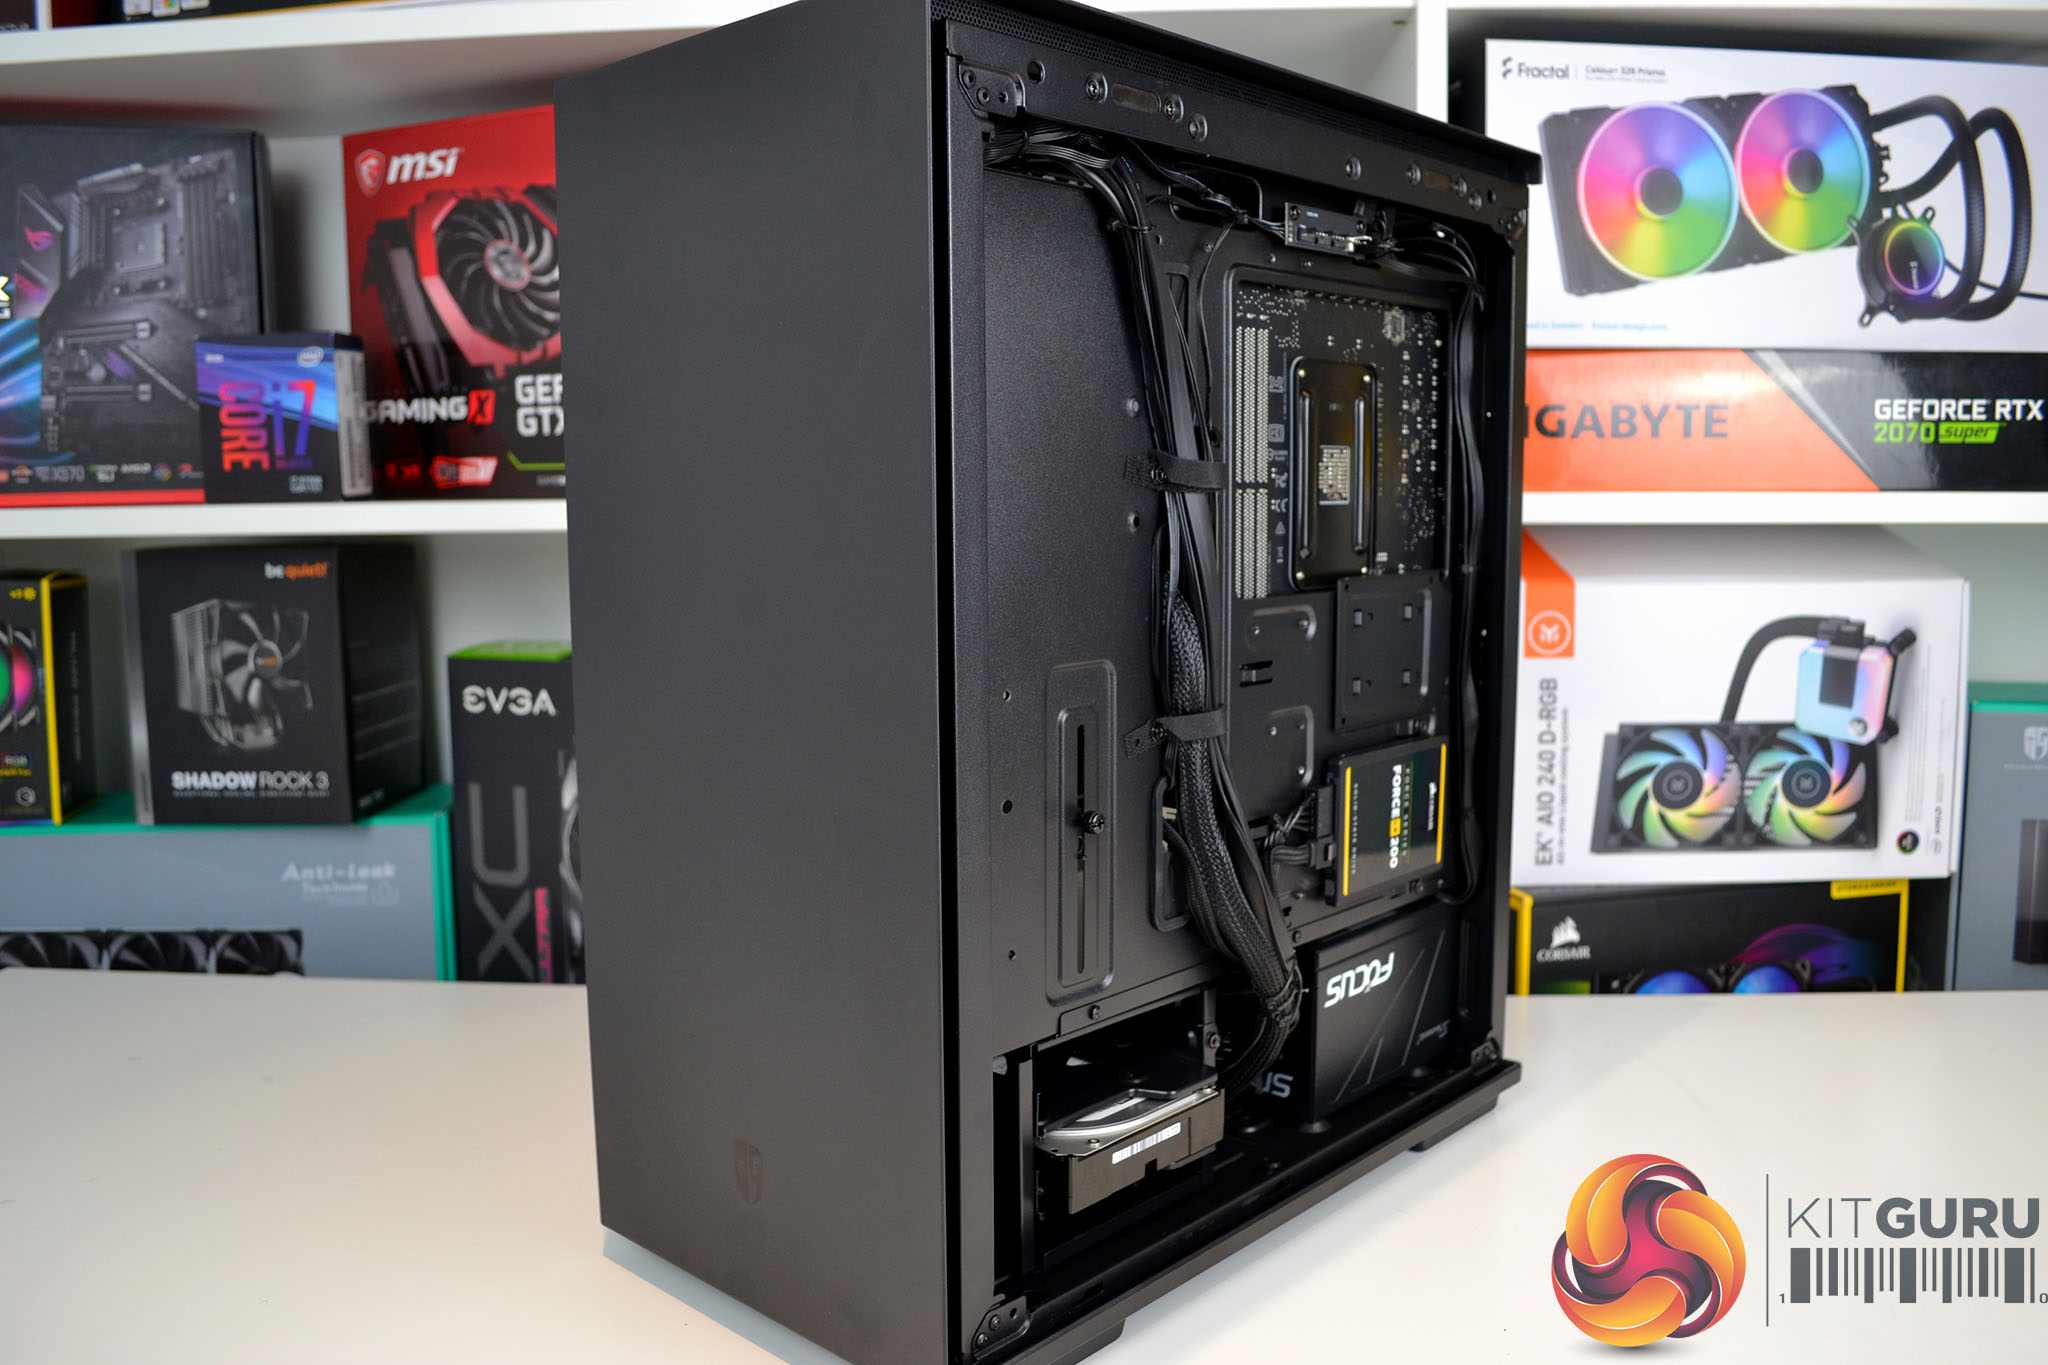
SSD installation using the removable brackets on the rear of the motherboard is simple, Just loosen off the single bracket retaining screw, fit the SSD to the bracket with four screws that are provided with the case and then fix the bracket back in its position.
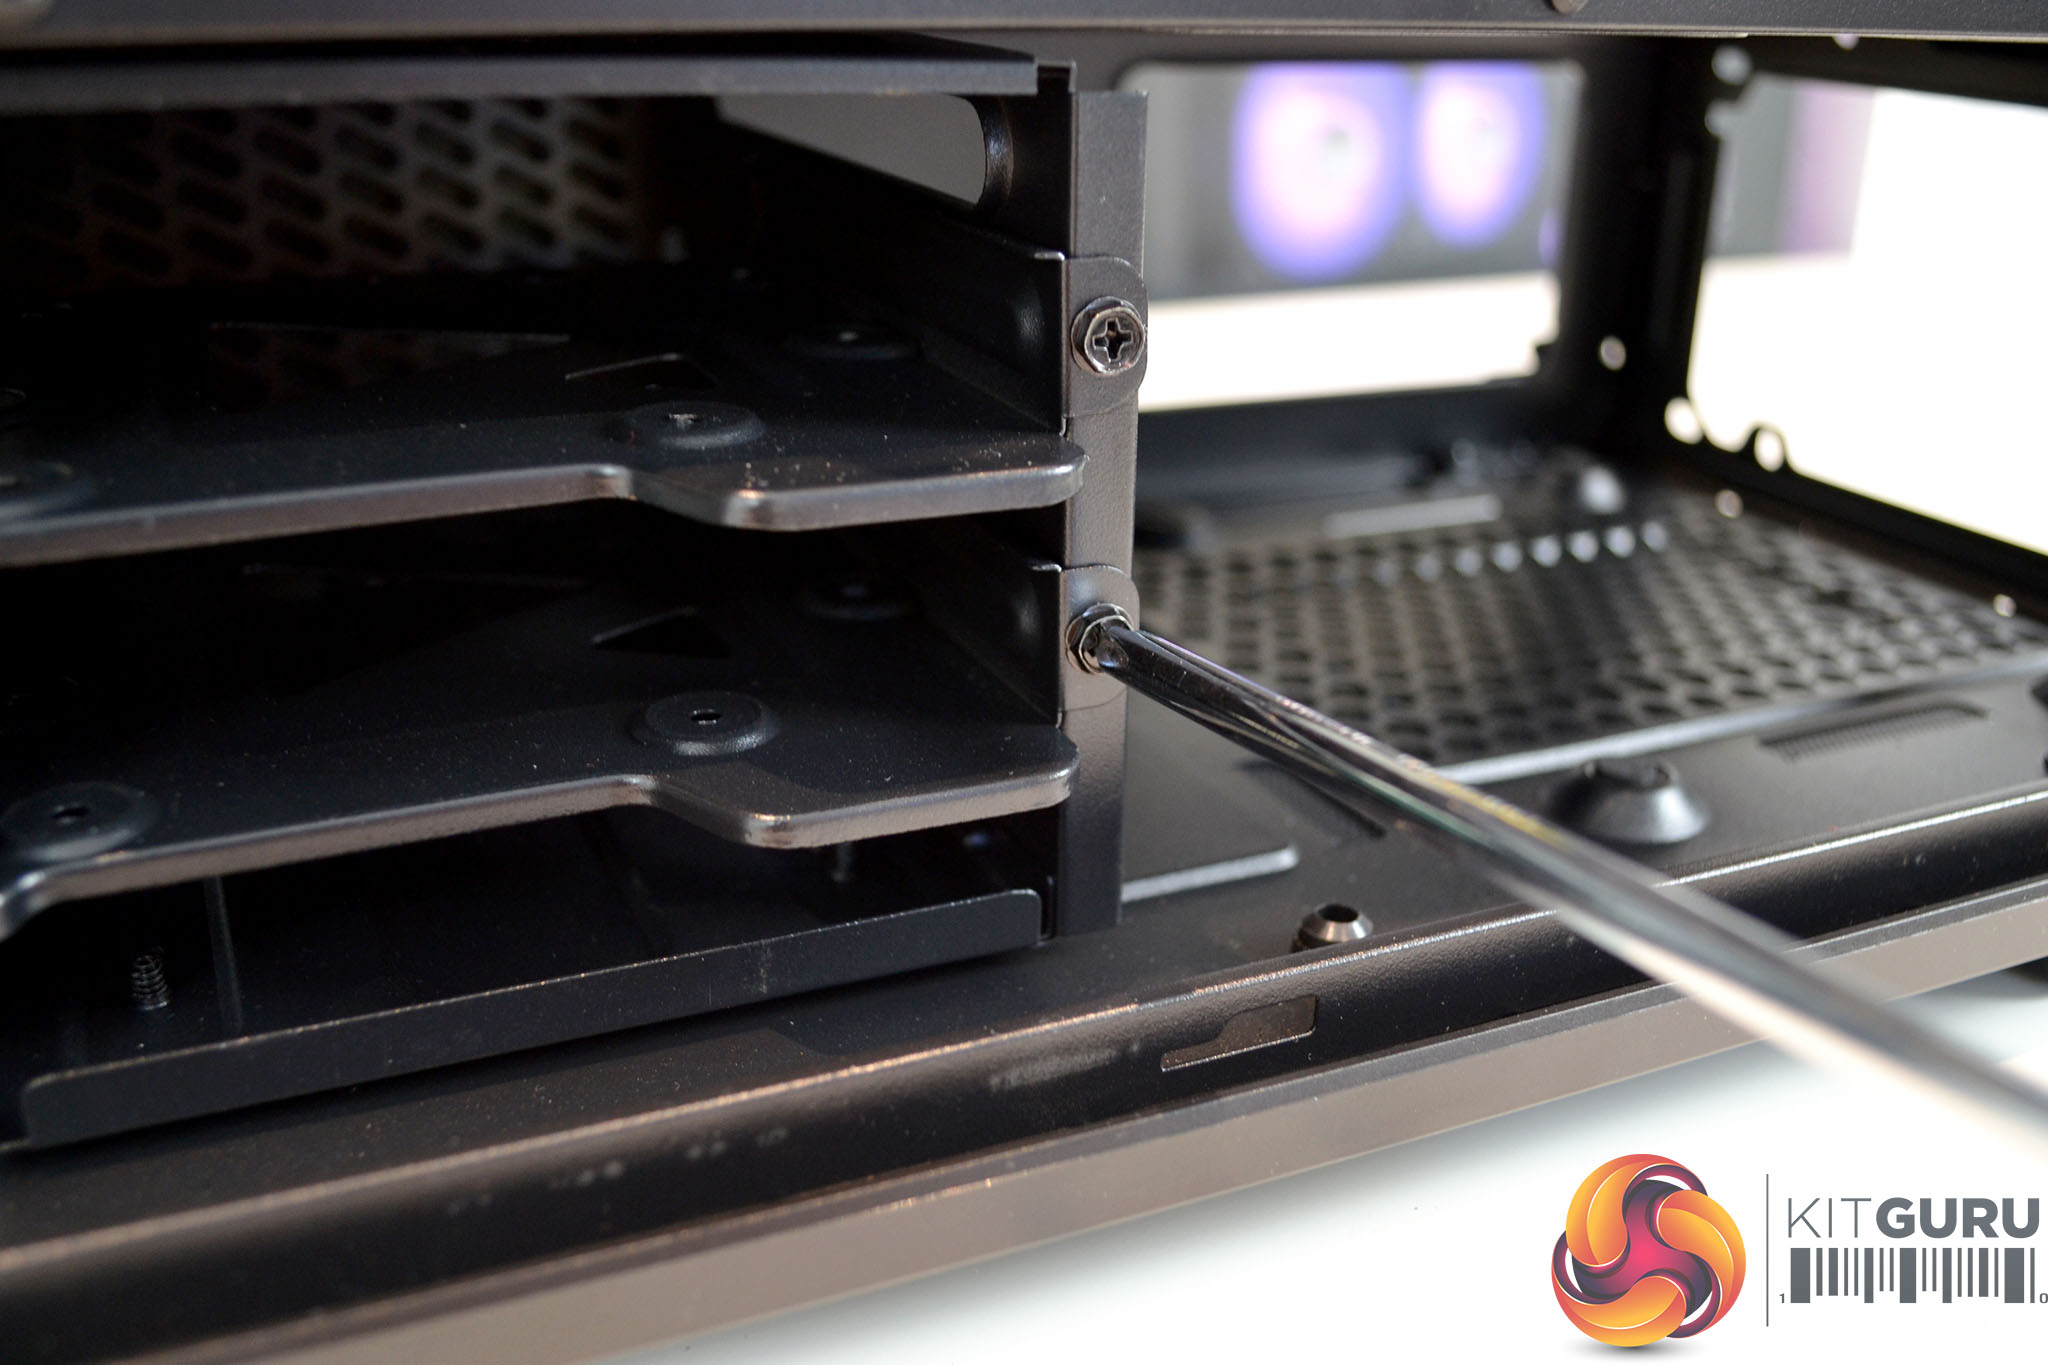
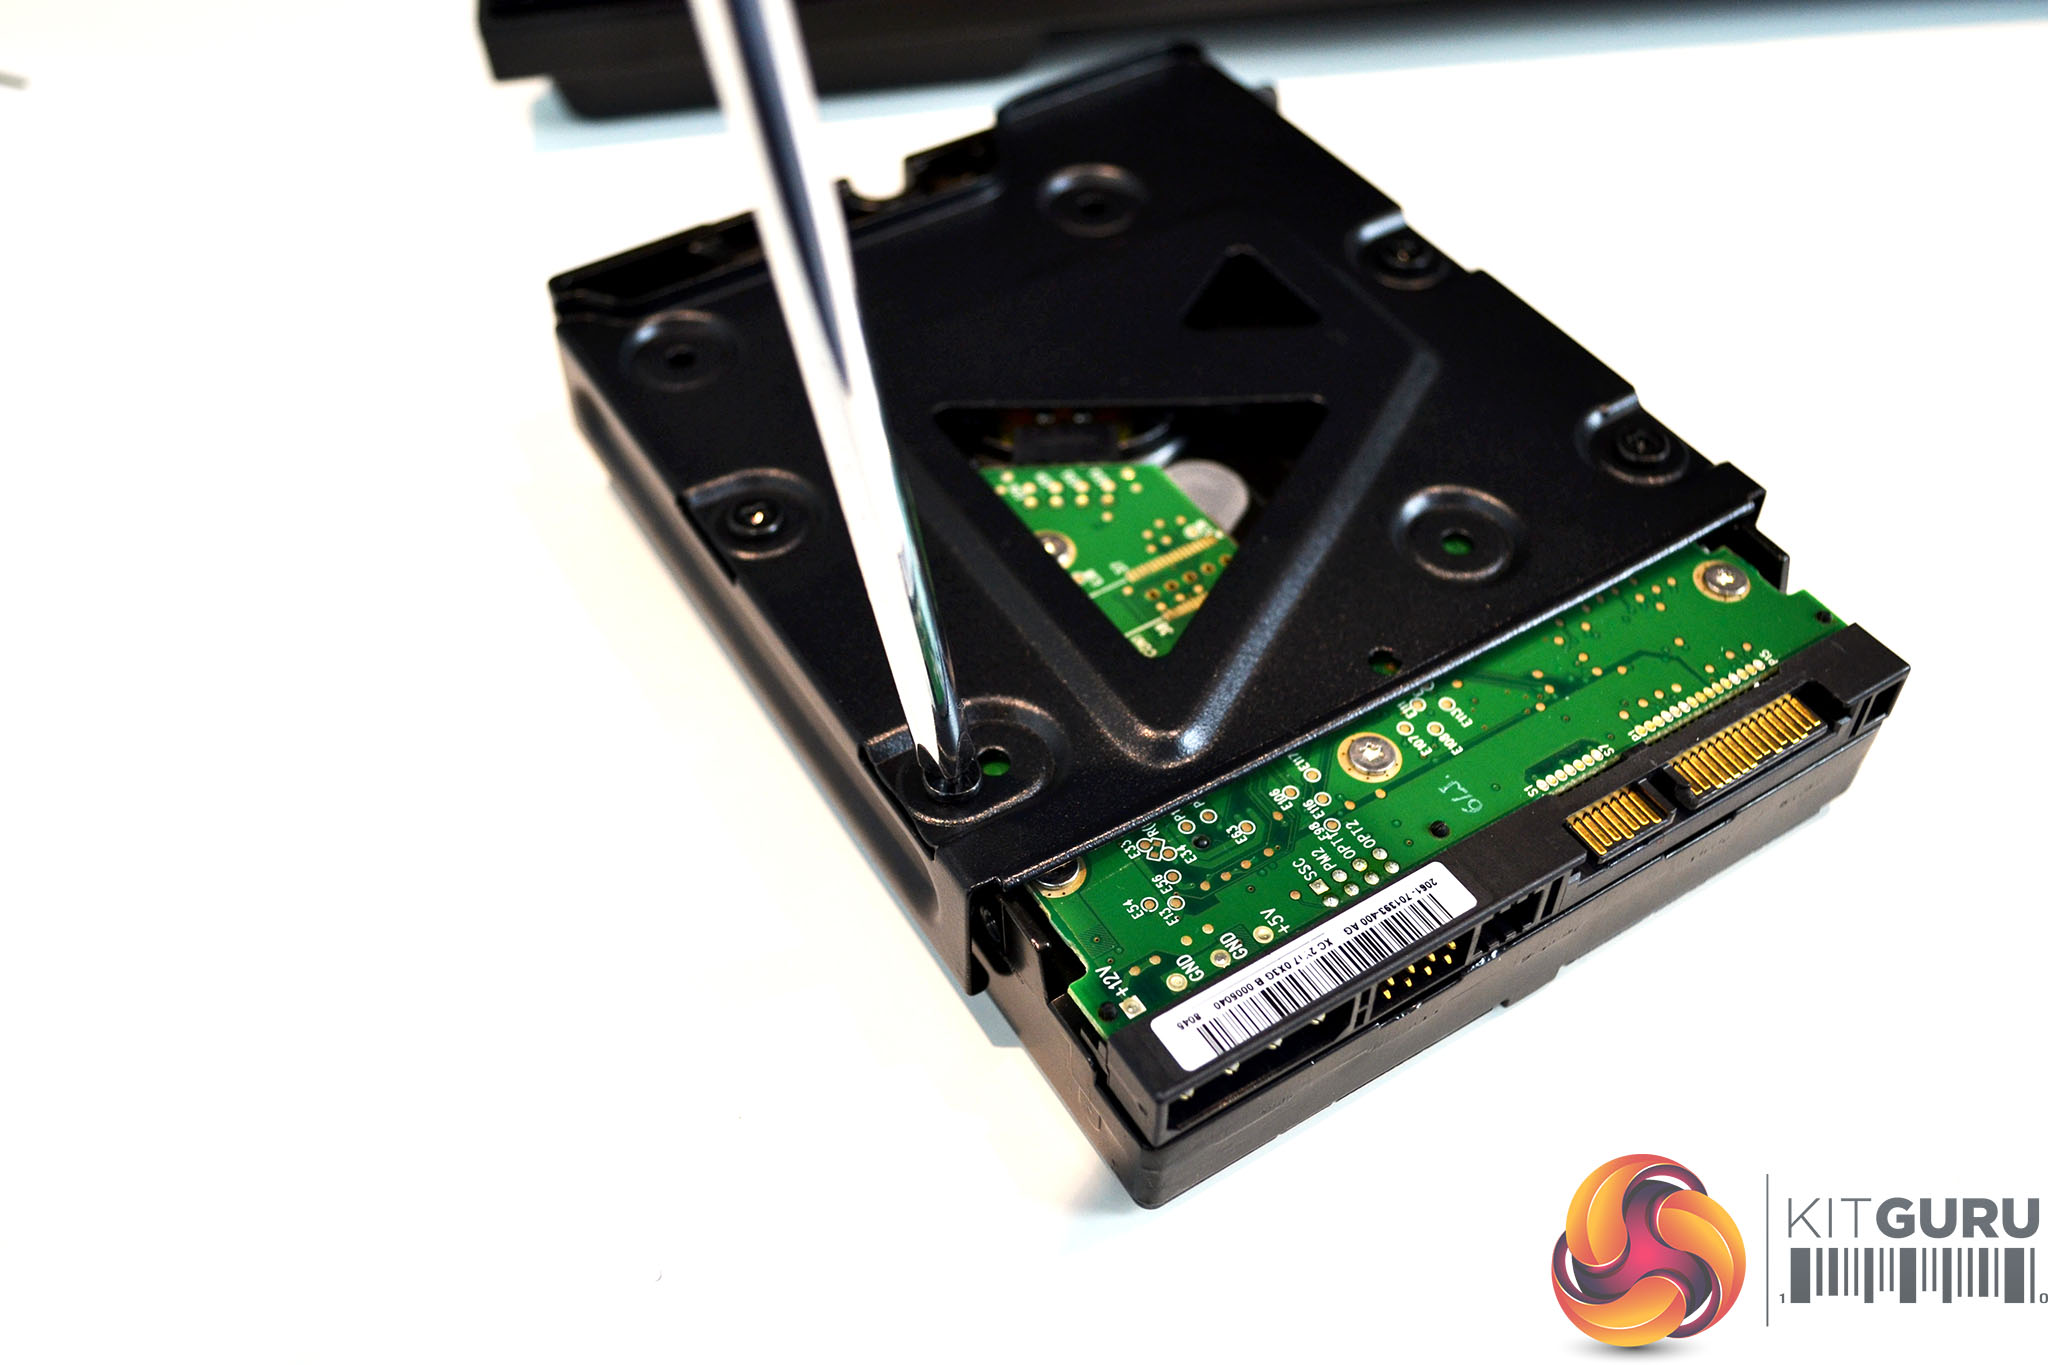
Installation of a HDD is also a simple process with the Macube 310P. Fitting a 3.5-inch drive in the HDD cage requires removal of one screw to slide the bracket out, then using the provided screws, fix the HDD into the bracket and slide the bracket back into the cage and secure with the retaining screw.


Often with compact mid-tower cases such as the Macube 310P, installing the power supply can be a challenging experience since space is restricted. With the Macube 310P, it isn’t too bad and there was just enough space to slip our Seasonic Focus Power supply into position without too much hassle.
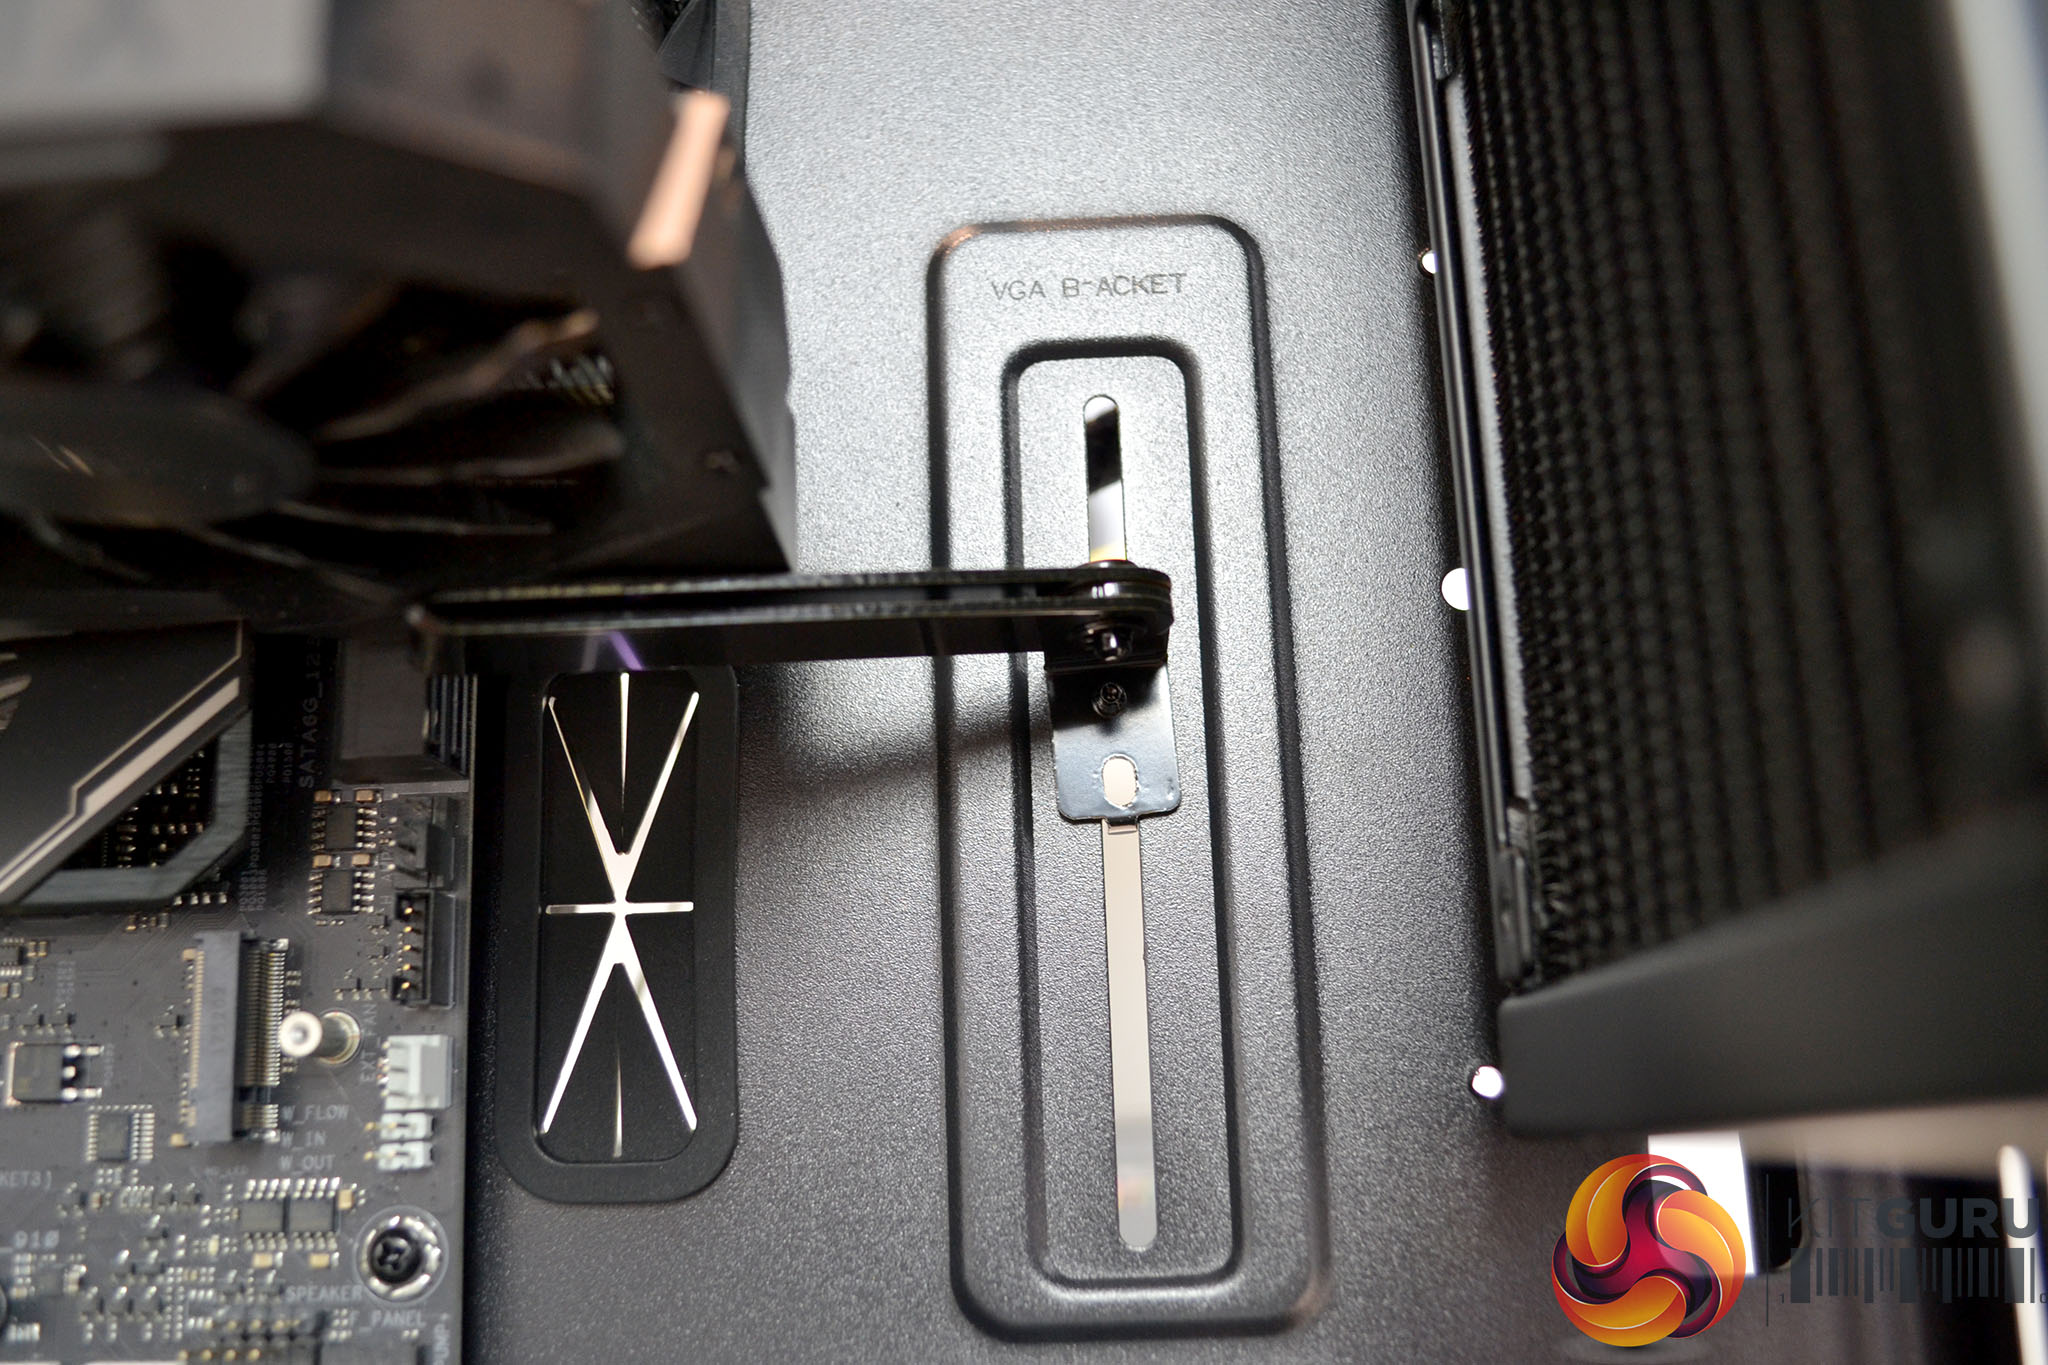
Removal of the GPU vertical mounting cover plate is required to install PCIe expansion cards. Once we removed the cover, installing the graphics card was simple as there is plenty of space inside the Macube 310P, and I’m pleased to say that the VGA support bracket actually works, who would have known that such a simple idea was all it needed to solve an issue we have been fighting for years.
Another area where the Macube 310P excels is cable management, cable cut-outs are all placed where they should be and there are plenty of eyelets to tie cables down on the rear of the motherboard tray. We would have liked all cut-outs to be protected by rubber grommets, however, we really can’t complain about how neat the build looks due to the impressive cable management options.
Overall, building a system inside the Deepcool Macube 310P was a joy, even though the case is quite small for a mid-tower chassis, there was plenty of space for the components of our system. The overall build quality of the case seems very high too, metal panels do not feel too flimsy and when the case has all its panels fitted, it feels very sturdy. One slight complaint is that the black outer coating is a bit of a fingerprint magnet, but this didn’t put me off.
Acoustic Testing
Our case testing involves comparing the acoustic performance of the case in several configurations with an all-in-one liquid CPU cooler installed.
These tests will include measuring sound levels with our sound meter from approximately 300mm from the front of the case, at idle and under 100% CPU and GPU load.
Sound levels will be measured in dBA after 10 minutes at idle in Windows. Load noise levels will be measured by running AIDA64 stressing CPU, FPU, cache and GPU for 15 minutes.
CPU and case fan profiles will be set to their standard operating profile in the Asus ROG Crosshair VII Hero motherboard BIOS and GPU fans set to their default fan curve. The CPU cooler used in acoustic testing will be a Deepcool Castle 240EX 240mm AIO. The only case fan is the pre-installed 120mm stock fan at the rear.
The ambient noise level (noise floor) in our test room is measured at 33.1 dBA.
Thermal Performance Testing
As with every case we review, thermal performance is important, therefore, we shall measure this by running another series of tests to record CPU and GPU temperatures both at idle and under load.
To fully stress test the system, we will run AIDA64 for 15 minutes stressing CPU, FPU, Cache and GPU with the case in various configurations. With this data, we can compare how each scenario affects thermal performance.
We will compare the system’s thermal capabilities with a liquid-cooled solution for the CPU, using a Deepcool Castle 240EX 240mm AIO.
During thermal testing, only stock case fans will be used unless otherwise specified. All fans and pumps (where applicable) will be set to their standard fan curve profile as controlled by the motherboard.
All temperature measurements are presented as Deltas – the ambient temperature has been deducted from the CPU/GPU temperature giving us a Delta.
The following configurations will be used to test the effect they have on thermal and acoustic performance:
- Default configuration;
- Tempered glass side panel removed;
- Front panel removed;
- Two 120mm fans installed in the top panel.
Test System
- Processor: AMD Ryzen 7 2700X
- Motherboard: Asus X470 ROG Crosshair VII Hero
- CPU Cooler: Deepcool Castle 240EX 240mm AIO
- Memory: 16 GB (2 x 8 GB) Corsair Vengeance RGB PRO DDR4-3200
- Graphics: Gigabyte RTX 2070 Super Gaming OC 8GB
- Power Supply: Seasonic Focus PX-850 850W
- Storage Drive: Corsair Force LE 200 SSD
- OS: Windows 10 version 1909
Thermal Performance:
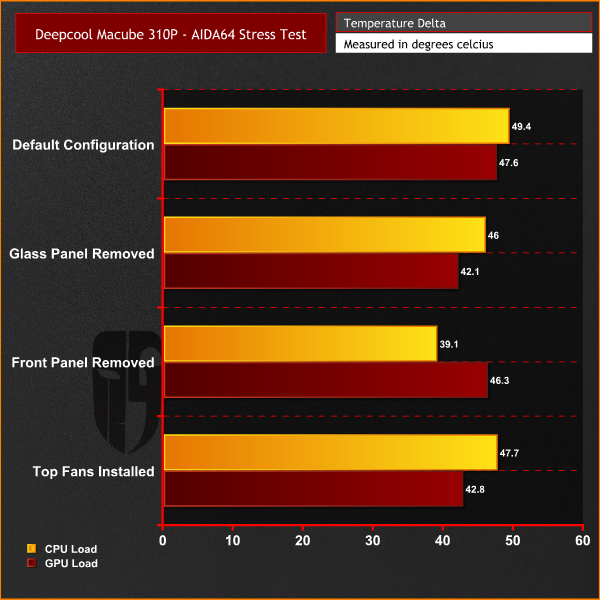
As we often see with thermal performance testing of cases, the GPU temperature was at its lowest under load with the side panel removed. Removing the front panel lowered the CPU temperature by over 10°C compared with the default configuration and installing two 120mm fans in the roof dropped the GPU load temperature by approximately 5°C. So even with this rather airflow restrictive looking front panel design, the Macube 310P handles thermals respectably.
Noise Levels:
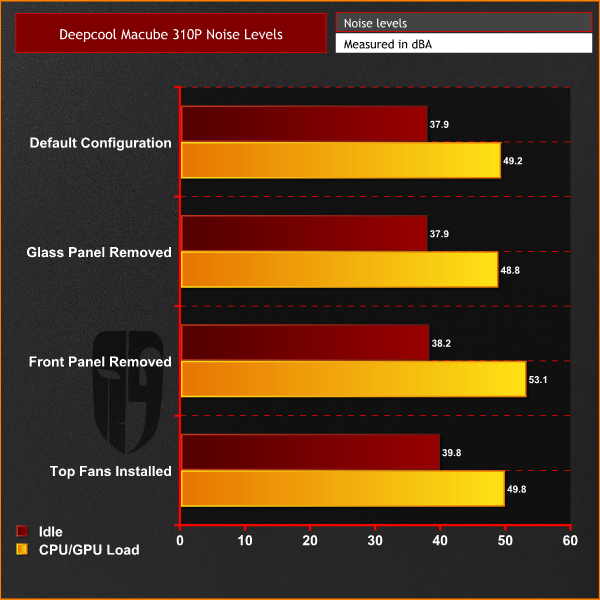
During our noise testing, levels remained pretty consistent throughout the tests with the only real noticeable increase in noise levels coming when we removed the front panel. With the case in its default configuration, noise levels are acceptable with the choice of components we have installed.
Overall, the Deepcool Macube 310P is a very impressive compact mid-tower case and it offers some serious competition to other cases in this affordable price bracket. Deepcool has gone the extra mile with the Macube 310P by adding some handy little features that you may not get with other cases in this price range, such as the built-in VGA support bracket and the integrated fan hub.
During the system installation process, we didn’t come up against any challenges or issues to hold us back and building a system inside the Macube 310P was an enjoyable experience. Due to the lack of 5.25-inch bays at the front of the case, the interior feels very spacious and allows for the installation of long, high-end graphics cards and a large front-mounted AIO to be fitted.
At the beginning of this review, we were slightly dubious about the thermal performance of the Macube 310P with its airflow restrictive looking solid front panel. However, during our thermal performance tests, both the CPU and GPU temperature were kept well under control, so it seems that the small air vents running along the side of the front panel produce adequate airflow for the system spec we chose.
The only minor gripe we had during installation was the lack of choice for AIO radiator positioning. Since Deepcool has added this vented top panel to improve airflow, we thought it would have been more beneficial to have the option to install an AIO in the roof. We did try to install the 240mm Deepcool Castle 240EX radiator in the roof, but it was simply not possible, the space up top was just too tight and only enough room for fan installation.
However, that didn’t put us off this case at all, being able to install fans in the roof did give us marginally improved thermal performance and even without fans fitted, we could feel warm air naturally exhausting from the top panel, so this vented section is a welcomed addition. Another handy feature is the built-in VGA support bracket, a very simple solution to a problem we have encountered for a while, not only that, it actually works very well too!
Another area that impressed us was the less glamorous side of the chassis where all the cables are hidden. Case manufacturers often pay less attention to this area with budget cases, but not in this situation. Deepcool has put cable cut-outs in all the right places, there are plenty of eyelets to tie cables down and there is a generous 23mm gap for cable management which means hiding cables is easy and getting the side panel back on without bulge is no problem.
Build quality of the Macube 310P is also impressive for a case of this price range. It isn’t built from extravagant materials but it does have a very sturdy feel to it, especially when all the panels are fitted it feels very sturdy indeed. The understated front panel design looks sleek and the matte black coating gives the case a premium appearance. Combine these features with the tempered glass windows and you are left with a pretty looking but stealthy end product which we like.
A lack of RGB lighting built into the case may not be to everyone’s taste these days, it is sometimes nice to know it's there just in case you want to use it. However, the glass side window isn’t too heavily tinted, so if you want some illumination without looking over the top, you can install RGB components inside the case which will give a subtle glow outside.
The Deepcool Macube 310 series is available to purchase from Amazon UK HERE in either black or white colour schemes, with prices starting around £65.
Pros:
- Excellent build quality.
- Vast component support.
- Sleek understated appearance.
- Handy built-in features.
- Good value.
- Great to build a system inside.
Cons:
- Lack of support for top radiator mounting.
- Restrictive front panel could hurt thermal performance on high-end CPUs.
KitGuru says: We were genuinely impressed with the Deepcool Macube 310P mid-tower chassis, it offers support for a wide range of components, has an understated but sleek looking appearance and is a joy to build a system inside. The lack of space for an AIO up top was not enough to put us off, it is definitely worth buying if you are in the market for a case in this price range.