AM4 installation starts by using the default AMD backplate supplied with your motherboard. The front-side clips are first removed. This is a little awkward if the motherboard is installed in a case as the backplate will fall down. But the procedure is very easy on a flat surface.
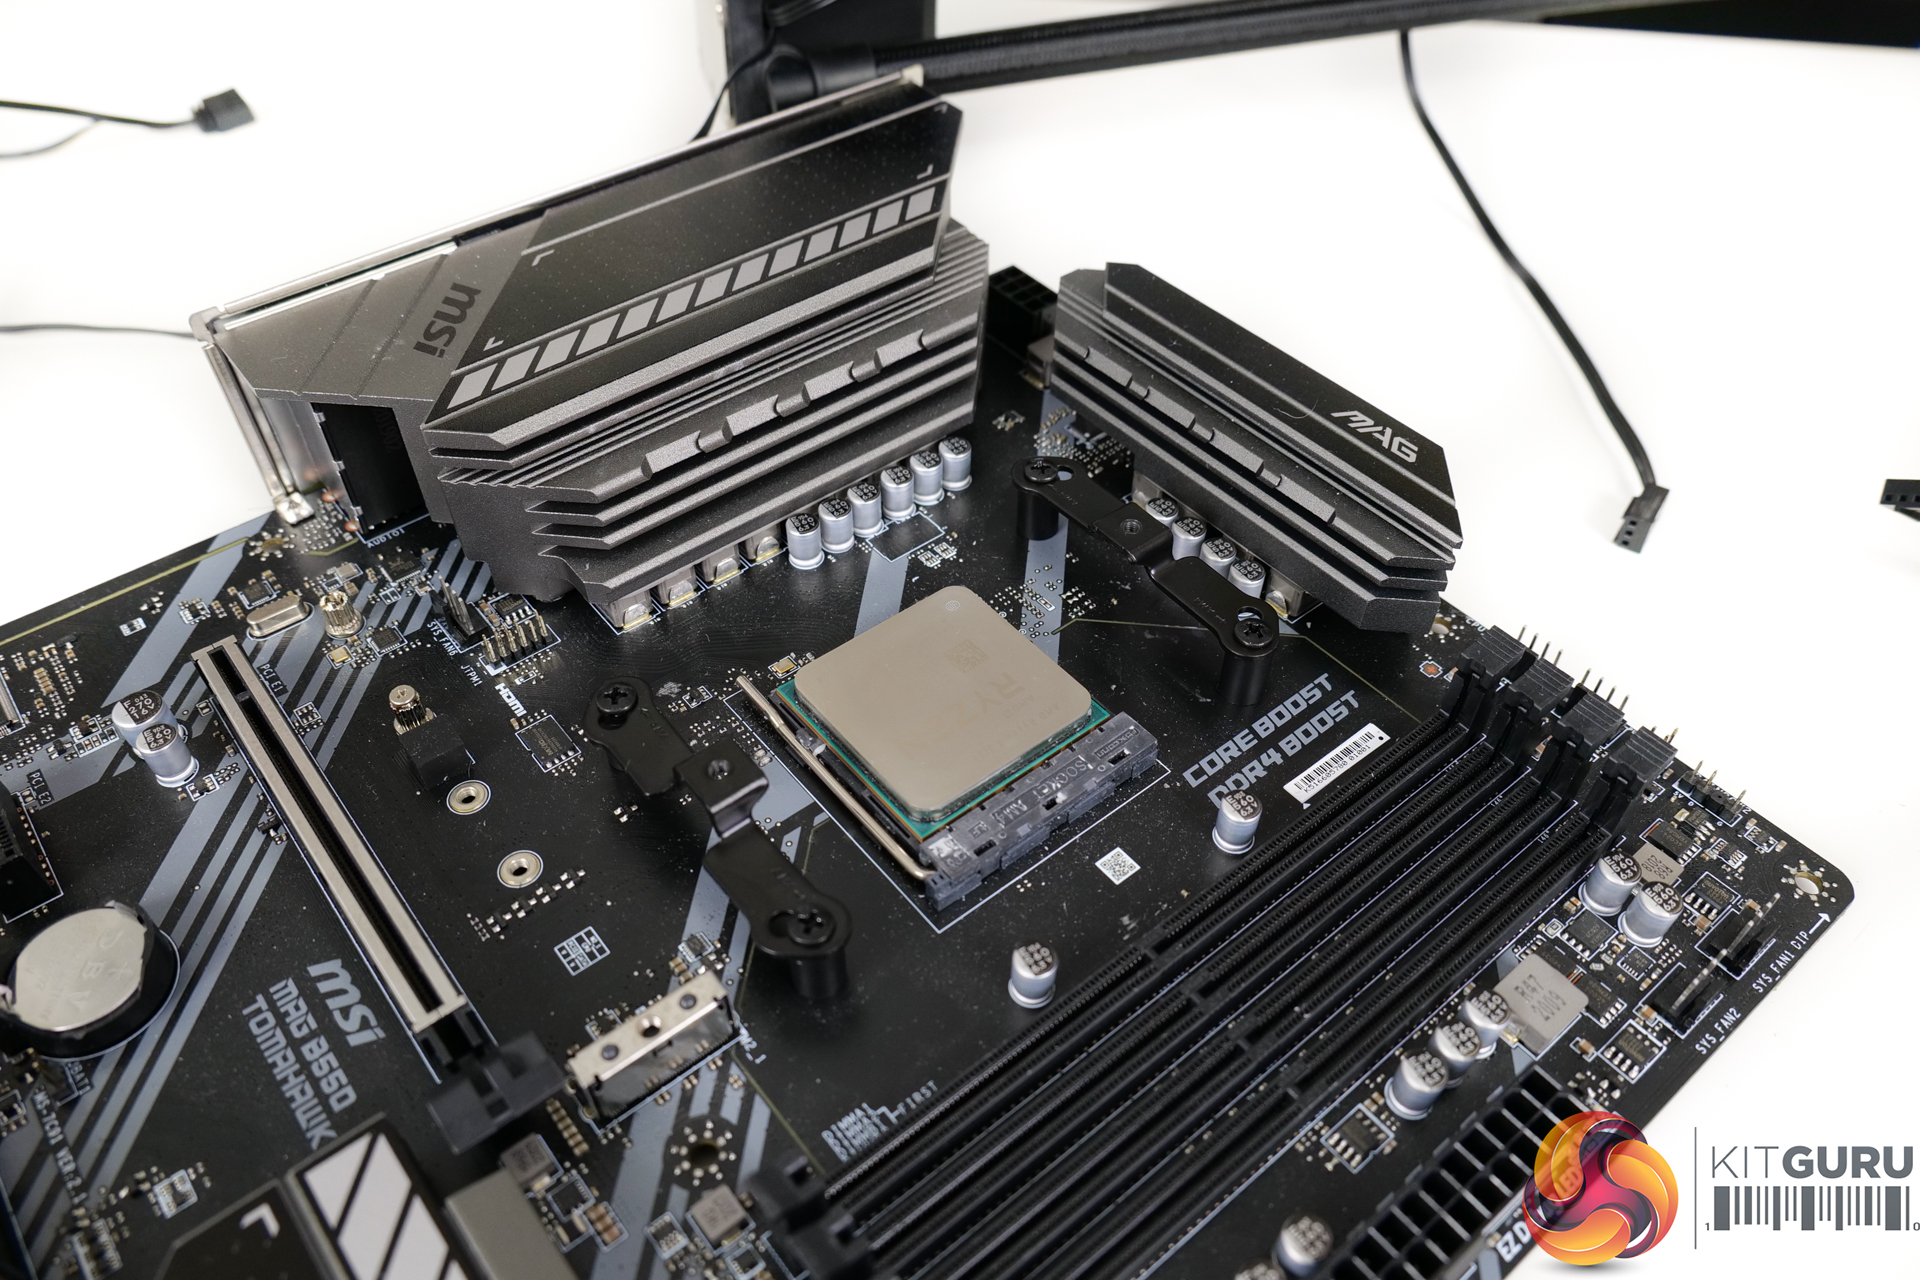
The be quiet! spacers and brackets are screwed into position to make the mounting system for the pump block unit. Again, this is a process that is difficult if the board is vertical inside a chassis and has one wanting another hand. But it is not ludicrously difficult.
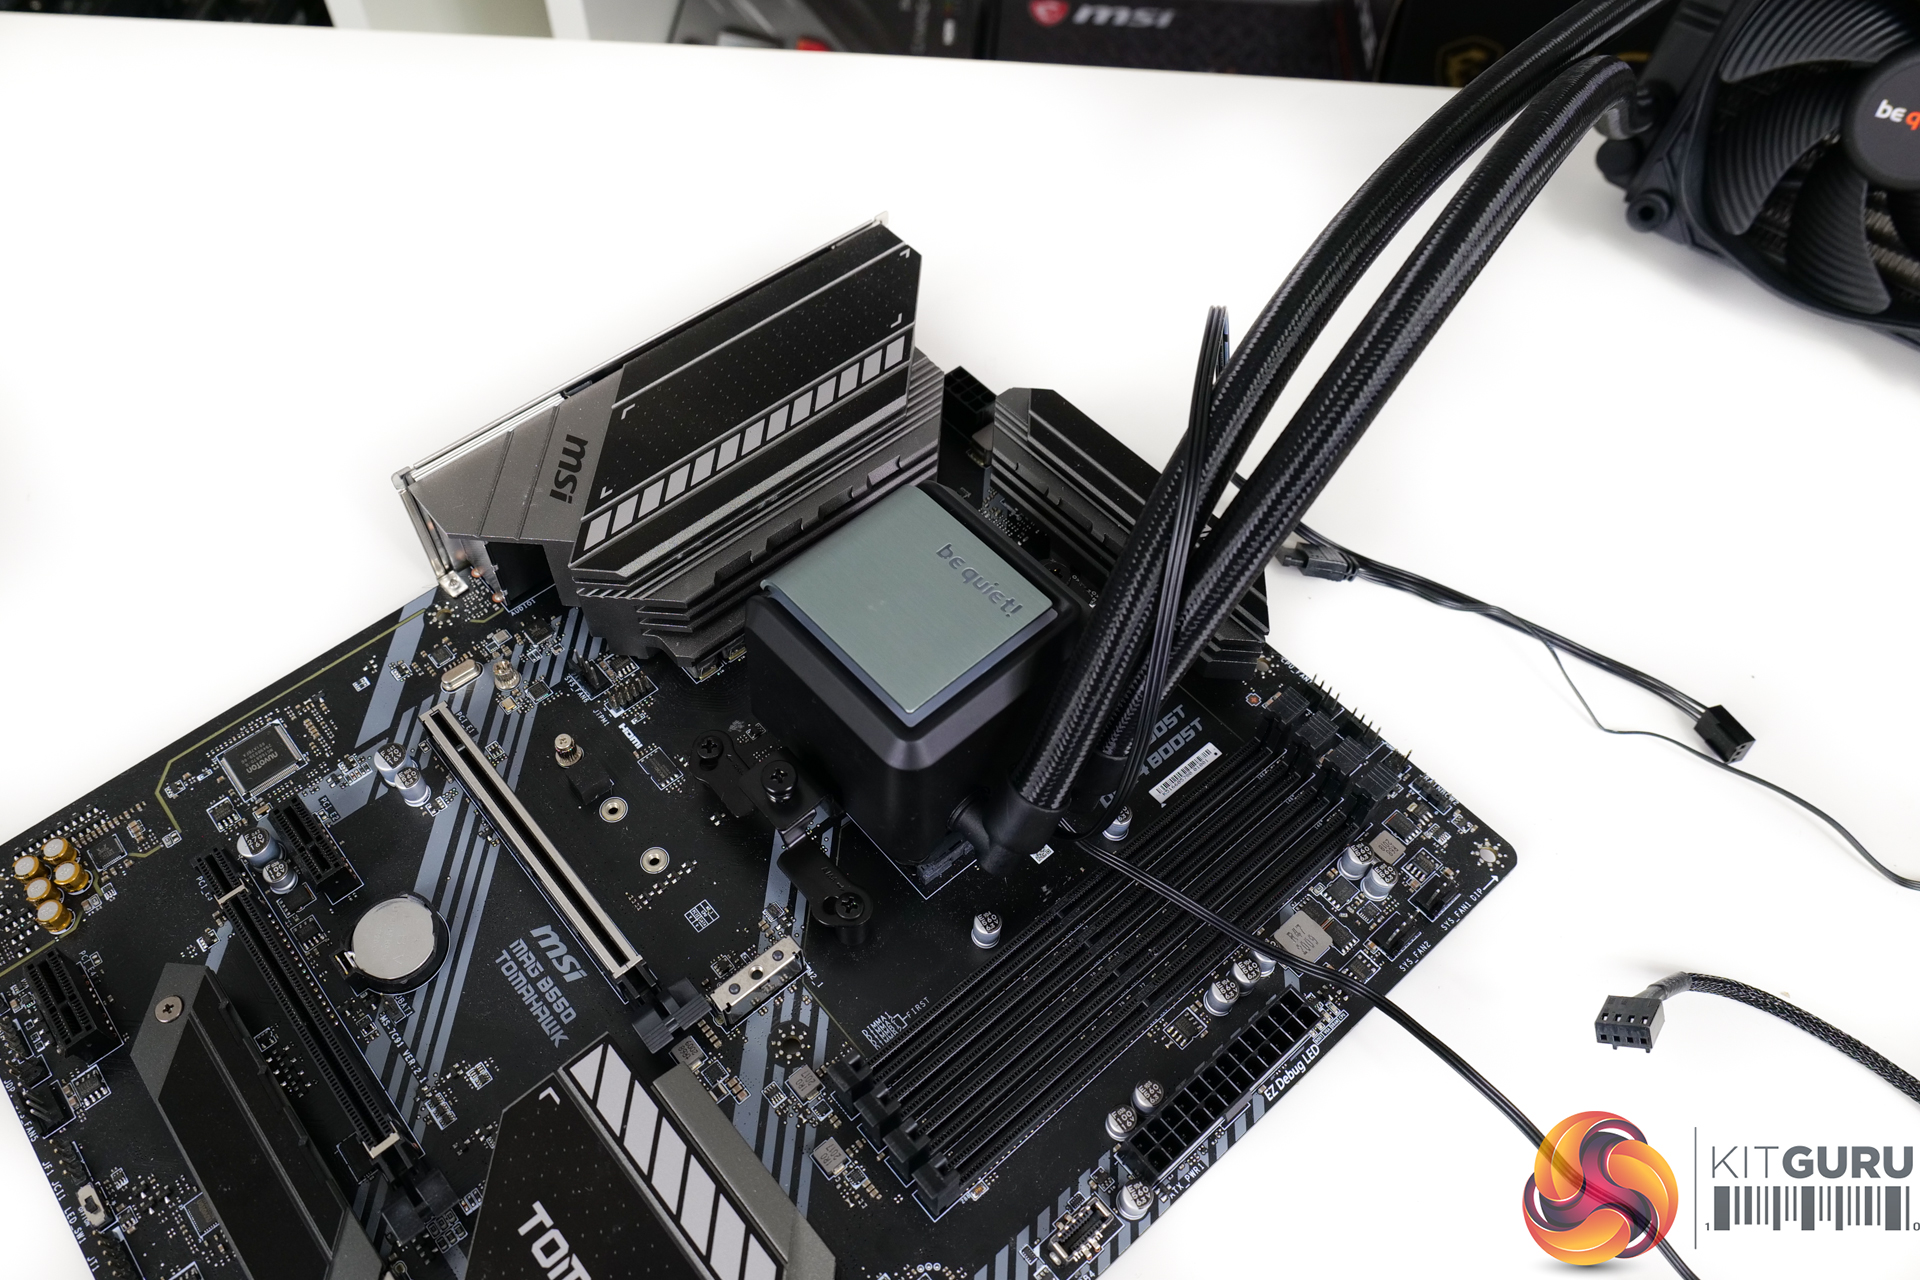
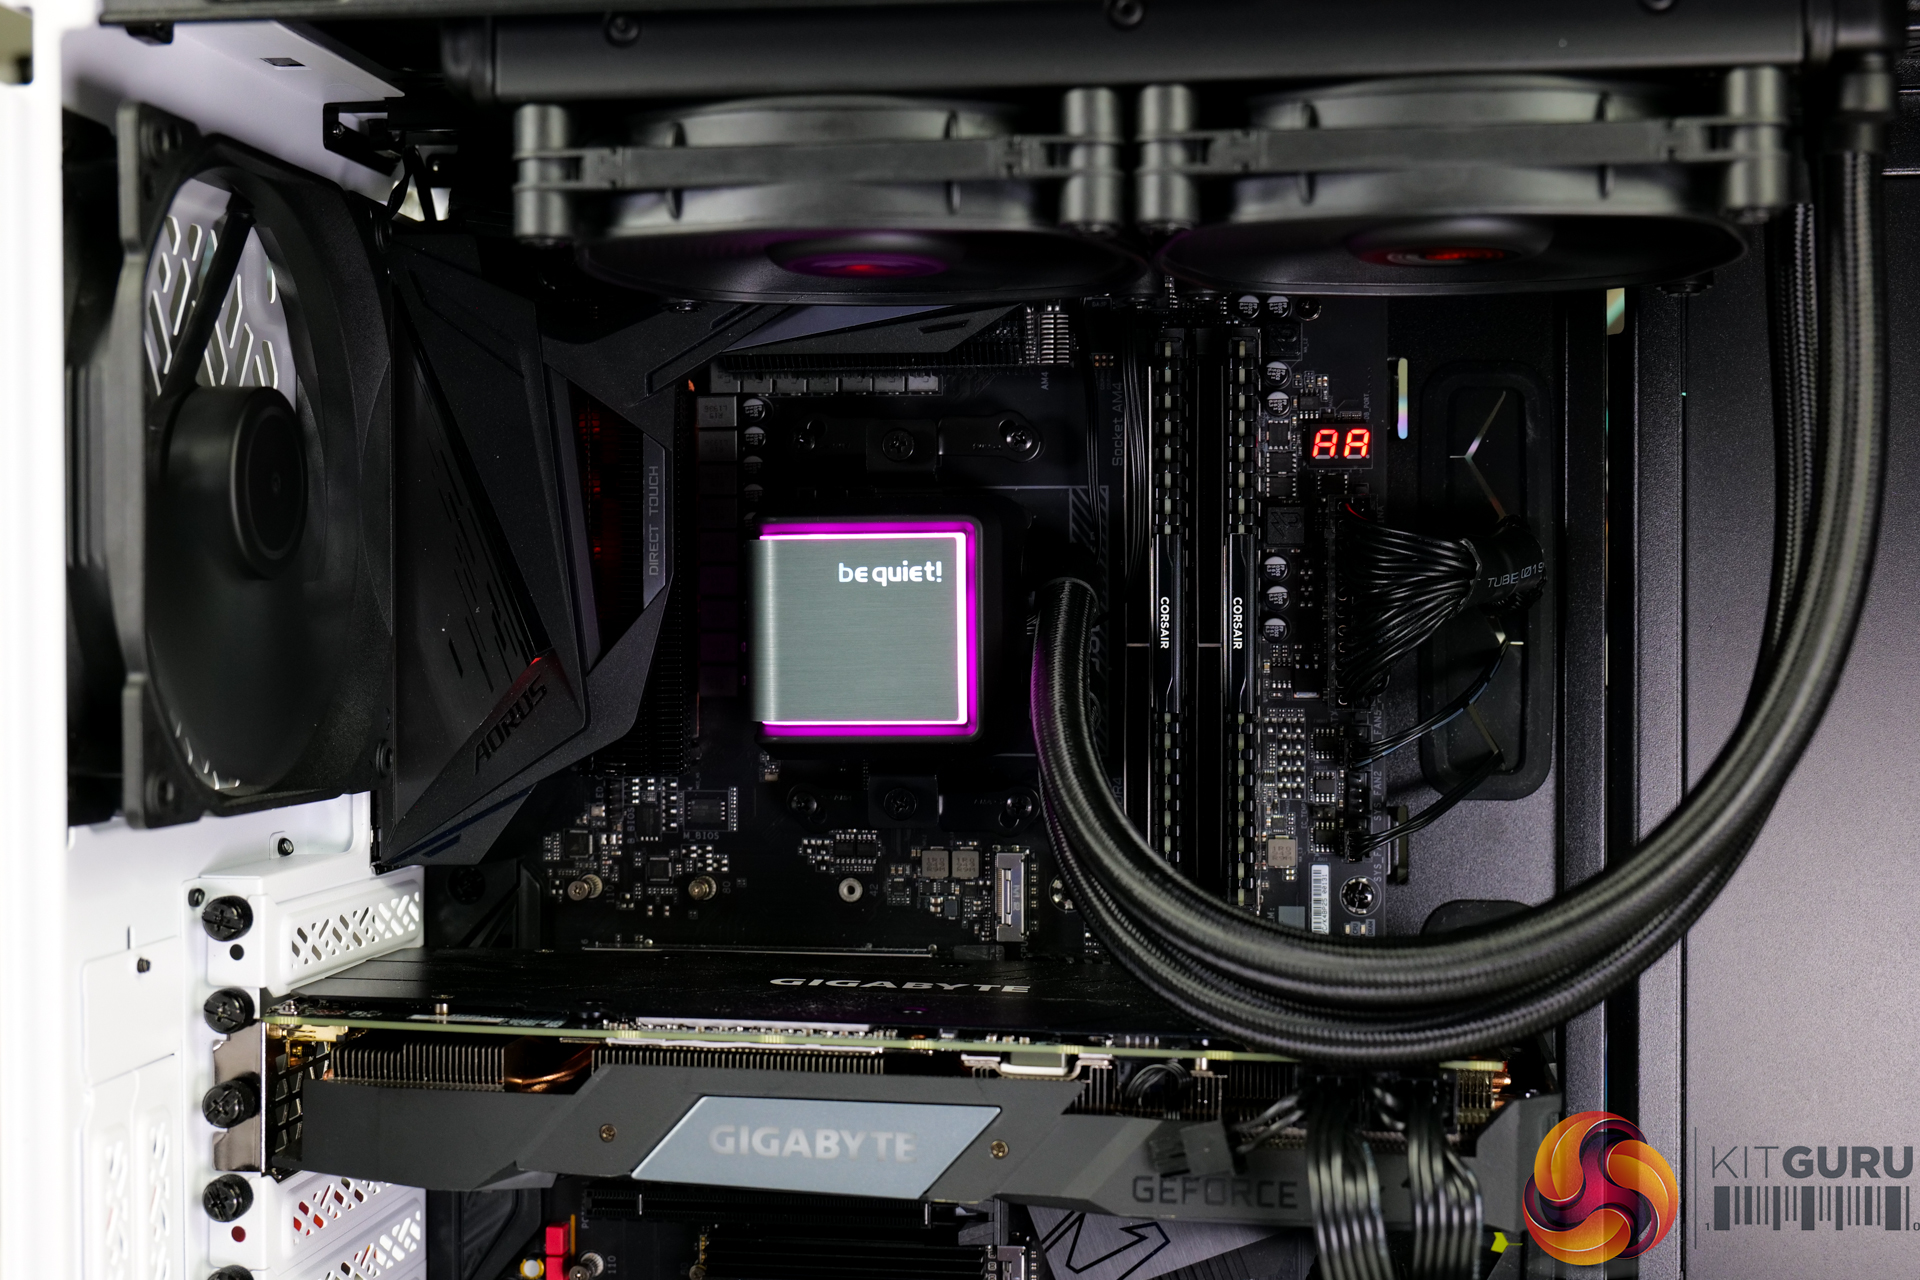
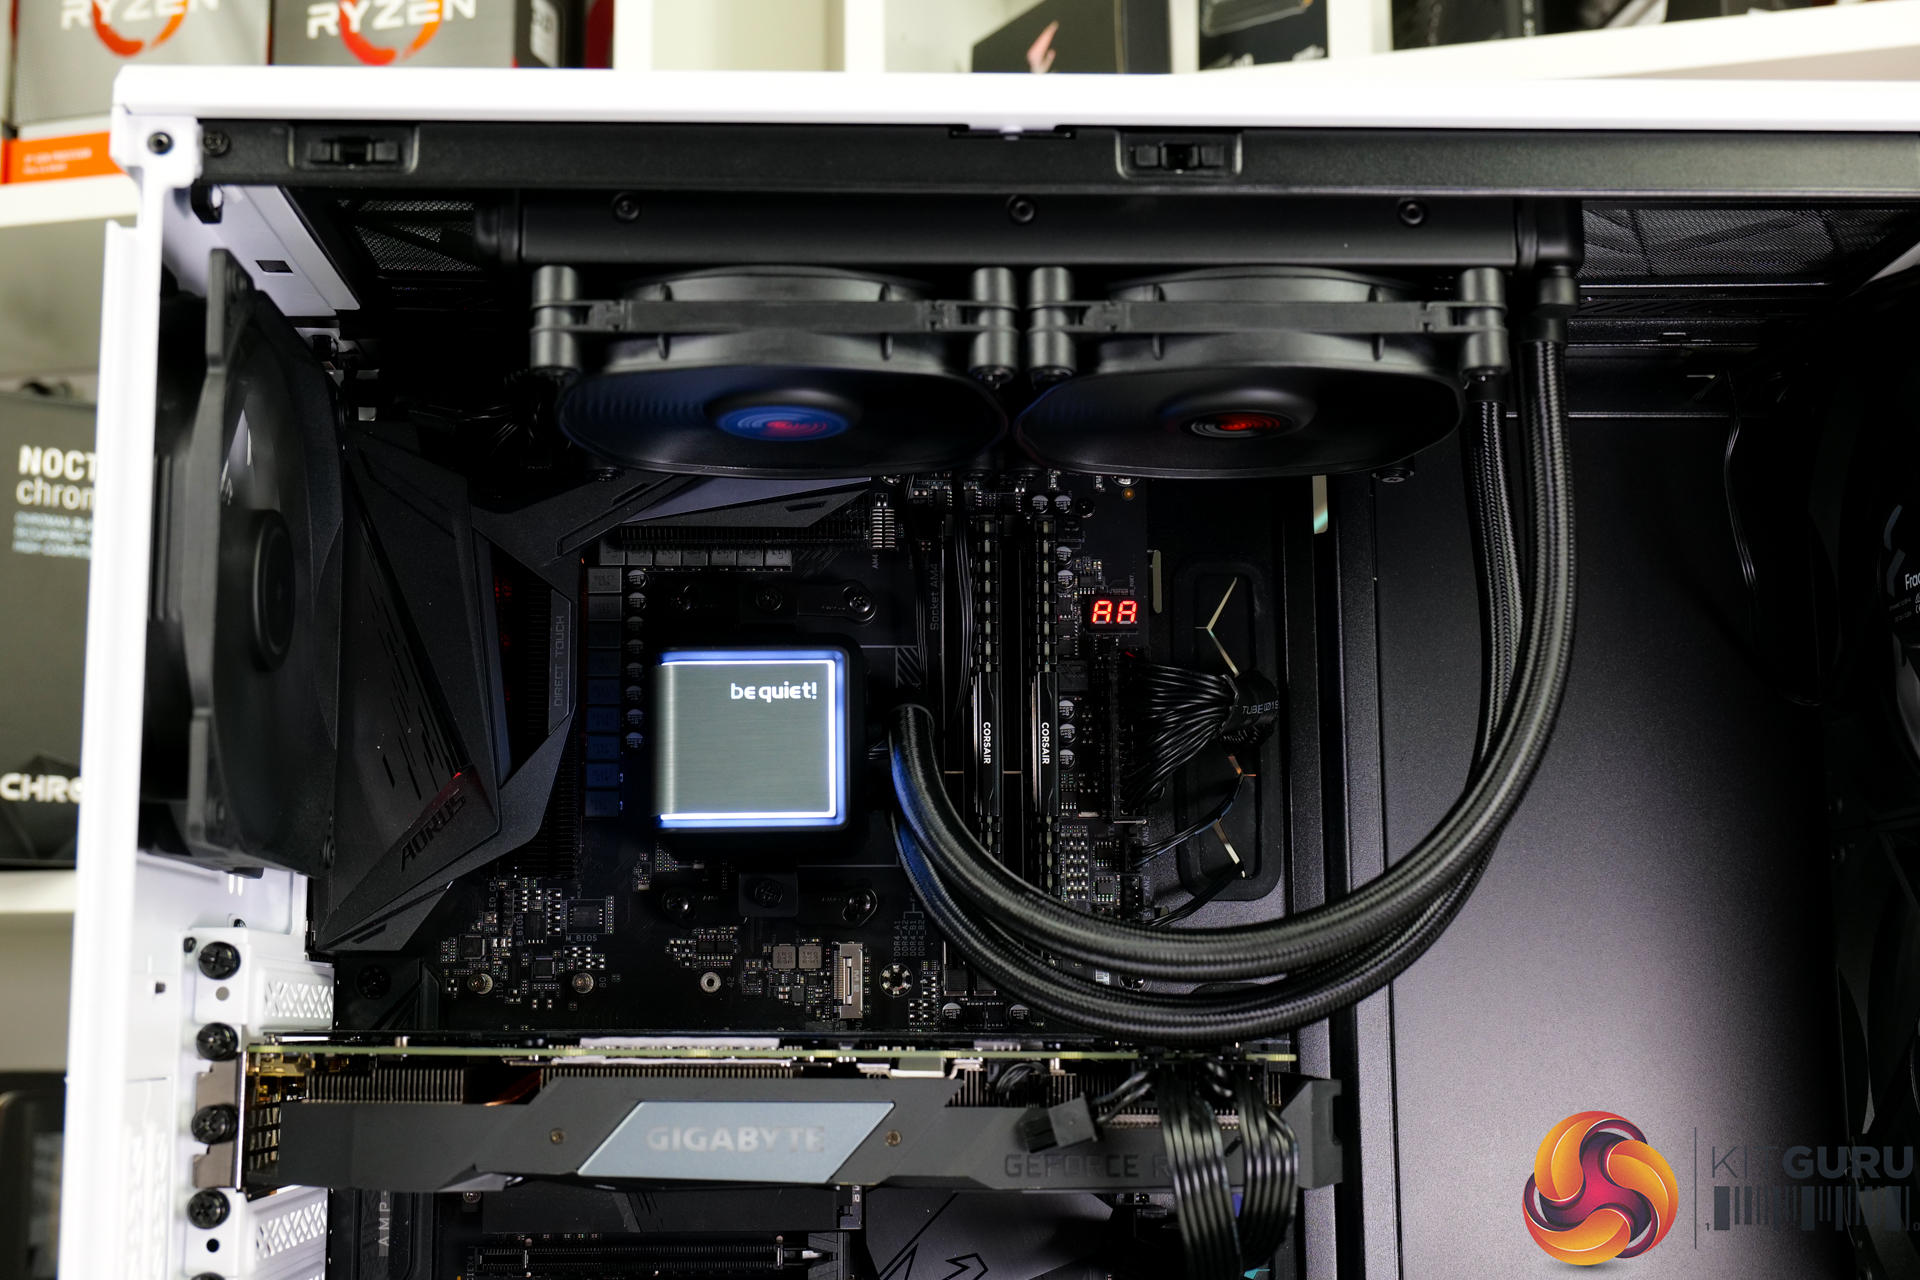
With the brackets in position, the system for securing the pump block is fantastic. The spring-loaded screws are easy to tighten and they sit in position easily without battling against other components. Plus, you only have to tighten two screws while holding the heavy pump block unit in place.
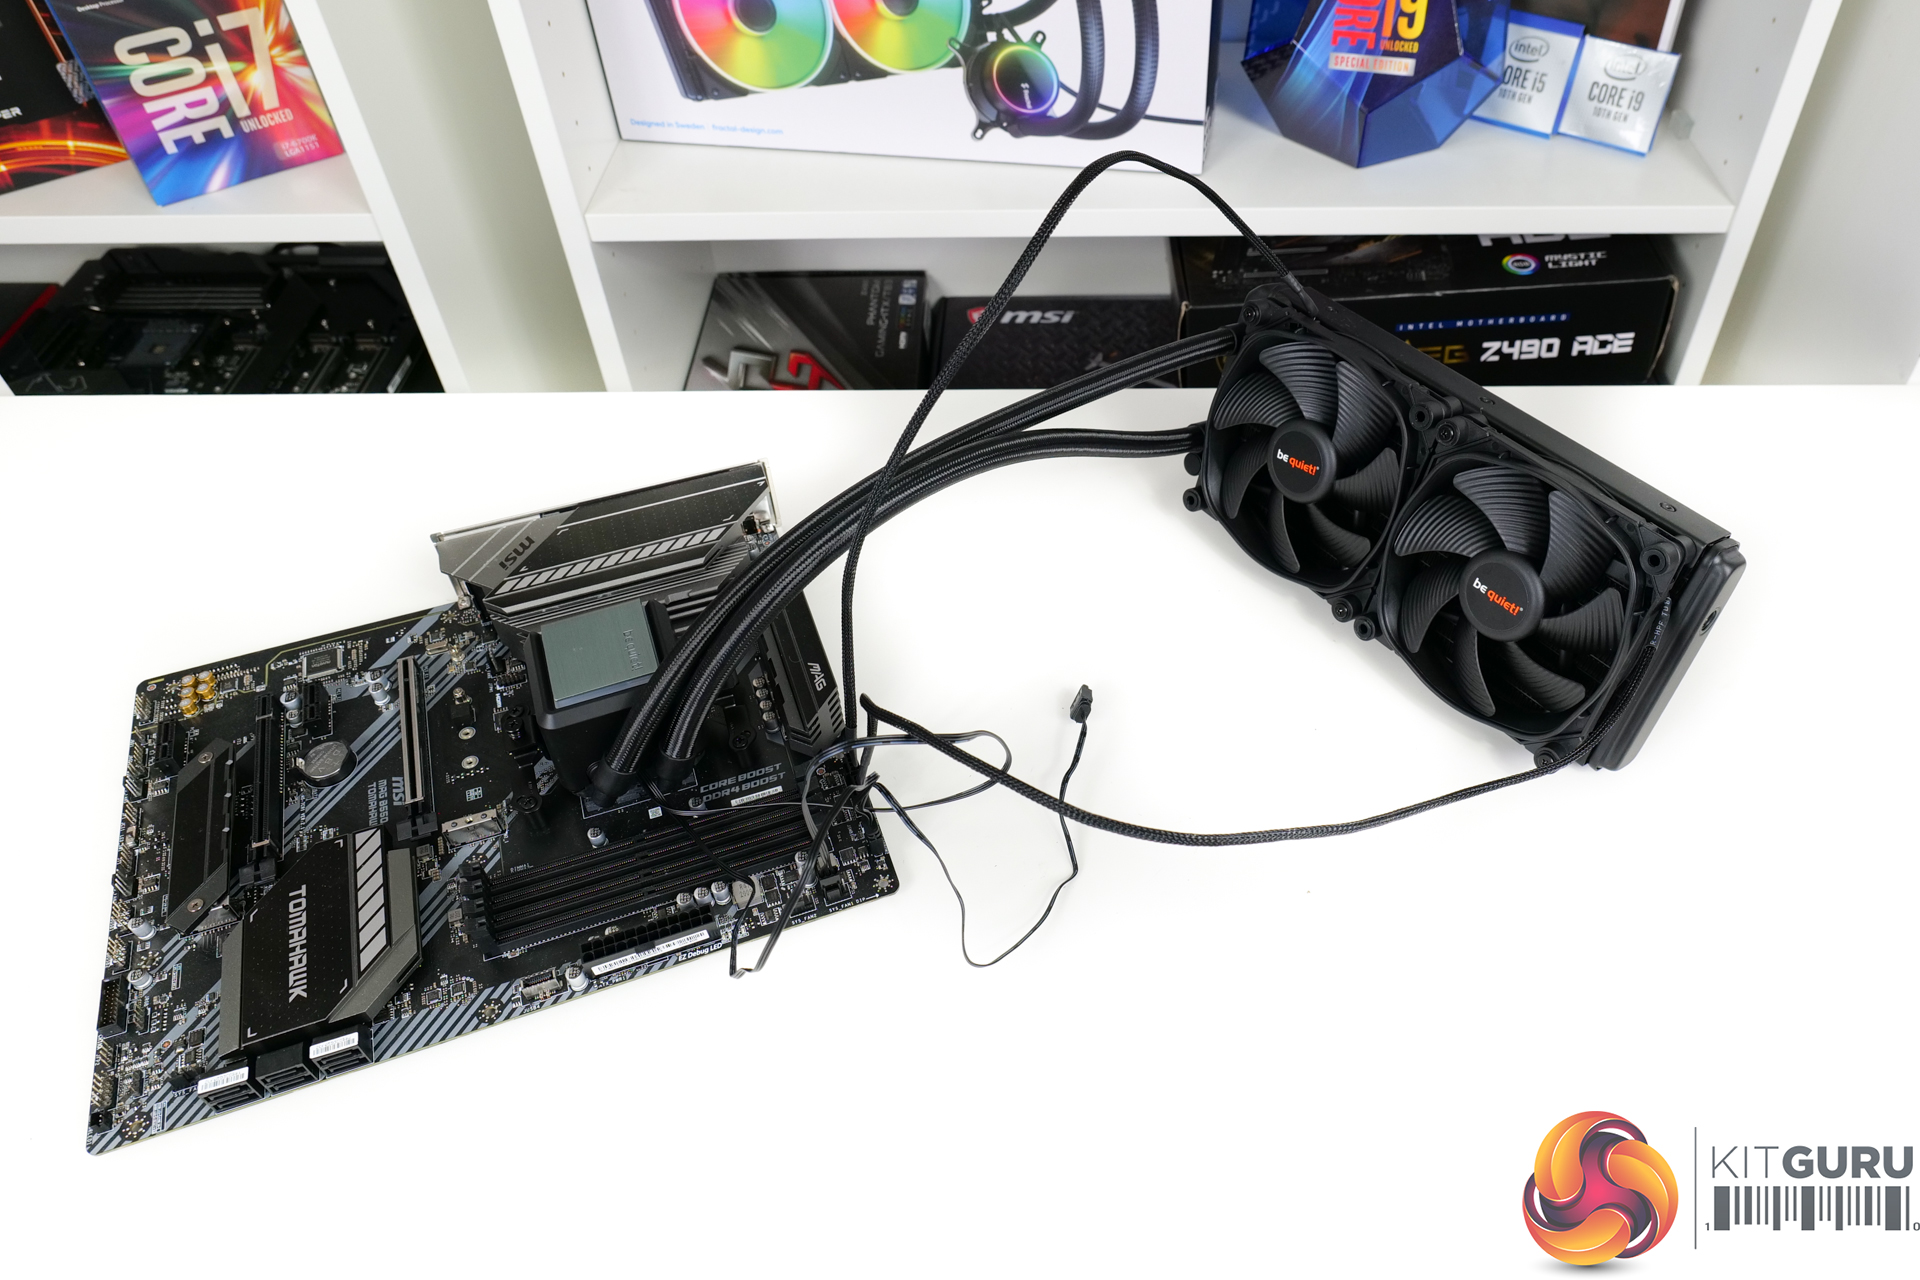
Now connect the cables, which is straightforward as there isn’t an overkill number of connections.
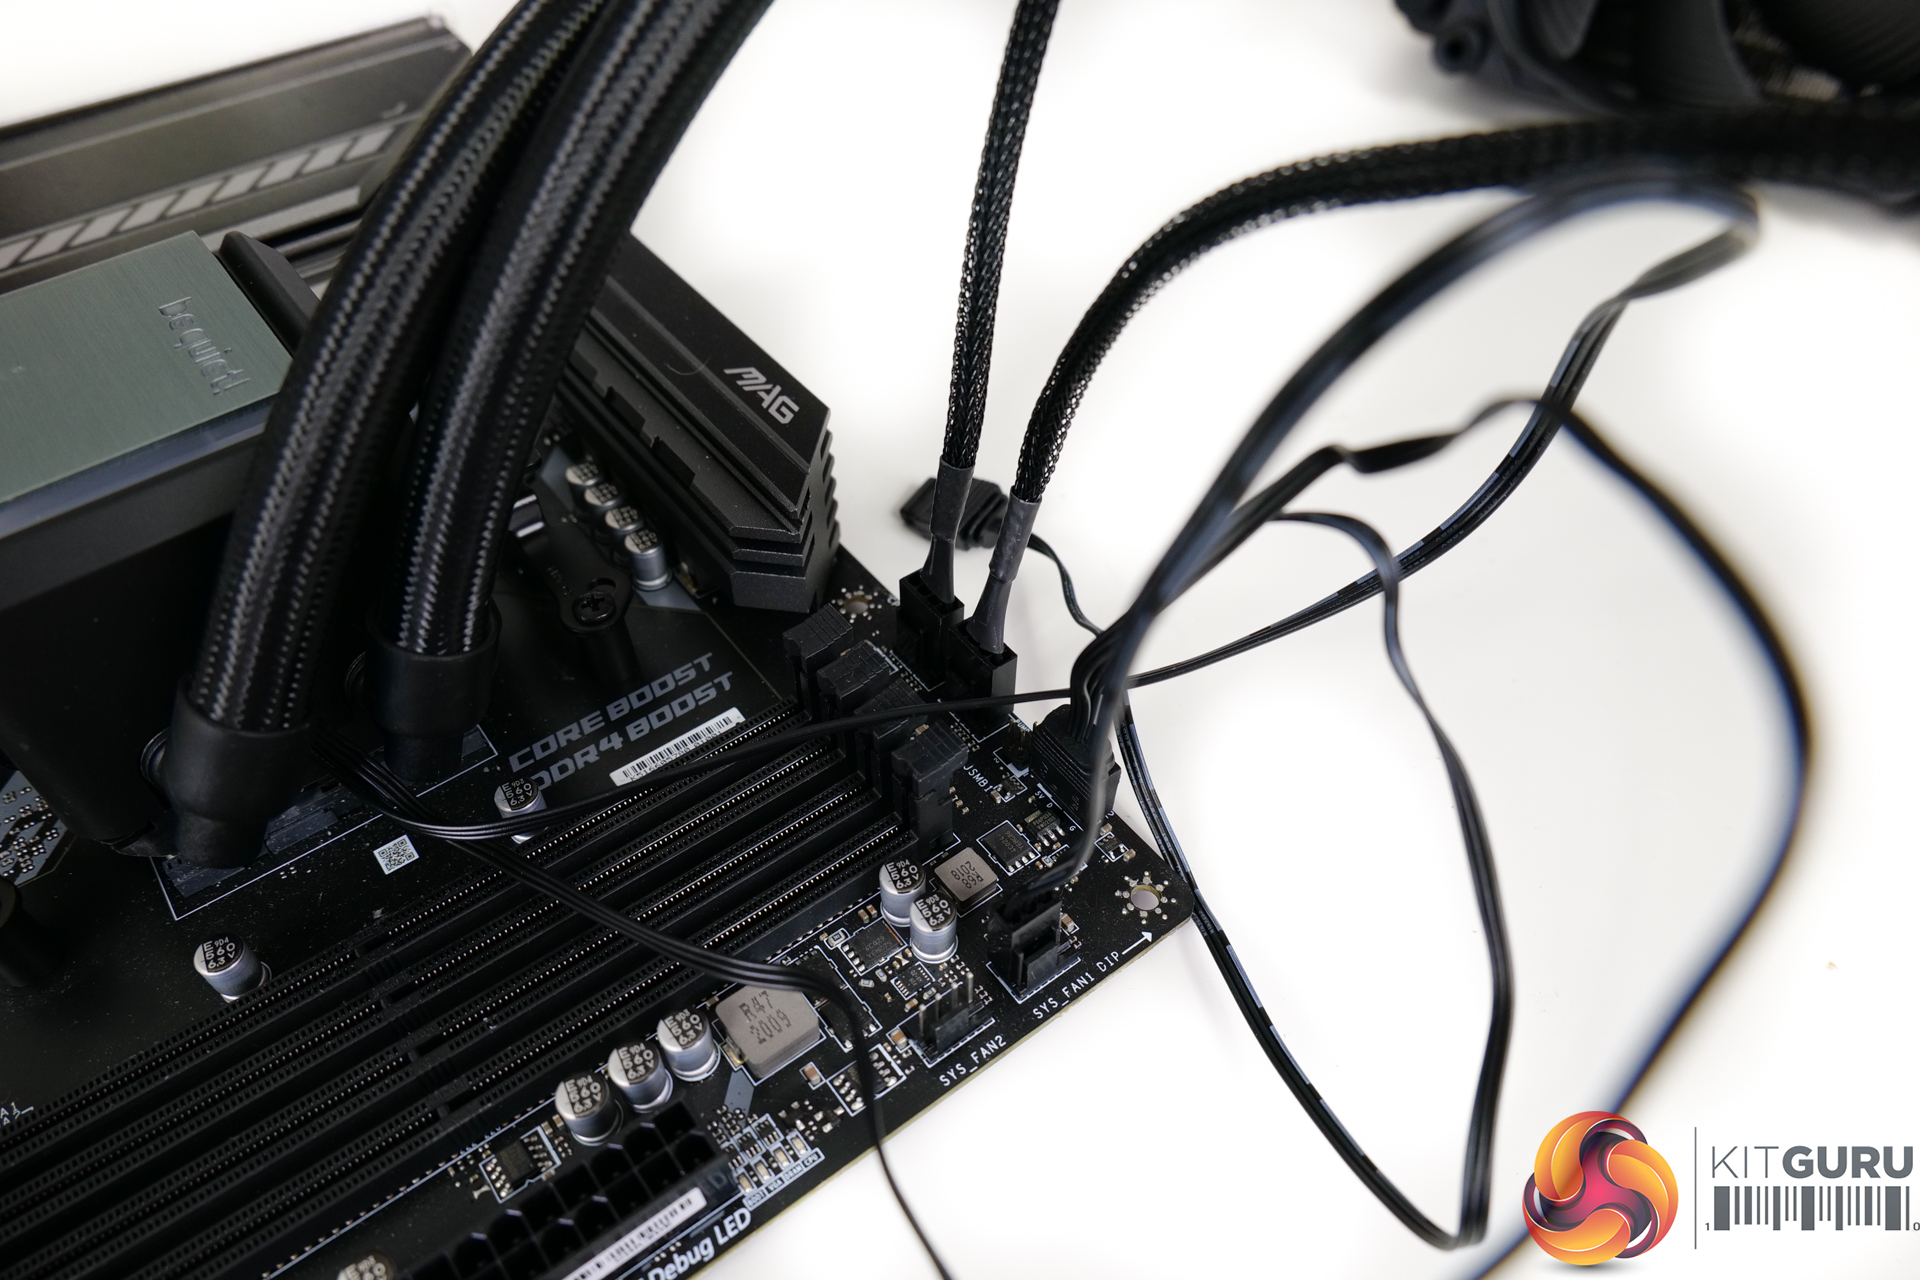
The supplementary cables can be managed with relative ease thanks to the use of a 4-pin PWM fan splitter if you like. You can either run RGB through the supplied in-line adapter, or you can use the 3-pin header for ARGB support through motherboard software.