Asus ships the R9 390X STRIX DC3 OC graphics card in a box which features the owl branding and some basic performance information, such as the 0dB operating mode.
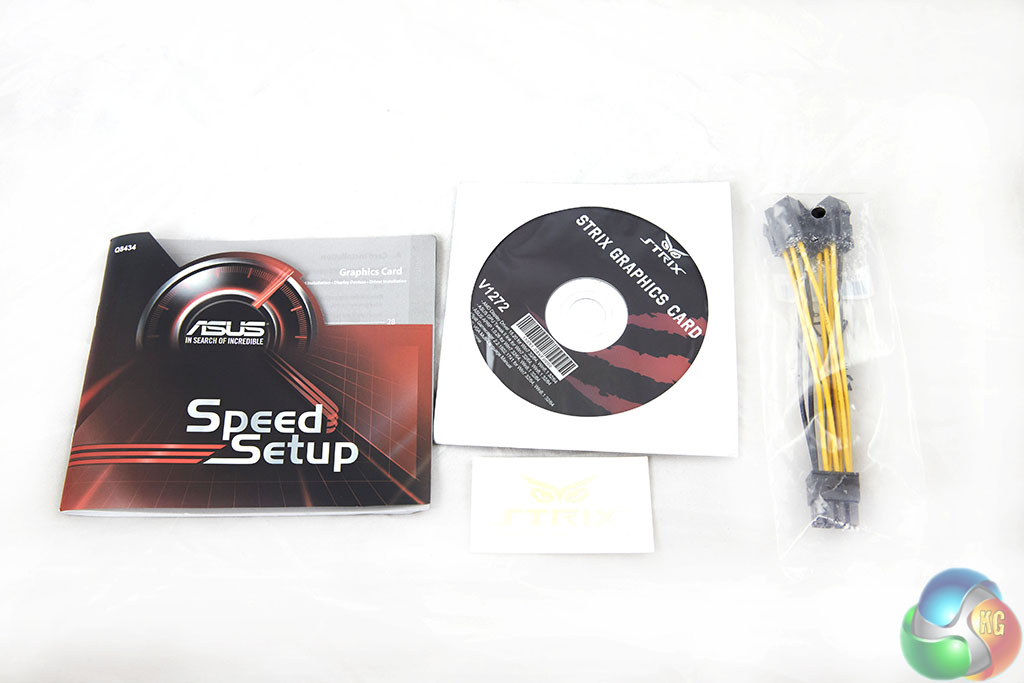
The simple bundle consists of a drivers CD, manual, and a dual-6-pin to 8-pin PCIe power adapter, although I would not recommend using this on such a power-hungry graphics card.
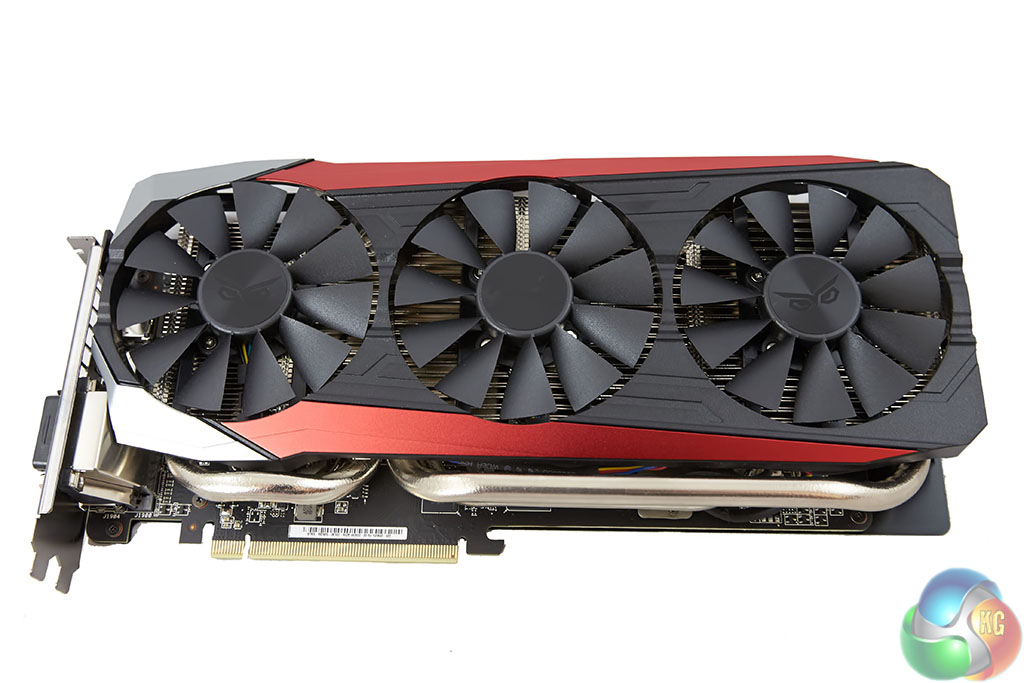
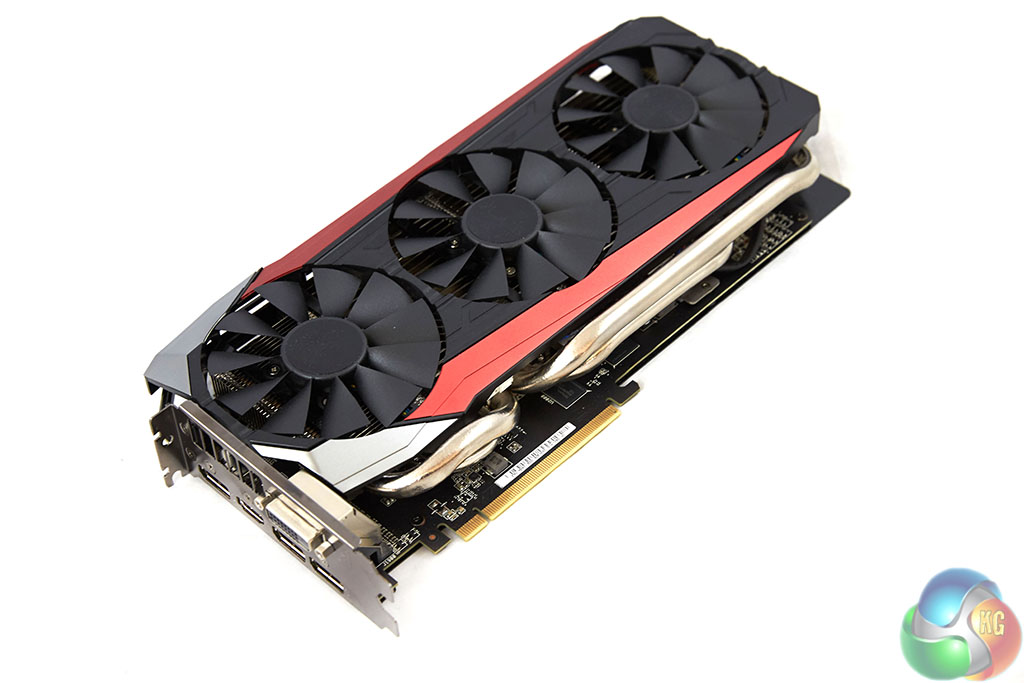
At about 303mm in length and with a width that extends past the PCI bracket by almost 50mm, Asus' R9 390X STRIX is a sizable card in every sense of the word. A positive for multi-GPU users is that the card is a pure two-slot width, rather than the more inconvenient 2.5- or 3-slot width we have seen from many competing offerings.
Asus deploys the company's new DirectCU III cooler on the R9 390X STRIX. The cooler uses three 92mm fans that are based around Asus' wing-blade, pressure-enhancing design to push air through a full-length aluminium fin array. While the GPU temperature is sat below 60°C, the three fans remain stationary in order to minimise noise output and dust build-up. Asus also employs some intelligent fan control methods which we look at on the thermals page.
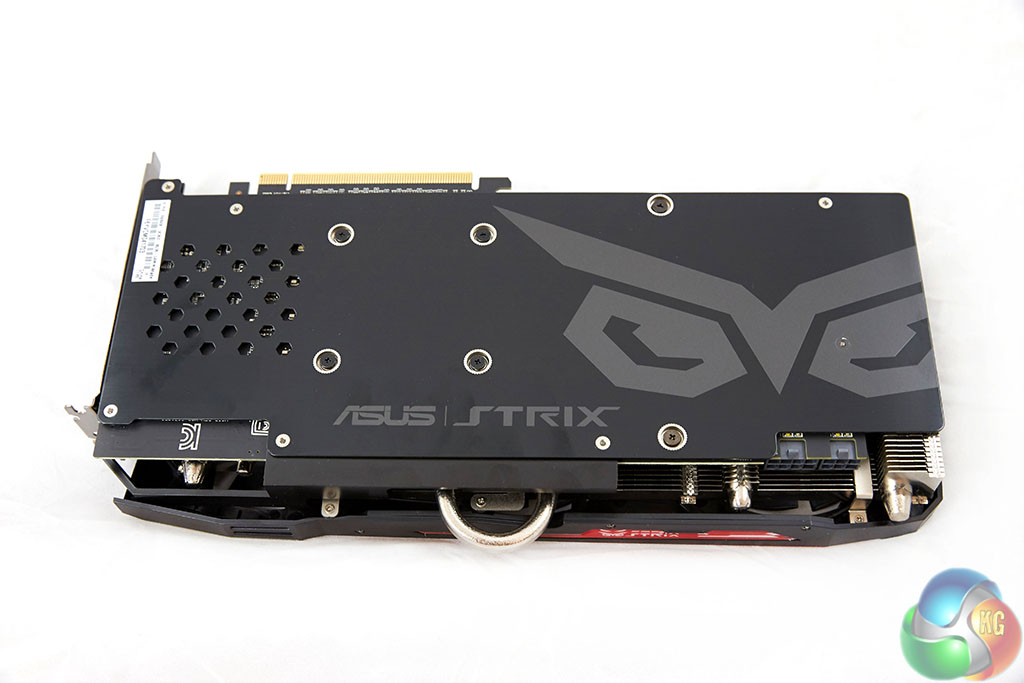
A full-cover backplate is used for structural rigidity and aesthetic reasons, but it also helps to spread heat away from the GPU and VRM area to allow for more effective cooling.
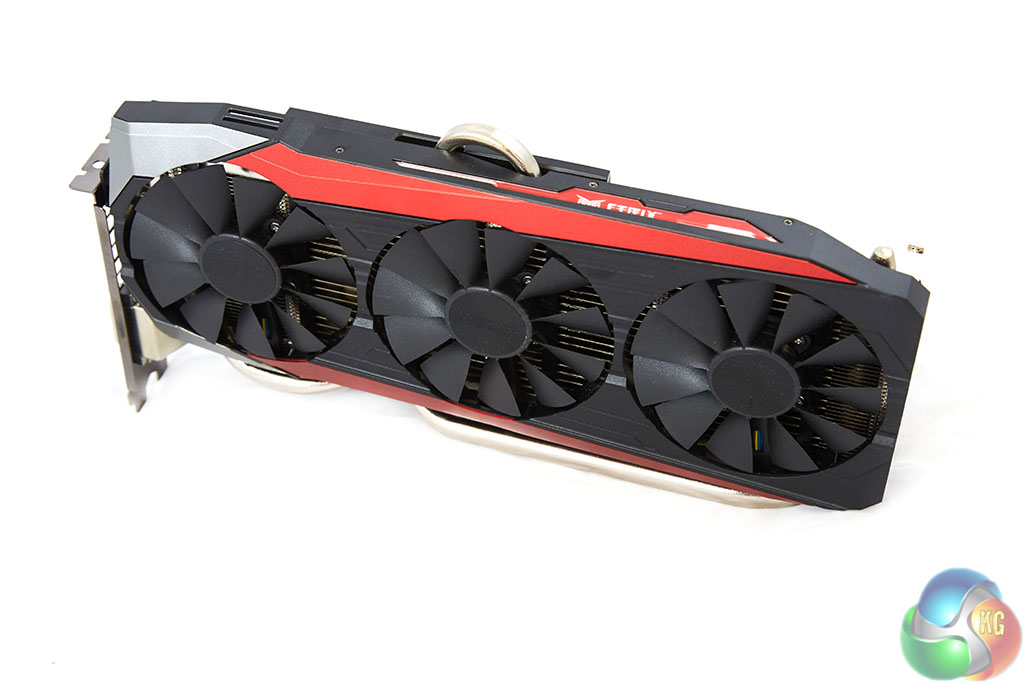
The colour scheme consists of a primarily black finish with strips of red on the cooler's flanks. Asus places an LED-illuminated STRIX logo in the side of the card that flashes at a slow pace when the system is powered.
I would have liked to see some form of control for the pulsating side light, as the white colouring may not be to everybody's taste.
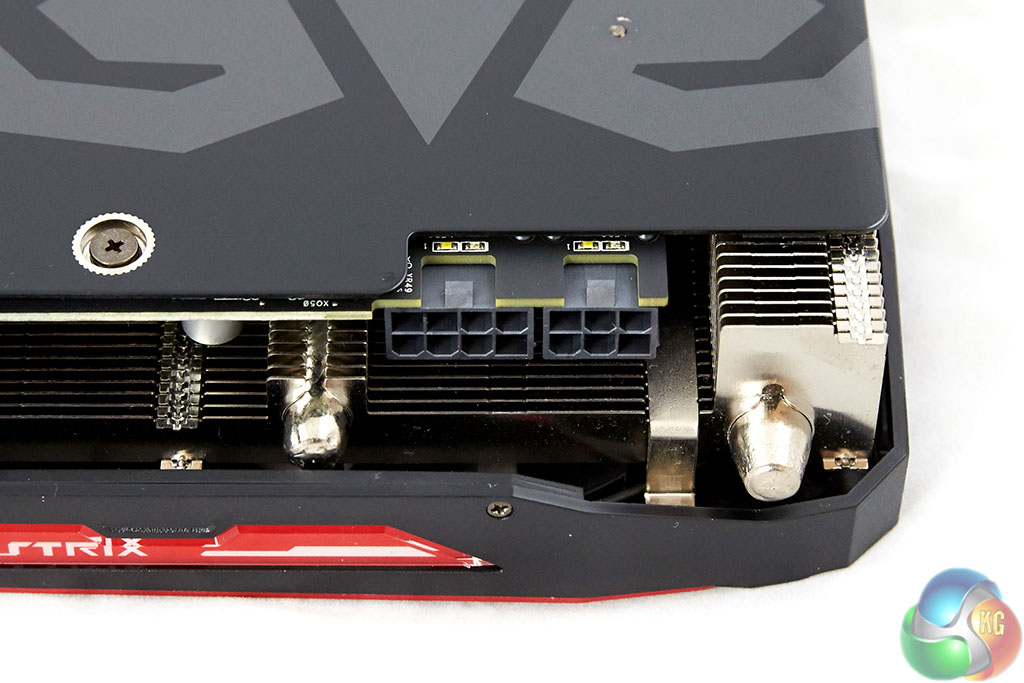
Power is delivered through 8-pin and 6-pin PCIe connectors. This combination of power connectors will suffice for the R9 390X card, even when its factory overclock and further frequency-pushing numbers are taken into account.
The power connectors have their latches pointing upwards in order to make disconnecting the plugs a far simpler task.
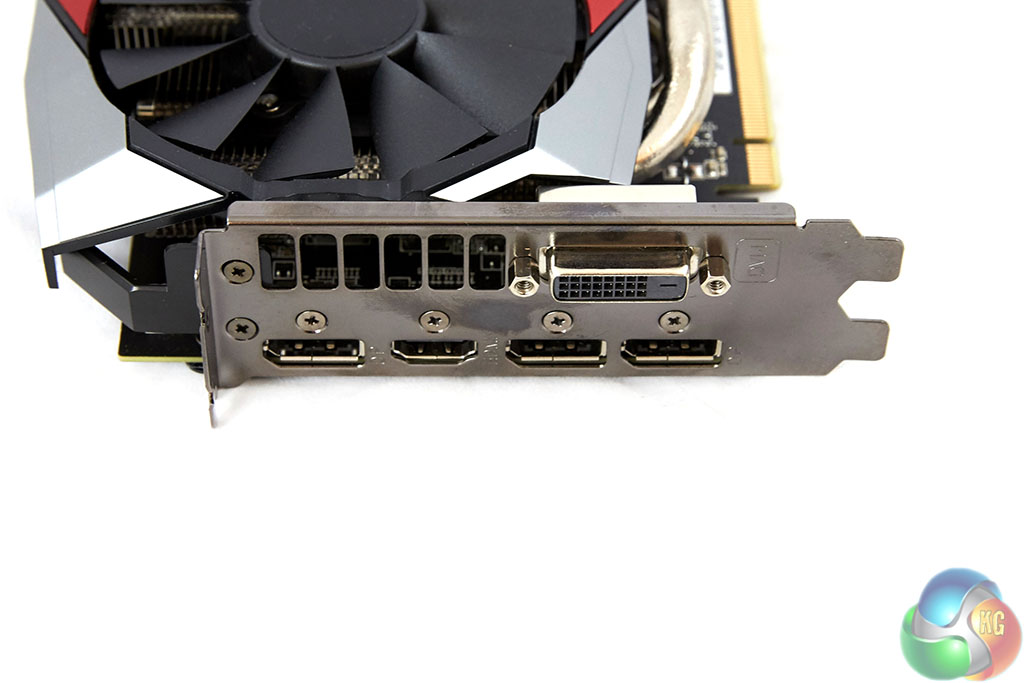
Display outputs consist of a dual-link DVI connector, three DisplayPort 1.2 outputs, and HDMI 1.4a. This configuration is ideal for users who want to run a trio of 4K monitors (not necessarily for gaming on all three), or even those who want to use more than one lower resolution screen.
The lack of HDMI 2.0 is a by-product of the R9 390X GPU and is disappointing for gamers who may want to connect to their 4K TV, although that is likely to be a relatively small proportion of this card's target audience.

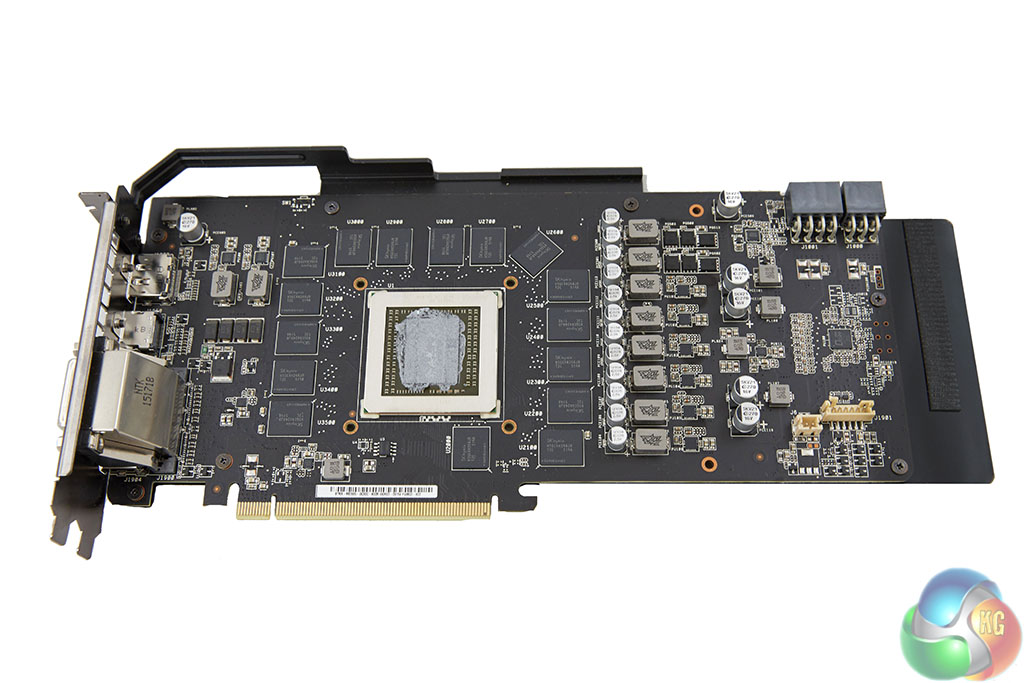
The DirectCU III heatsink makes use of two fat 10mm heatpipes that make direct contact with the centre of the GPU heatspreader and carry thermal energy to the fin array's outer edges. One of the benefits of using larger diameter heatpipes is the ability to transfer more heat over greater distances.
Asus flattens all of the heatpipes where they make direct contact with the GPU, and the design also relies upon thermal energy being transferred along the heatpipes to make the outer-positioned ones work effectively. I am glad to see that cooling for the 8-phase power delivery system is being taken seriously, with a dedicated secondary heatsink being allocated for the MOSFETs.
The solid backplate is attached at multiple points of the PCB in order to mitigate the sagging effect that could be created by the heavy, overhanging cooler. Asus uses the company's new Auto-Extreme automated production process to manufacture the graphics card, and this can be identified by the clutter-free PCB and noticeably smooth connection for soldered components.
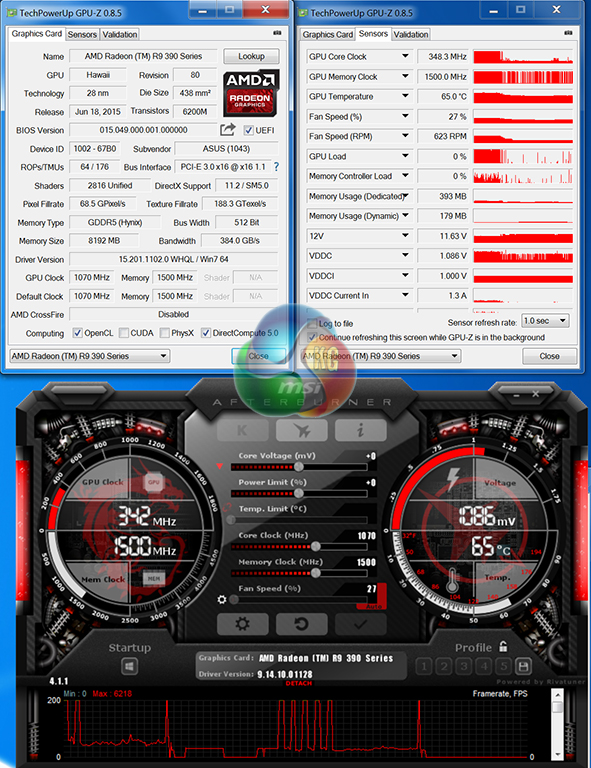
Asus overclocks the R9 390X GPU by 20MHz in order to give it an out-of-the-box clock speed of 1070MHz. The 8GB of GDDR5 memory runs at 1500MHz (6Gbps effective).
If you use Asus' GPU Tweak software, there is an option to select the card's 1090MHz ‘OC Mode‘. I struggle to understand the logic of forcing users to download a piece of software to get their card running at its fastest, quoted frequency. If the card is validated for 1090MHz just set the BIOS to run at 1090MHz. It's that simple.
Many gamers will simply install the card and not bother with any third-party GPU monitoring software, hence why we run tests today at the 1070MHz out-of-the-box setting.