

After the joys of highly graphical and mouse-driven UEFI BIOSes, the MZ01-CE0's text-based BIOS feels like a retro trip back to the 1990s. It also doesn't have built-in support for taking screengrabs, so we had to take photos of the menus on our curved desktop screen, and we apologise for the bowed appearance of the following images.
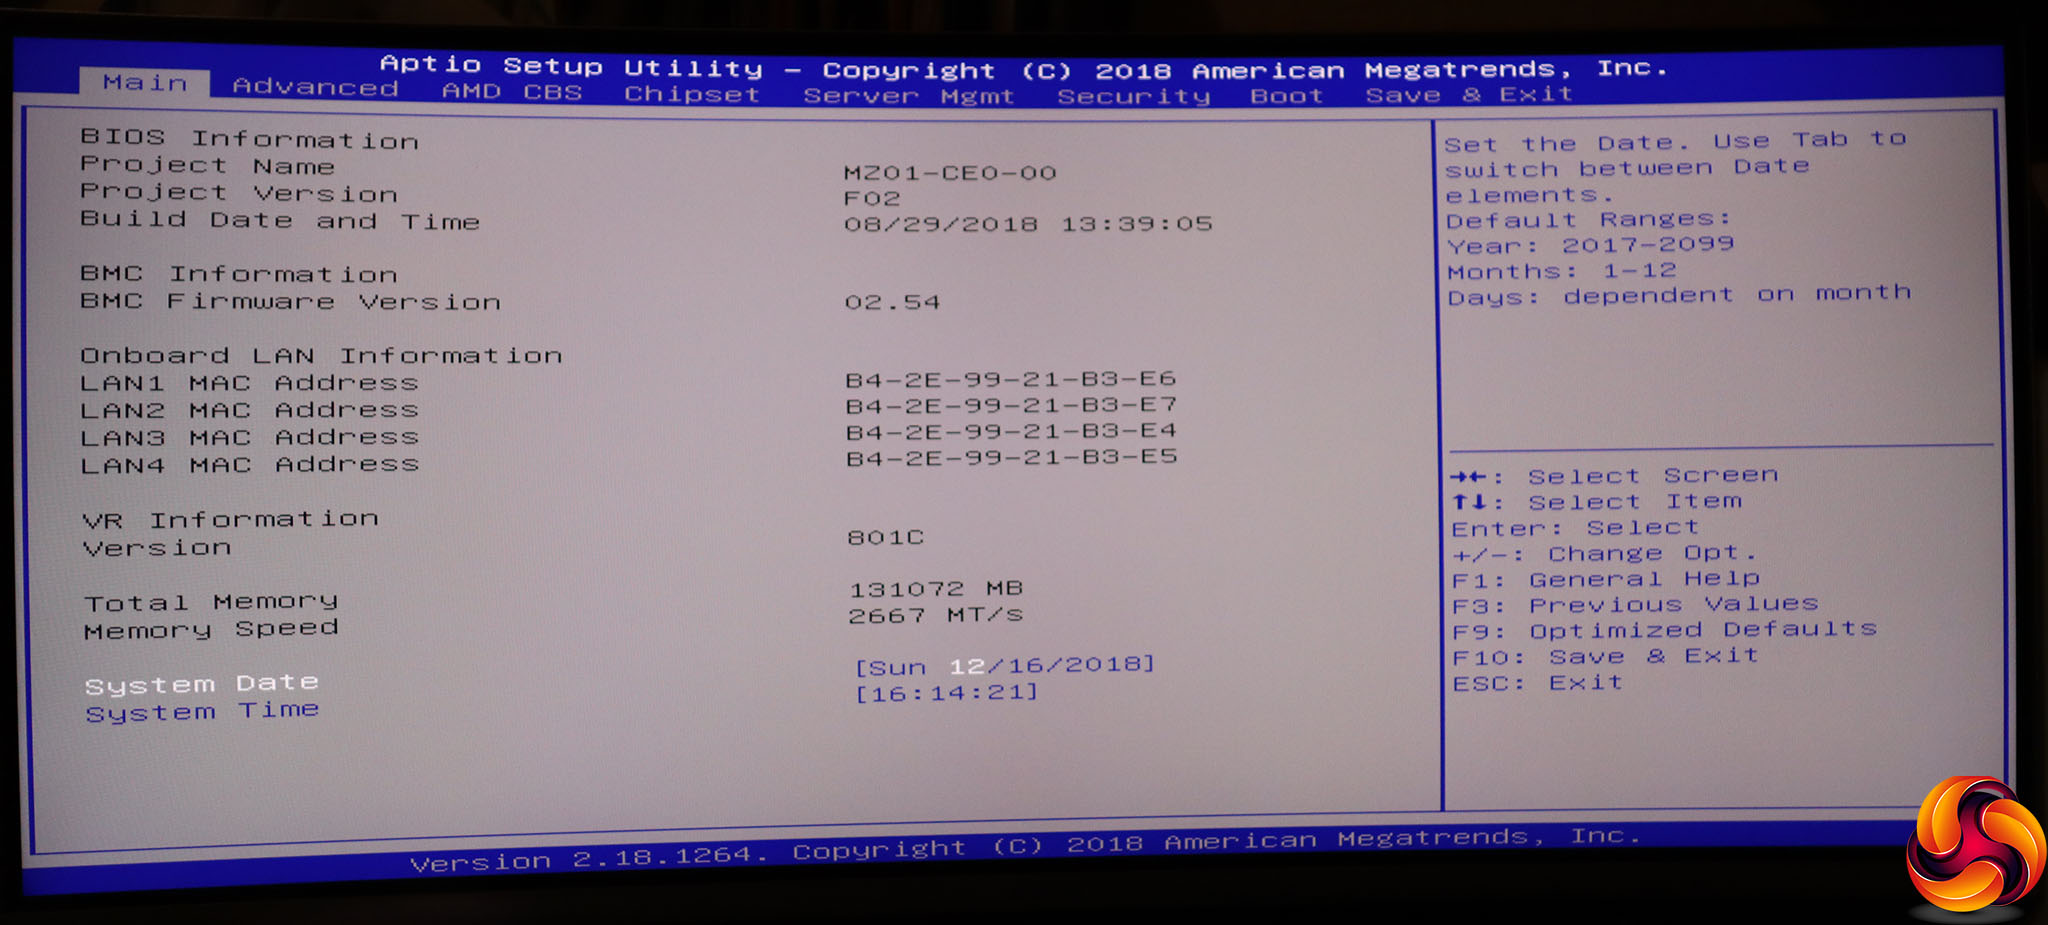
The initial screen is informational, telling you about the motherboard model number and build date, MAC Addresses for the four Ethernet ports, and memory speed. The only things you can edit here are the system date and time.
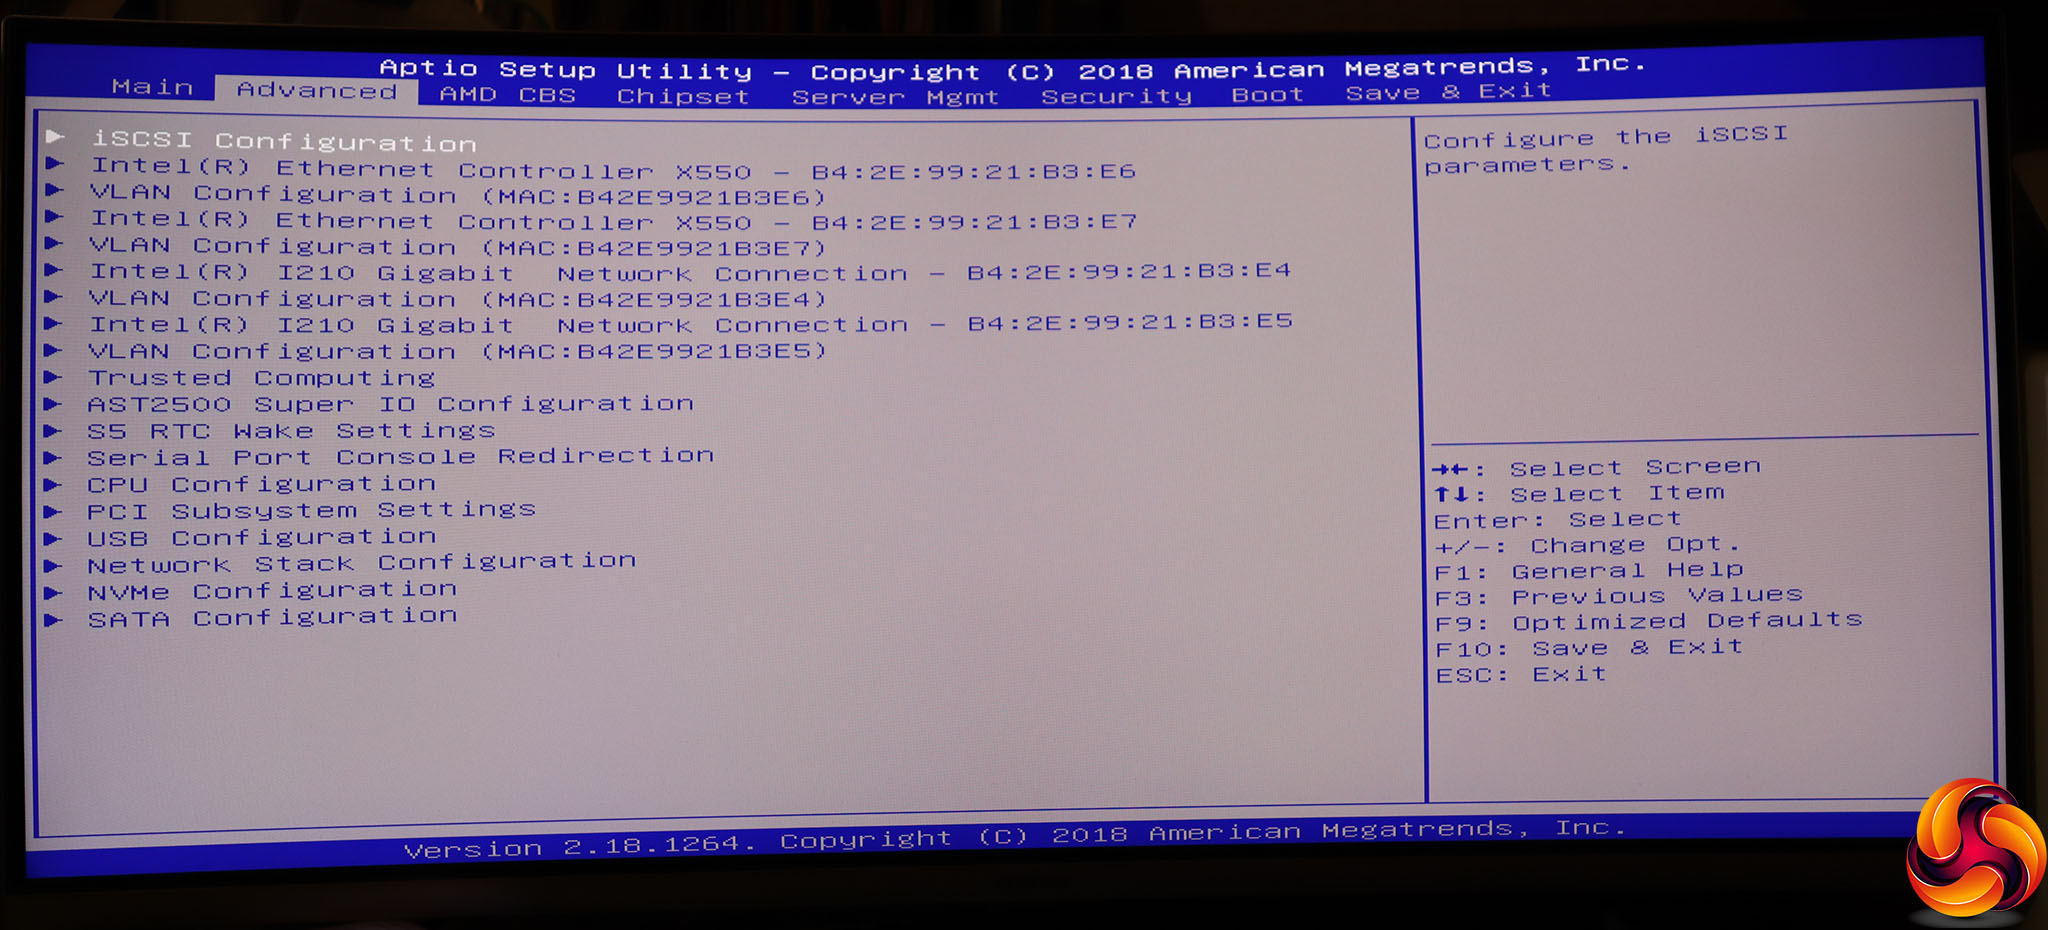
The Advanced section is not full of settings that the average desktop computer BIOS user will be used to seeing given primary prominence. The first entry is for iSCSI, where you can configure initiators for this virtual form of storage connection. Then there are the entries for the four different Ethernet adapters, all of which support VLANs.
Then there's the Trusted Computing option, although this motherboard doesn't have a TPM built in. You can configure the two serial ports provided by the AST2500 chipset.
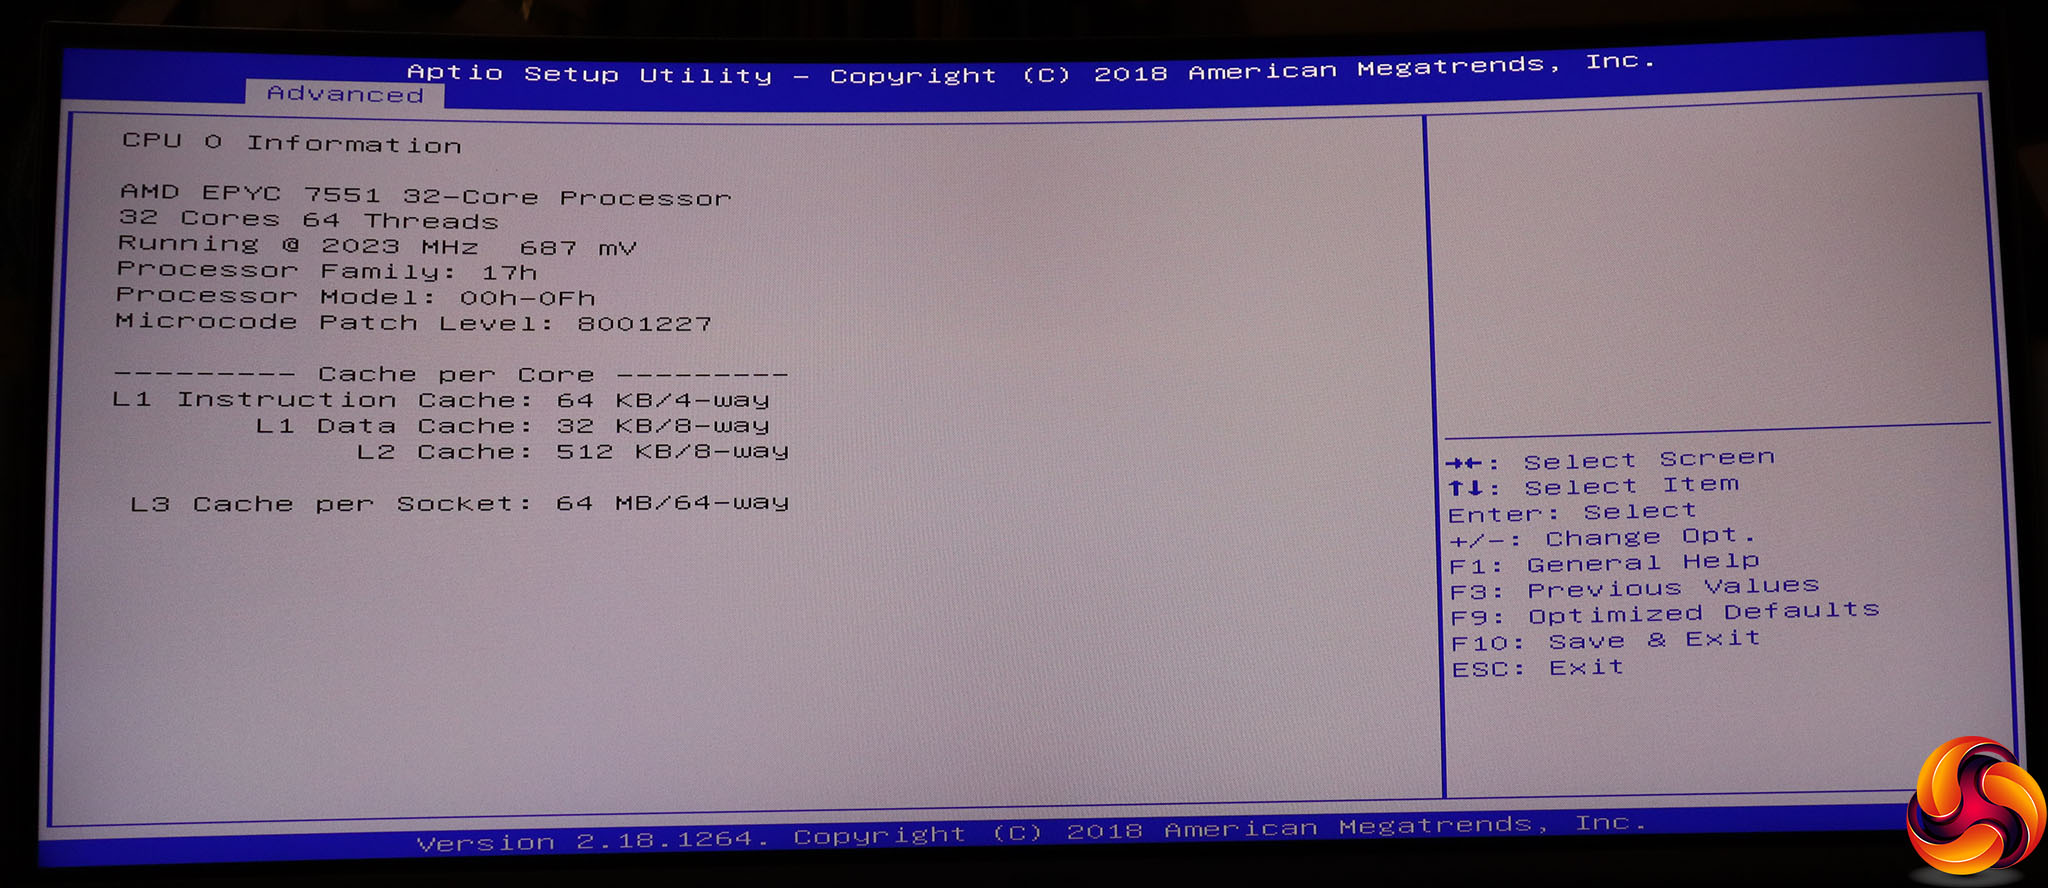
After a section where you can get the system to wake up at a specific time, and yet more options for using the above serial ports for console redirection, we finally come to the CPU configuration. However, unlike a consumer-grade motherboard, you can't tweak many settings. You can enable/disable CPU virtualisation and memory encryption, but the CPU performance characteristics are merely informational.
Next, you can configure how the lanes are distributed across the PCI Express slots, followed by USB behaviour. Then more networking, and information on the NVMe drive you have attached.
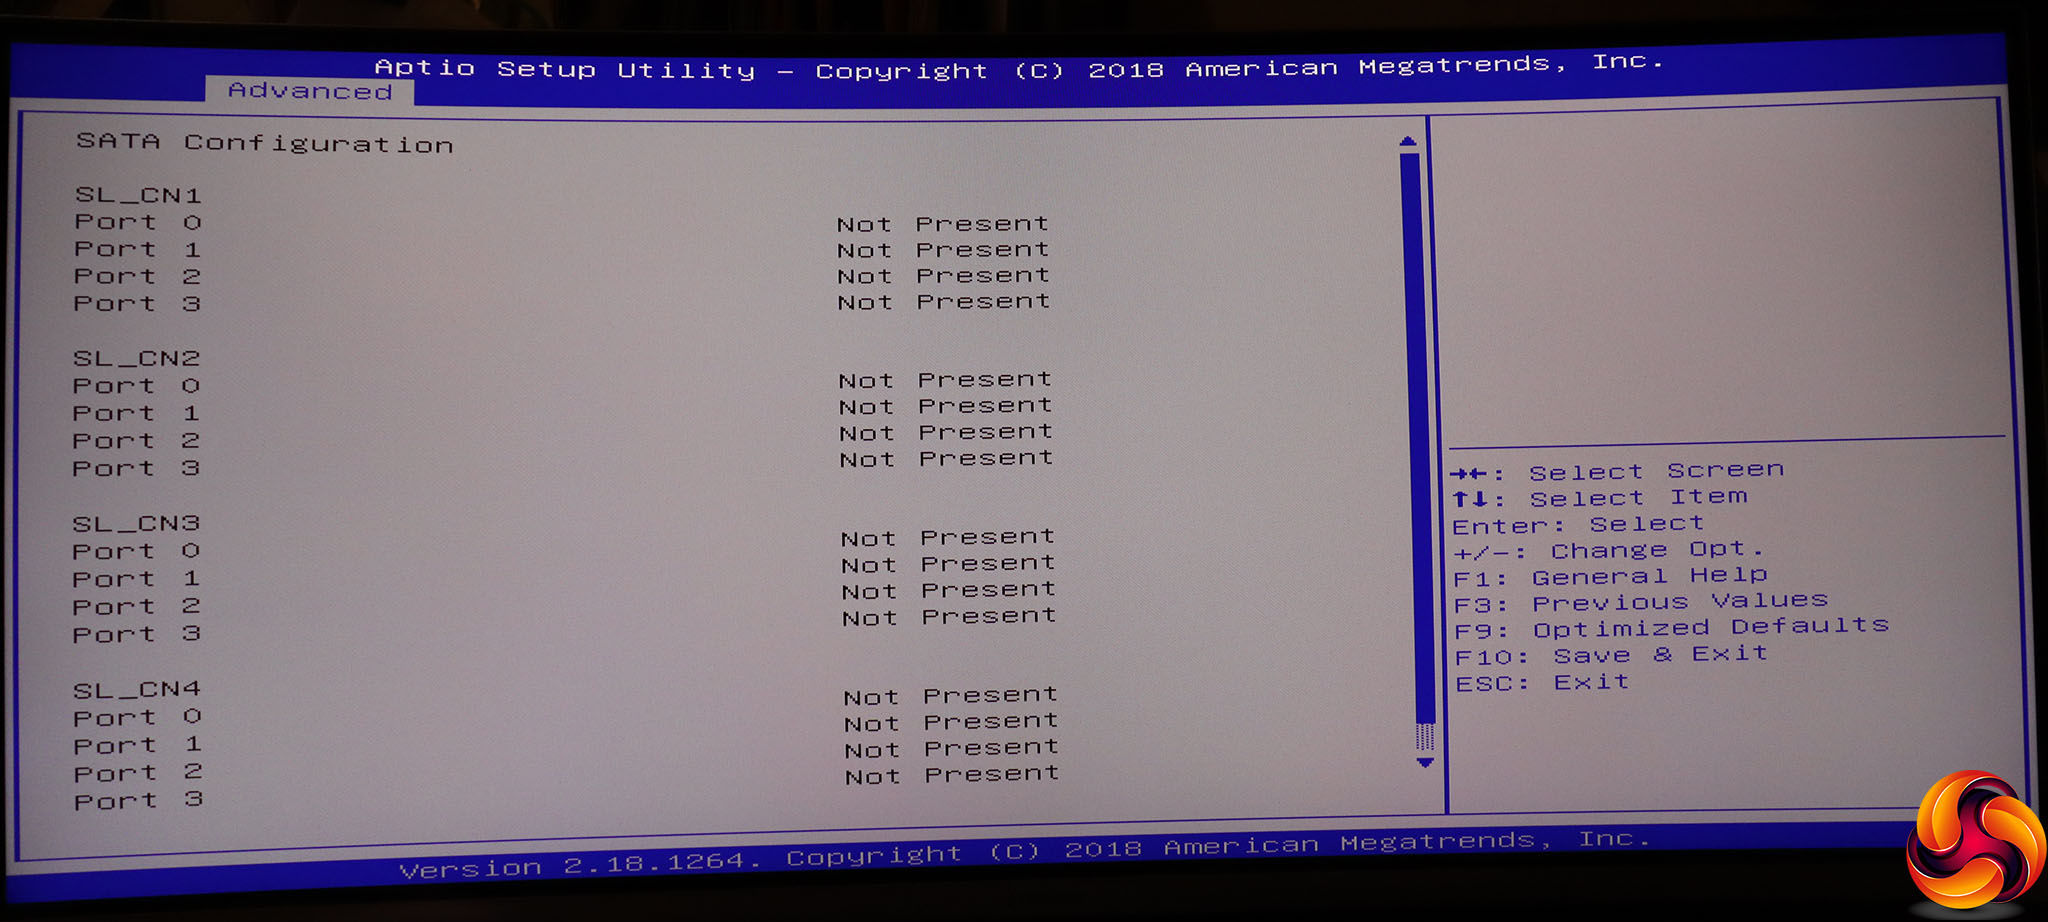
We've broken out the SATA Configuration to show how each SlimSAS port supports up to four drives. But you will need a special adapter to break out the single SlimSAS port to four SATA connections.
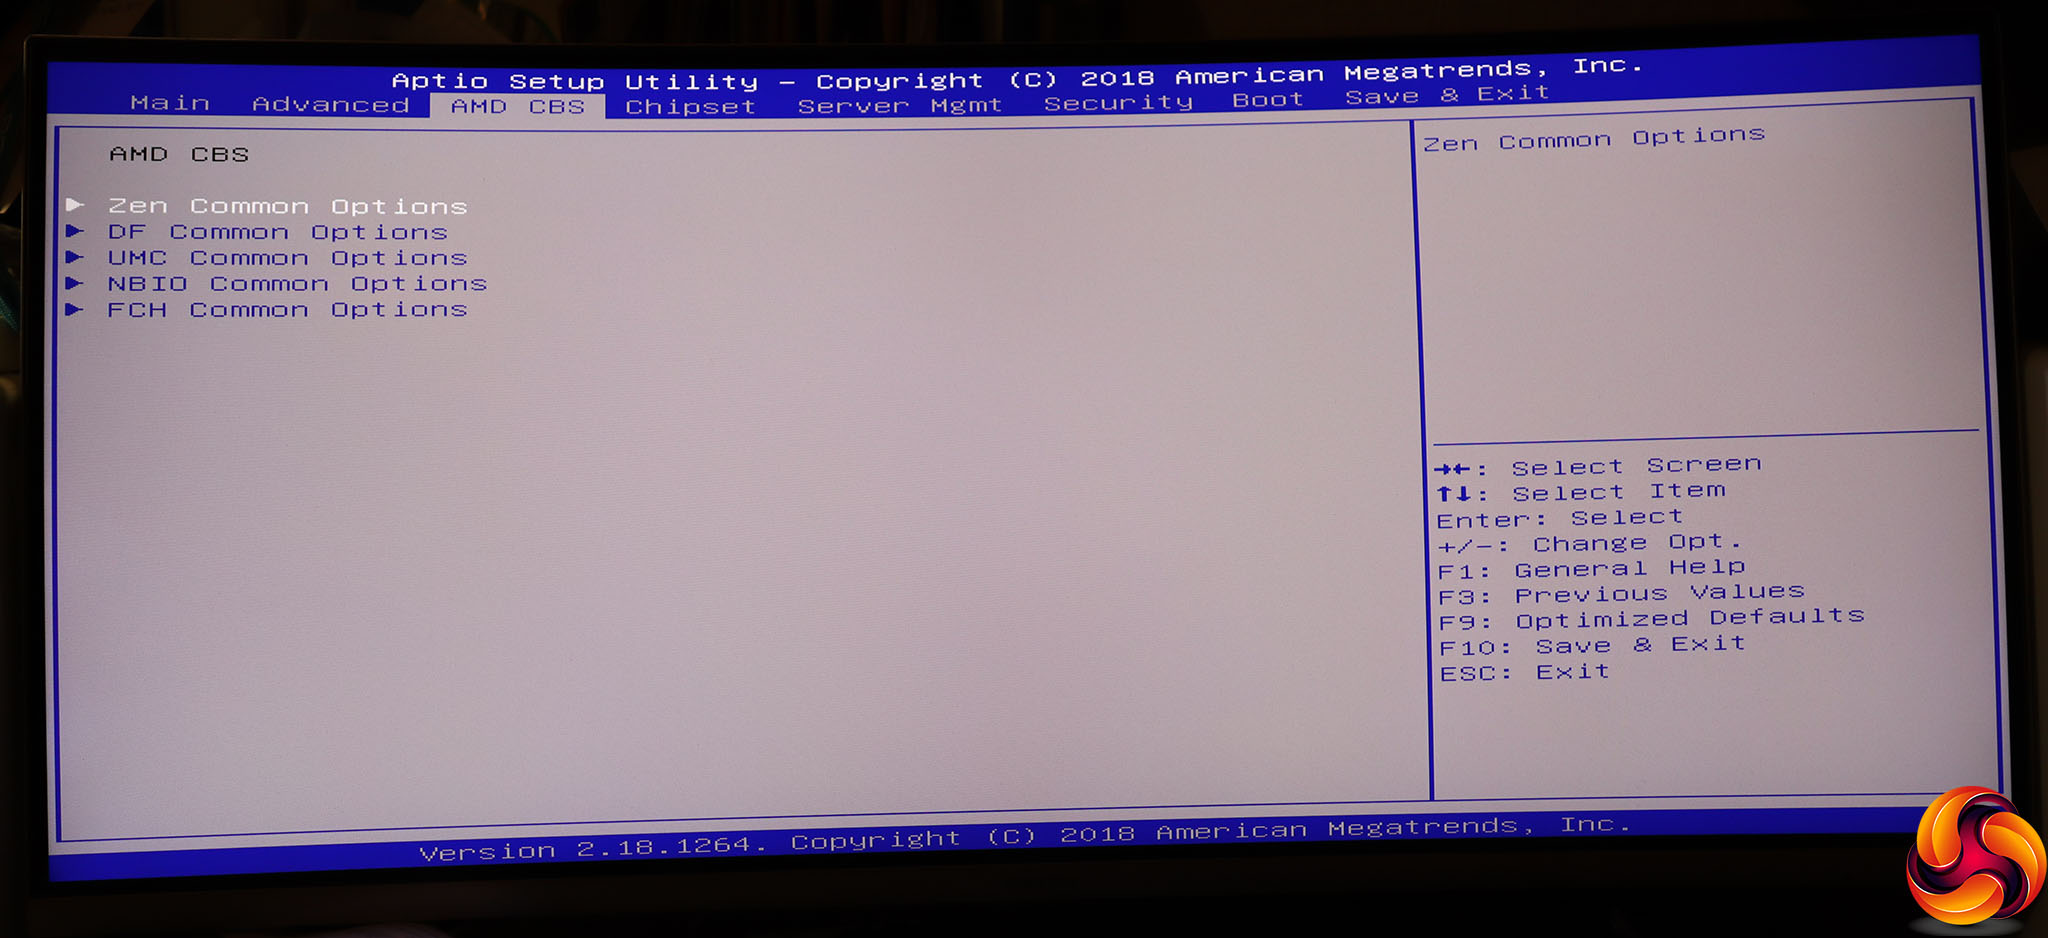
The AMD CBS section is actually home to some CPU tweaking settings, under Zen Common Options. This includes enabling/disabling boost mode, C-States and disabling cores. You can also enable disable the L1 and L2 cache prefetchers.
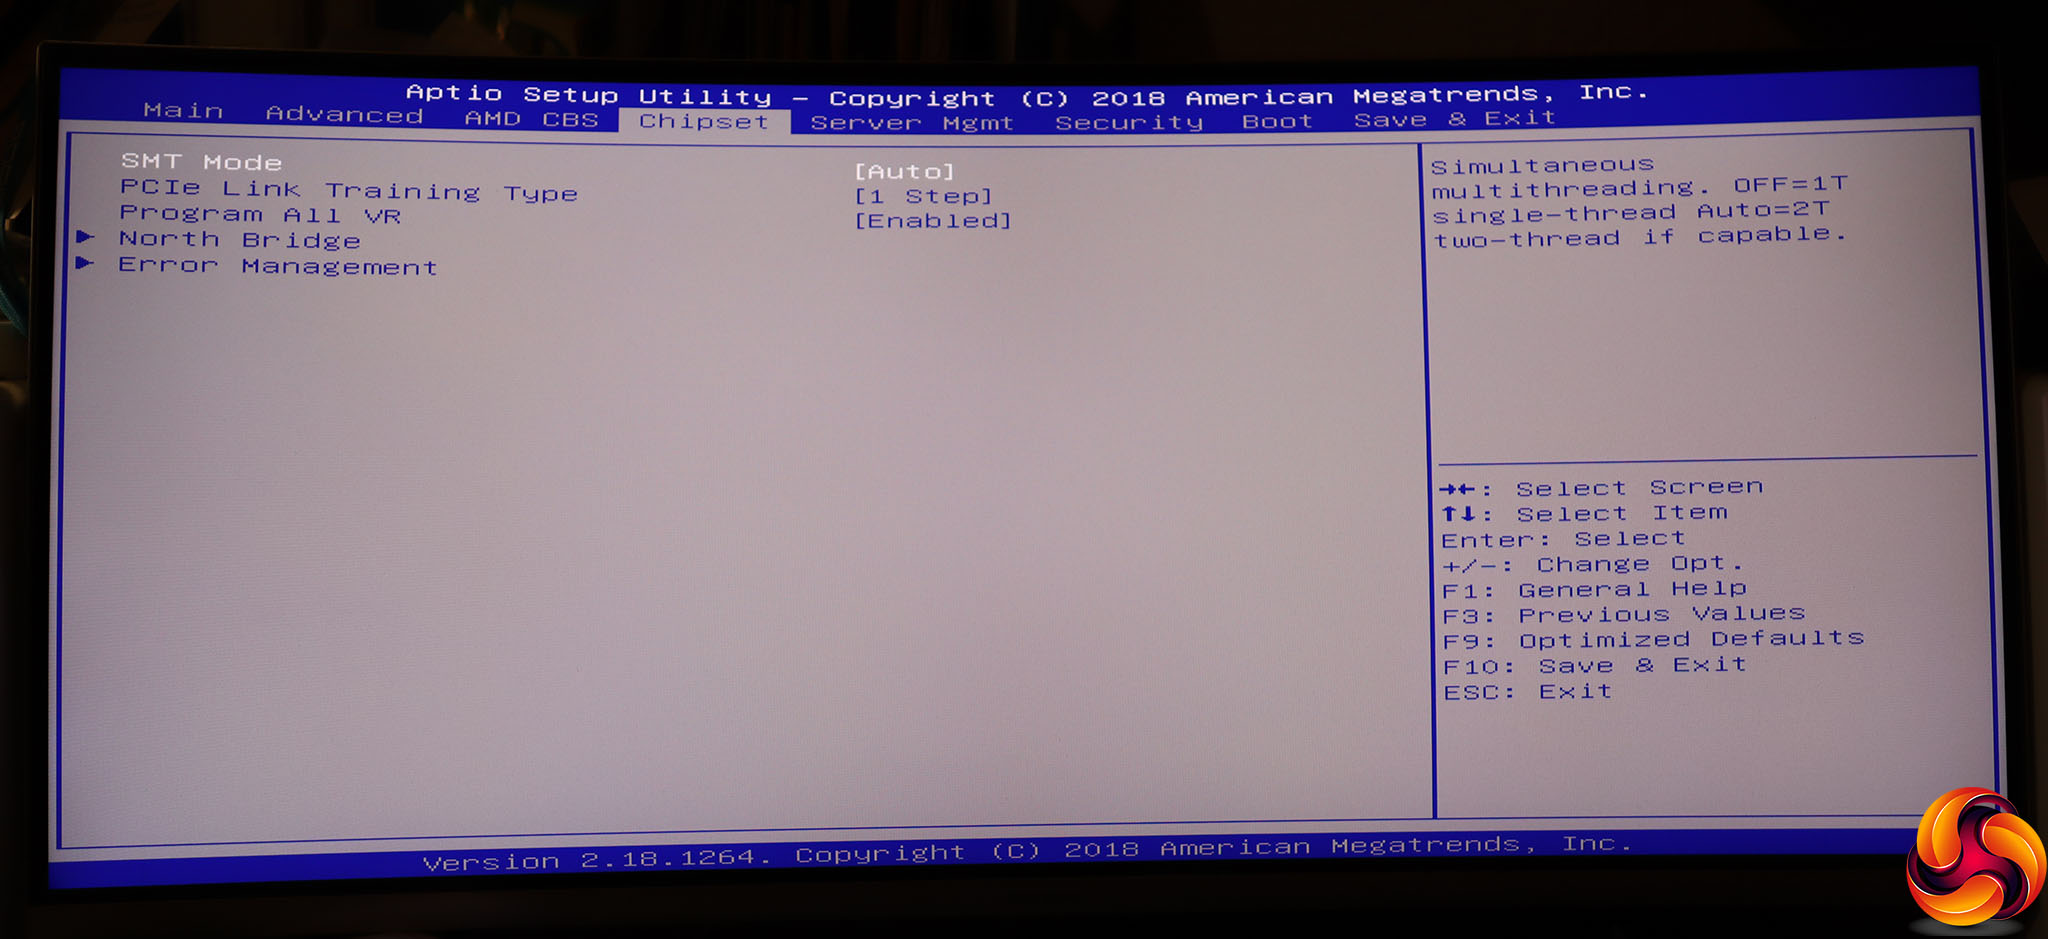
Under Chipset you can enable/disable SMT, configure some more PCI Express behaviour, and view information about the memory DIMMs attached to the North Bridge. Finally, there are some settings regarding error management.
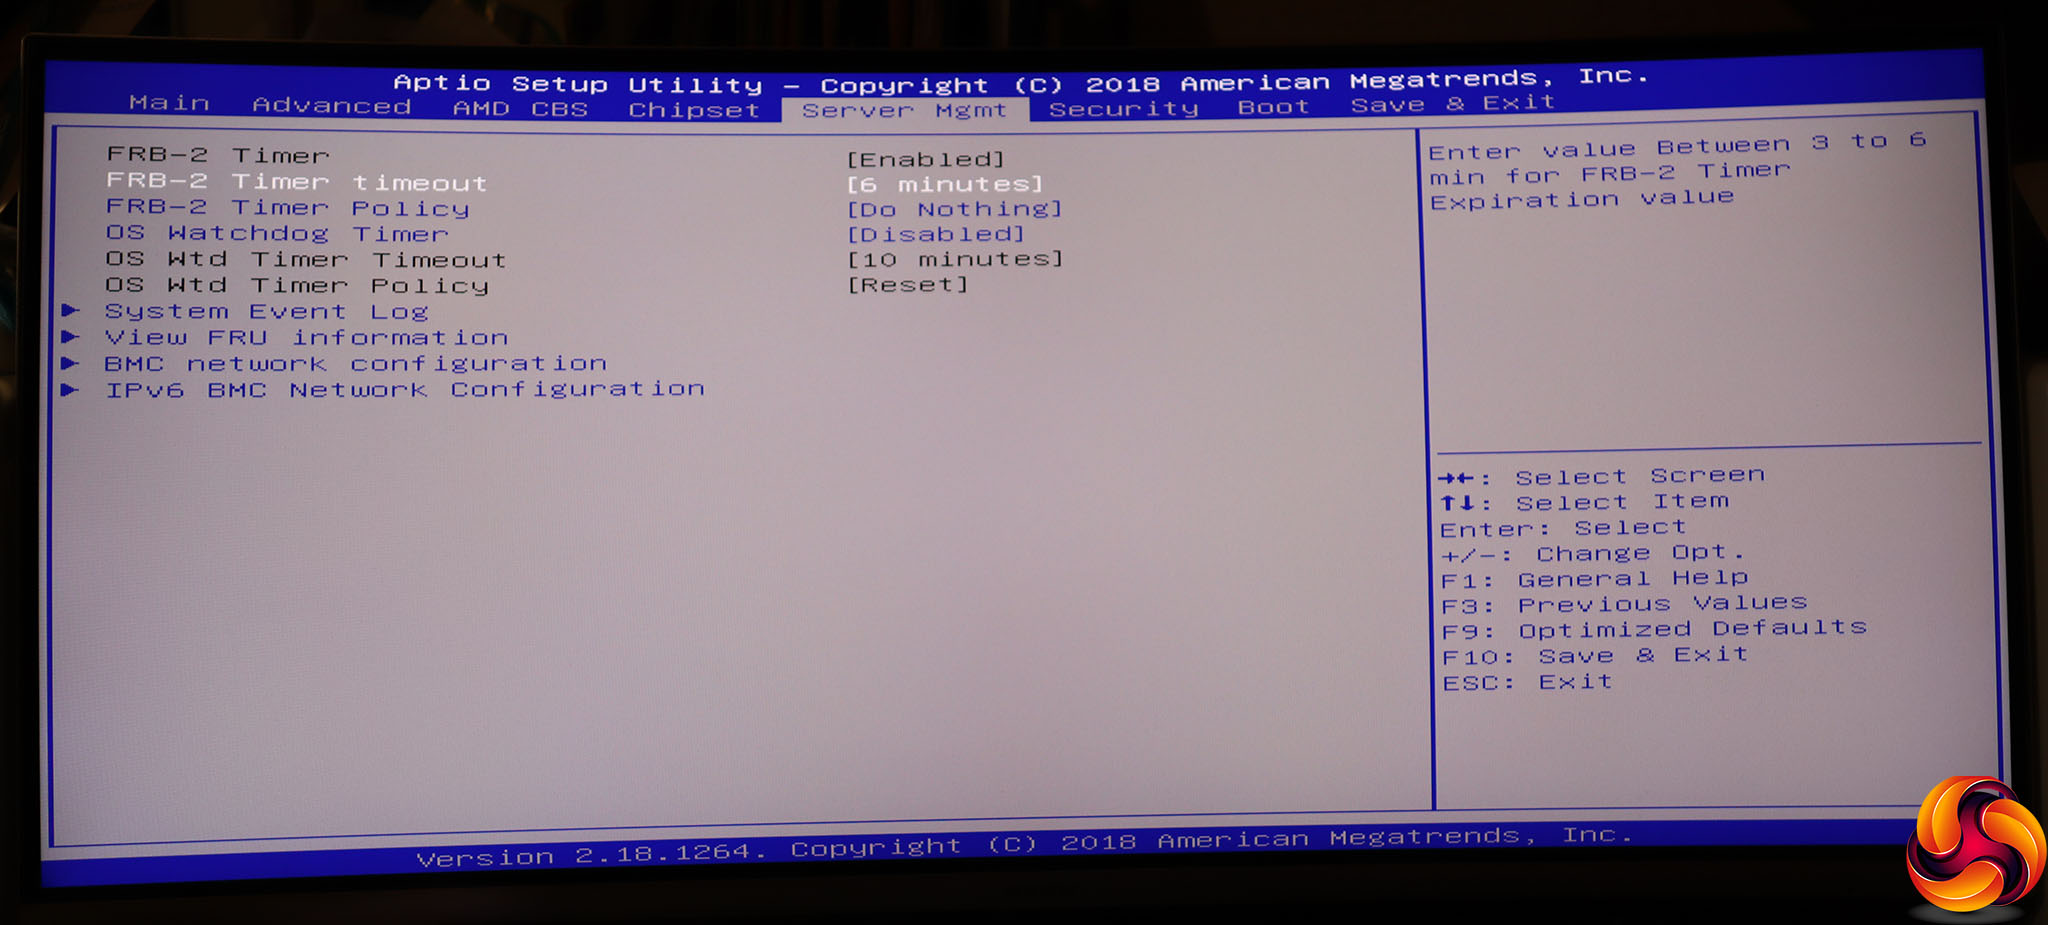
Server Management includes FRB-2 (fault-resistant boot) timing options and an OS Watchdog for when booting up. You can configure system event logging, and view FRU information so you can quickly change out the motherboard for an exact match in the case of a fault. Finally, there are some more network options.
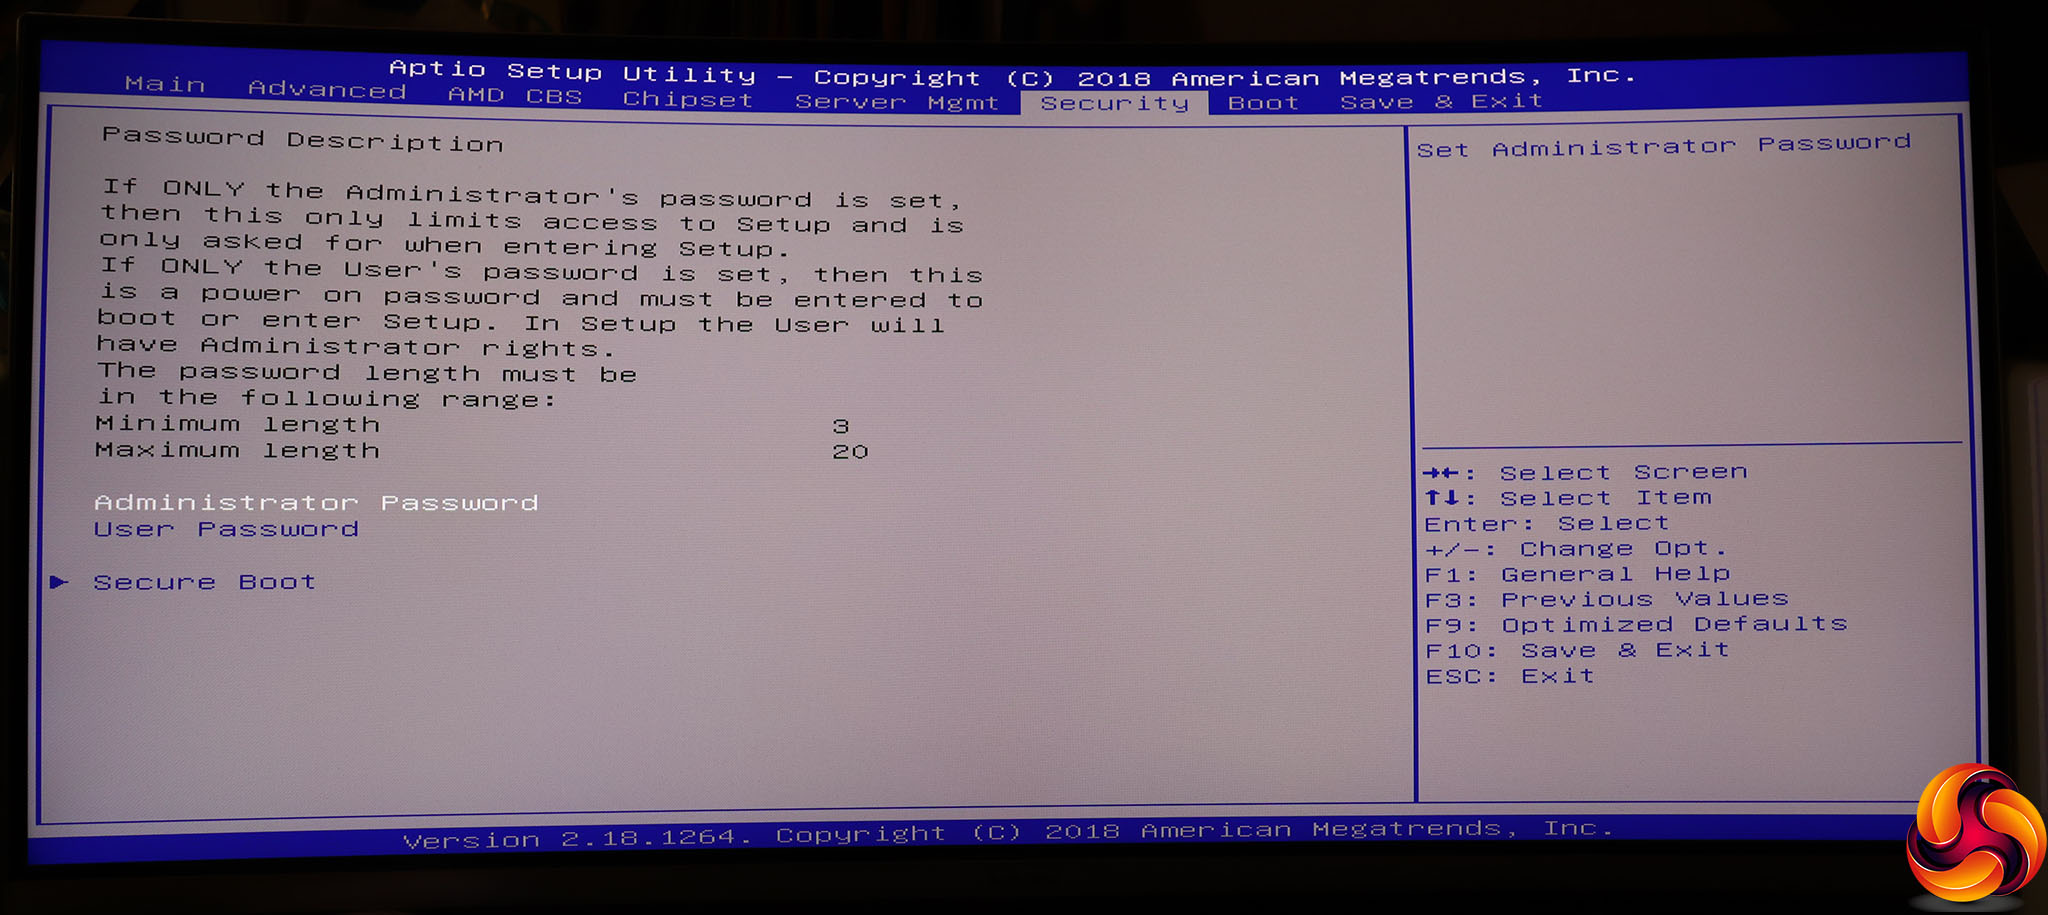
The usual options are available for adding an administrator and a user password. The former protects entry into the BIOS, the latter won't let you boot until you enter the password.
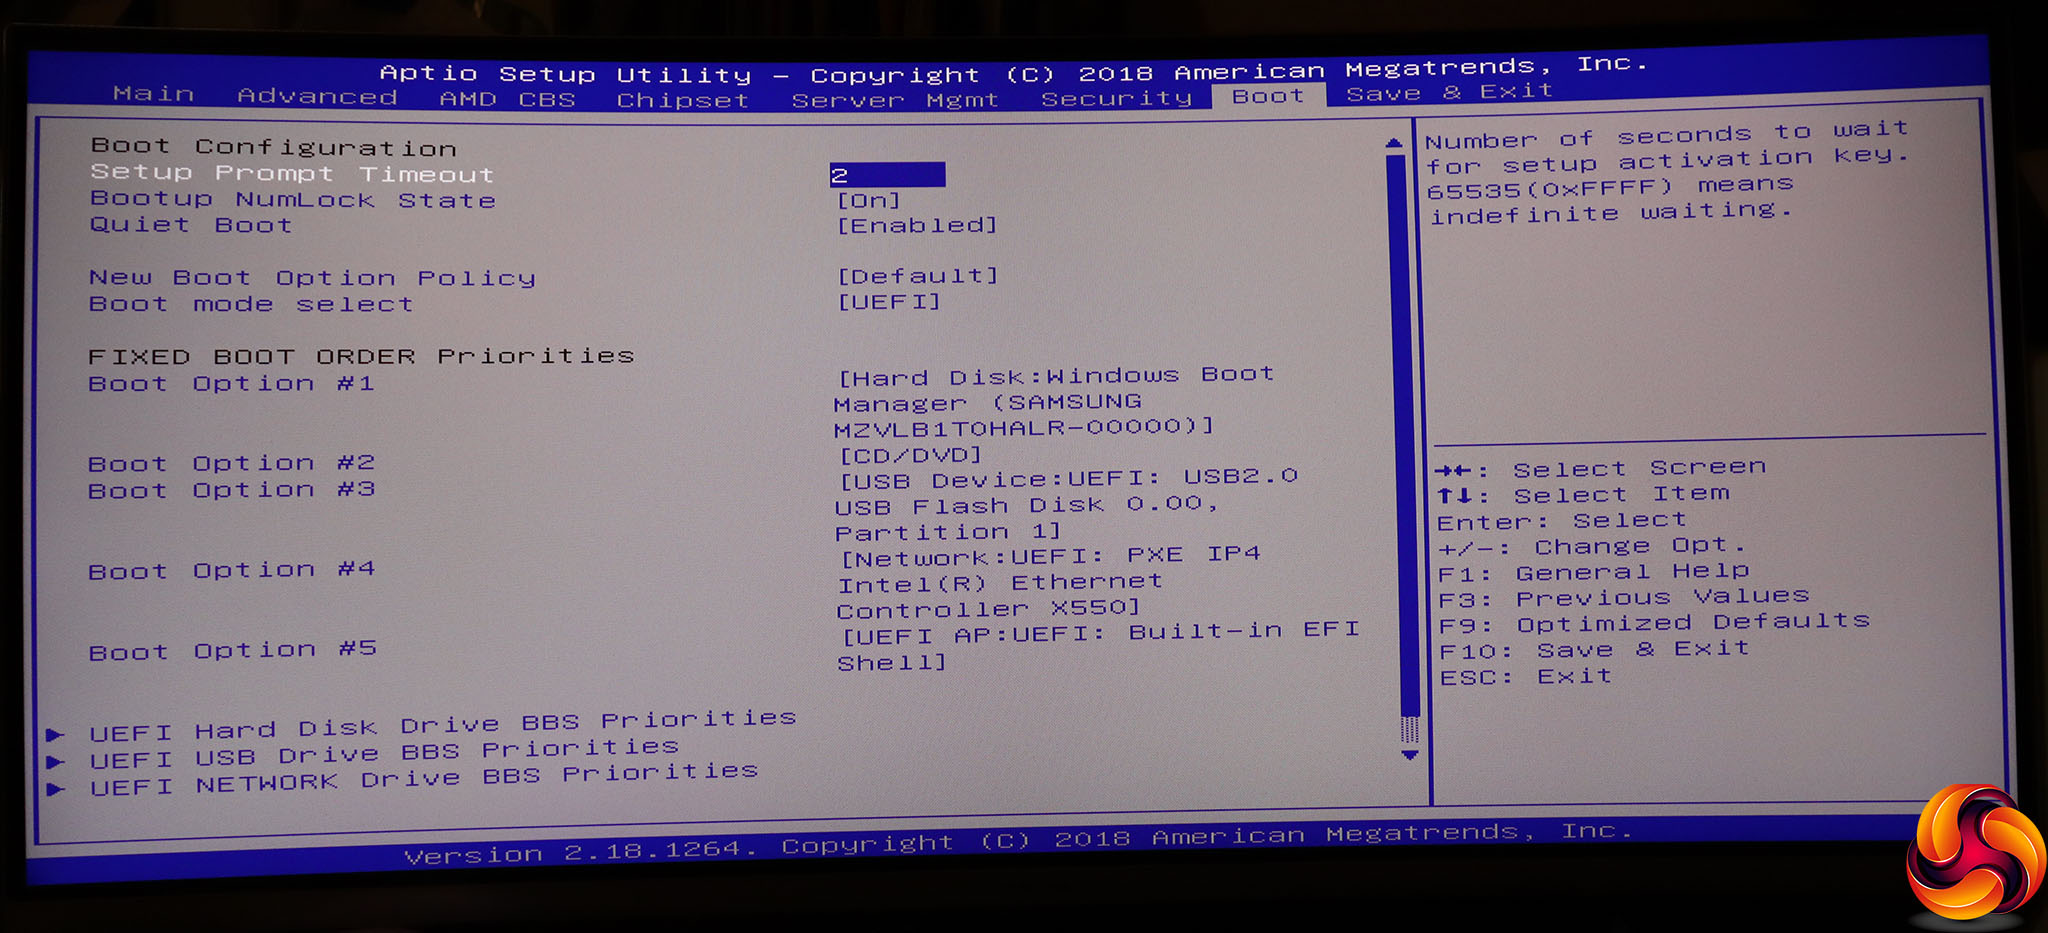
Last but not least are the usual options for choosing boot order, and whether to operate in Legacy or UEFI mode, although it's hard to believe this is actually a UEFI BIOS.
Overall, while there are lots of industrial-grade configuration options here, the design is like something out of a bygone era. Obviously, this isn't a huge issue for a motherboard that should be spending very little time being configured, and lots of time just running smoothly. But it's not always easy to find specific options where, for example, networking settings can be found in at least three different places.
