

UEFI
Firstly, we are pleased to report that our generic wireless mouse worked to its usual standard in the Gigabyte Z170 UEFI. We’ve found the wireless mouse to be troubling with UEFI support in the past, so when it functions correctly in the interface, that is usually a good sign for overall mouse support.
Those who have seen or used Gigabyte's 8- and 9-series motherboards will remember the company's high-resolution interface. This seems to have been abandoned, at least for this Z170 motherboard, and we don't really see that as a bad thing. The high-resolution interface was riddled with flaws and was inconvenient to navigate, so users are likely to be better served by the old style of UEFI layout that is equipped for the Z170XP-SLI.
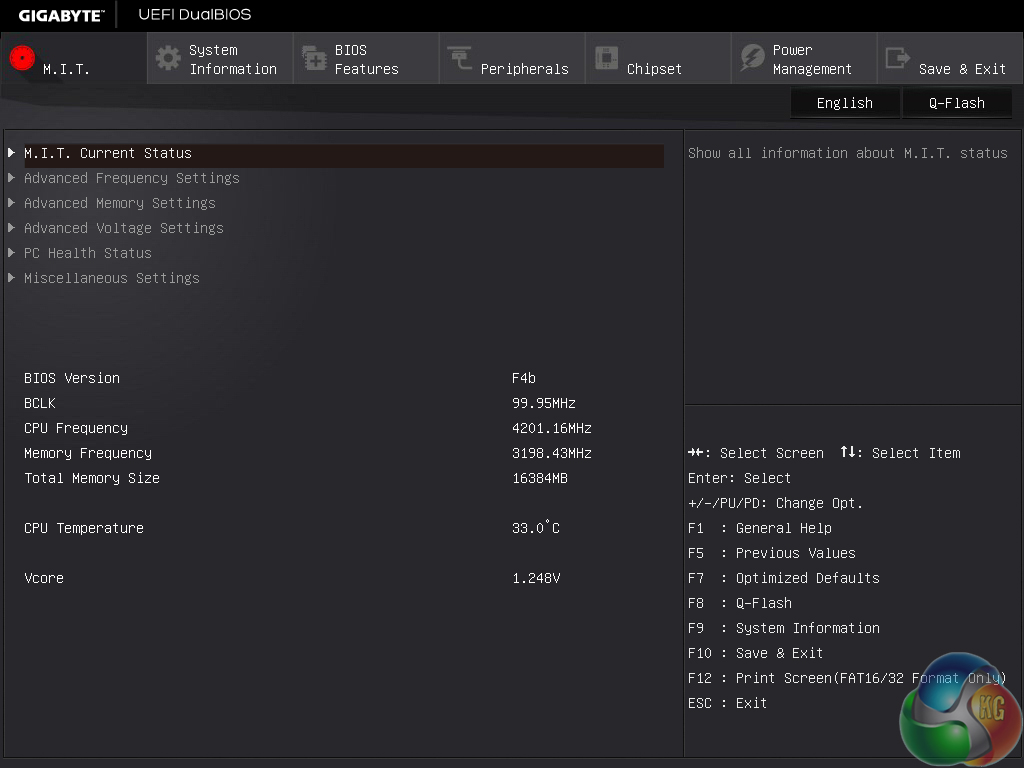
Entry point for Gigabyte's Z170 UEFI is the M.I.T page. This is the point where the main system operating functions, such as voltages, clock speeds, and fan controls, can be accessed.
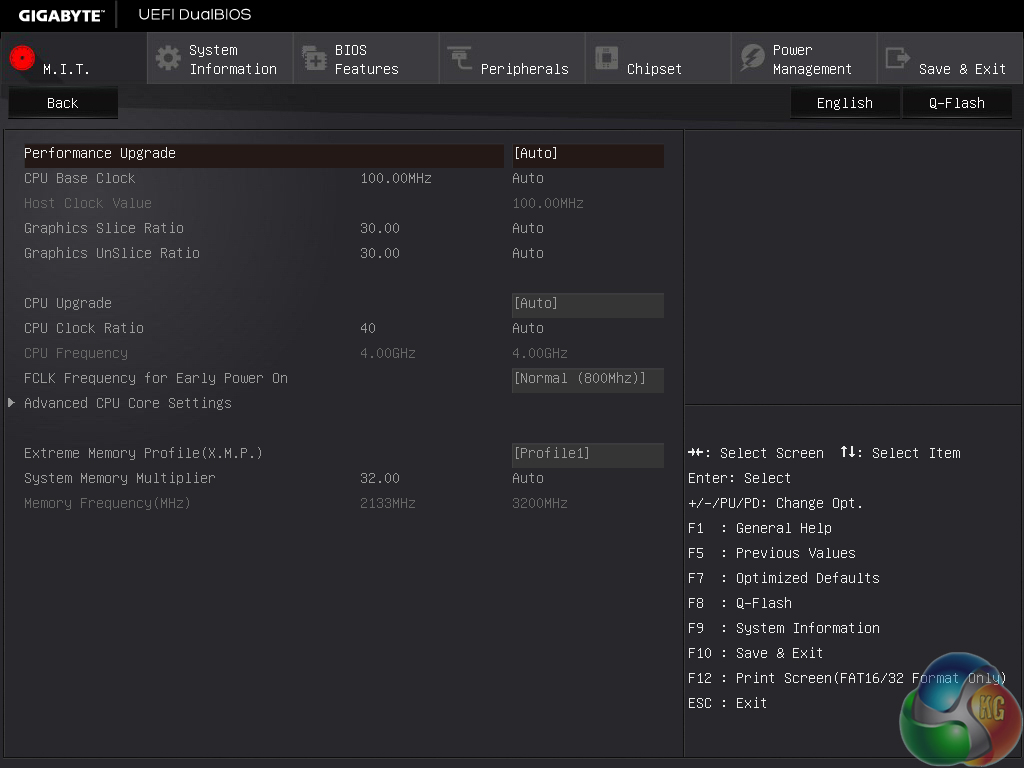
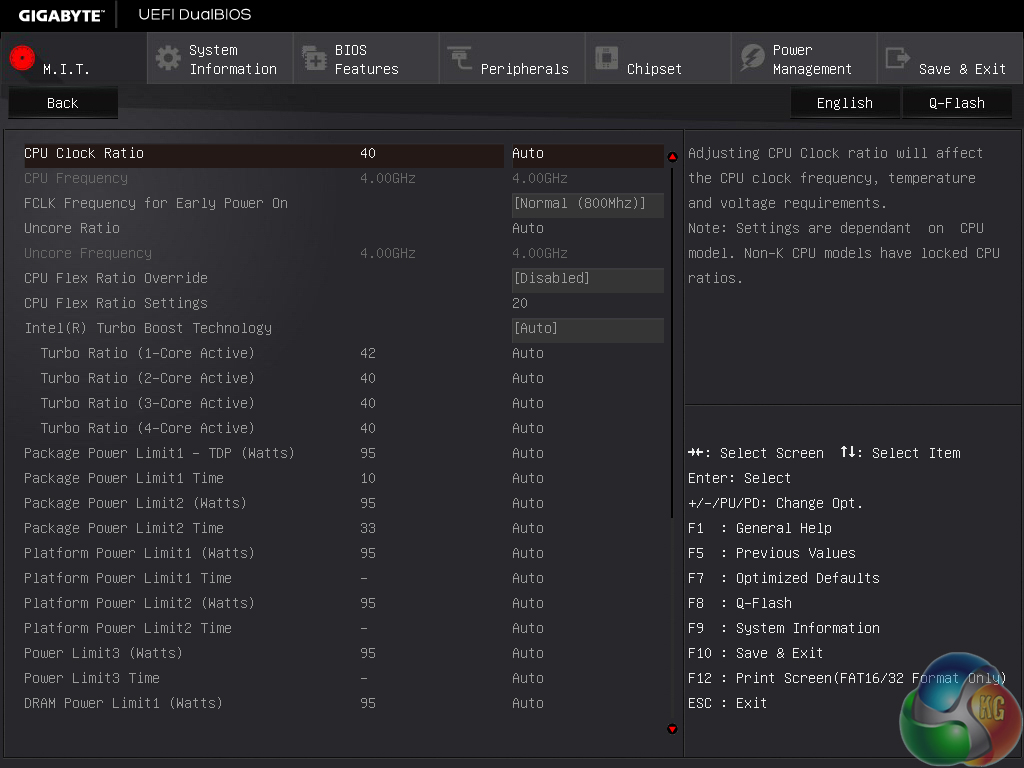
The main system clock speeds are given their own page. Access to the more advanced CPU settings, such as the cache frequency, is given through a separate section.
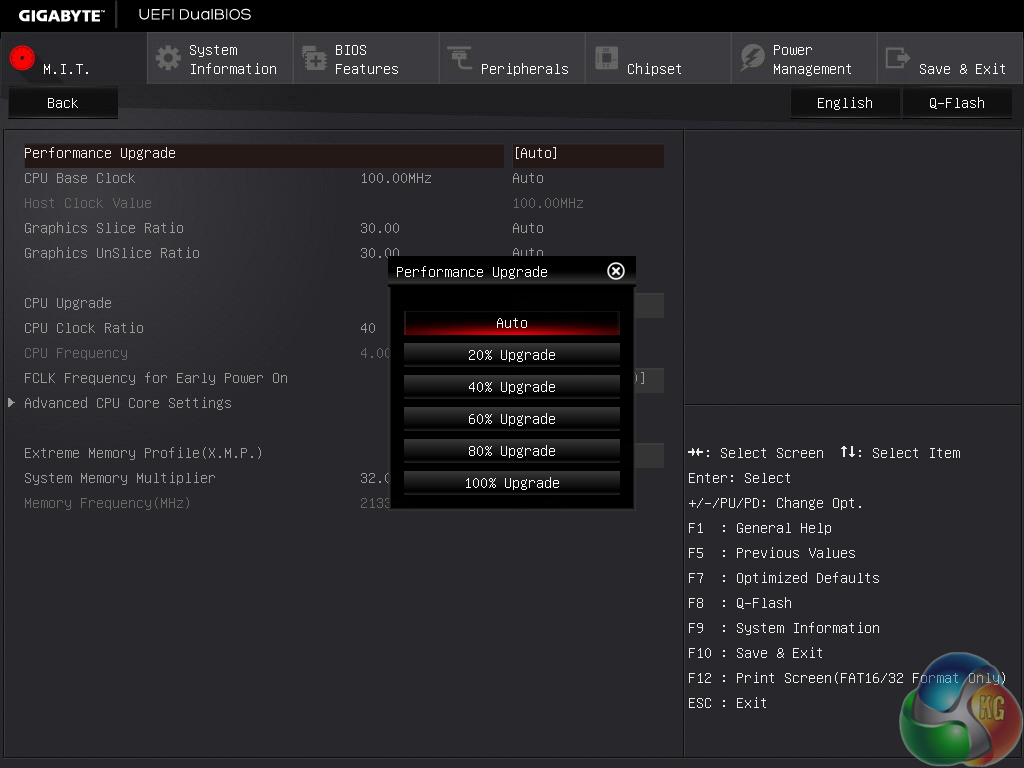
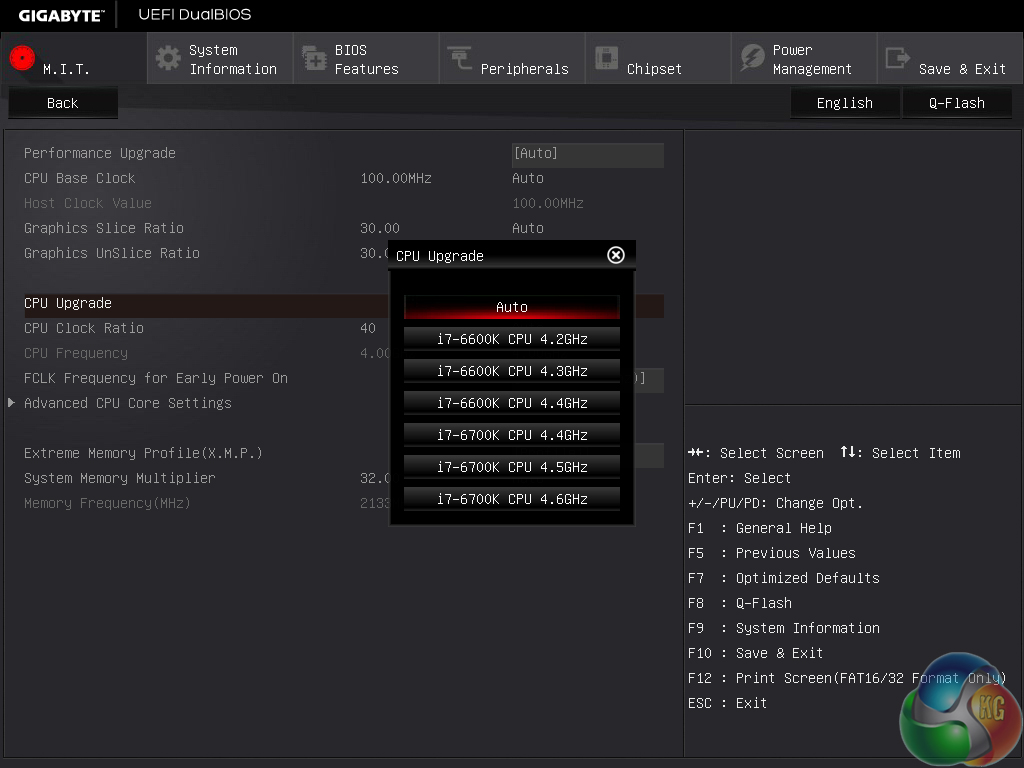
Gigabyte includes a number of Performance and CPU Upgrade pre-set profiles. The CPU Upgrade profiles worked well with our Core i7-6700K chip and used sensible voltage settings.
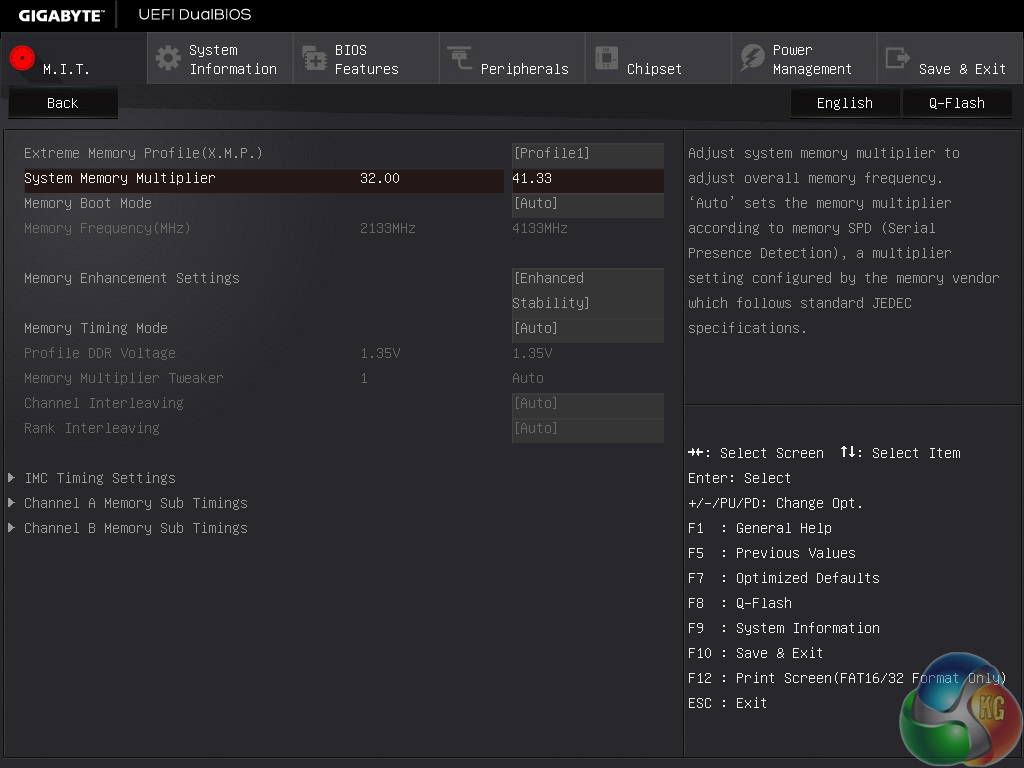
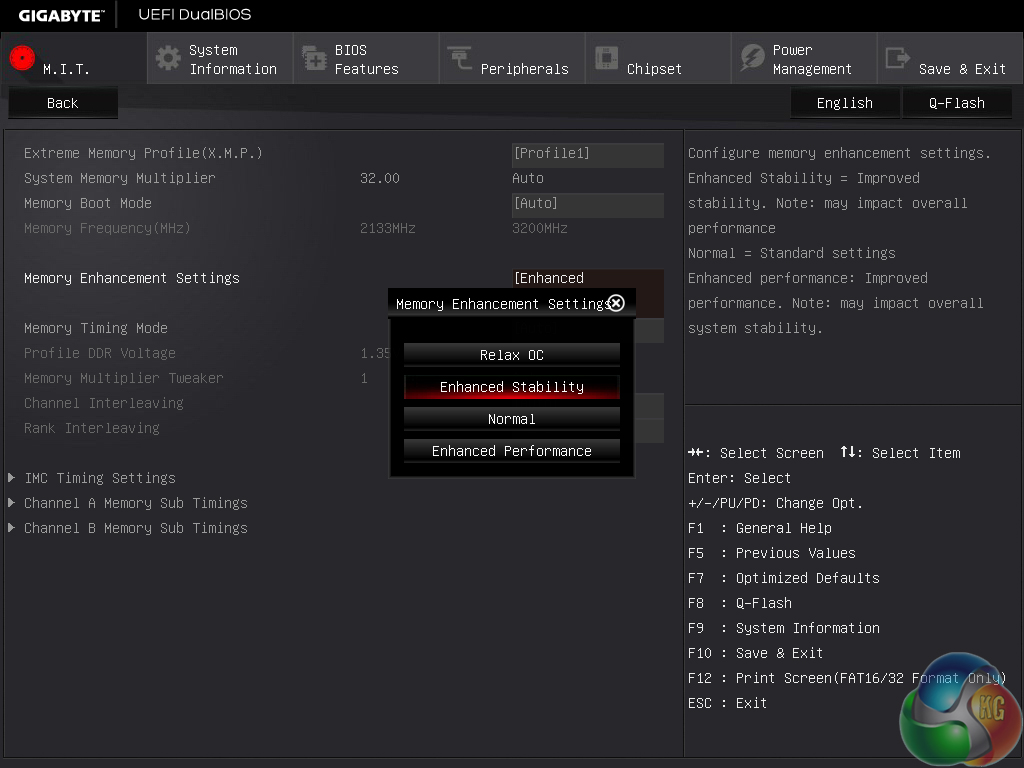
A memory ratio of up to 41.33x is supported in the Gigabyte UEFI. A multiplier this high may be useful for future memory kits or for tweaking the BCLK below 100MHz in order to stabilise a system overclock. A number of Memory Enhancement settings can be selected.
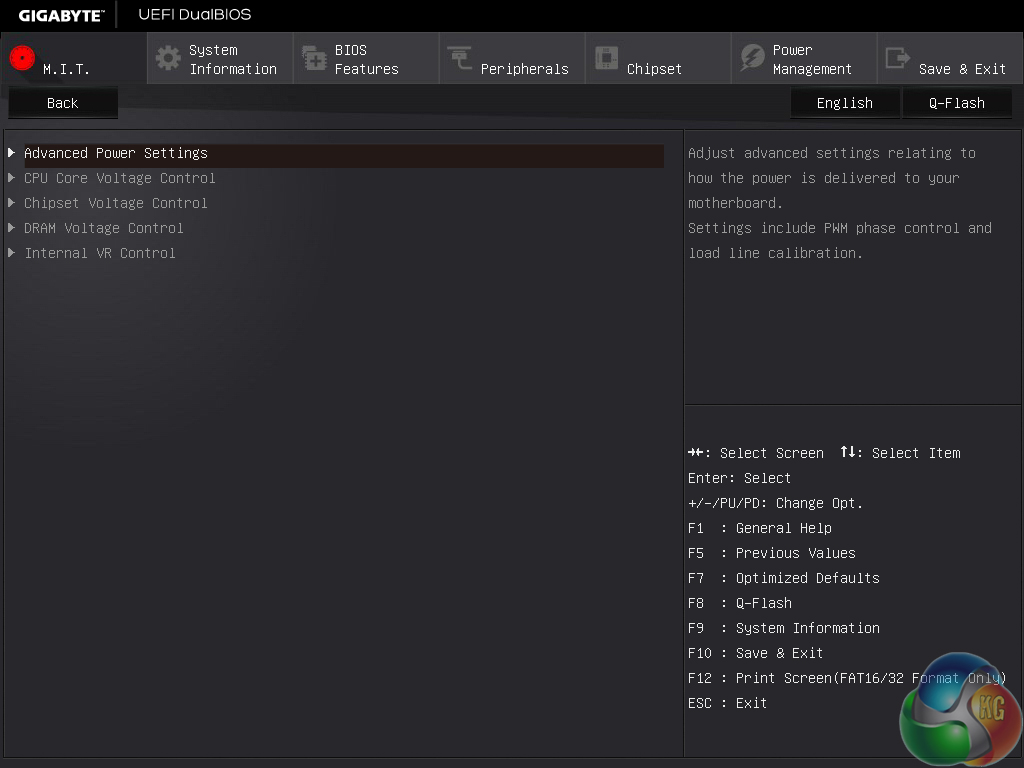

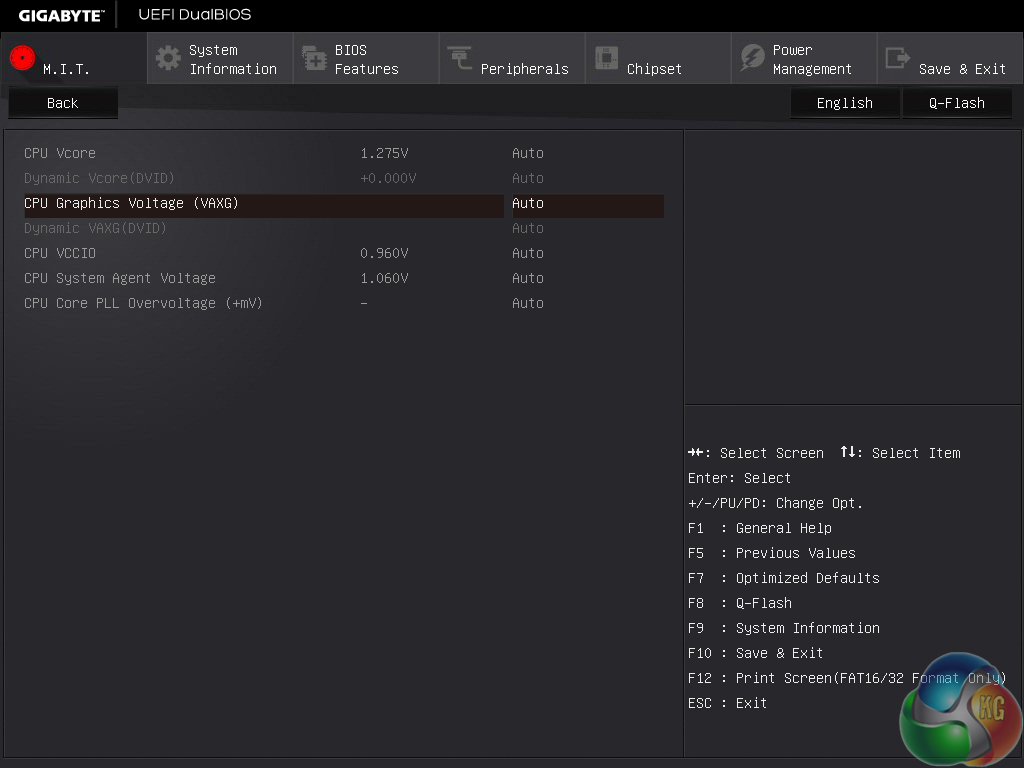
A select few power and voltage settings are provided throughout the UEFI. I was not impressed by Gigabyte's chosen input method for some of the selections. CPU VCore Loadline Calibration, for example, was given only two selections which were toggled using the – and + keys, rather than a drop-down list.
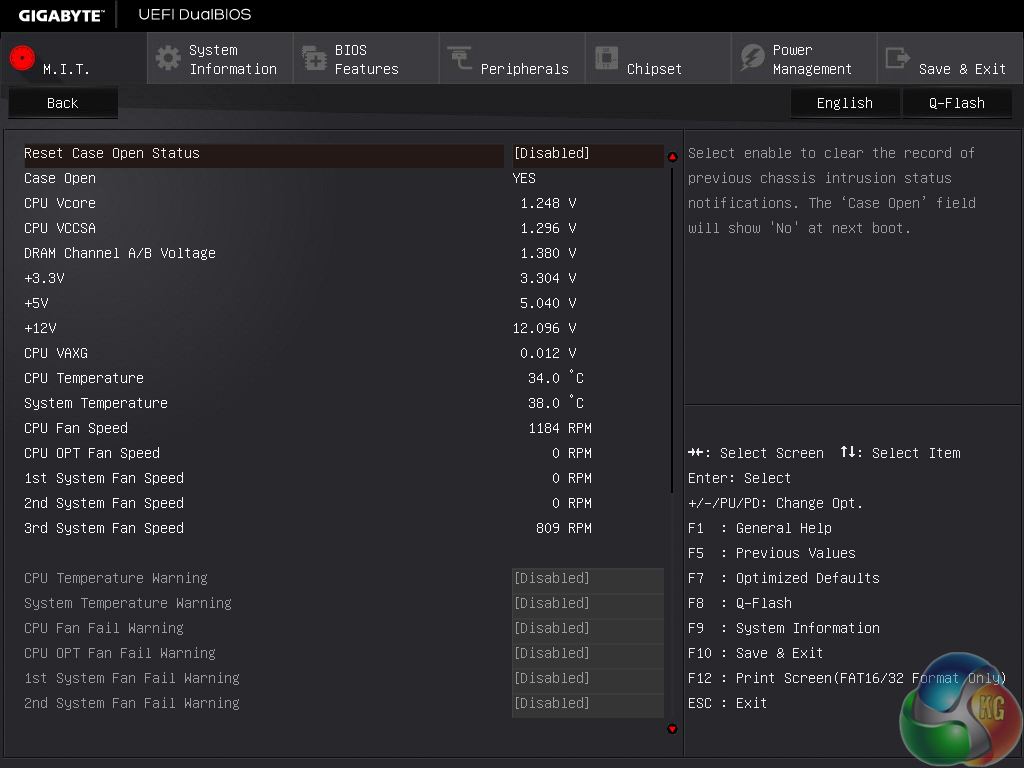
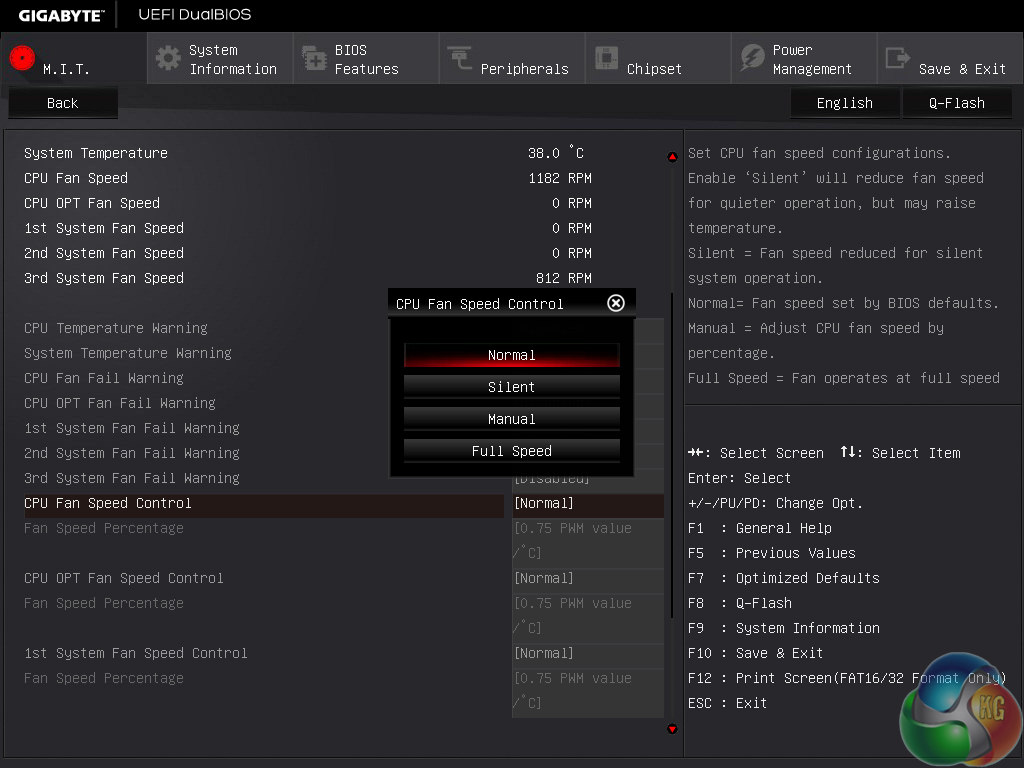
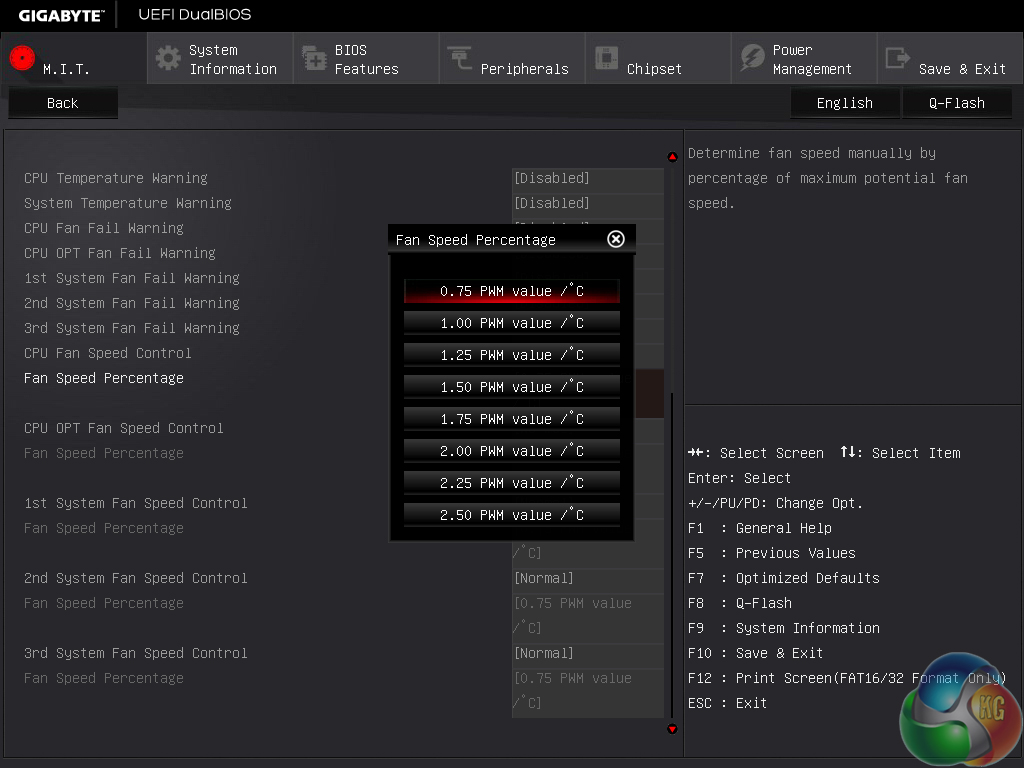
The PC Health Status page monitors system operating parameters, such as voltages, temperatures, and fan speeds. Gigabyte features two pre-defined fan speed profiles, while the third is for manual control and the fourth sets full speed.
The manual fan control method is terrible. An arbitrary number (to most people) which plots a section of the fan's PWM speed against a temperature reading is simply incomprehensible for most users. There should be a simpler method that uses clear fan speed percentages and temperatures for the listed values.
And if Gigabyte wants to make the setting of a fan speed curve possible (as the current list and units would suggest), an interactive graph should be used. Thankfully, the fan control method through Gigabyte's OS-based software is typically better.
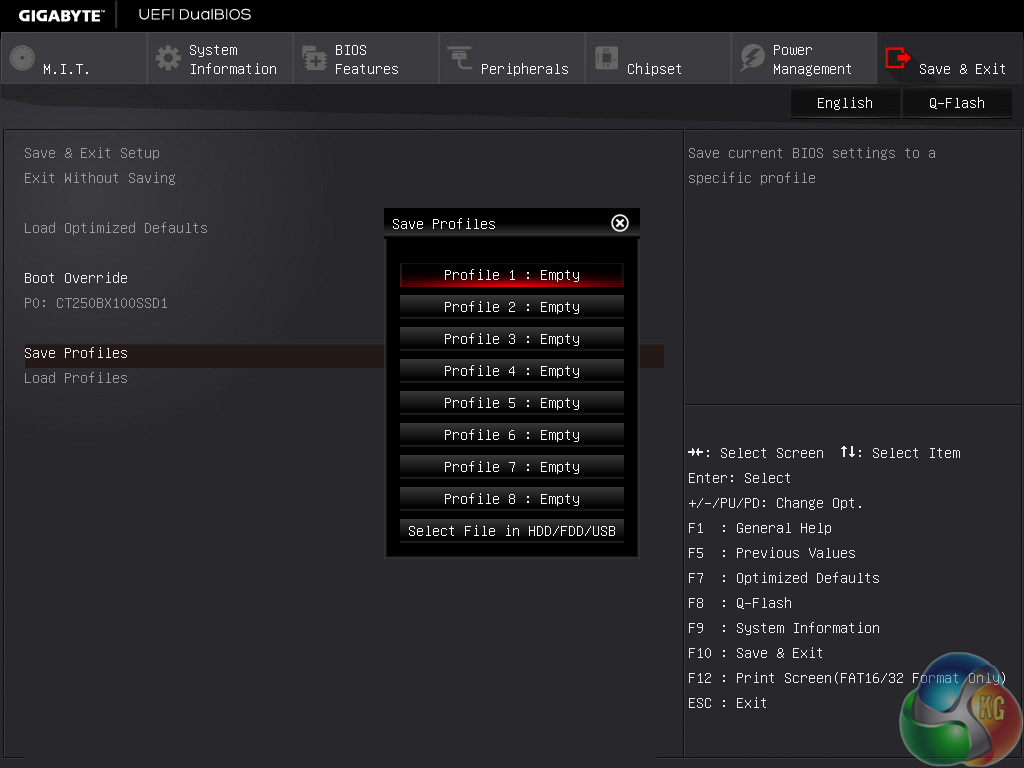
Up to eight configuration profiles can be saved while many more can be transferred to and from a storage device.
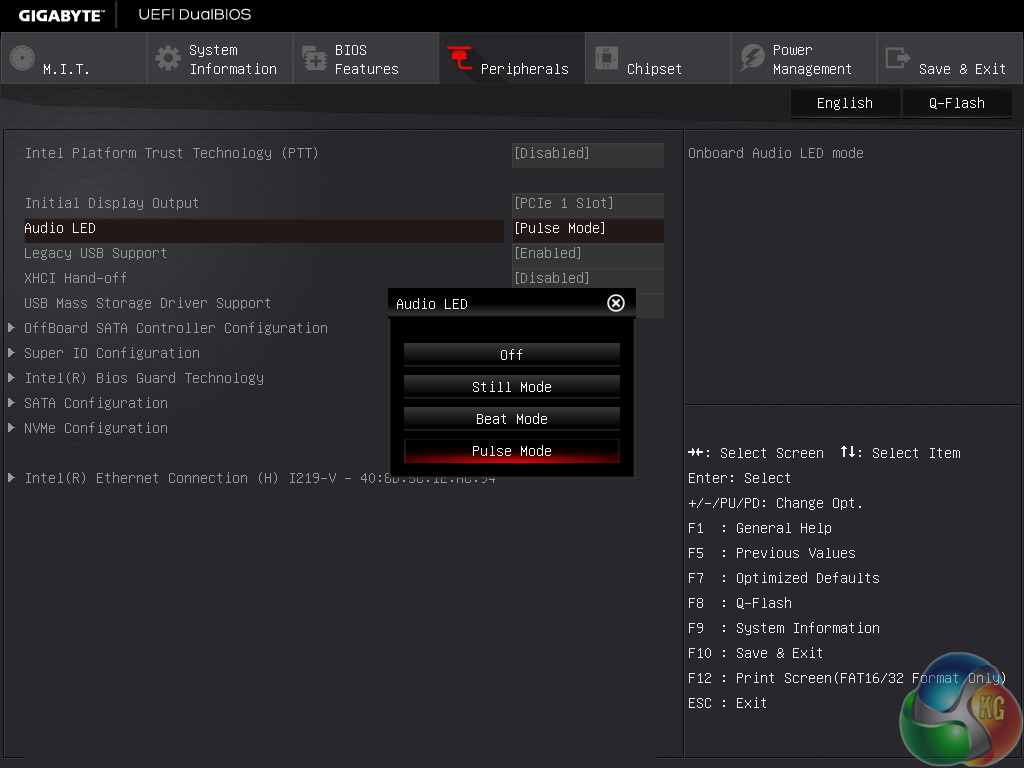
One of the convenient features of the Peripherals page is the ability to control the audio strip LED. This can be set to operate in different modes.
Gigabyte's UEFI is generally easy to navigate and is equipped with enough features for novice users, but it lacks the features and interactivity that we have seen from Asus' and ASRock's latest UEFI iterations. The segregation of voltage settings makes overclocking a simpler task for less experienced users as they are not inundated with a host of settings on a single cramped page.
The fan speed control settings, however, are dire and fail to make much sense. Gigabyte needs to use a list of fan speed settings that is more understandable for a wider user base, or simply utilise a graphical tuning option. Thankfully the OS-based software makes up for this shortcoming.
I tried to test out some of Gigabyte's OS-based software offerings, although I had very little luck with getting any of them to actually do something on our Windows 7-based test system. I would be inclined to point the finger at the ageing operating system, which we have scheduled to be upgraded to Windows 10 shortly.
I fail to see how this board is slower than the other 2 as the frame testing is within margin of error.
When one activates the XMP profile it automatically activates a memory stability option that should be set to normal to regain those 10Gbps extra. I don’t remember exactly how that option is called but just search for a memory related option that says “compatibility” or “stability” and switch it to “normal” instead.