

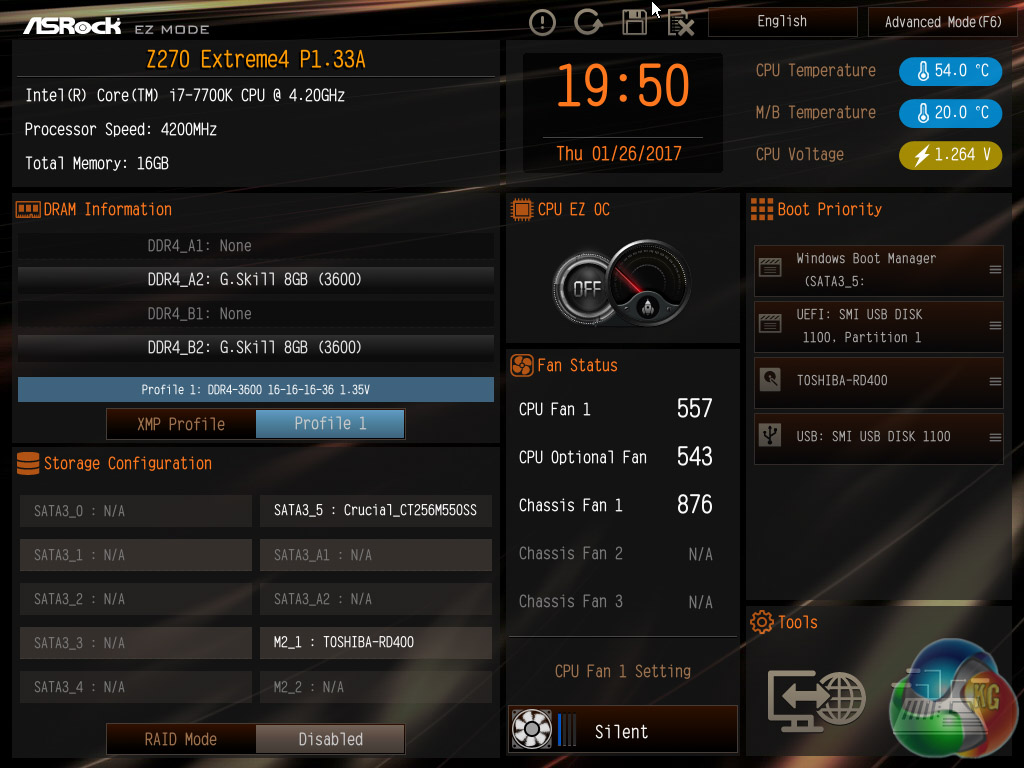

ASRock's UEFI environment launches to its EZ Mode splash screen with commonly used settings like boot order, XMP and fan speeds. The F6 key carries you into the advanced mode, starting with the Main page, where the full complement of UEFI adjustment options are available.

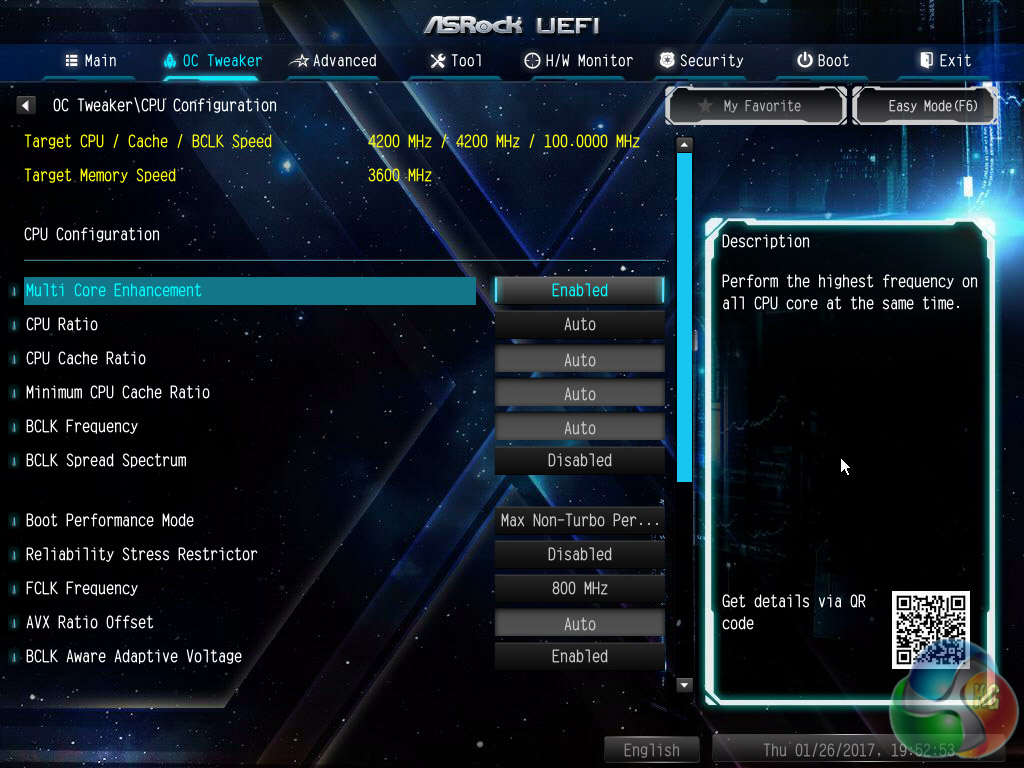
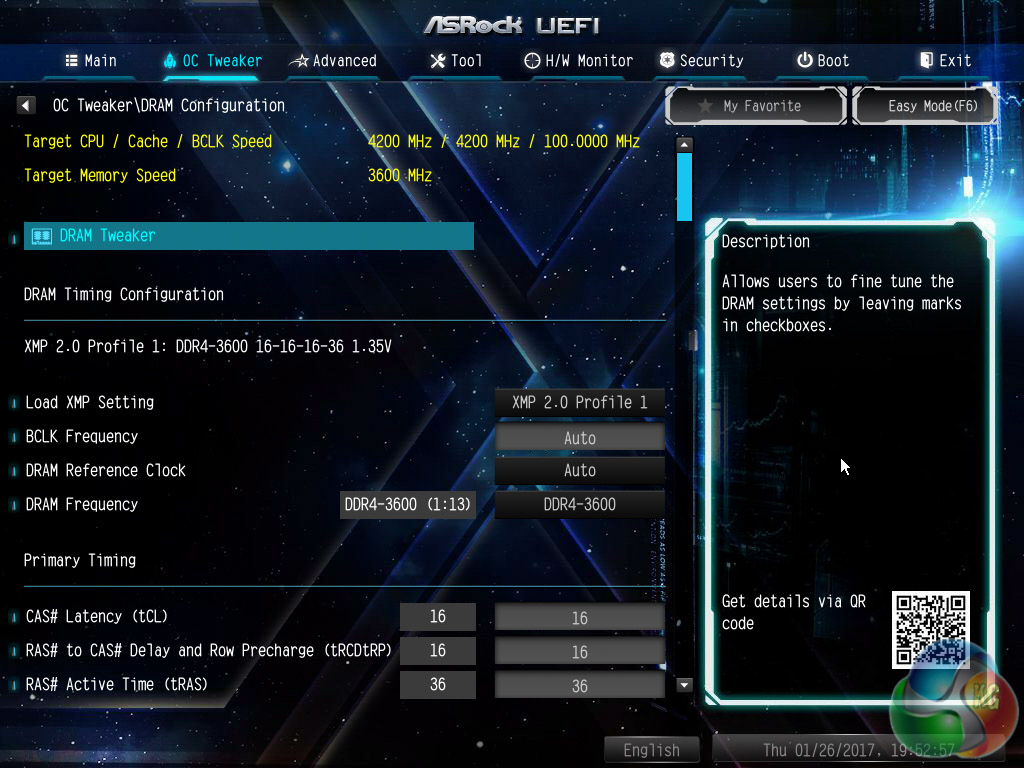
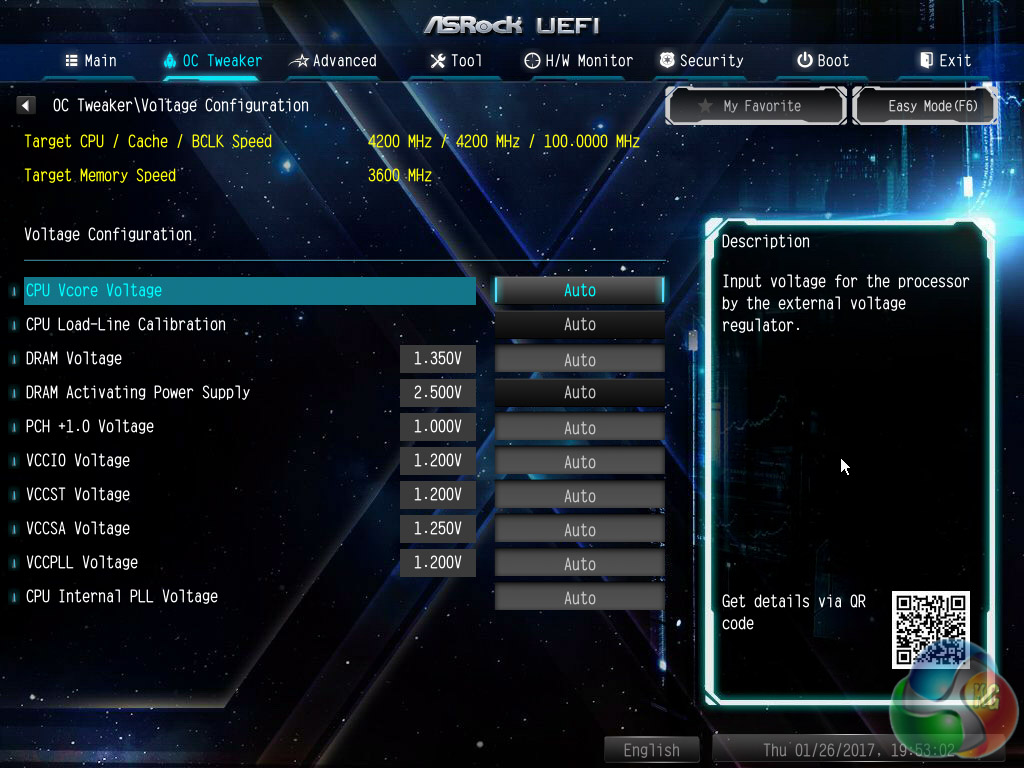
OC Tweaker is the primary performance tab and where any overclocking will have to take place if not done within the operating system through the A-Tuning utility. ASRock splits off the adjustment options into CPU, DRAM and Voltage as well as offering a number of pre-defined OC profiles for certain CPUs.
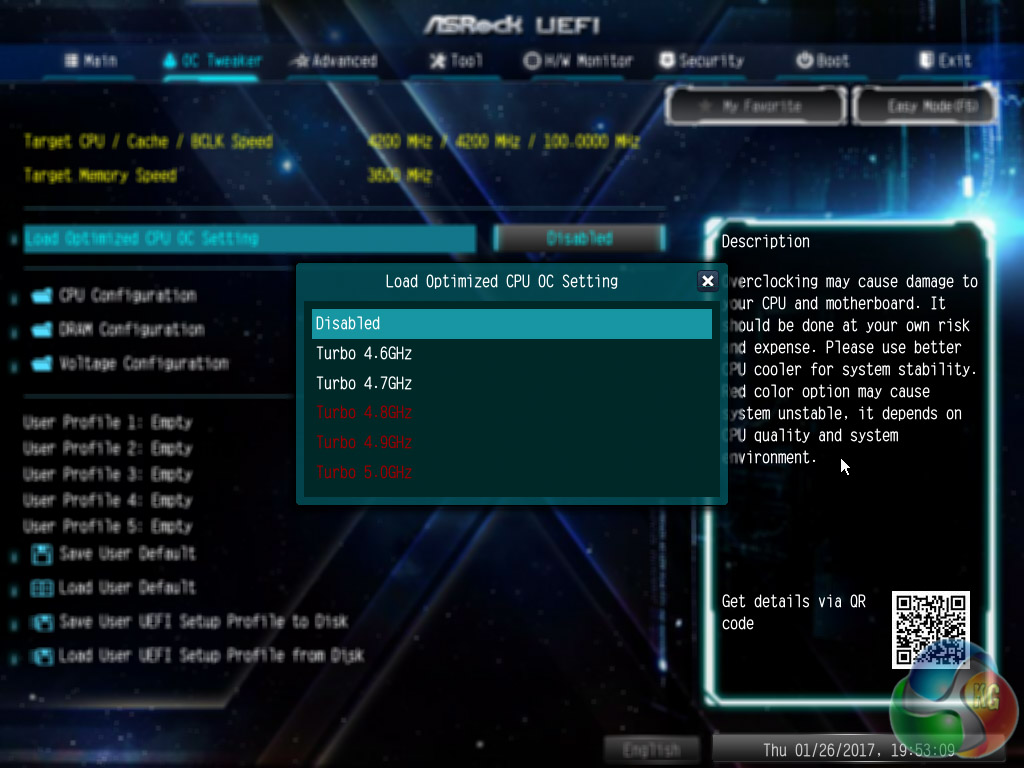
These profiles were as follows for our i7 7700K:
- 5GHz (50 x 100) – 1.45 volts
- 4.9GHz (49 x 100) – 1.42 volts
- 4.8GHz (48 x 100) – 1.38 volts
- 4.7GHz (47 x 100) – 1.35 volts
- 4.6GHz (46 x 100) – 1.35 volts
In general the overclocking options use too much voltage and aggressive fan profiles so users are better off making their own adjustments. Not all CPUs will be capable of 5GHz, even at 1.45 volts, though anything beyond 1.4 volts may bring difficulty when it comes to cooling and longevity.
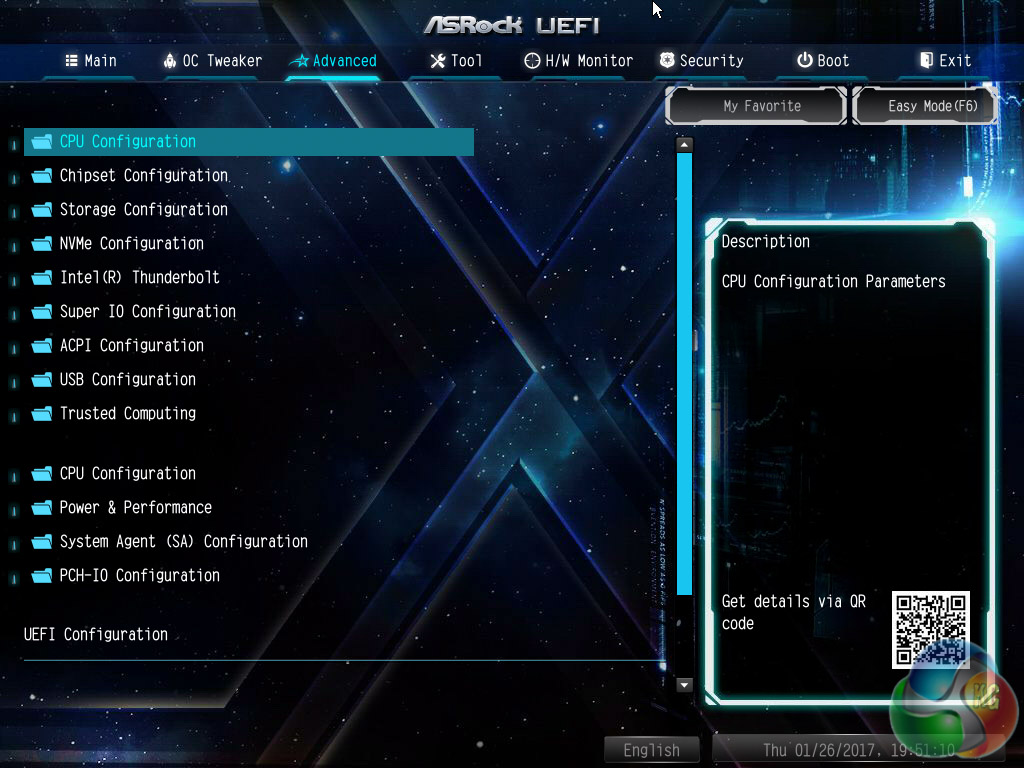
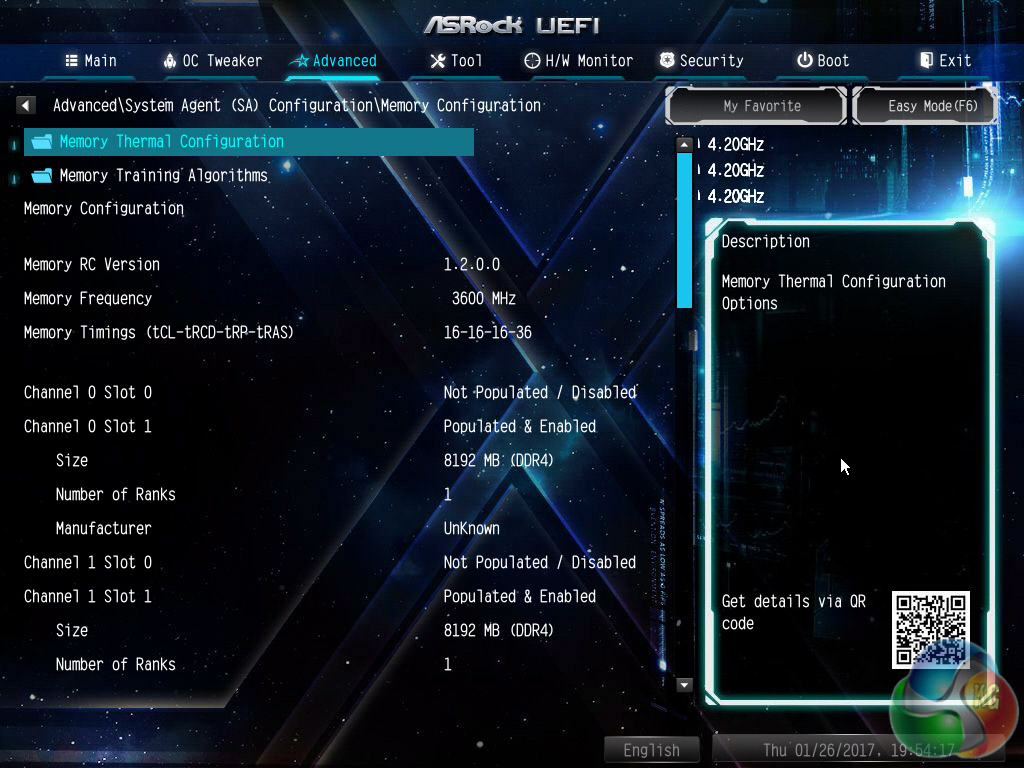
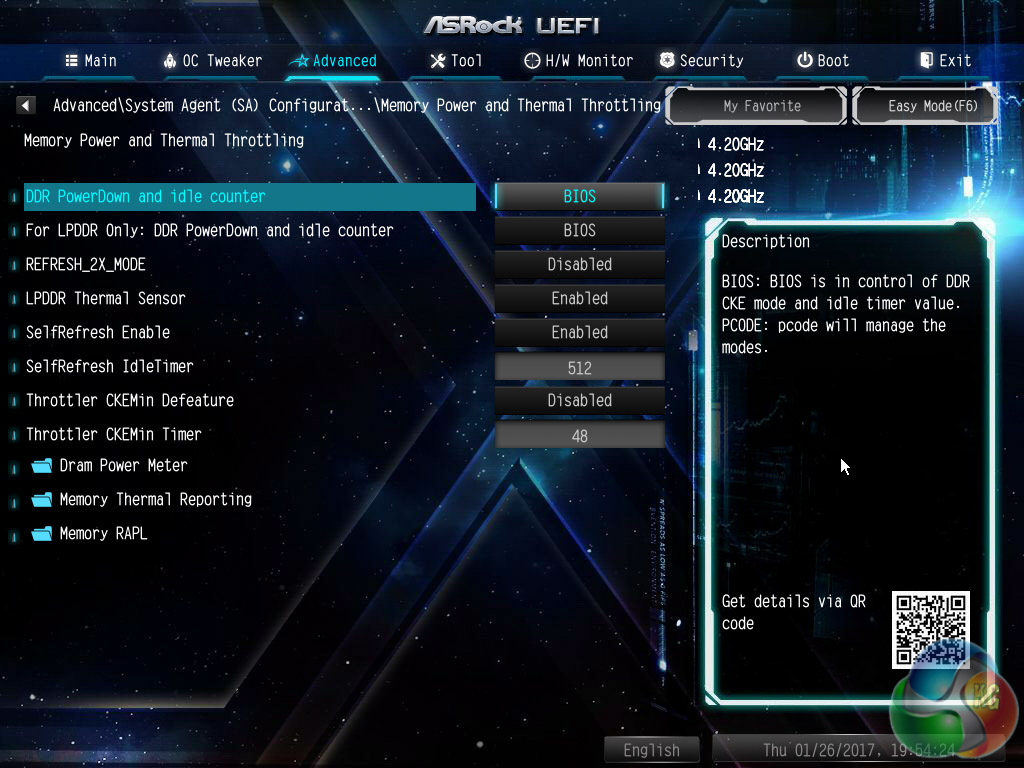
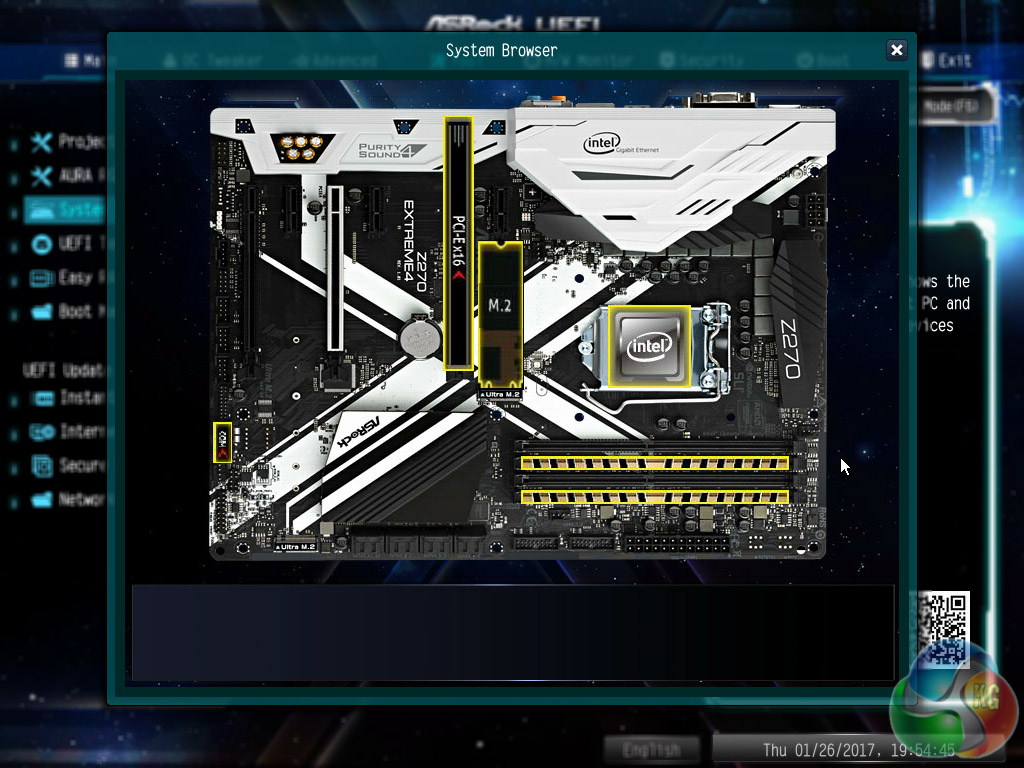
The Advanced section contains an almost endless number of parameters to configure the various elements of the system including more parameters for the CPU, DRAM and iGPU not found in the OC Tweaker tab. These options are too extensive to go through individually, and some are incredibly obscure, but you can go through a number of them in the images below.
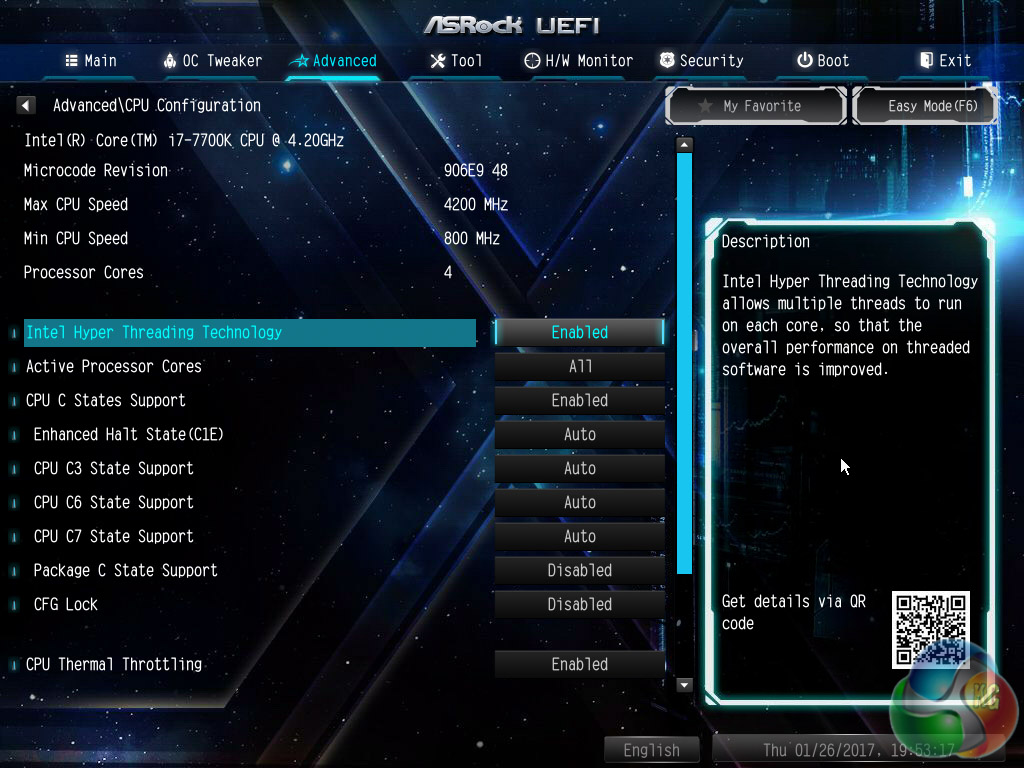
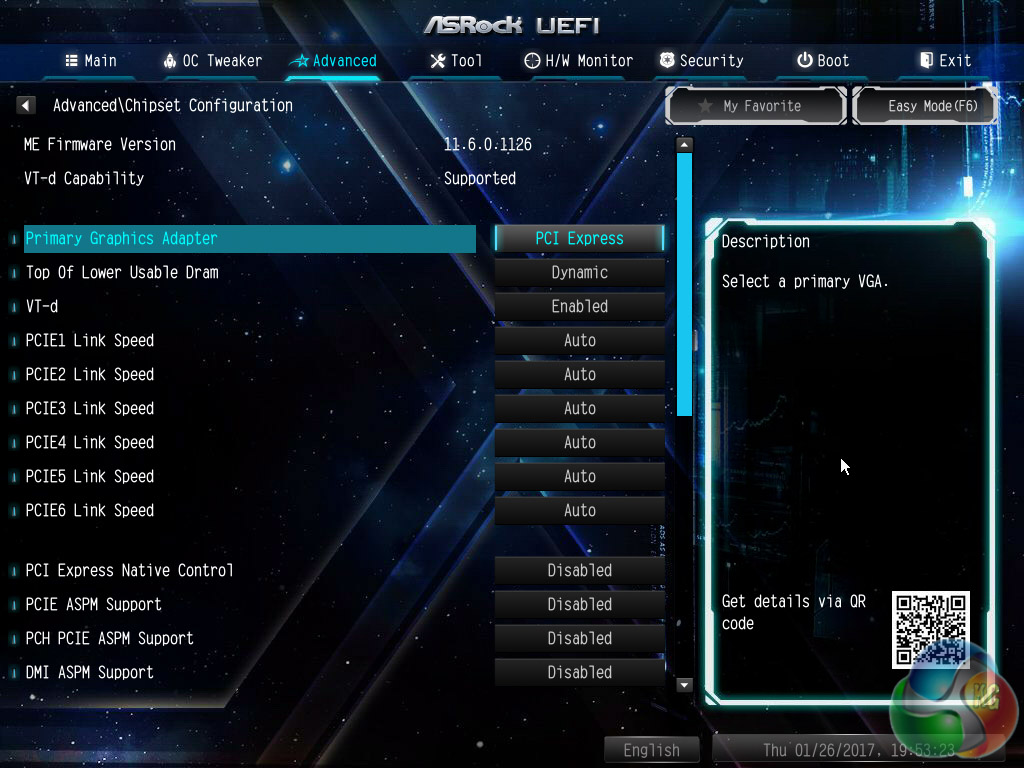
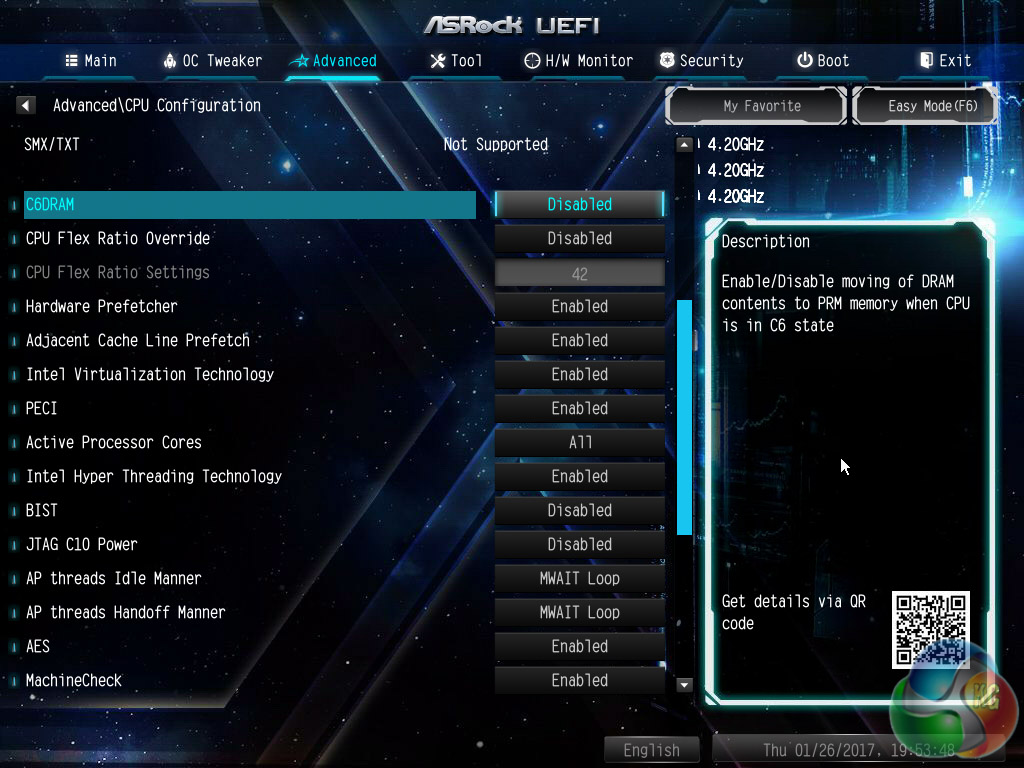

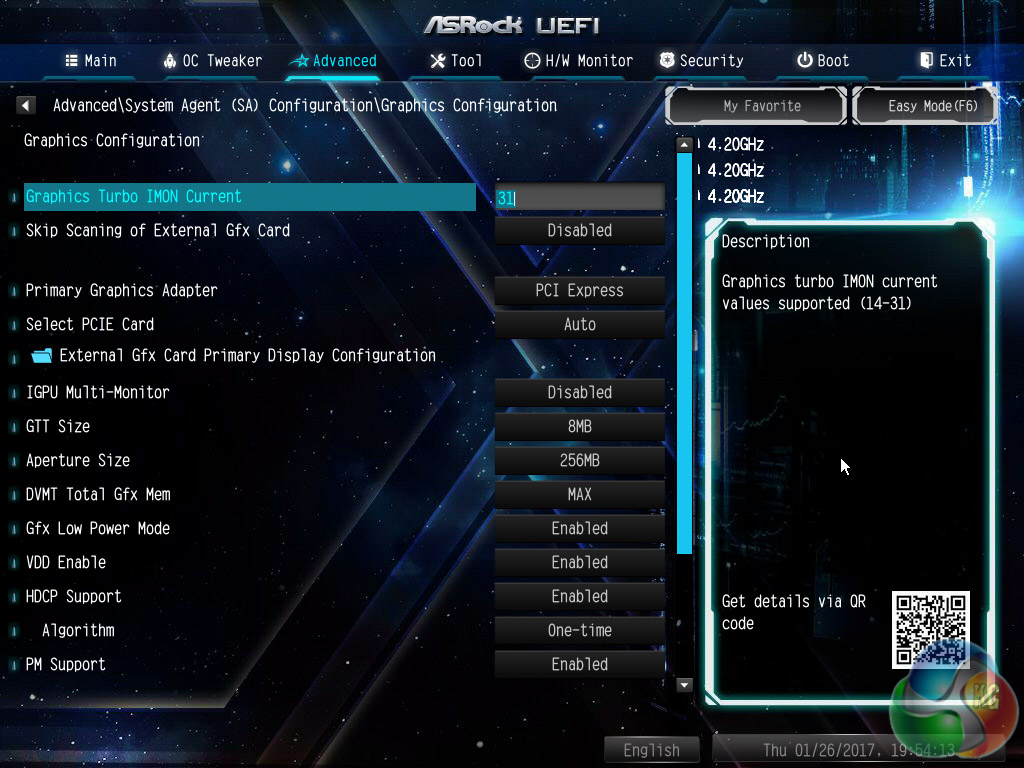
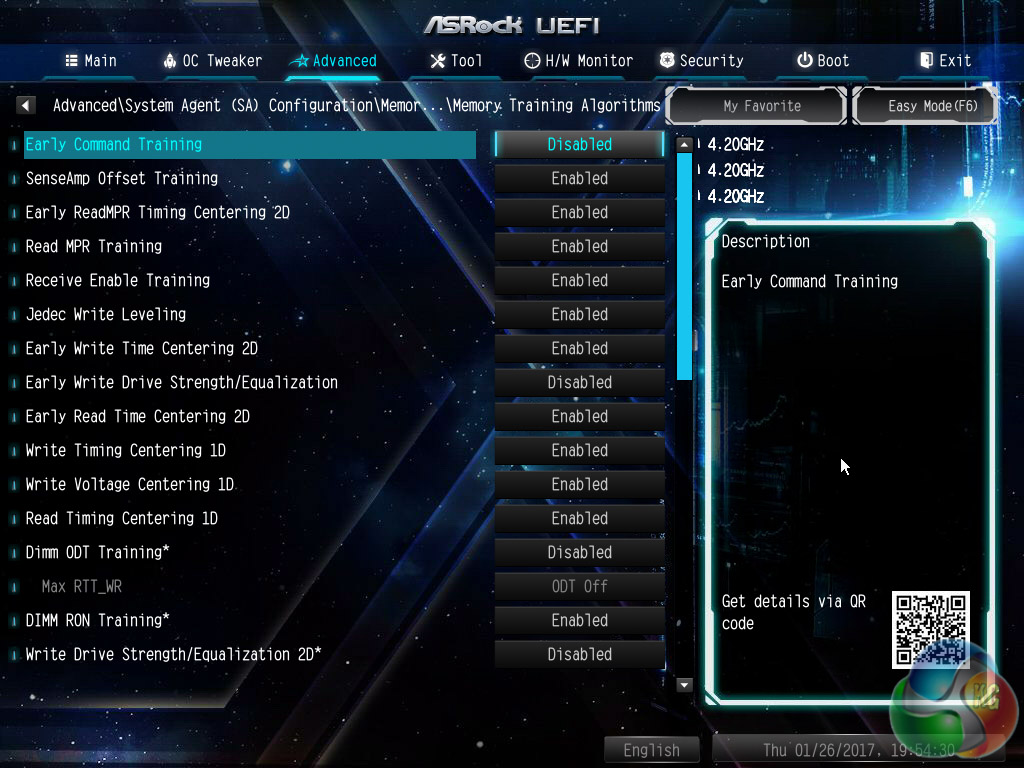
The pick of the settings in the Advanced section include the CPU Power Management Controls, which may come in useful for certain overclocking scenarios, and the graphics configuration options for anyone using the onboard graphics of Intel's CPUs.
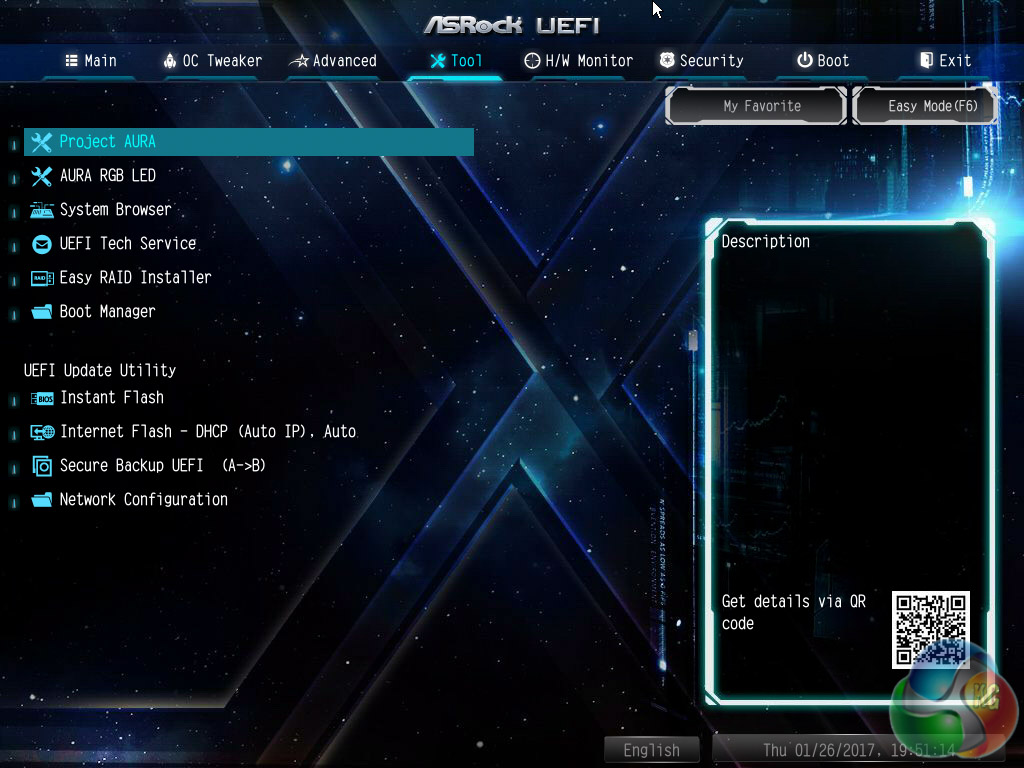
The Tools section holds a number of handy utilities such as for updating the UEFI (including via the internet) and managing the RGB LEDs, among other things.
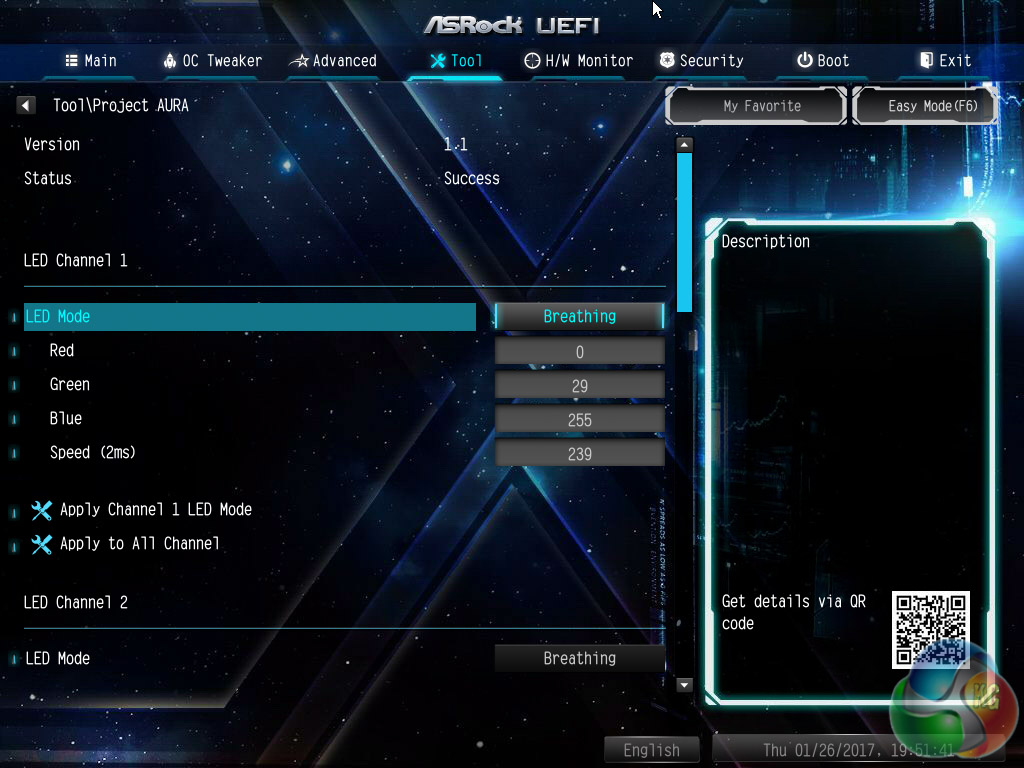
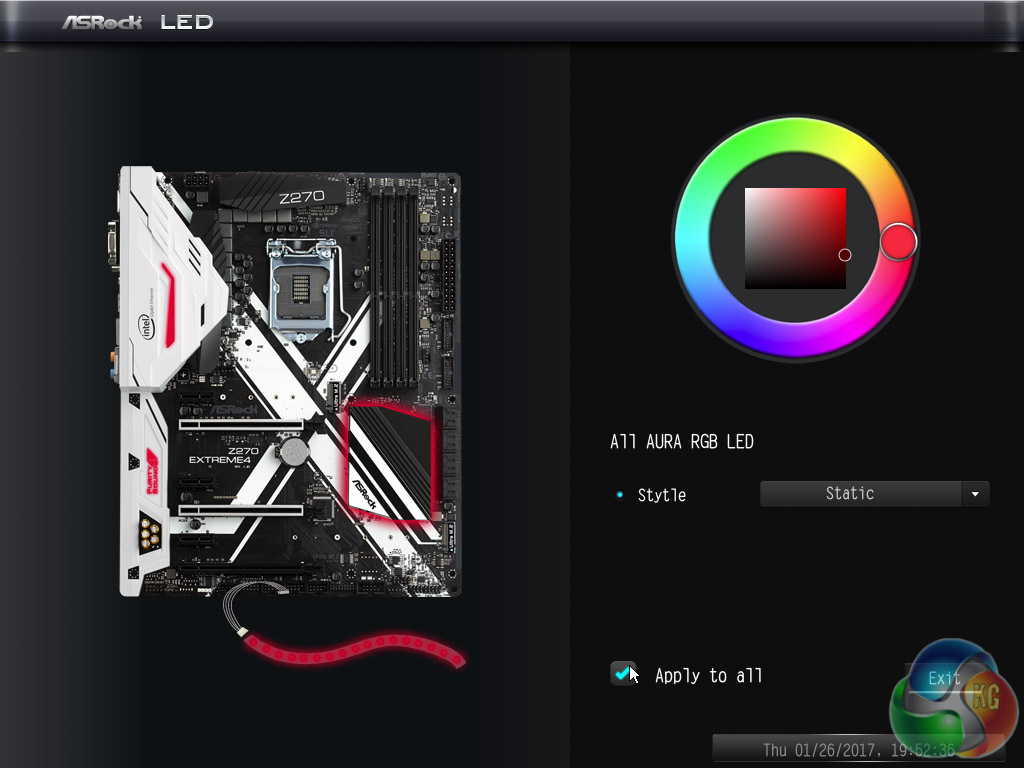
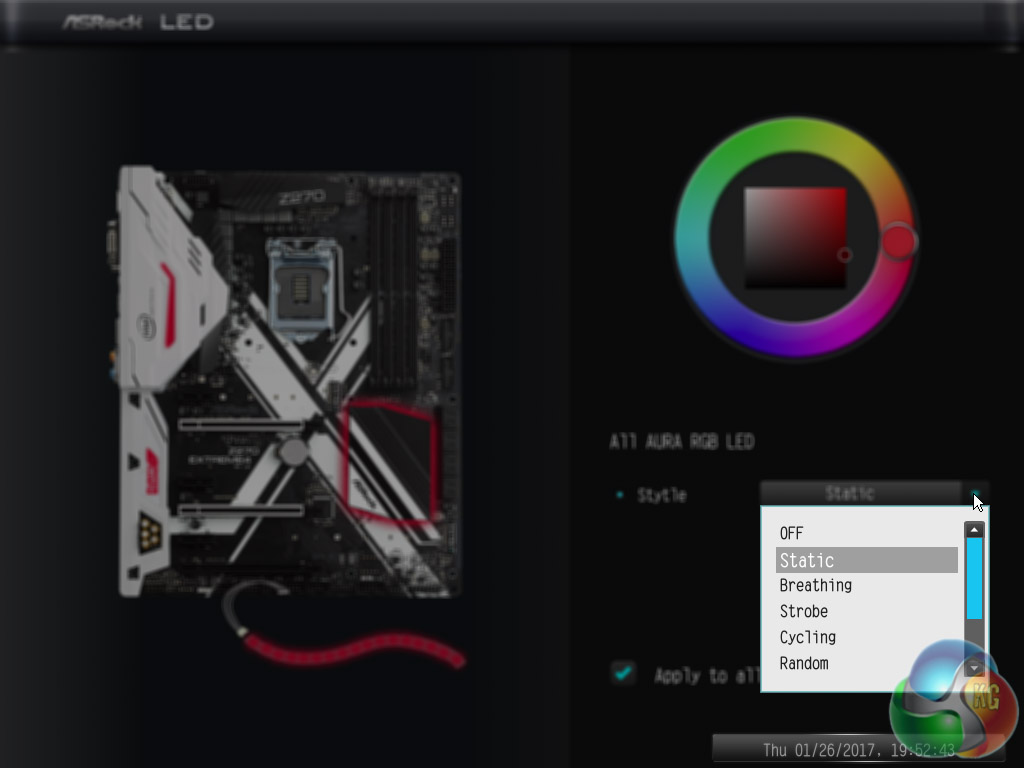
The RGB controls are available through the AURA RGB LED option, and mirrors the software interface, or through the Project AURA tab (enabled by Ctrl+Shift+F4). The AURA RGB LED section is easier to use and visually simpler so most users should use this unless they want to create very specific colours and lighting patterns.
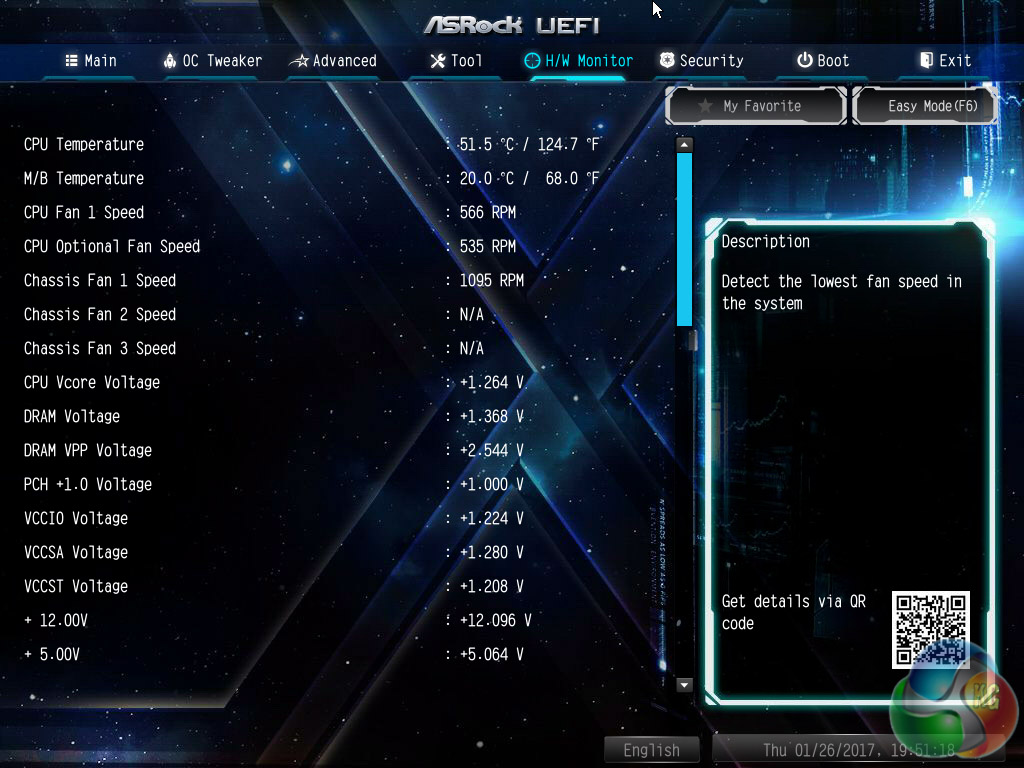
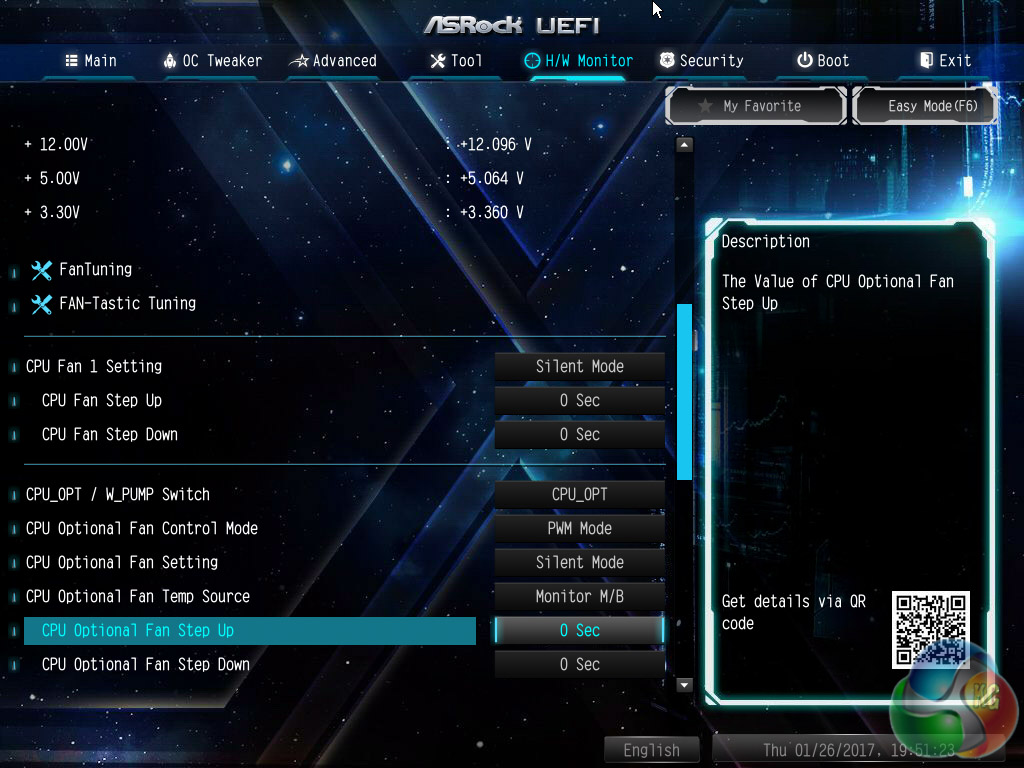
H/W Monitor contains fan controls and a number of temperature readouts for monitoring. The fan options are plentiful with a variety of fan profiles, temperature input options and hysteresis options (time delays between fan speed changes).
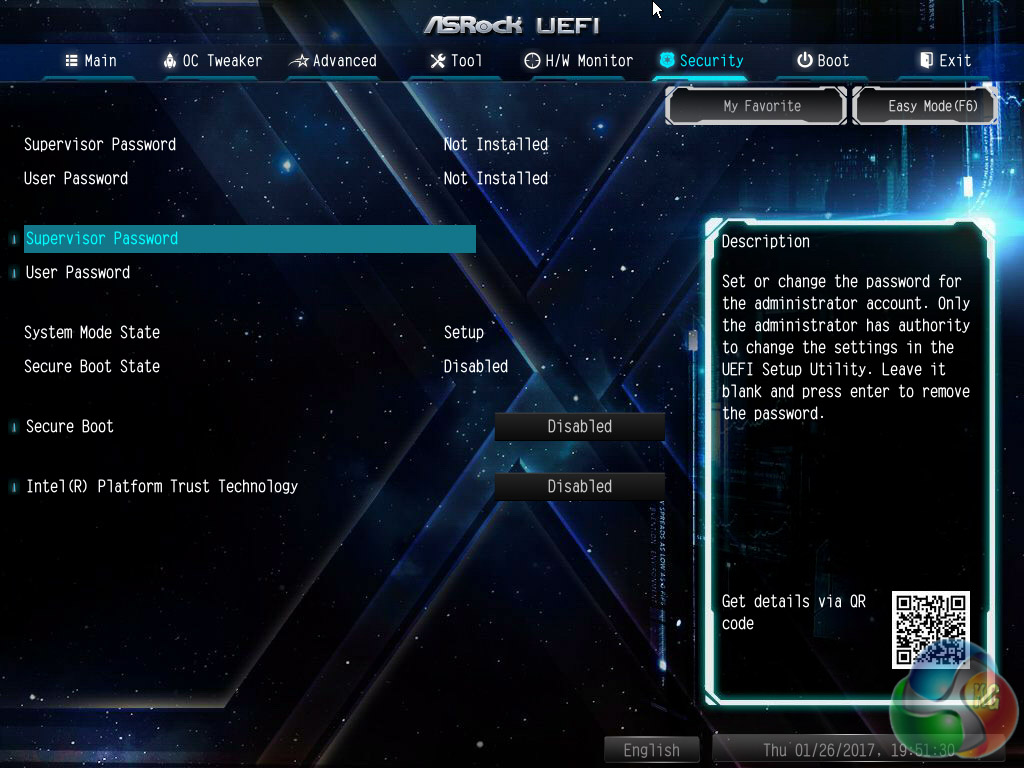
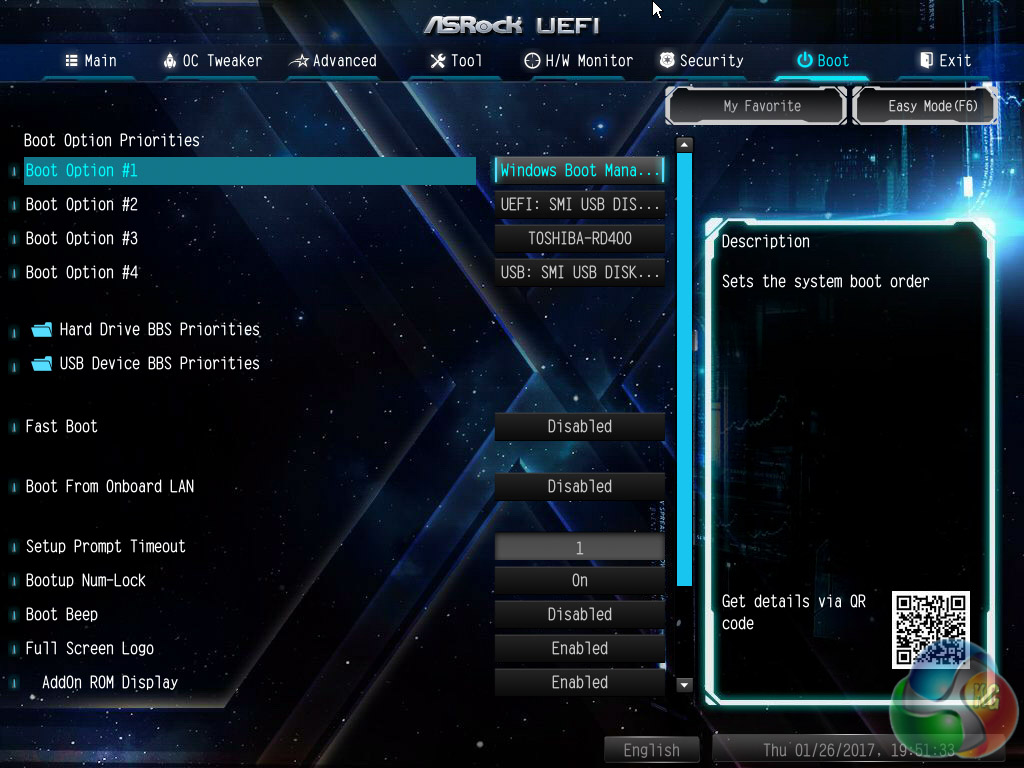
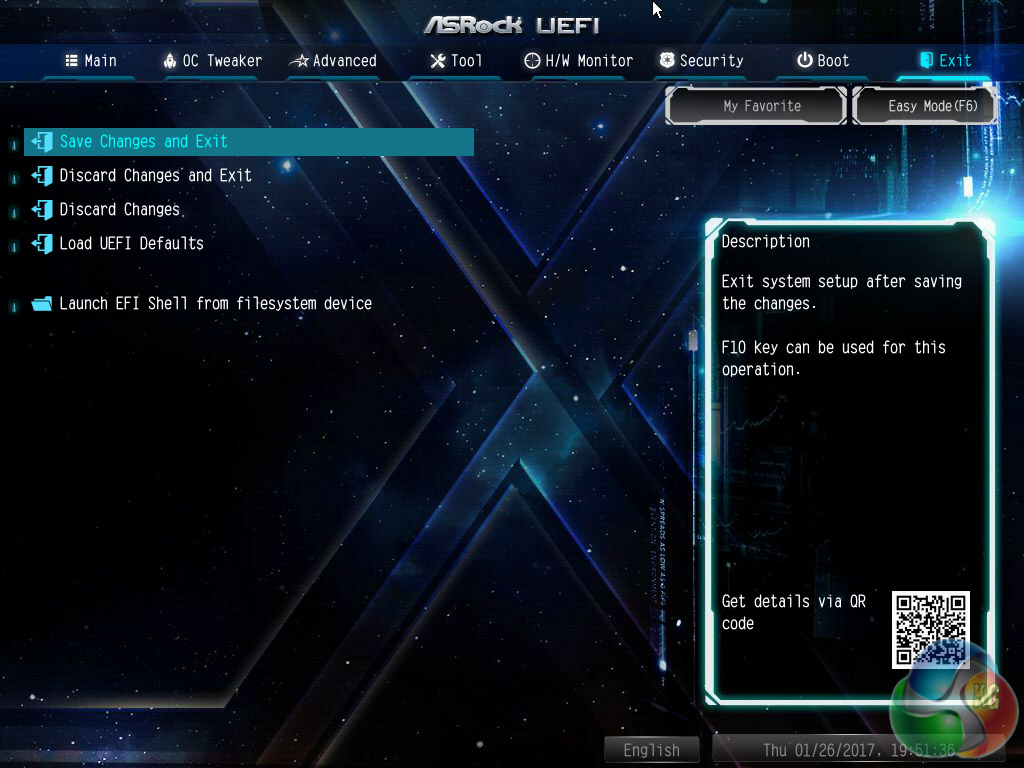
Security, Boot and Exit make up the last three tabs. There aren't many interesting options within these but the boot tab does contain a number of useful options for boot order and changing how quickly the motherboard goes through the POST procedure.
I love Asrock boards, compared to every other manufacturer, Asrock isn’t afraid to try new or different things (like the 5Gbit NIC they are now offering on some boards), and I love how they only have m.2 slots and not worthless u.2 ports like everyone else…oh, and I like how they’re not Asus, 9 out of 10 computers seem to have Asus boards, and it’s no fun having the same stuff as everyone else
Google is paying 97$ per hour! Work for few hours and have longer with friends & family! !mj254d:
On tuesday I got a great new Land Rover Range Rover from having earned $8752 this last four weeks.. Its the most-financialy rewarding I’ve had.. It sounds unbelievable but you wont forgive yourself if you don’t check it
!mj254d:
➽➽
➽➽;➽➽ http://GoogleFinancialJobsCash254MarketHouseGetPay$97Hour… ★★✫★★✫★★✫★★✫★★✫★★✫★★✫★★✫★★✫★★✫★★✫★★✫★★✫★★✫★★✫★★✫★★✫★★::::::!mj254d:….,…..
True that, besides their pricing is extremely good.