

If you are unable to display some of the images on these pages, disable your ad blocker as it interferes with our gallery code.
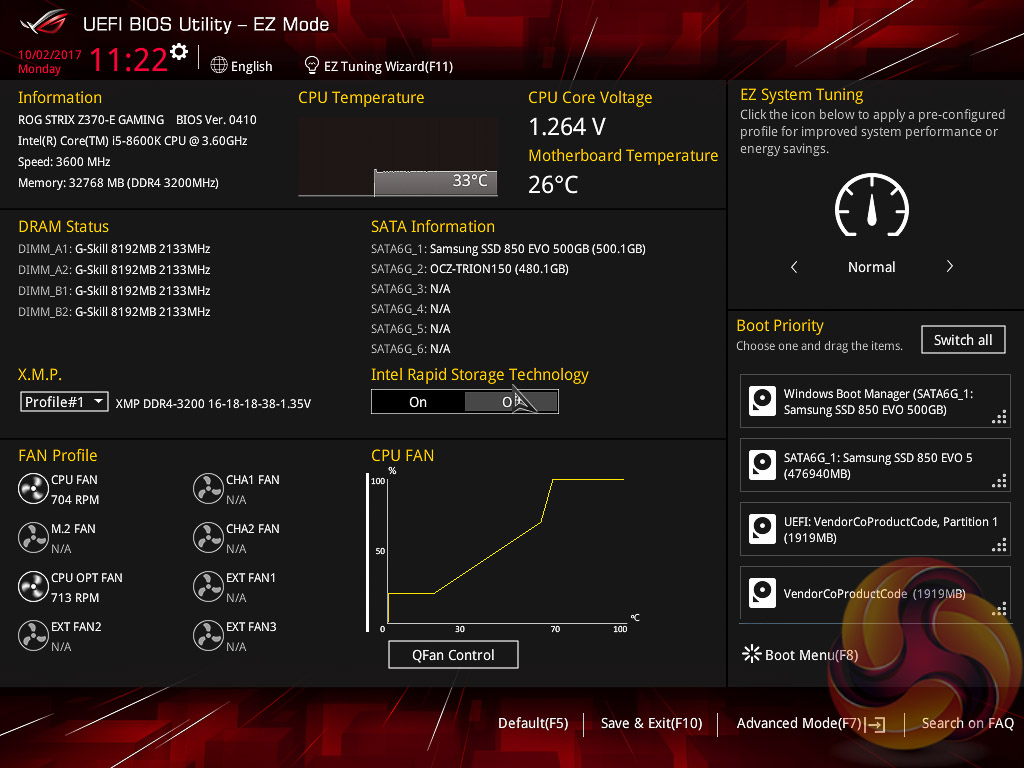
The ASUS UEFI enters straight into the EZ Mode splash screen which has a selection of frequently used settings including XMP profiles, boot device order and fan speeds. Pressing F7 takes the user into the advanced section of the UEFI but there are some additional tools that can be accessed from the splash screen such as Q-Fan Control and EZ System Tuning.
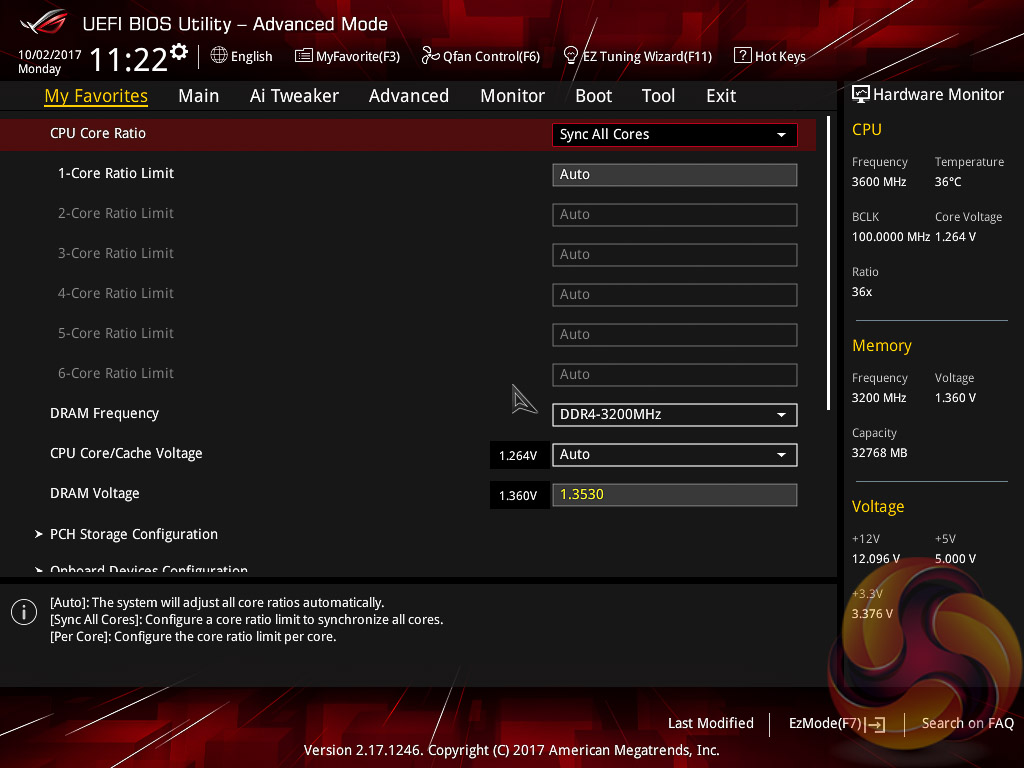

The first tab is MyFavorites which stores the most frequently accessed UEFI settings. The next tab, Main, contains detailed processor and BIOS version information.

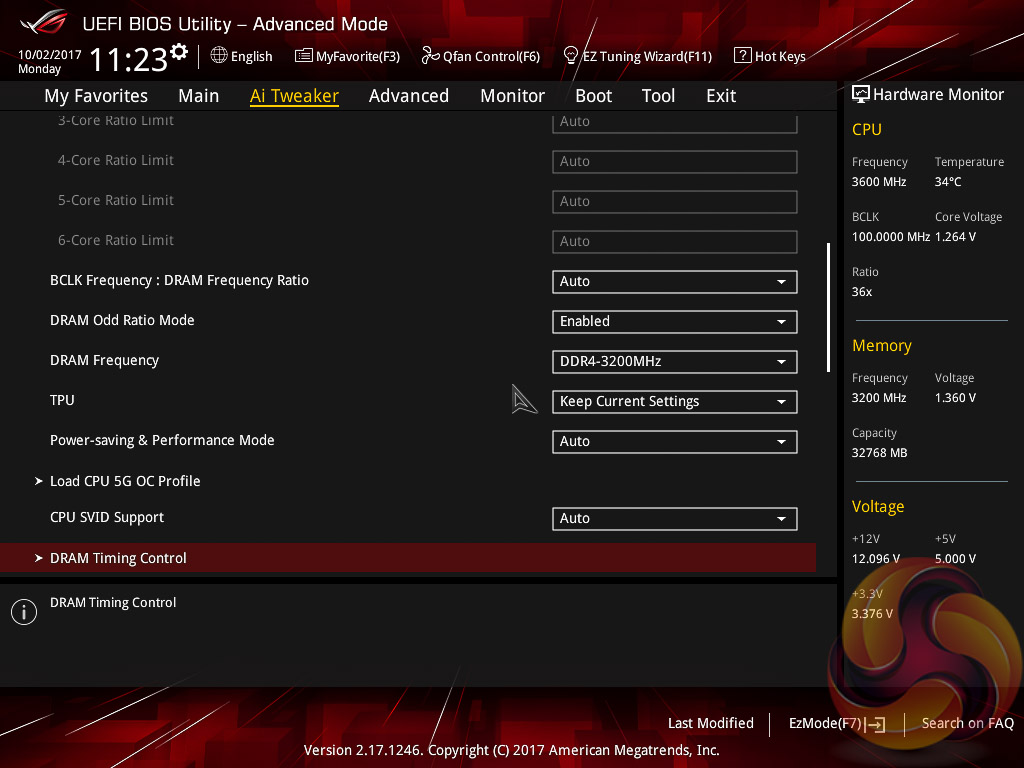

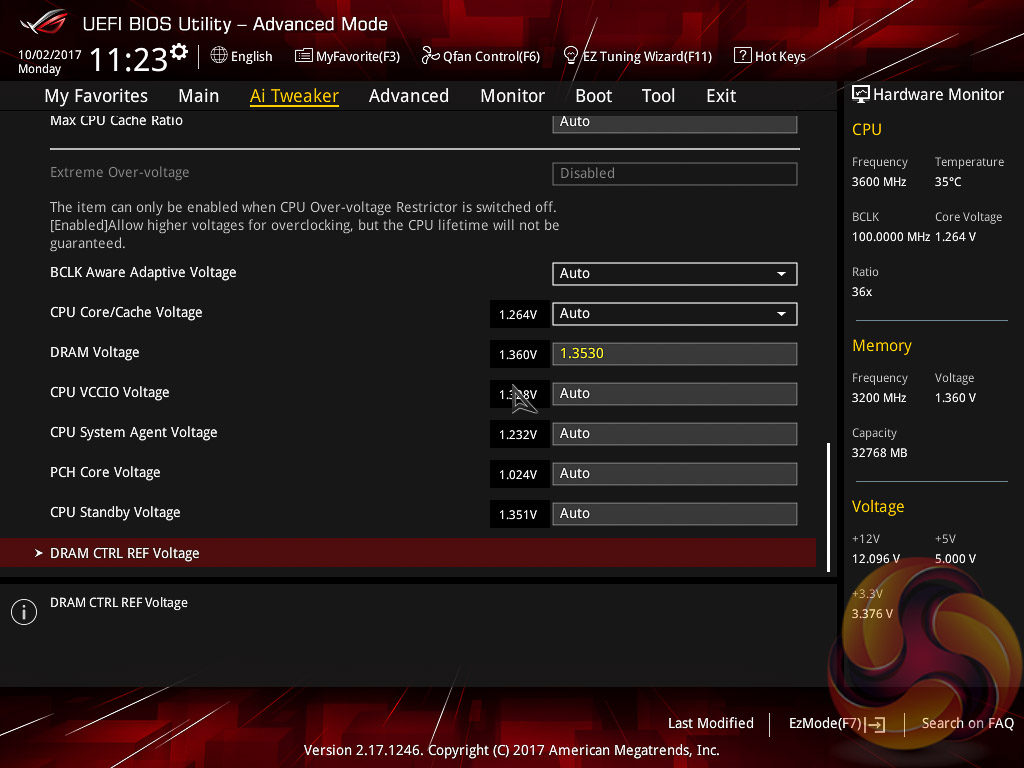
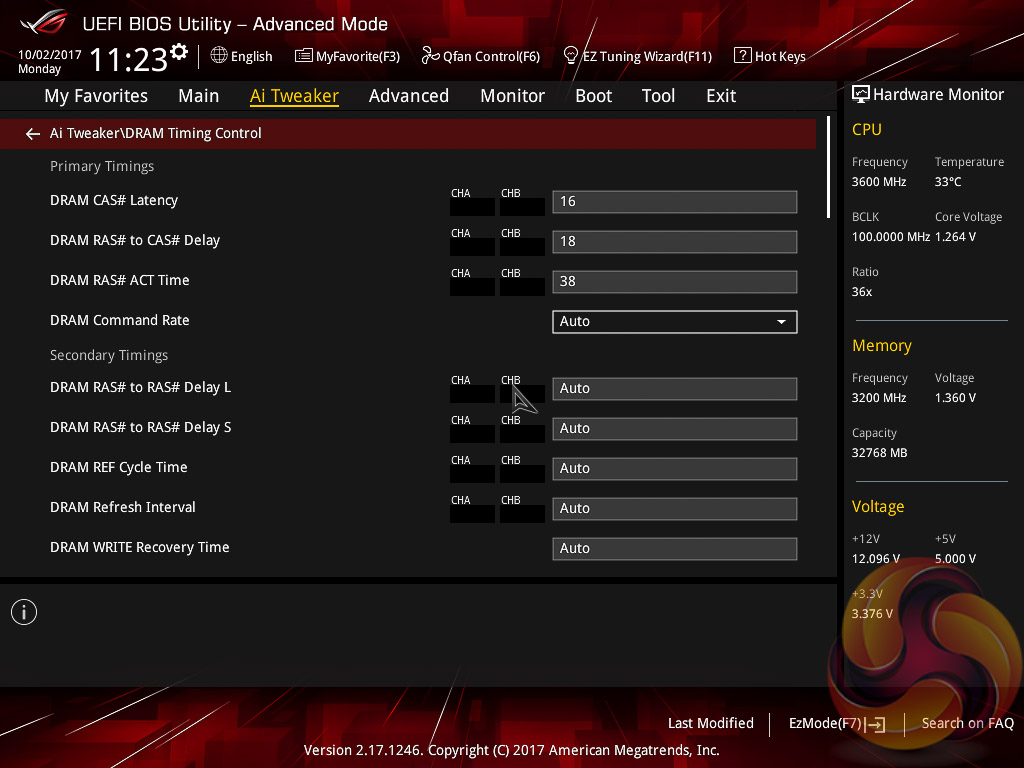
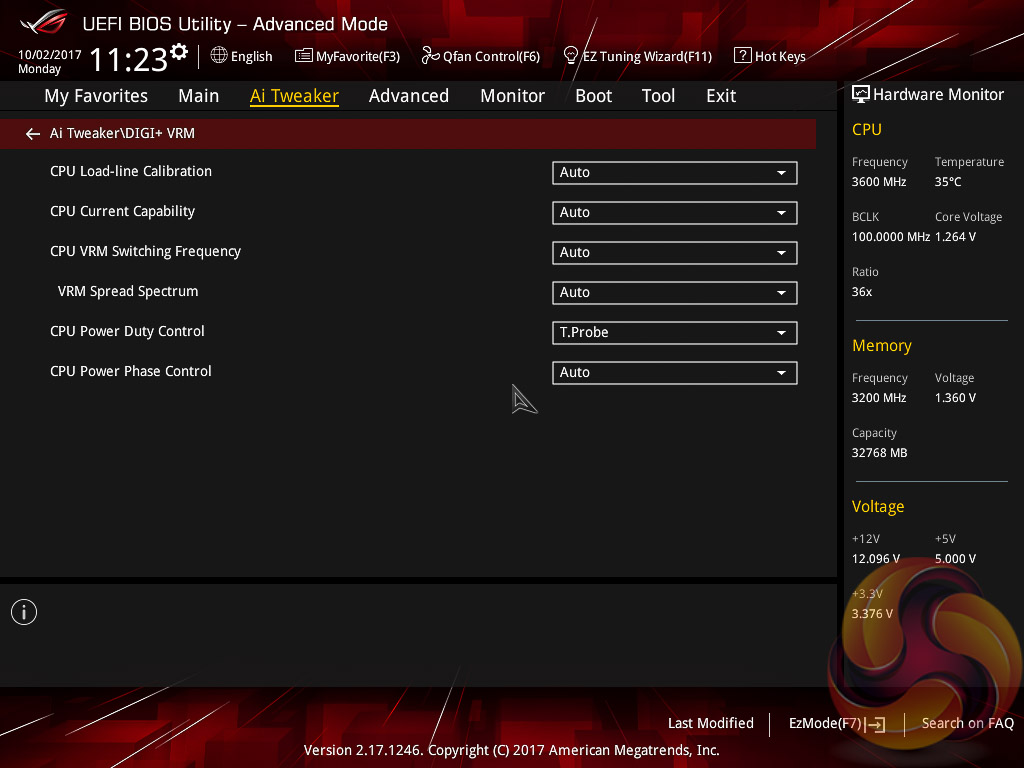
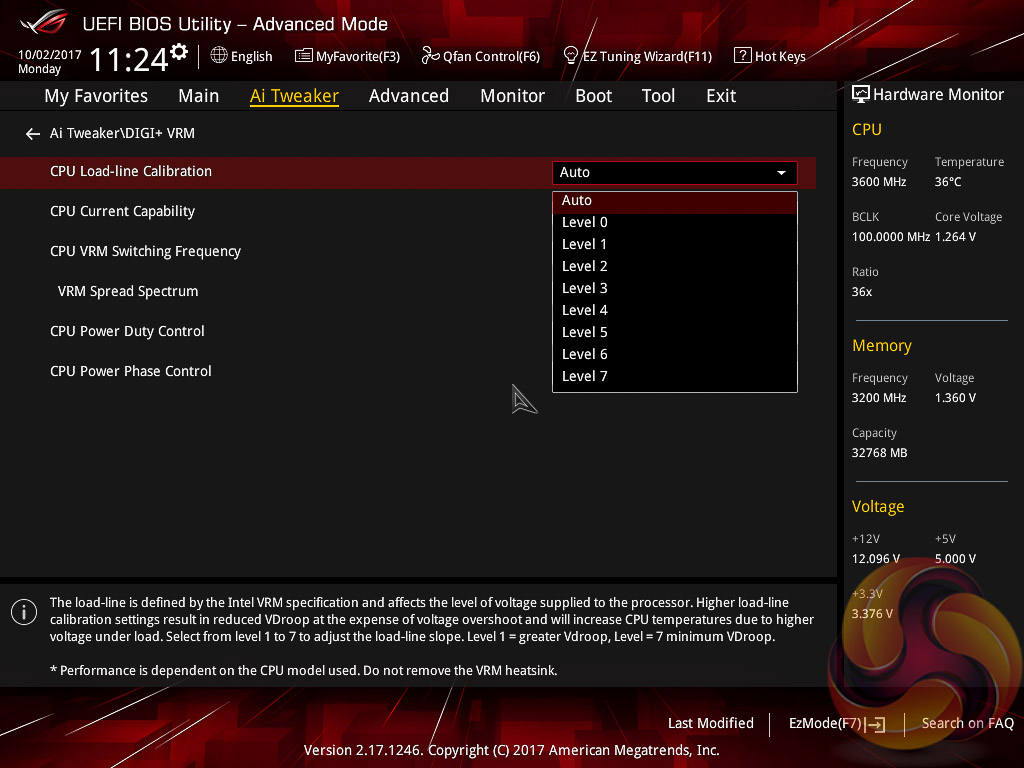
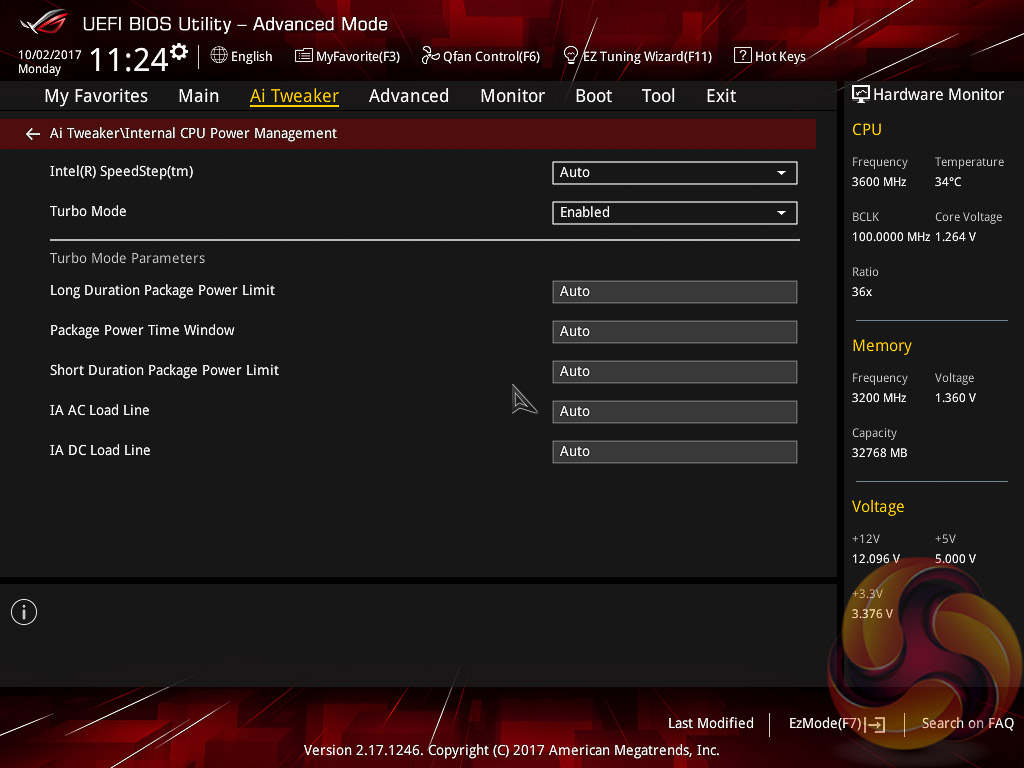
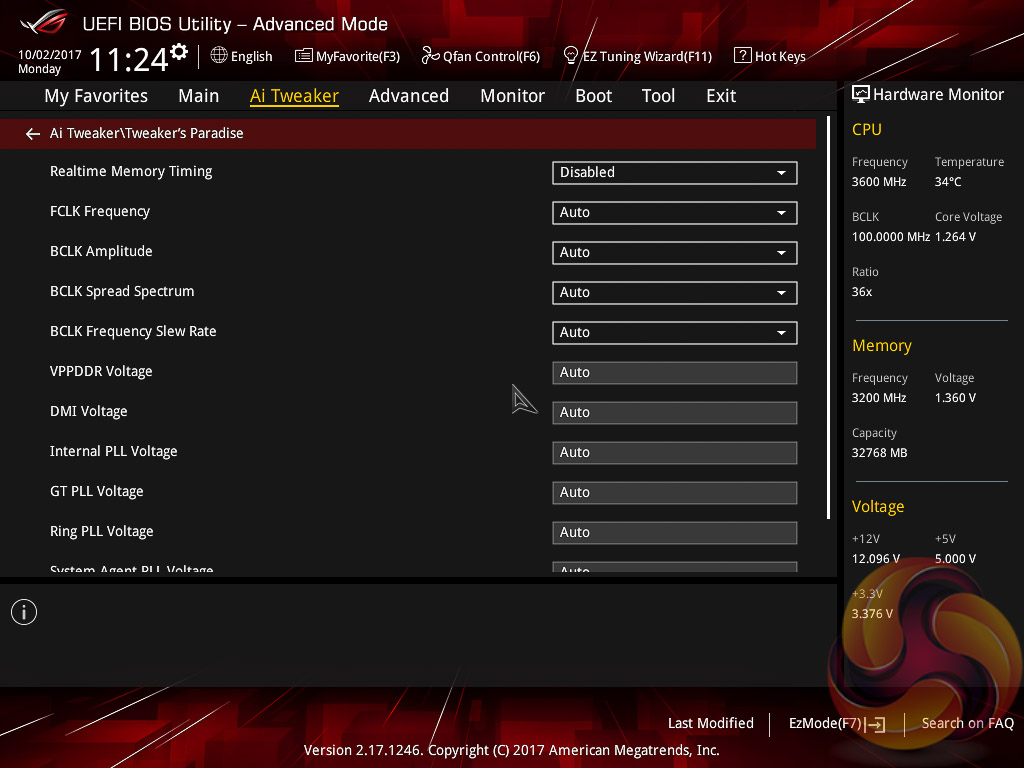
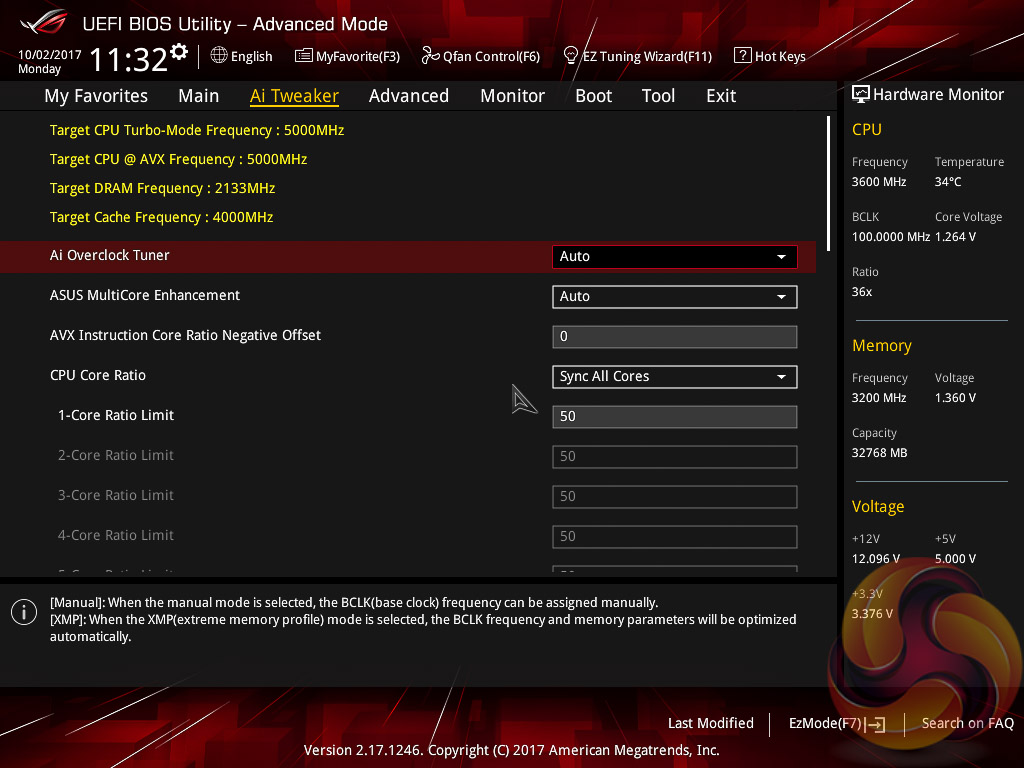
AI Tweaker is the UEFI tab which contains the vast majority of performance tuning settings pertaining to the CPU and DRAM. From here you can set XMP profiles, overclock the CPU, set all the various voltages and voltage operation modes, change the Load Line Calibration (LLC) and considerably more.
LLC has 8 levels, using a 0-based index, with 0 being the least aggressive and 7 the most. The voltage modes include override, adaptive and offset. Unlike MSI, ASUS does not offer combined voltage modes such as override + offset.
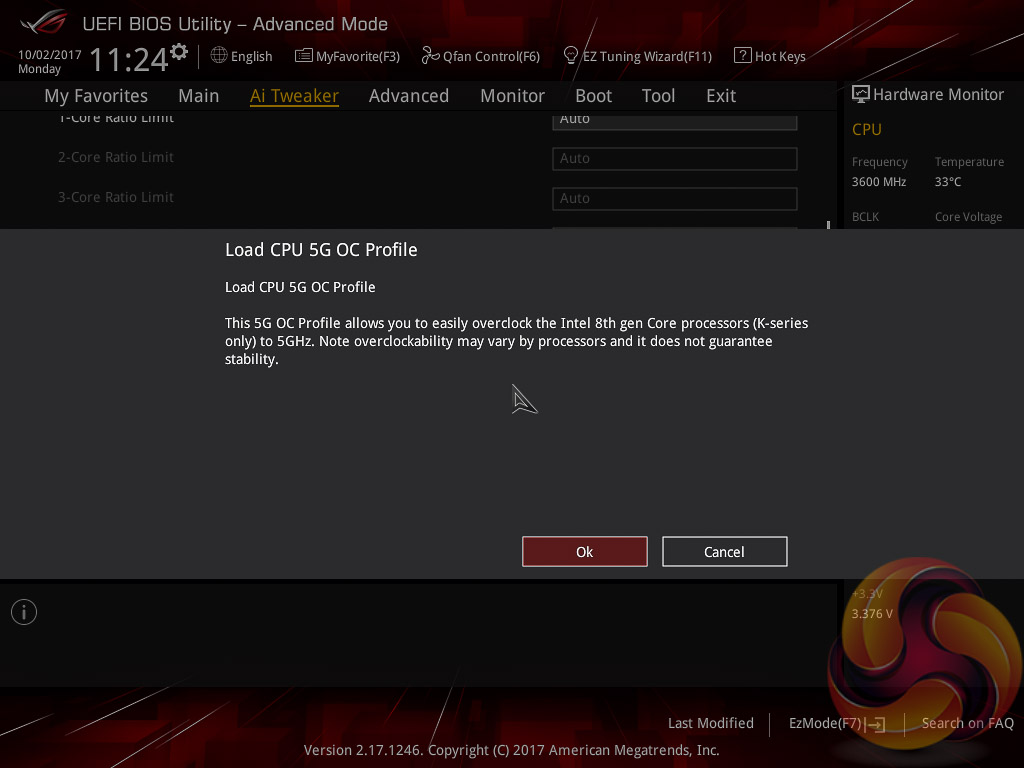
ASUS has a 5GHz OC Profile which it mentioned in some of its press materials for the Z370 launch. However, we found the profile to be lacklustre – it only sets the CPU Core multiplier to 50 and AVX offset to 0, the auto VCore voltage it applies is between 1.392 and 1.408 volts which escalates temperatures and power consumption considerably.
Our testing showed the i5 8600K was 5GHz stable with around 1.25 volts so the ASUS preset is voltage heavy.
Similarly, we tried the other automated ASUS overclocking utility – the EZ Tuning Wizard (F11) – and found that to be equally unimpressive. After selecting “Gaming” for the primary system use and “Liquid” for the cooling option we ended up with an automatic overclock of 4.75GHz on the CPU (considerably less than the CPU can do) using 1.4 volts on the VCore and 2750MHz on the memory, which is less than the XMP profile.
At the very minimum we would expect these automatic overclocking utilities to intelligently detect XMP profiles so that the “final” overclock is not slower than the baked-in XMP profile.
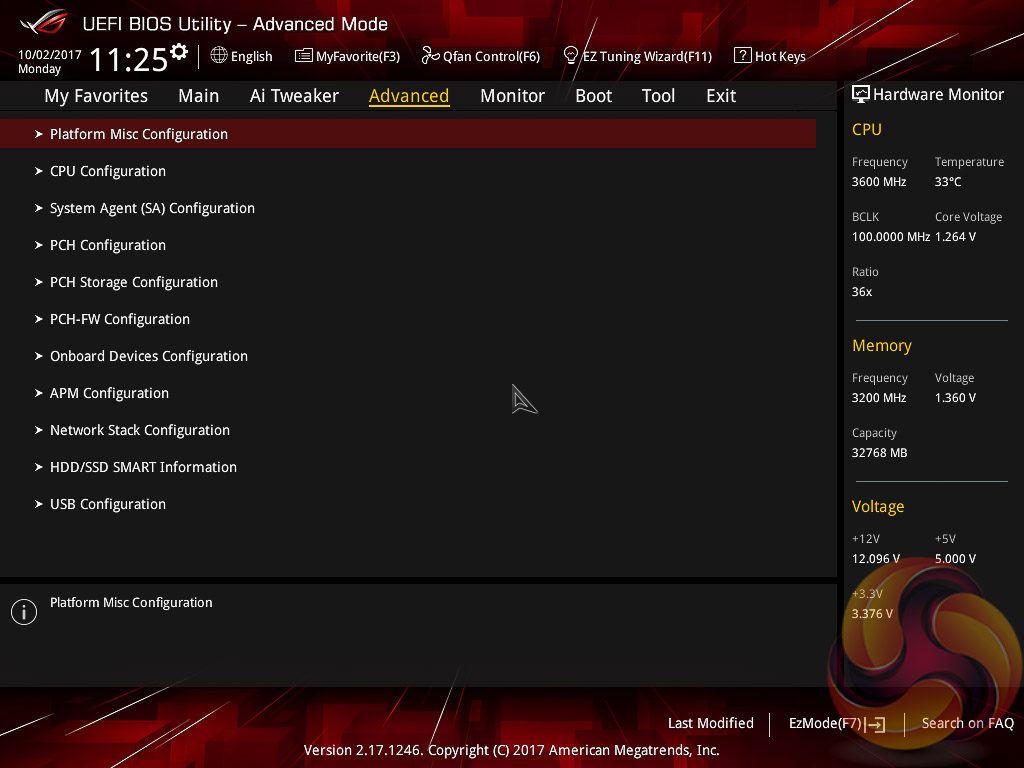
There is a significant selection of performance and compatibility parameters to be found under the Advanced section should the need arise. As well as a number of other peculiar settings related to the functions of onboard devices, LEDs, USB and storage controllers and more.

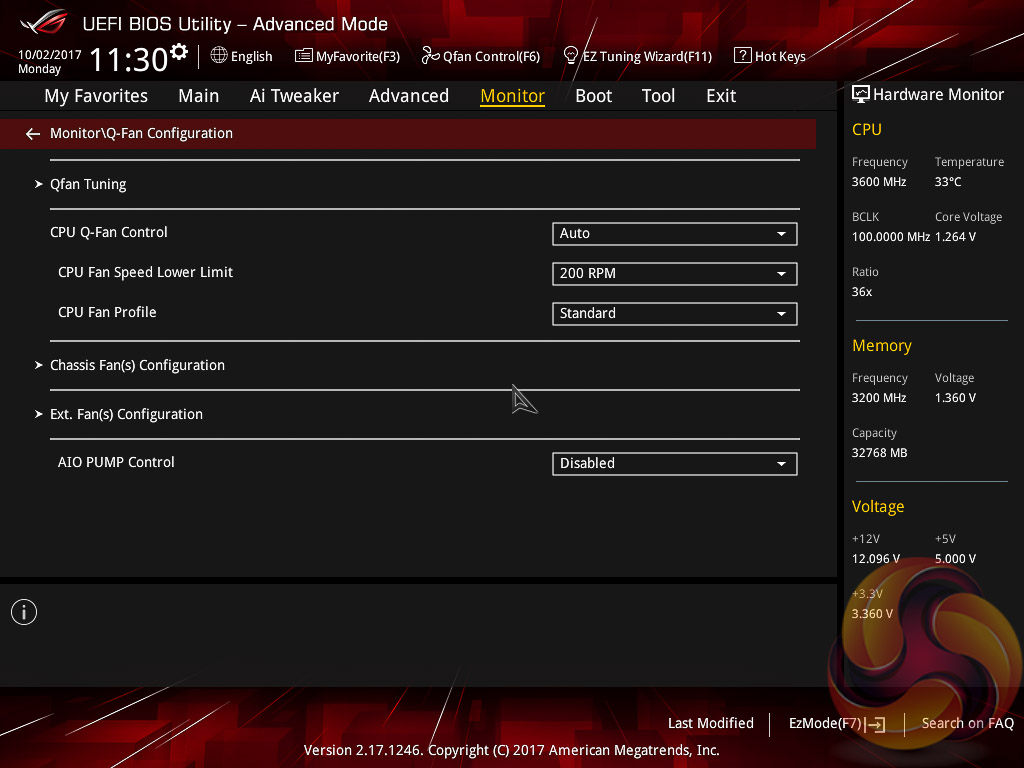
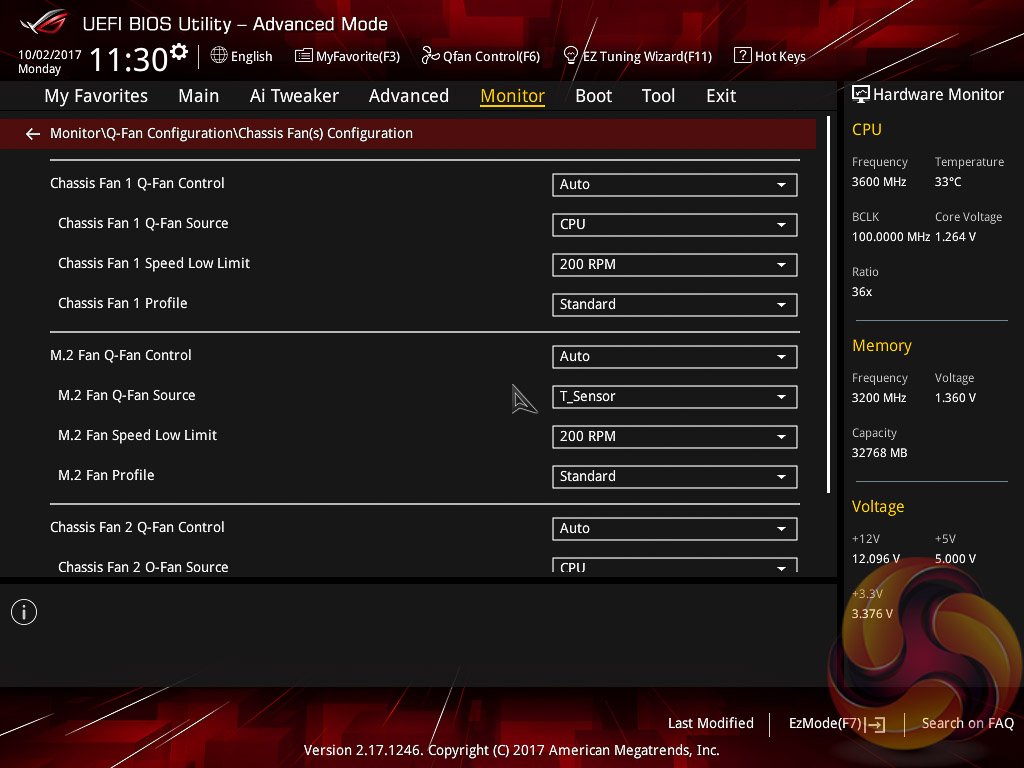
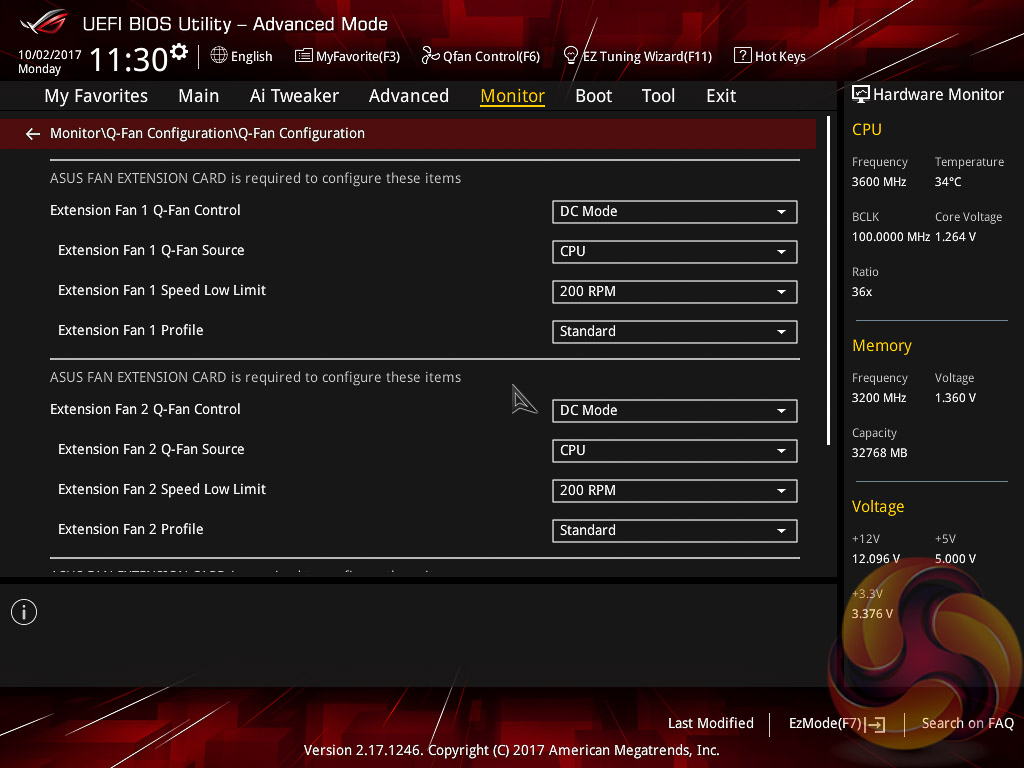
The Monitor tab will allow you to instruct the UEFI how to handle temperature data from the various sensors as well as what to do with fan speed profiles. For example where a fan speed profile is temperature dependant you can choose which temperature sensor to use. If you purchase the optional ASUS Fan Extension card that can also be configured from within this section.
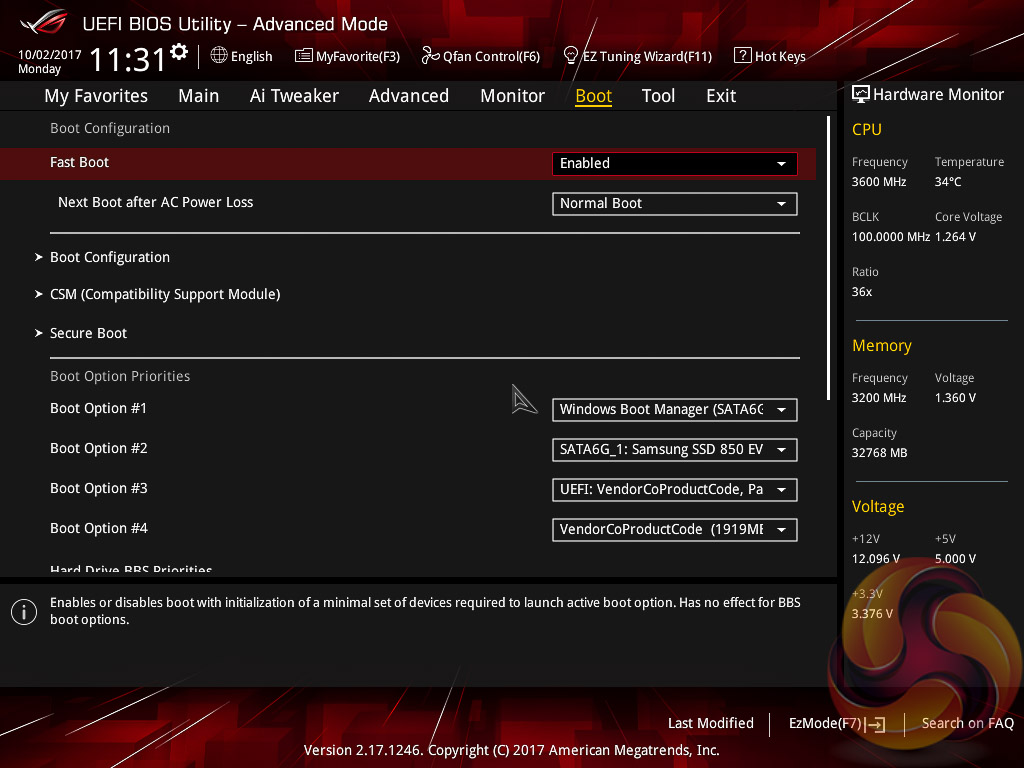
The Boot tab is as expected in delivering the key boot options such as secure boot, boot priority and boot compatibility options.
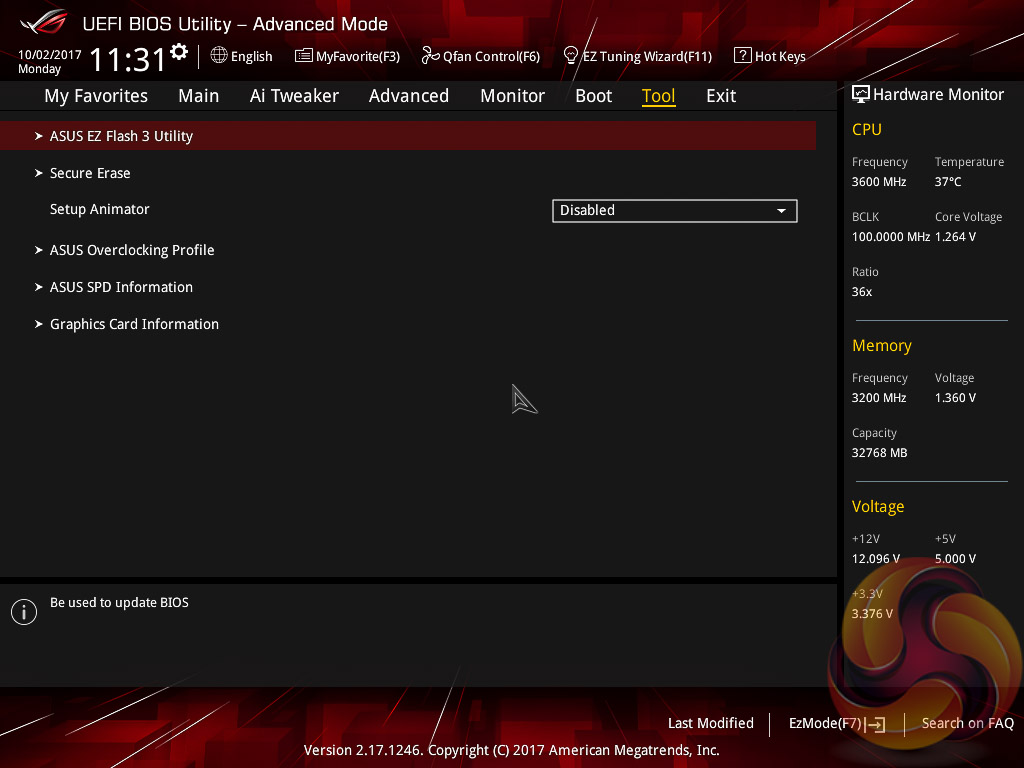
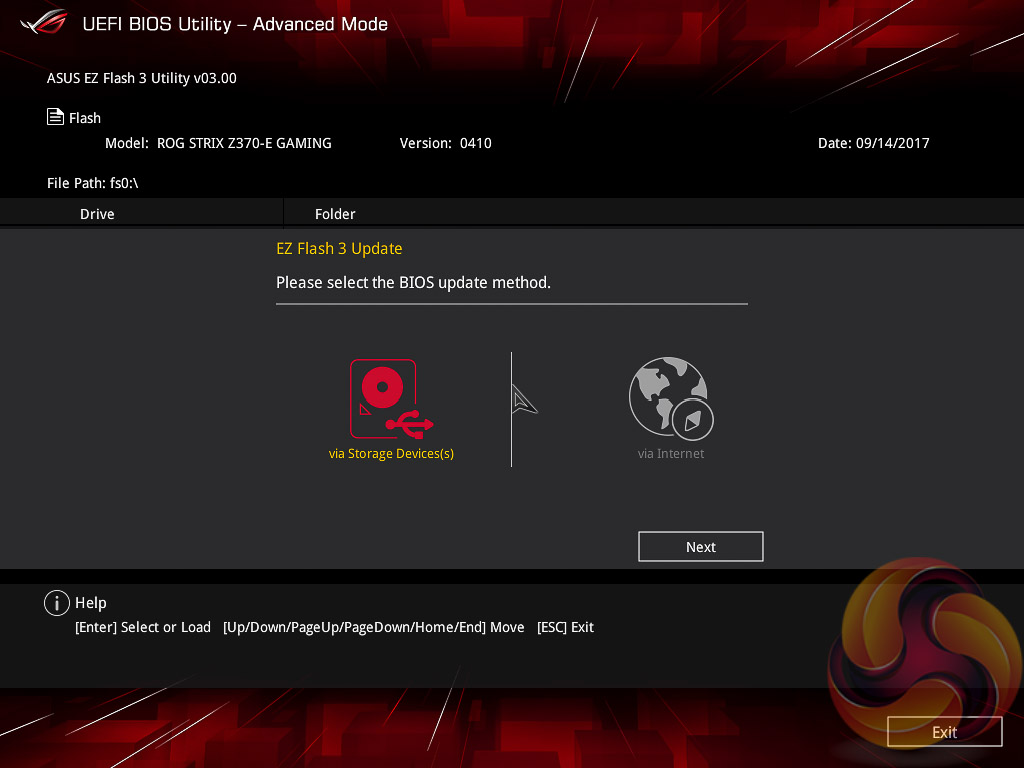
Users needing to update the UEFI (via the EZ Flash Utility), save, import or export BIOS settings, or secure erase a storage drive should refer to the Tool tab.
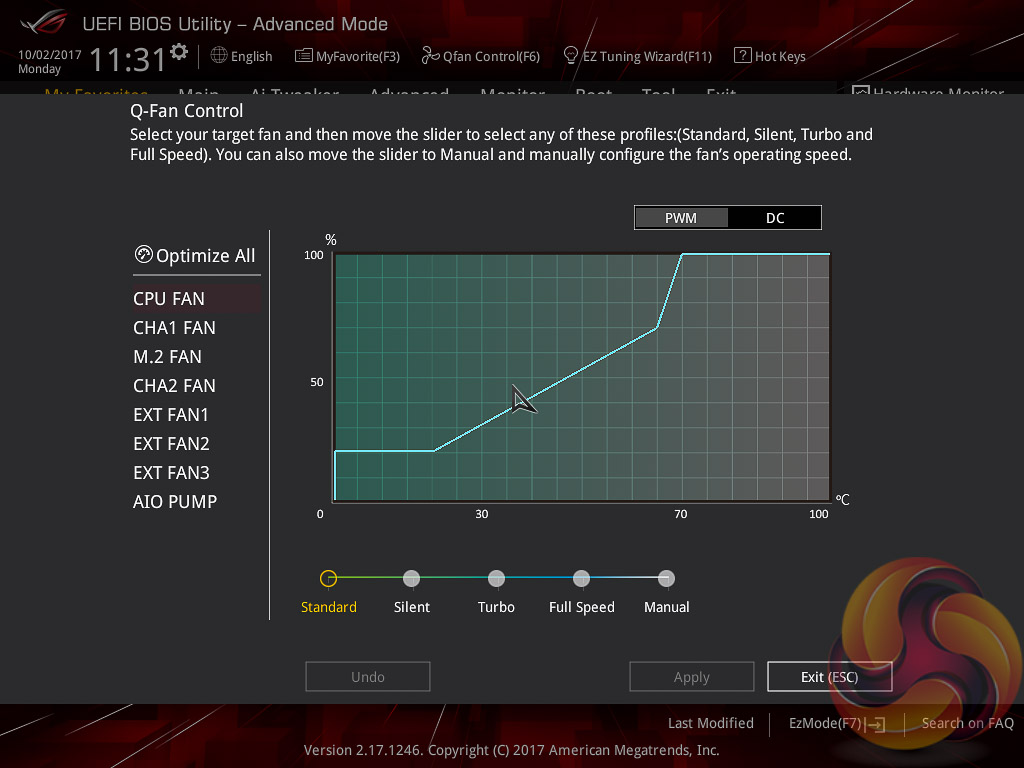
Q-Fan Control is a must-use utility since it will calculate the fan speed ranges of all PWM or DC fans on the 6 controllable fan headers. Once the voltage-to-fan-speed values have been calculated the user can then assign a preferred profile to each fan from the four presets (standard, silent, turbo, full speed) or simply set a custom profile using manual mode.

Most likely my next MoBo. Great Review.