

Firstly, we are pleased to report that our NZXT Avatar S mouse worked to its usual standard in the ASRock X99 UEFI. We’ve found our NZXT Avatar S to be the most troubling mouse with UEFI support so when it functions correctly in the interface, that is usually a good sign for overall mouse support.
ASRock's X99 UEFI is consistent across its motherboard line-up. There are subtle differences between the versions, the most notable of which is a different background colour depending on the motherboard's series. The interface uses a 1920×1080 display resolution. We recycle some of the screenshots from our previous ASRock reviews where the UEFI page is identical.

The Main page displays information about the system components. There is a My Favorite section that gives users quick access to their most desirable settings.
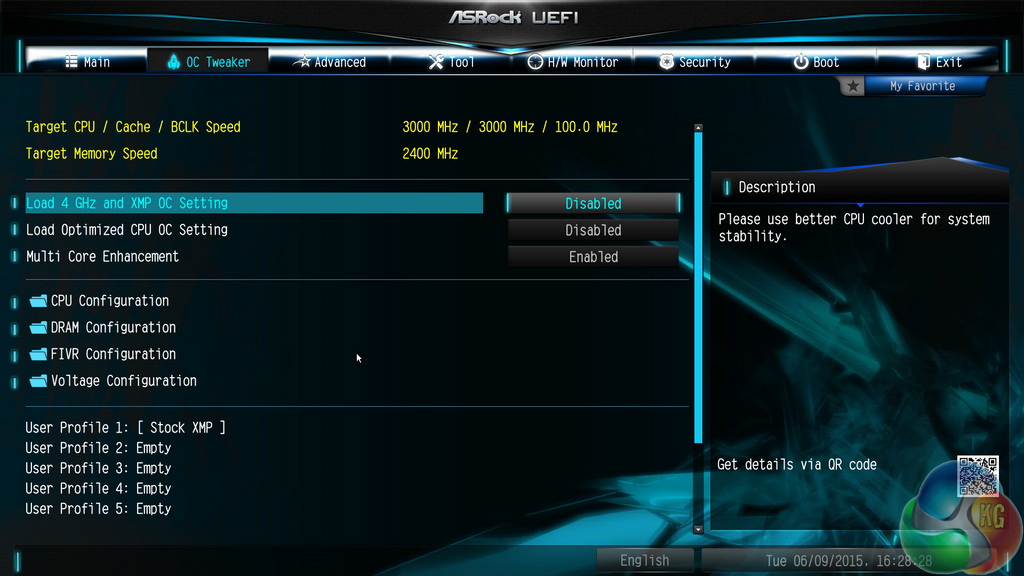
The OC Tweaker page controls access to the board's numerous overclocking-related sub-sections. I like the way that ASRock has split its main overclocking sections into separate folders. This keeps the interface clean and makes the desirable settings easy to find. It also proves that ASRock is listening to feedback and taking steps to improve its UEFI user experience.
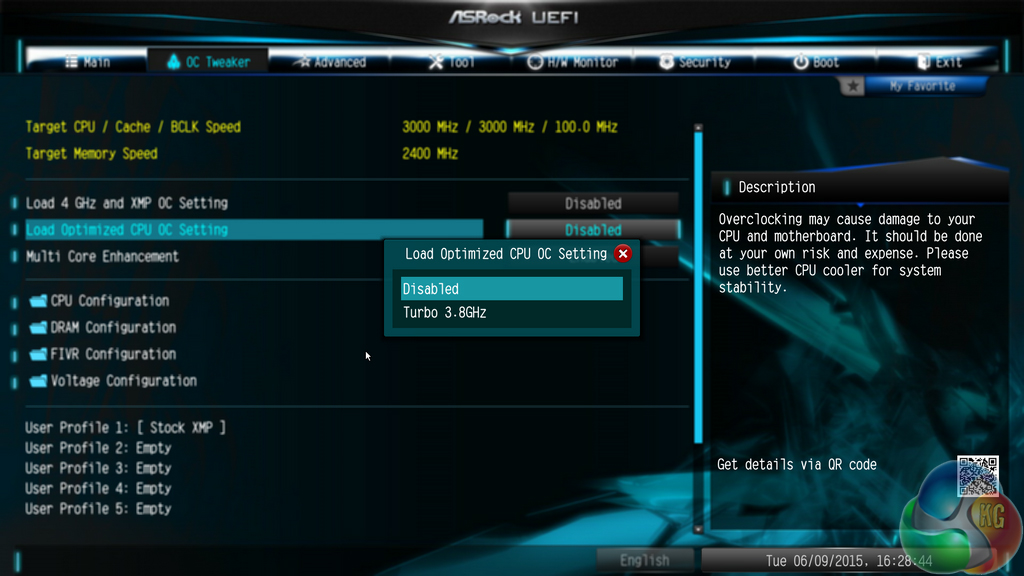
Pre-tuned overclocking profiles take the form of a 3.8GHz CPU-only boost in addition to a 4GHz CPU and XMP setting. Despite being included and selectable, the overclocking pre-sets failed to function with our test system.
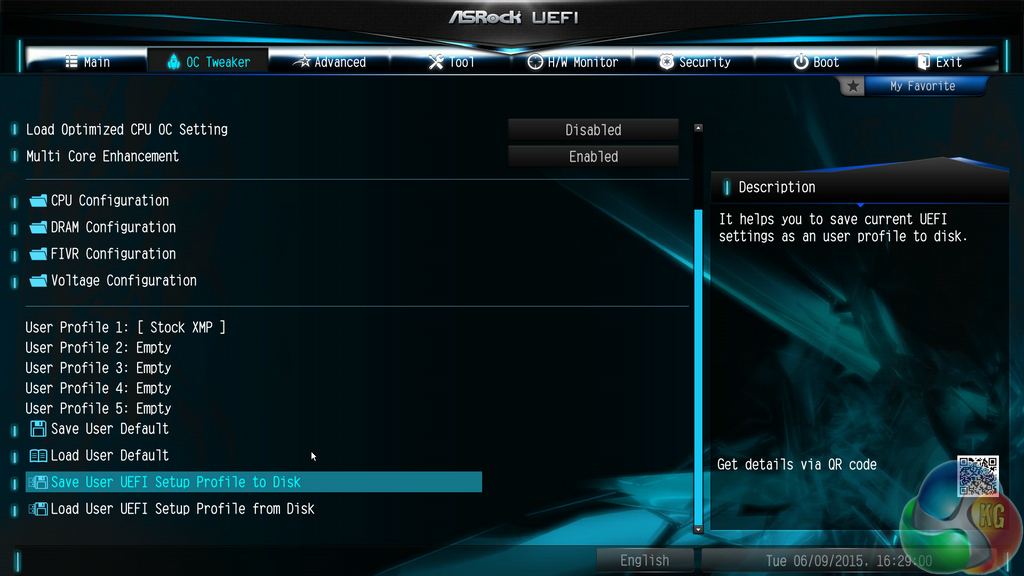
Up to five customised user profiles can be saved to the board's internal memory. I feel the five profiles are sufficient for a motherboard that is not intended for competitive overclocking. A USB flash drive can be used to transfer profiles to and from the board.
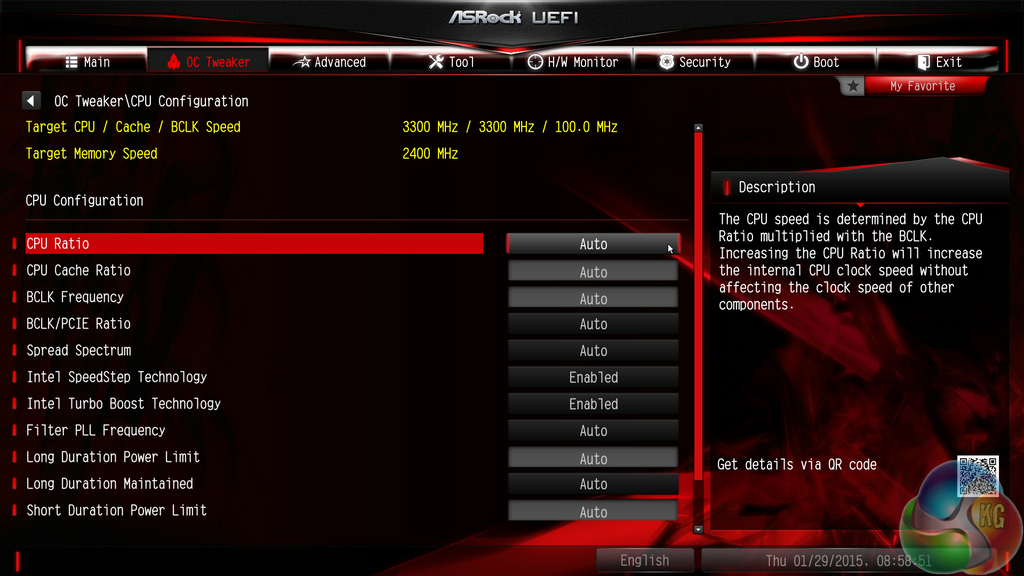
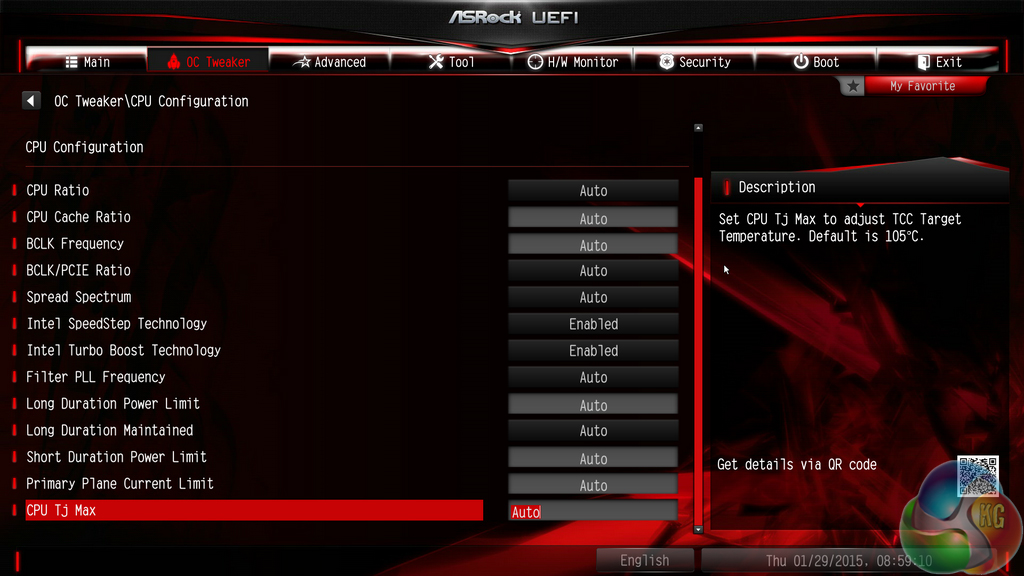
The standard set of parameter and ratio settings are provided under the CPU Configuration section. ASRock also adds a CPU TJ Max input which is a unique setting allowing users to change their processor's thermal throttling temperature. Approach this setting with caution and appreciation for the involved risks.
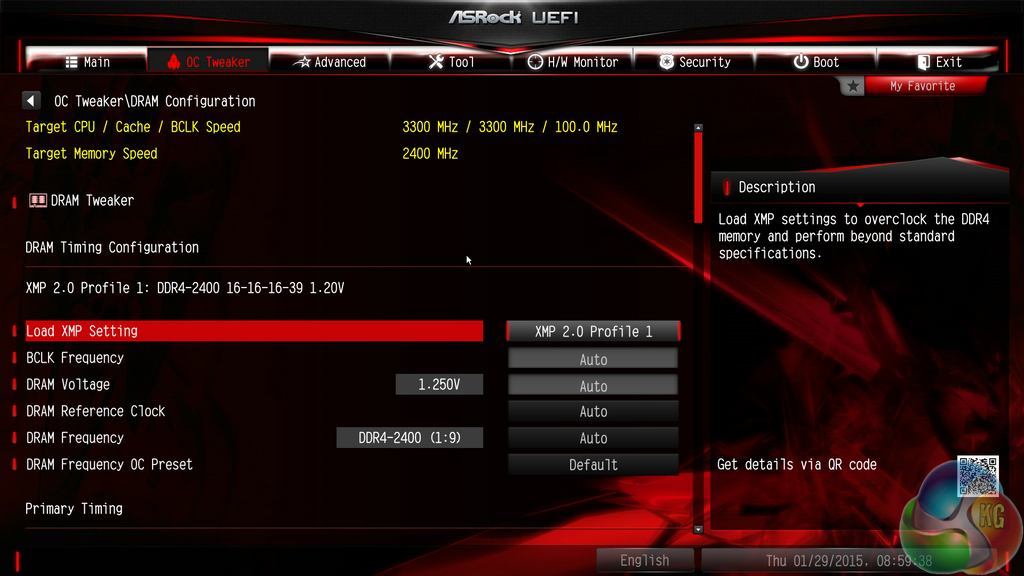
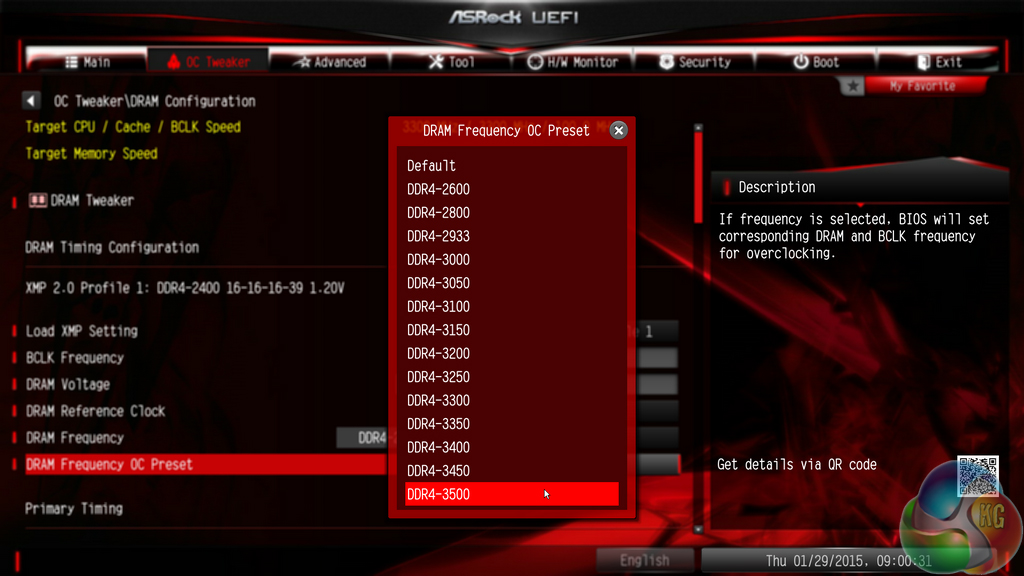
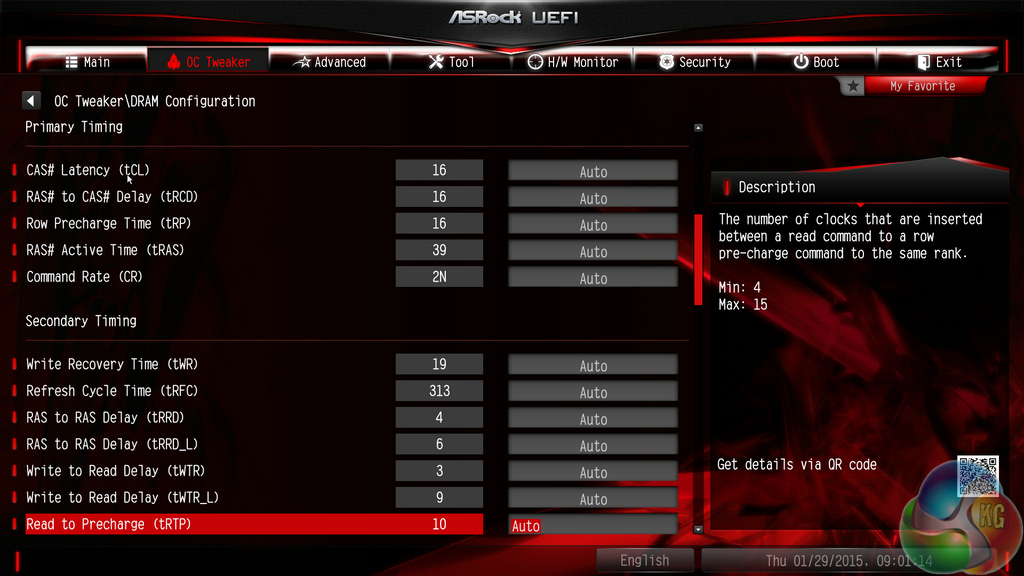
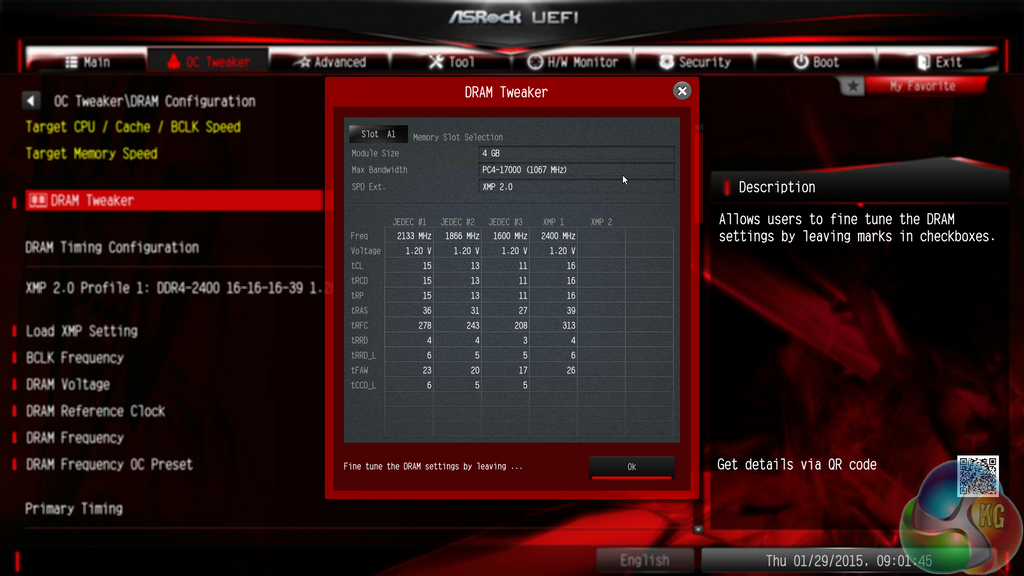
There is a strong range of memory overclocking settings provided in their specific sub-section. Users can adjust their DRAM frequency and voltage in addition to viewing their kit's rated, and applied, timings.
Given this motherboard's intentions, it comes as no surprise that pre-set memory overclocking profiles are omitted.
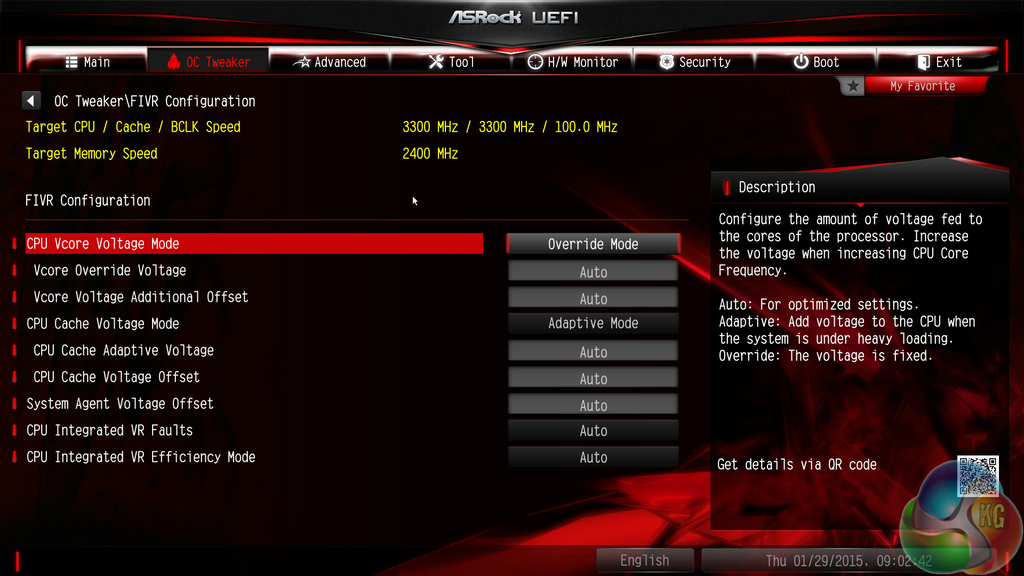

Settings relating to the Haswell-E processor's Fully Integrated Voltage Regulator (FIVR) are given their own section. Here users can apply the primary voltage settings that will deliver their quick-and-easy overclocked settings.
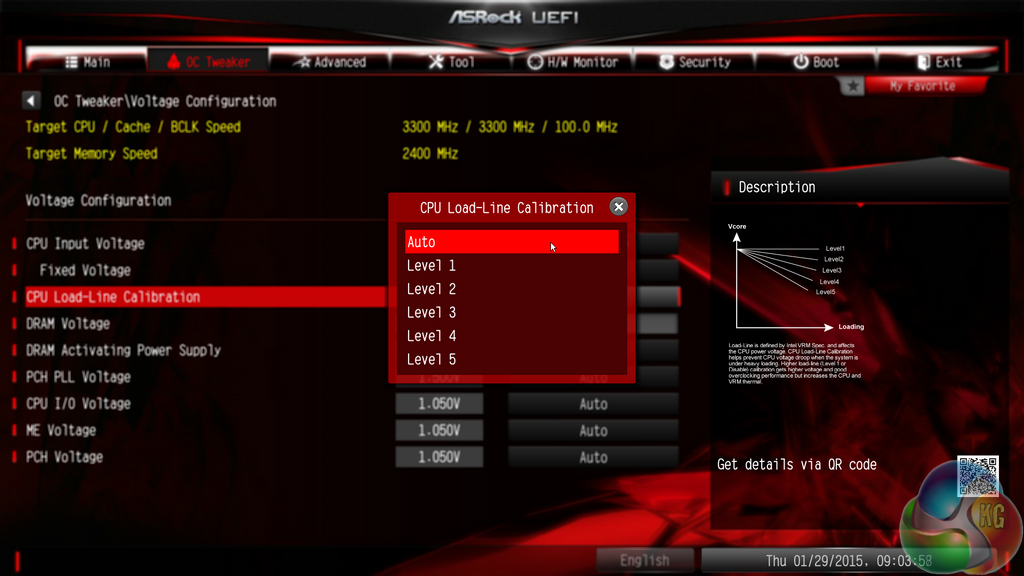
Moving over to the Voltage Configuration section is where users can fine-tune the parameters to squeeze even more frequency out of their components (or optimise the voltage and heat output for a SFF system).
ASRock typically allows users to opt for automatic, manual, or adaptive voltage configurations.

The Chipset Configuration section can be used to control the board's trio of networking options.
Storage interfaces and their installed drives can also be controlled.
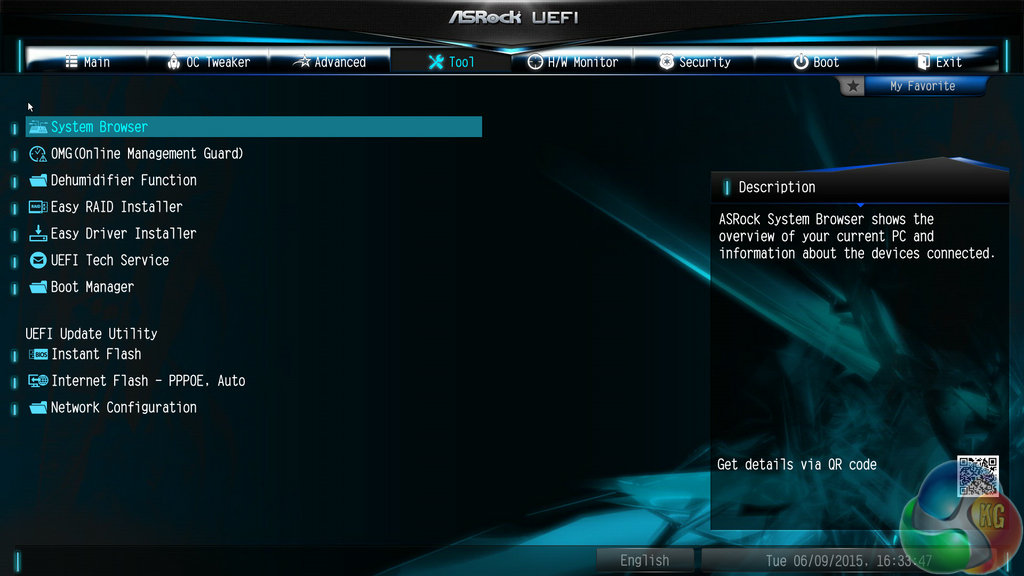
ASRock includes a number of convenient tools in its UEFI. Users can rapidly apply a number of system configurations and drivers can also be downloaded via the interface.
Instant Flash, ASRock's simple BIOS updating tool, scans through one's USB flash drive to search for the relevant BIOS file. While this sounds good, with the tool's ability to scan all the way through your flash drive until it finds the relevant BIOS profile, users with a large amount of data on their drive could find the search time to be in the order of minutes. There's nothing wrong with a manual folder search.

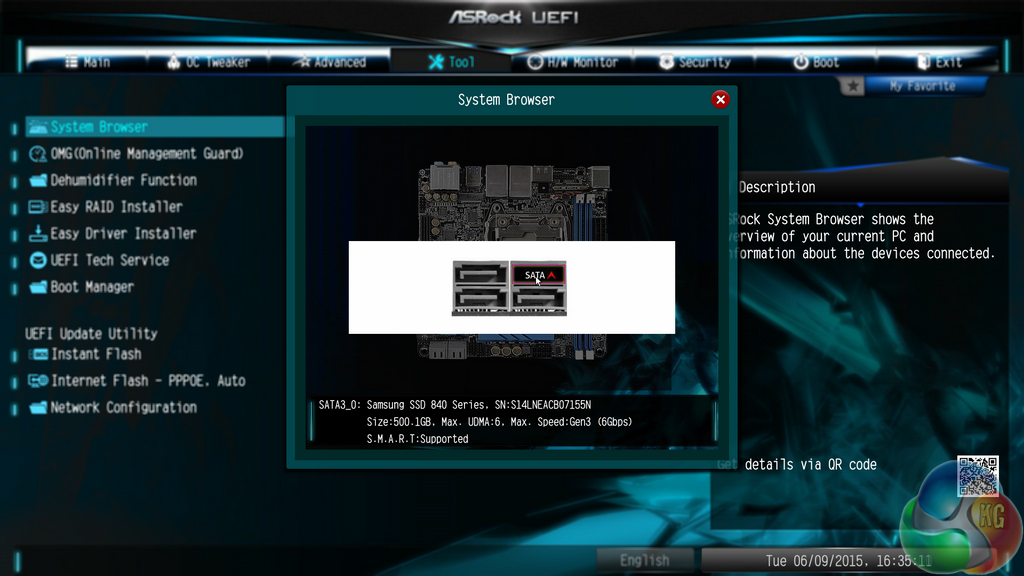
System Browser is a convenient tool that displays which components are connected to the motherboard. The tool is particularly useful for troubleshooting purposes; if, for example, a memory stick is faulty, it will not show up in the System Browser window.
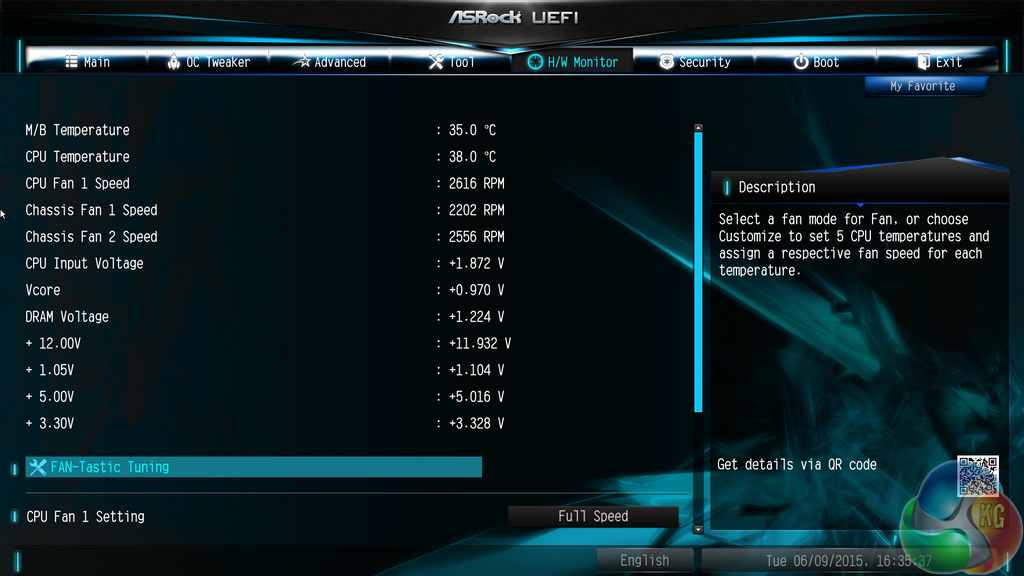

ASRock includes a set of voltage, temperature, and fan speed readings on its HWMonitor page. This is where the Nuvoton SuperIO chipset proves valuable.


There are two ways of setting fan speeds in ASRock’s UEFI. Users can either select from pre-defined profiles, or they can fine-tune their own custom fan speeds. There’s the old way of doing this – by selecting the relevant choices from multiple drop-down lists. Or there’s ASRock’s modern FAN-Tastic Tuning visual tool.
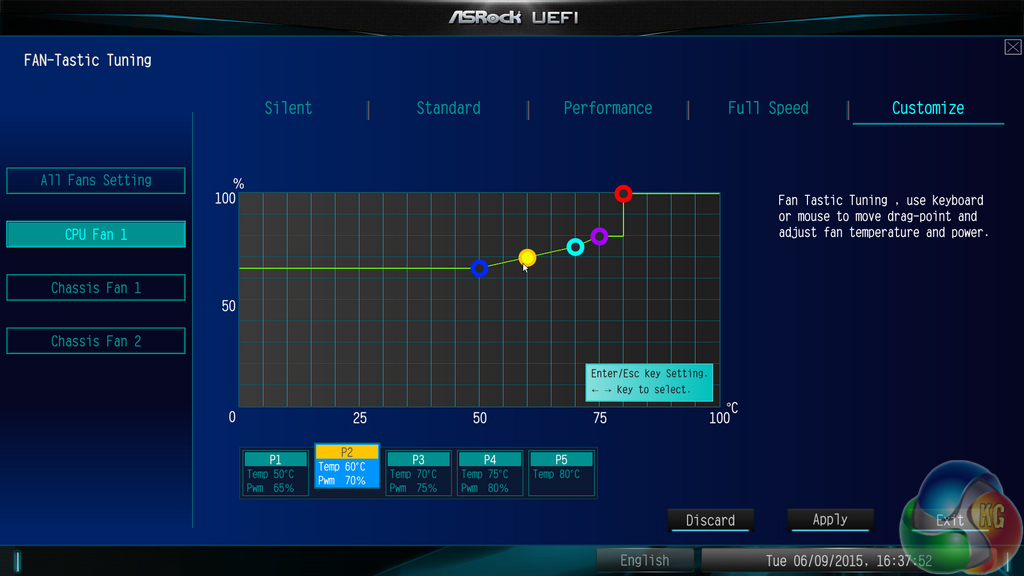
I was very impressed by the capabilities of the FAN-Tastic Tuning tool (the cheesy name, on the other hand…). The five-point curve can be adjusted to an individual’s preference with a large range of freedom; a CPU temperature as low as 30°C can be set, while the fan can run at 0% or 20-100% in 1% increments. And what is particularly impressive is the board’s ability to completely shut-off a controlled fan below a user-defined temperature threshold.
The level of control that FAN-Tastic Tuning provides is excellent, especially when a fan can be set to stop spinning in order to provide a particularly quiet system.
UEFI Summary
In the latest motherboard platform launches, ASRock has worked hard to improve its UEFI. The company has moved to a Full HD – 1920×1080 – resolution, the layout has been re-ordered, the styling has changed, and new-and-improved tools have been designed.
ASRock now has a UEFI that I would deem to be right on the heels of Asus' solution, making it the second best interface on the market (in my opinion). And there are some clear areas where ASRock's interface trumps that of Asus' (System Browser, for example). What is equally positive is that ASRock has clearly listened to user feedback that said the UEFI layout needed improvement.
The interface is well laid-out, easy to use, and full of relevant user-customisable parameters. I struggle to see any clear-cut negatives for the interface.
41$/hour@kitguru
>/